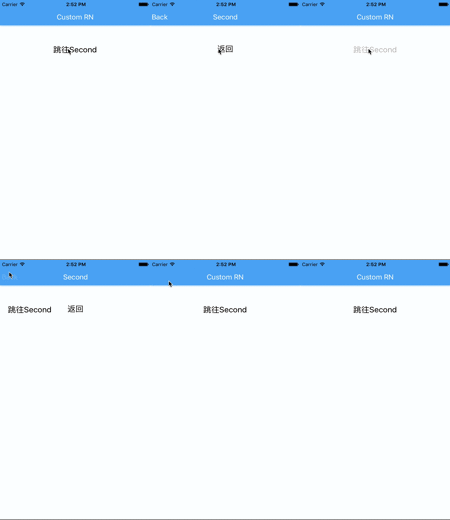
先看看最终效果

一、准备工作
关于怎么搭建RN开发环境,参考React Native中文网,这里直接从代码开始。所有相关代码都在oschina的代码仓库LearnRN中,可根据commit记录逐步还原。
初始化之后,你需要修改的代码就在index.android.js和index.ios.js中。既然RN最大的魅力就在于一套代码,多处运行,所以我们第一步先把让Android和iOS的代码都指向同一个地方。
- 新建src文件夹,并在src中创建app.js
- 将index.ios.js的代码复制到app.js中
- 将index.android.js和index.ios.js中的代码改为相同的一行代码require ('./src/app') 具体可以参考commit c548b
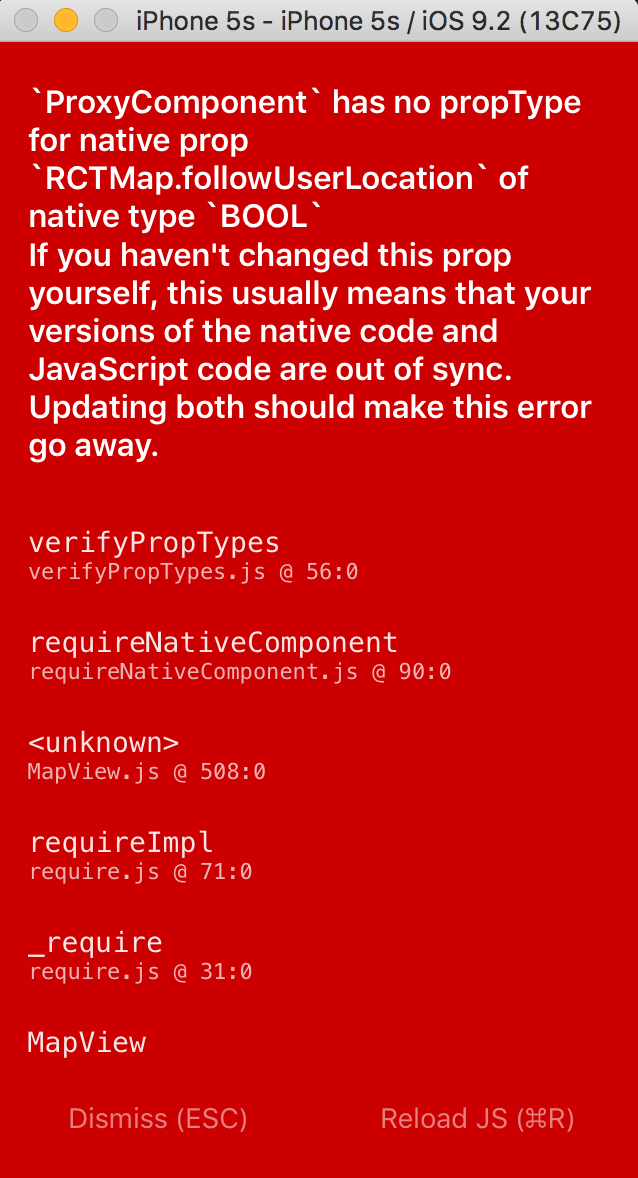
PS. 最近初始化项目的时候会遇到类似如下图片的out of sync问题 解决方法只需要简单4步
- 删除工程目录下的node_modules
- 在工程根目录下运行npm install
- 运行npm start -- -- reset-cache
- 再执行react-native run-ios就能正常运行了。

二、引入Navigator
关于Navigator的相关代码可以参考commit b62edc。以下为主要的代码片段:
import Main from './Main.js';
var nav;
const defaultRoute = {
  component: Main,
  title: 'Custom RN',
};

class LearnRN extends Component {
    _renderScene(route, navigator) {
    let Component = route.component;
    nav = navigator;
    return (
      <Component {...route.params} navigator={navigator} />
    );
  }

  _renderNavBar() {
    var routeMapper = {
      LeftButton(route, navigator, index, navState) {
        if(index > 0) {
          return (
            <TouchableOpacity
              onPress={() => navigator.pop()}
              style={styles.button}>
              <Text style={styles.buttonText}>Back</Text>
            </TouchableOpacity>
          );
        } else {
          return null;
        }
      },
      RightButton(route, navigator, index, navState) {
        if(index > 0 && route.rightButton) {
          return (
            <TouchableOpacity
              onPress={() => navigator.pop()}
              style={styles.button}>
              <Text style={styles.buttonText}></Text>
            </TouchableOpacity>
          );
        } else {
          return null;
        }

      },
      Title(route, navigator, index, navState) {
        return (
          <View style={styles.title}>
            <Text style={styles.buttonText}>{route.title ? route.title : 'Default Title'}</Text>
          </View>
        );
      }
    };

    return (
      <Navigator.NavigationBar
        style={{
          alignItems: 'center',
          backgroundColor: '#55ACEE',
          shadowOffset:{
              width: 1,
              height: 0.5,
          },
          shadowColor: '#55ACEE',
          shadowOpacity: 0.8,
          }}
        routeMapper={routeMapper} />
    );
  }

  render() {
    return (
      <Navigator
        initialRoute={defaultRoute}
        renderScene={this._renderScene}
        sceneStyle={{paddingTop: (Platform.OS === 'android' ? 56 : 64)}}
        navigationBar={this._renderNavBar()} />
    );
  }
}
所有Component中最关键的方法就是render,因此从render开始理解Navigator。这里的render直接返回了一个Navigator对象,其中有4个参数:
initialRoute定义了初始化时Navigator中的展现的内容,可以看到defaultRoute中有component和title两个值,component指定了内容区域展现的控件,title指定了NavigatorBar上的title。这里的Main时通过Main.js引入的一个自定义控件。
renderScene:指定了渲染内容区域的方法renderScene,渲染时包括了在defaultRoute中定义的所有参数,并将navigator实例通过props传递到Main中。 关于props和state的相关知识可参考 Think in React
sceneStyle:指定了内容区域的样式。这里使用了Platform.OS来判断代码运行的平台。
navigationBar:指定了渲染NavigationBar的方法_renderNavBar,返回了一个Navigator.NavigationBar,其中的routeMapper指定了导航栏上的控件。包括LeftButton,RightButton和Title。这里的RightButton没有指定内容,所以不可见;LeftButton显示Back点击时调用onPress指定的方法,使用navigator弹出当前页面,显示上一级。值得注意的是当index为0时,表示当前页面为根页面,则不显示Back。Title显示的文本为route中指定的title,若未指定,则显示Default Title。
三、跳到下个页面并返还
下面看看上节提到的Main.js和一个新的页面Second.js的主要代码
// Main.js
import Second from './Second.js';


export default class Main extends React.Component {

    constructor(props) {
        super(props);
    }

    _pressButton() {
        this.props.navigator.push({
            title: 'Second',
            component: Second
        })
    }

    render() {
        return (
            <View>
                <TouchableOpacity onPress={this._pressButton.bind(this)}>
                    <Text style={styles.defaultText}>跳往Second</Text>
                </TouchableOpacity>
            </View>
        );
    }
}
// Second.js
export default class Main extends React.Component {

    constructor(props) {
        super(props);
    }

    _pressButton() {
        this.props.navigator.pop();
    }

    render() {
        return (
            <View>
                <TouchableOpacity onPress={this._pressButton.bind(this)}>
                    <Text style={styles.defaultText}>返回</Text>
                </TouchableOpacity>
            </View>
        );
    }
}
这两个页面都只显示了一个可以点击的文本,并通过onPress指定点击后的操作。
Main.js通过this.props.navigator.push压入一个新的页面Second,这里的navigator就是在app.js中通过props传入的。
Second.js则通过navigator.pop弹出自己,返还Main页面。
代码中的其它细节
android的返回按钮处理
// app.js
  componentWillMount(){
    if (Platform.OS === 'android') {
      BackAndroid.addEventListener('hardwareBackPress', this.onBackAndroid);
    }
  }

  componentWillUnmount(){
    if (Platform.OS === 'android') {
      BackAndroid.removeEventListener('hardwareBackPress', this.onBackAndroid);
    }
  }

  onBackAndroid = () => {
    const routers = nav.getCurrentRoutes();
    if (routers.length == 1) {
      return false;
    }
    nav.pop();
    return true;
  }
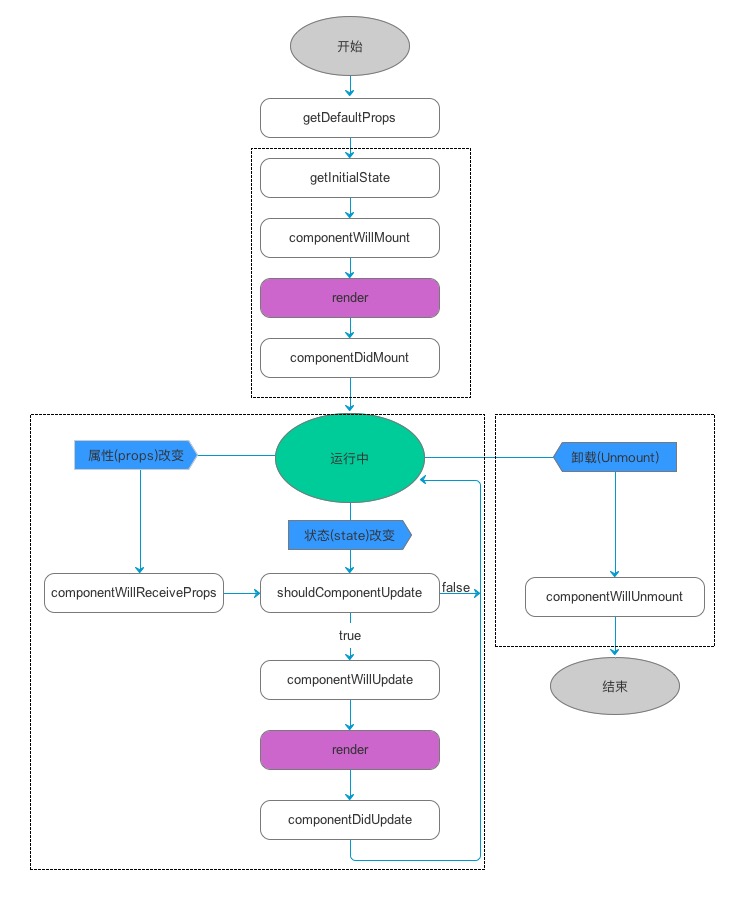
componentWillMount和componentWillUnmount是Component的声明周期函数,可以参考React Native 中组件的生命周期。

这里是在组件之后设置Android后退按钮的监听,并在组件销毁后取消监听。当在Android平台按下后退按钮后,onBackAndroid会被调用,如果当前Navigator中有多于一个页面,则弹出当前页面,并返回true表示后退事件已被处理。否则返回false,让Android原生代码处理后退事件。
android的Title居中
// app.js
const styles = StyleSheet.create({
  title: {
    flex: 1, width: (Dimensions.get('window').width - 140), alignItems: 'center', justifyContent: 'center'
  },
  button: {
    flex: 1, width: 50, alignItems: 'center', justifyContent: 'center'
  },
  buttonText: {
    fontSize: 18, color: '#FFFFFF', fontWeight: '400'
  }
});
默认NaviagatorBar中的Title,在iOS平台上是左右居中的,在Android平台上是靠左的。如果希望在Android平台上Title也是左右居中,可以通过指定title的宽度为(屏幕宽度-2x标题的起始横坐标)达到居中的效果。


 5110
5110

 被折叠的 条评论
为什么被折叠?


