


继续前一章的命令介绍,进行webconsole的安装
这一次我们做两个简单的练习,一个是安装webconsole,一个是启动和停止一个camel的router服务。
组件(feature)管理的命令是features:*,(注:7.X版以后,features修改为feature)我们要查询有没有一个组件时可以执行命令:
features:list | grep XXX如查询webconsole,
karaf@root> feature:list | grep webconsole
pipe: org.apache.felix.gogo.runtime.CommandNotFoundException: Command not found:
 feature:list
karaf@root> features:list | grep webconsole
[installed  ] [2.3.4           ] webconsole-base                         karaf-2
.3.4               Base support of the Karaf WebConsole
[installed  ] [2.3.4           ] webconsole                              karaf-2
.3.4               Karaf WebConsole for administration and monitoring
[uninstalled] [2.3.4           ] webconsole-scr                          karaf-2
.3.4               Declarative Service WebConsole plugin support
karaf@root>
找到的分别是 2.3.4版的webconsole,以及webconsole-base,webconsole-src,由名字就可以知道是别对应的是程序,支持库,源码。
karaf@root> features:install webconsole
karaf@root>
执行features:install webconsole就会安装webconsole组件,没有任何提示,执行完成后会继续显示命令窗口。
最后打开 http://localhost:8181/system/console, 要输入用户名密码,默认的是smx,smx,是不是太简单了,要修改去etc下面的users.properties里找吧。
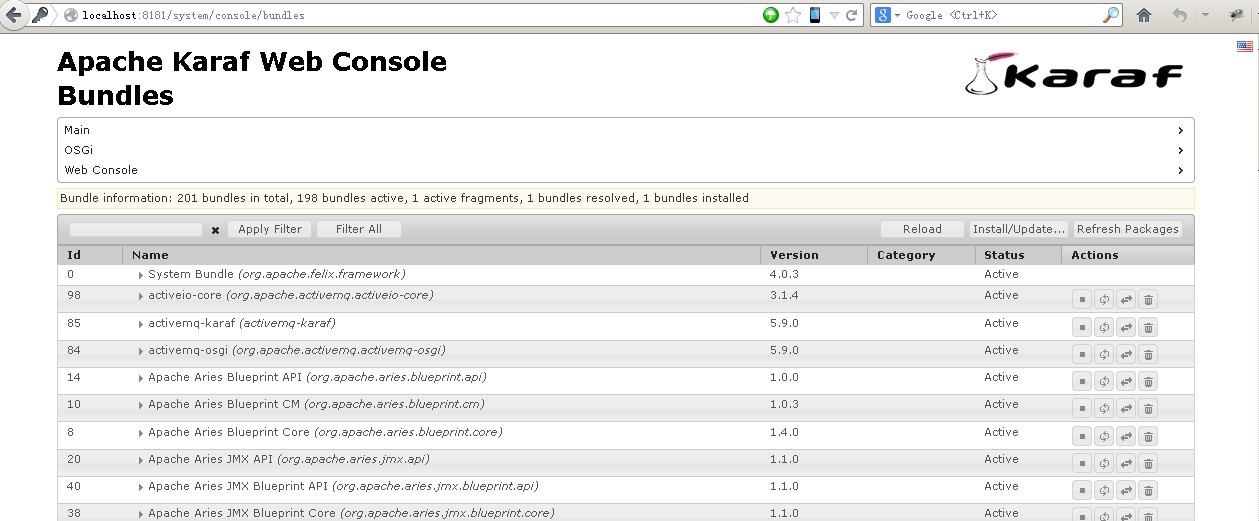
到这里,安装webconsole的过程就完成了,至于这个管理界面,都有英文说明,学习着操作吧。


 628
628


 被折叠的 条评论
为什么被折叠?
被折叠的 条评论
为什么被折叠?
 到【灌水乐园】发言


