


堡垒机基础
一、什么是堡垒机
堡垒机:在一个特定网络环境下,为了保障网路和数据不受外界入侵和破坏,而在一个特定的网络环境下,为了保障网络和数据不受来自外部和内部用户的入侵和破坏,而运用各种技术手段实时收集和监控网络环境中每一个组成部分的系统状态、安全事件、网络活动,以便集中报警、及时处理及审计定责。
堡垒机可以叫跳板机,简易的跳板机功能简单,主要核心功能是远程登录服务器和日志审计。
开源的:jumpserver,具有认证、授权、审计、自动化、资产管理等功能。
商业的:齐治,Citrix XenApp。
二、搭建简易堡垒机
具备堡垒机的条件是,该机器有外网(公网)和内网(私网),内网内的机器可以互相通信。
设计思路:设置防火墙规则,登录限制sshd_config,用户、命令权限限制(jailkit)、客户机器日志审计
日志审计:http://www.68idc.cn/help/server/linux/2014042190951.html
三、安装jailkit实现chroot
实验环境:RHEL7.5,ip:192.168.10.101
1、下载安装jailkit
下载地址:https://olivier.sessink.nl/jailkit/index.html#download
[root@hongwei-02 ~]# curl -O https://olivier.sessink.nl/jailkit/jailkit-2.19.tar.gz
[root@hongwei-02 ~]# tar xf jailkit-2.19.tar.gz
[root@hongwei-02 ~]# cd jailkit-2.19/
[root@hongwei-02 jailkit-2.19]# ./configure && make && make install
2、配置
登录跳板机的用户限制在某个目录,并且只能使用某些命令。
[root@hongwei-02 ~]# mkdir /home/jail
[root@hongwei-02 ~]#
[root@hongwei-02 ~]# jk_init -v -j /home/jail/ basicshell
[root@hongwei-02 ~]# jk_init -v -j /home/jail/ editors
[root@hongwei-021 ~]# jk_init -v -j /home/jail/ netutils
[root@hongwei-02~]# jk_init -v -j /home/jail/ ssh
3、创建用户
创建一个用户登录跳板机的用户,假设用户名为:zhangsan
[root@hongwei-02 ~]# useradd zhangsan
[root@hongwei-02 ~]# passed zhangsan
4、创建目录
[root@hongwei-02 ~]# mkdir /home/jail/usr/sbin
[root@hongwei-02 ~]# cp /usr/sbin/jk_lsh /home/jail/usr/sbin
[root@hongwei-02 ~]#
5、创建虚拟系统的用户
[root@hongwei-02 ~]# jk_jailuser -m -j /home/jail/ zhangsan
[root@hongwei-02 ~]#
修改虚拟系统test用户的shell类型
[root@hongwei-02 ~]# cd /home/jail/
zhangsan:x:1001:1001::/home/zhangsan:/bin/bash
6、使用zhangsan用户登录
Connecting to 192.168.10.101:22...
Connection established.
To escape to local shell, press 'Ctrl+Alt+]'.

Last login: Thu Sep 13 23:48:16 2018 from 192.168.10.1
bash: /usr/bin/id: No such file or directory
bash: /usr/bin/id: No such file or directory
[zhangsan@hongwei-02 ~]$
登录成功,查看一下根目录
[zhangsan@hongwei-02 ~]$ ls -l /
total 0
lrwxrwxrwx 1 root root   7 Sep 13 15:41 bin -> usr/bin
drwxr-xr-x 2 root root  44 Sep 13 15:41 dev
drwxr-xr-x 2 root root 240 Sep 13 15:48 etc
drwxr-xr-x 3 root root  22 Sep 13 15:47 home
lrwxrwxrwx 1 root root   9 Sep 13 15:41 lib64 -> usr/lib64
drwxr-xr-x 7 root root  70 Sep 13 15:42 usr
[zhangsan@hongwei-02 ~]$
跟普通用户不一样的是,只能看到有限的几个目录。
按两下tab键:
[zhangsan@hongwei-02 ~]$
Display all 116 possibilities? (y or n)
!          case       dd         exec       gzip       mapfile    rm         suspend    umask
./         cat        declare    exit       hash       mkdir      rmdir      sync       unalias
:          cd         dirs       export     help       mktemp     rsync      tar        unset
[          chmod      disown     false      history    more       scp        test       until
[[         command    do         fc         if         mv         sed        then       vi
]]         compgen    done       fg         in         popd       select     time       vim
alias      complete   echo       fgrep      jobs       printf     set        times      wait
bash       compopt    egrep      fi         kill       pushd      sh         touch      wget
bg         continue   elif       for        let        pwd        shift      trap       while
bind       coproc     else       function   ln         read       shopt      true       zcat
break      cp         enable     getopts    local      readarray  sleep      type       {
builtin    cpio       esac       grep       logout     readonly   source     typeset    }
caller     date       eval       gunzip     ls         return     ssh        ulimit
[zhangsan@hongwei-02 ~]$
能使用的只有110多个命令。
设置:只允许某些ip登录
[root@hongwei-02 ~]# echo "sshd: 192.168.10.0/24" >>/etc/hosts.allow
[root@hongwei-02 ~]# echo "sshd: ALL" >> /etc/hosts.deny
[root@hongwei-02 ~]#
四、日志审计
在需要做日志审计的机子上执行以下操作即可。
[root@hongwei-02 ~]# mkdir /usr/local/records
[root@hongwei-02 ~]# chmod 777 /usr/local/records
[root@hongwei-02 ~]# chmod +t /usr/local/records
[root@hongwei-02 ~]#
编辑/etc/profile文件,在文件末尾添加以下内容:
if [ ! -d /usr/local/records/${LOGNAME} ];then
mkdir -p /usr/local/records/${LOGNAME}
chmod 300 /usr/local/records/${LOGNAME}
fiexport HISTORY_FILE="/usr/local/records/${LOGNAME}/bash_history"
export PROMPT_COMMAND='{ date "+%Y-%m-%d %T##### $(who am i | awk "{print \$1\"\"\$2\"\"\$5}")#####$(history 1 | { read x cmd;echo "$cmd";})";} >> $HISTORY_FILE'
最后,source /etc/profile
五、jumpserver介绍
官网:www.jumpserver.org
jumpserver是一款使用Python、Django开发的开源跳板机系统,助力互联网企业高效用户、资产、权限、审计等管理。
可以做到:
Auth统一认证
CMDB资产管理
同一授权
日志审计
自动化运维
六、安装jumpserver
官方安装文档:http://docs.jumpserver.org/zh/docs/setup_by_centos7.html
下载地址:https://github.com/jumpserver/jumpserver
1、最新版本是1.4.1的安装
下面安装的是最新版本。
注意:关闭防火墙、关闭selinux
(1)安装前的准备
1、安装依赖包
[root@hongwei-02~]# yum -y install wget sqlite-devel xz gcc automake zlib-devel openssl-devel epel-release git2、安装Redis
Jumpserver 使用 Redis 做 cache 和 celery broke
[root@hongwei-02 ~]# yum install redis -y3、安装mariadb
[root@hongwei-02 ~]# yum install mariadb-server mariadb mariadb-devel -y创建jumpserver所需的数据库并授权
[root@hongwei-02 ~]# systemctl start mariadb
[root@hongwei-02 ~]# mysql -uroot
Welcome to the MariaDB monitor.  Commands end with ; or \g.
Your MariaDB connection id is 2
Server version: 5.5.60-MariaDB MariaDB Server

MariaDB [(none)]> create database jumpserver default charset 'utf8';

MariaDB [(none)]>  grant all on jumpserver.* to 'jumpserver'@'127.0.0.1' identified by '123456';

MariaDB [(none)]> flush privileges;

MariaDB [(none)]>
4、安装 Nginx ,用作代理服务器整合 Jumpserver 与各个组件
nginx可以编译安装,也可以使用nginx的yum源使用yum安装。
[root@hongwei-02 ~]# yum install nginx -y
[root@hongwei-02 ~]# systemctl start nginx
nginx的server段配置如下:
server {
listen 80; # 代理端口,以后将通过此端口进行访问,不再通过8080端口client_max_body_size 100m; # 录像上传大小限制
location /luna/ {
try_files $uri / /index.html;
alias /opt/luna/; # luna 路径,如果修改安装目录,此处需要修改
}location /media/ {
add_header Content-Encoding gzip;
root /opt/jumpserver/data/; # 录像位置,如果修改安装目录,此处需要修改
}location /static/ {
root /opt/jumpserver/data/; # 静态资源,如果修改安装目录,此处需要修改
}location /socket.io/ {
proxy_pass http://localhost:5000/socket.io/; # 如果coco安装在别的服务器,请填写它的ip
proxy_buffering off;
proxy_http_version 1.1;
proxy_set_header Upgrade $http_upgrade;
proxy_set_header Connection "upgrade";
proxy_set_header X-Real-IP $remote_addr;
proxy_set_header Host $host;
proxy_set_header X-Forwarded-For $proxy_add_x_forwarded_for;
access_log off;
}
5、下载编译python
这里使用python
[root@hongwei-02 ~]# curl -O https://www.python.org/ftp/python/3.6.1/Python-3.6.1.tar.xz
[root@hongwei-02 ~]# tar xf Python-3.6.1.tar.xz
[root@hongwei-02 ~]# cd Python-3.6.1/
[root@hongwei-02 Python-3.6.1]# ./configure && make && make install
6、配置python虚拟环境
[root@hongwei-02 ~]# cd /opt/
[root@hongwei-02 opt]# python3 -m venv py3
[root@hongwei-02 opt]# source /opt/py3/bin/activate
(py3) [root@hongwei-02 opt]#
(py3) [root@hongwei-02 opt]# deactivate
[root@hongwei-02 opt]#
source /opt/py3/bin/activate:进入虚拟环境
deactivate :退出虚拟环境
7、自动载入py3环境
[root@hongwei-02 ~]# cd /opt/
[root@lhongwei-02 ~]# git clone git://github.com/kennethreitz/autoenv.git
[root@hongwei-02 opt]# echo 'source /opt/autoenv/activate.sh' >> ~/.bashrc
[root@hongwei-02 opt]# source ~/.bashrc
(2)jumpserver安装
1、下载jumpserver
[root@hongwei-02 ~]# cd /opt/
[root@hongwei-02 opt]# git clone https://github.com/jumpserver/jumpserver.git && cd jumpserver && git checkout master && git pull
[root@hongwei-02 coco]# echo "source /opt/py3/bin/activate" > /opt/coco/.env
[root@hongwei-02 coco]#
2、下载coto
[root@hongwei-02 opt]# git clone https://github.com/jumpserver/coco.git && cd coco && git checkout master && git pull
echo "source /opt/py3/bin/activate" > /opt/coco/.env
3、安装rpm依赖包
[root@hongwei-02 ~]# yum -y install $(cat /opt/jumpserver/requirements/rpm_requirements.txt)
[root@hongwei-02 ~]# yum -y install $(cat /opt/coco/requirements/rpm_requirements.txt)
4、安装 Python 库依赖
[root@hongwei-02 ~]# cd /opt/jumpserver/
(py3) [root@hongwei-02 jumpserver]# pip install --upgrade pip
(py3) [root@hongwei-02 jumpserver]# pip install -r /opt/jumpserver/requirements/requirements.txt -i https://pypi.python.org/simple
(py3) [root@hongwei-02 jumpserver]# pip install -r /opt/coco/requirements/requirements.txt -i https://pypi.python.org/simple
5、修改jumpserver配置文件
(py3) [root@hongwei-02 jumpserver]# vim config.py
SECRET_KEY='123456aaa'
DB_ENGINE = os.environ.get("DB_ENGINE") or 'mysql'
DB_HOST = os.environ.get("DB_HOST") or '127.0.0.1'
DB_PORT = os.environ.get("DB_PORT") or 3306
DB_USER = os.environ.get("DB_USER") or 'jumpserver'
DB_PASSWORD = os.environ.get("DB_PASSWORD") or '123456'
DB_NAME = os.environ.get("DB_NAME") or 'jumpserver
注释掉sqlite3数据库,启用mysql数据库并设置。
6、修改coco配置文件
py3) [root@hongwei-02 jumpserver]# cd /opt/coco/
autoenv:
autoenv: WARNING:
autoenv: This is the first time you are about to source /opt/coco/.env:
autoenv:
autoenv:   --- (begin contents) ---------------------------------------
autoenv:     source /opt/py3/bin/activate$
autoenv:
autoenv:   --- (end contents) -----------------------------------------
autoenv:
autoenv: Are you sure you want to allow this? (y/N) y
(py3) [root@hongwei-02 coco]#
(py3) [root@hongwei-02 coco]# cp conf_example.py conf.py
(py3) [root@hongwei-02 coco]# vim conf.py
 CORE_HOST = 'http://127.0.0.1:8080'
安装coco相关依赖。
[root@hongwei-02 ~]# cd /opt/coco/requirements/
[root@hongwei-02 requirements]#yum -y  install $(cat rpm_requirements.txt)
[root@hongwei-02 requirements]#pip install -r requirements.txt -i https://pypi.python.org/simple
7、安装 Web Terminal 前端:Luna
下载luna压缩包,解压即可。Luna 已改为纯前端,需要 Nginx 来运行访问
cd[root@hongwei-02 ~]# cd /opt/
[root@hongwei-02 opt]# ls
autoenv  coco  gitlab  jumpserver  luna  luna.tar.gz  py3  webroot
[root@hongwei-02 opt]# chown -R root.root luna
[root@hongwei-02 opt]#
8、生成数据库表结构和初始化数据
[root@hongwei-02 ~]#cd /opt/jumpserver/utils
(py3) [root@hongwei-02 utils]# ./make_migrations.sh
9、运行 Jumpserver
[root@hongwei-02 ~]#cd /opt/jumpserver/
(py3) [root@hongwei-02 jumpserver]# ./jms start all -d
-d:表示后台运行
新版本更新了运行脚本,使用方式./jms start|stop|status|restart all 后台运行请添加 -d 参数
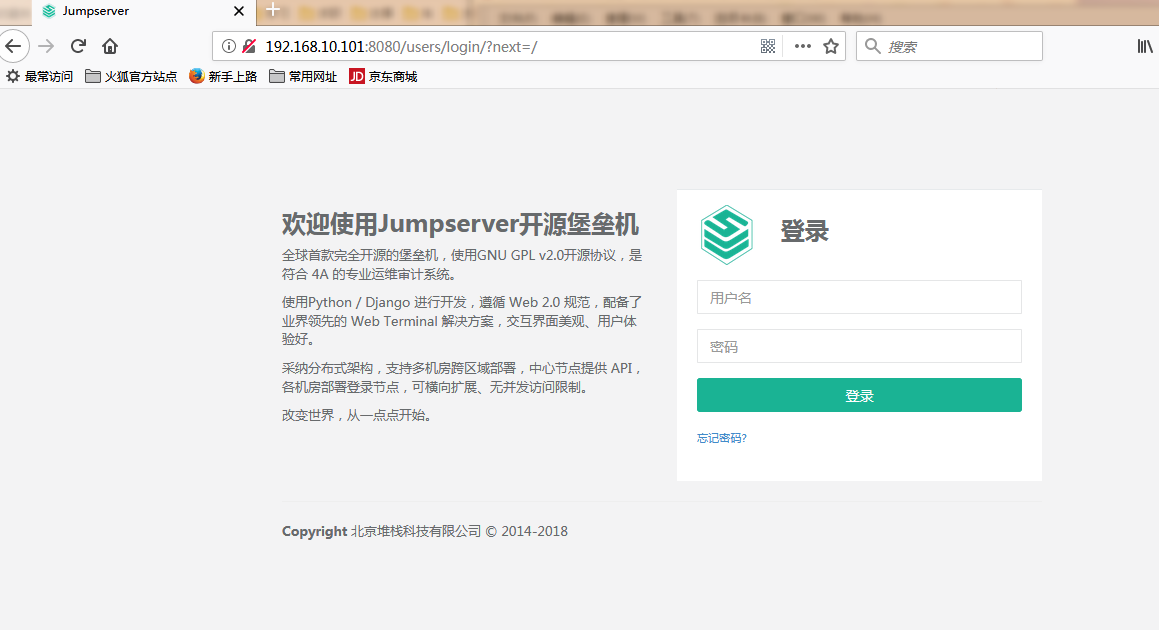
浏览器打开:192.168.10.101:8080
2、jumpserver0.3版本的安装
到官网下载0.3.3的zip包放到/home目录并解压
[root@hongwei-02 home]# ls
git  jail  jumpserver  jumpserver-0.3.3  jumpserver-0.3.3.zip  mytest  test_java  www  zrlog-master
[root@hongwei-02 home]#
进入解压后的目录,执行安装命令
[root@hongwei-02 home]# cd jumpserver-0.3.3/
[root@hongwei-02 jumpserver-0.3.3]# cd install
[root@hongwei-02 install]# python install.py
。。。。
ansible 1.9.4 has requirement pycrypto>=2.6, but you'll have pycrypto 2.4.1 which is incompatible.
Installing collected packages: PyYAML, django, pycrypto, ecdsa, paramiko, MySQL-python, psutil, xlsxwriter, xlrd, django-bootstrap-form, singledispatch, certifi, backports-abc, tornado, ansible, pyinotify, argparse, django-crontab, django-smtp-ssl, wcwidth, pyte
  Found existing installation: PyYAML 3.11
Cannot uninstall 'PyYAML'. It is a distutils installed project and thus we cannot accurately determine which files belong to it which would lead to only a partial uninstall.
安装JumpServer 依赖的python库失败!
[root@lb01 install]#
报错,PyYAML版本低。
一键安装脚本: https://raw.githubusercontent.com/jumpserver/Dockerfile/mysql/get.sh
VPN安装脚本:https://blog.linuxeye.cn/412.html?tdsourcetag=s_pcqq_aiomsg
七、登录jumpserver
前面中已经安装好jumpserver
登录的用户名和密码默认均为:admin

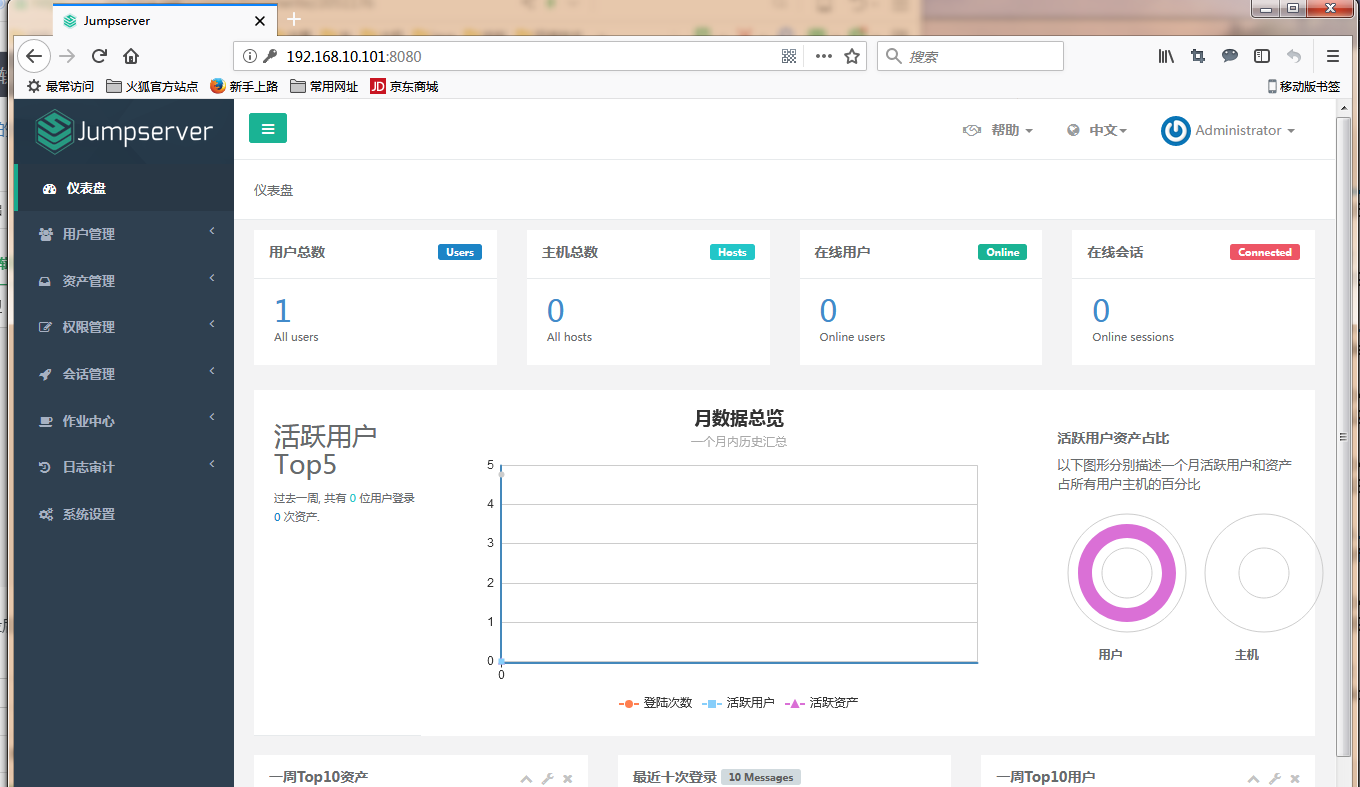
成功登录后:


 5292
5292

 被折叠的 条评论
为什么被折叠?
被折叠的 条评论
为什么被折叠?
 到【灌水乐园】发言


