


一、安装openresty+nginx
1.安装gcc
yum install -y readline-devel pcre-devel openssl-devel gcc
2 新建目录 mkdir /usr/server, cd /usr/server
3 下载 openresty wget http://openresty.org/download/openresty-1.11.2.5.tar.gz
4 tar -zxvf /usr/server/openresty-1.11.2.5.tar.gz
5 cd bundle/LuaJIT-2.1-20170808/
6 make clean && make && make install
7 ln -sf luajit-2.1.0-alpha /usr/local/bin/luajit
8 cd /usr/server/openresty-1.11.2.5/bundle/
9 wget https://github.com/FRiCKLE/ngx_cache_purge/archive/2.4.tar.gz
10 tar -xvf 2.3.tar.gz
11 cd /usr/server/openresty-1.11.2.5/bundle/
12 wget https://github.com/yaoweibin/nginx_upstream_check_module/archive/v0.3.0.tar.gz
13 tar -xvf v0.3.0.tar.gz
14 cd /usr/server/openresty-1.11.2.5/
15 编译
./configure --prefix=/usr/server --with-http_realip_module --with-pcre --with-luajit --add-module=./bundle/ngx_cache_purge-2.3/ --add-module=./bundle/nginx_upstream_check_module-0.3.0/ -j2
16安装
make && make install
openresty+nginx 安装完成
16 查看有没有安装成功
cd /usr/server
文件目录![]()
启动nginx
/usr/server/nginx/sbin/nginx
17 查看进程有没有启动
ps axu|grep nginx
会看到nginx 进程
用浏览器访问下
http://ip:端口
部署成功
二、用ngxin+lua脚本开发一个 hello lua 程序
1. cd /usr/server/nginx/conf/ 目录 vim nginx.conf
2 .ngxin.conf 文件http 部分添加
lua_package_path "/usr/server/lualib/?.lua;;";
lua_package_cpath "/usr/server/lualib/?.so;;";
include lua.conf;
3.在/usr/servers/nginx/conf下,创建一个lua.conf
4.vim lua.conf
server{
listen 80;
server_name locahost;
location /lua{
default_type 'text/html';
content_by_lua 'ngx.say("hello lua")';
}
}
5.重新加载nginx
/usr/server/nginx/sbin/nginx -s reload
用浏览器 访问 ip+端口+路径
http://192.168.31.103/lua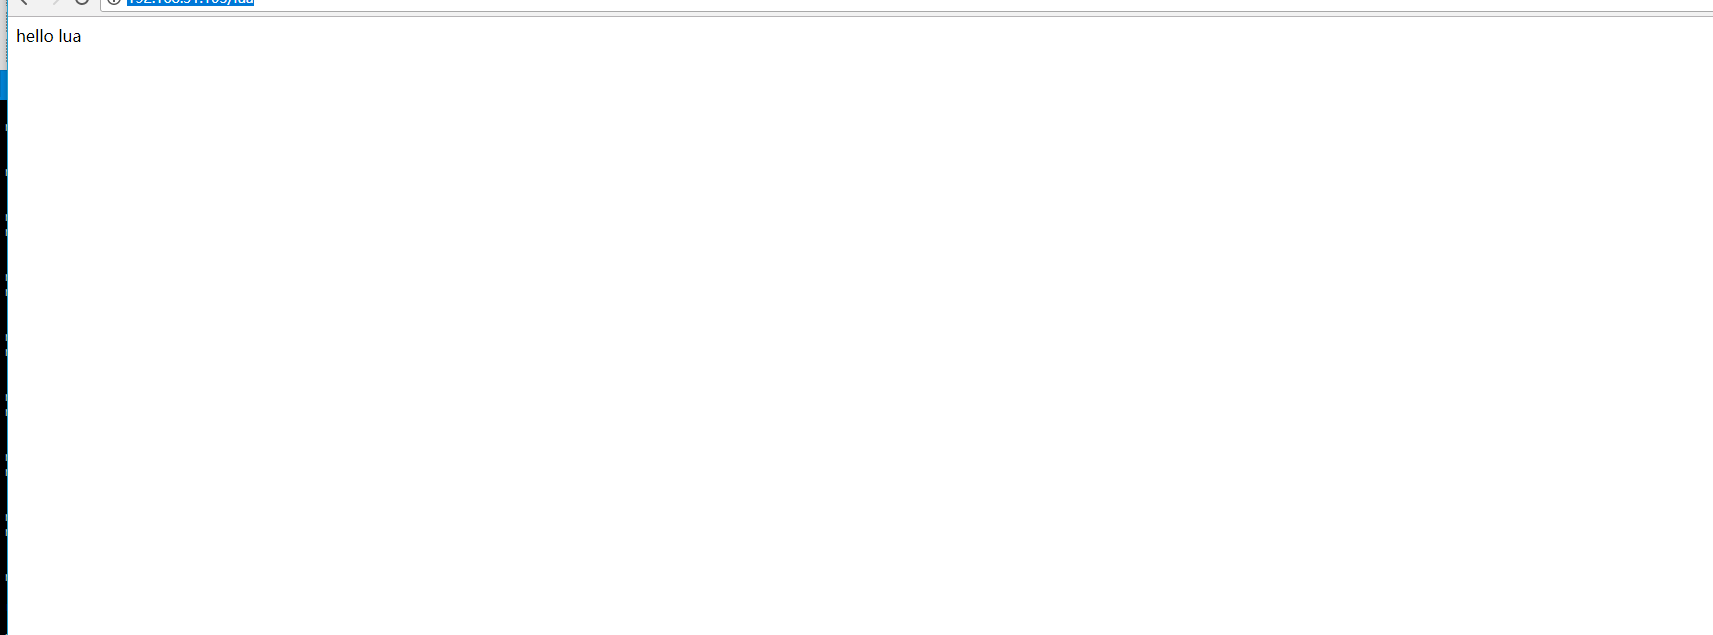
网站上显示效果
三、springboot 搭建http接口 用于lua调用
1.新建一个springboot的工程
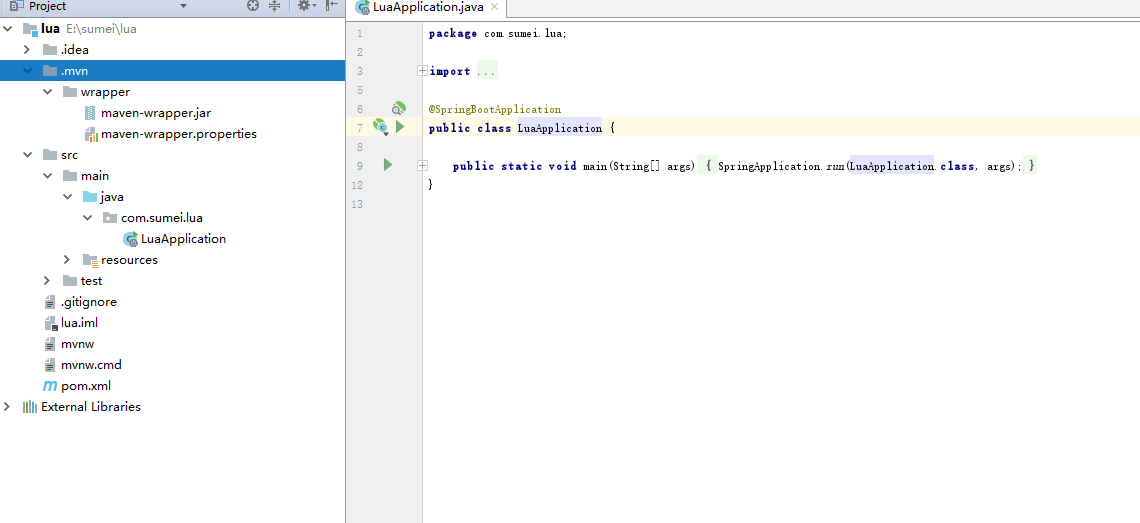
2.新建一个类
package com.sumei.lua.controller;


import org.springframework.web.bind.annotation.RequestMapping;
import org.springframework.web.bind.annotation.RestController;

@RestController
public class LuaController {

    @RequestMapping("lua")
    public String lug(){
        return "{'lua':'lua'}";
    }
}
用main 方法启动spring boot
用浏览器访问
本地写的服务
http://192.168.31.134:8080/lua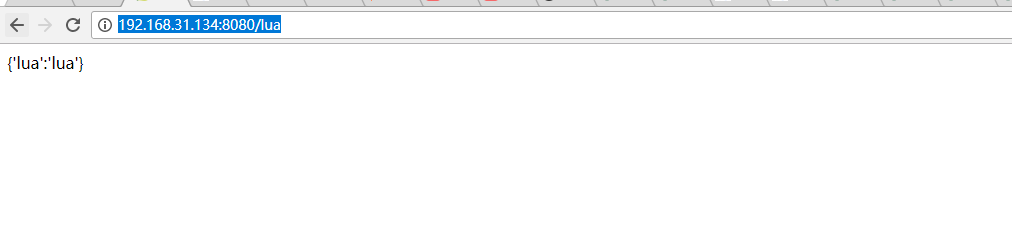
四.用lua调用 springboot发布的接口
1.因为要发送http请求,需要下载两个http包
cd /usr/server/lualib/resty/
wget https://raw.githubusercontent.com/pintsized/lua-resty-ttp/master/lib/resty/http_headers.lua
wget https://raw.githubusercontent.com/pintsized/lua-resty-http/master/lib/resty/http.lua
2.cd /usr
mkdir lua
vim boot.lua
在vim中编辑
--要请求的ip
url="http://192.168.31.134:8080"
-- 请求的路径
local path="/lua"
-- 发送请求
local http = require("resty.http")
local httpClient=http.new()
local resp, err = httpClient:request_uri(url, {
method = "GET",
path = path
})
-- 获取请求结果
ngx.say(resp.body)
httpClient:close()
3.cd /usr/server/nginx/conf 目录 编辑 lua.conf
server{
listen 80;
server_name locahost;
location /lua{
default_type 'text/html';
content_by_lua 'ngx.say("hello lua")';
}
location /boot{
default_type 'text/html';
content_by_lua_file /usr/lua/boot.lua;
}
}
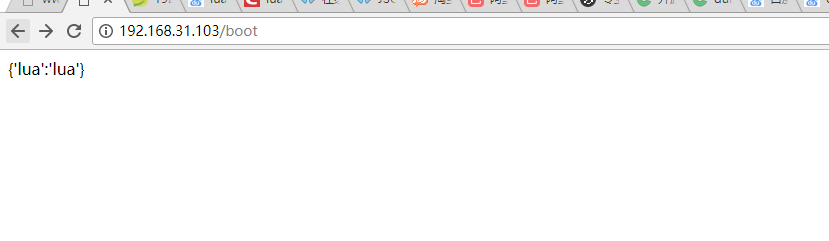
用浏览器访问linux的ip+/boot 就可以转发到本地的springboot的服务上去
我的linux 的ip是 192.168.31.131
5.用lua+springboot进行html模板渲染
1.下载两个lua脚本
cd /usr/server/lualib/resty/
wget https://raw.githubusercontent.com/bungle/lua-resty-template/master/lib/resty/template.lua
mkdir /usr/hello/lualib/resty/html
cd /usr/server/lualib/resty/
wget https://raw.githubusercontent.com/bungle/lua-resty-
template/master/lib/resty/template/html.lua
2.cd /usr/server/nginx/conf/
编辑lua.conf 配置静态模板的位置
server{
set $template_location "/templates";
set $template_root "/usr/lua/templates";
listen 80;
server_name locahost;
location /lua{
default_type 'text/html';
content_by_lua 'ngx.say("hello lua")';
}
location /boot{
default_type 'text/html';
content_by_lua_file /usr/lua/intDes.lua;
}
}
mkdir -p /usr/server/nginx/html/templates/
vim /usr/server/nginx/html/templates/w3c.html
<!DOCTYPE html>
<html>
<body>
<article>
<h1>{*internet*}</h1>
<p>{*des*}</p>
</article>
</body>
</html>
3.新建个发布个接口
package com.sumei.lua.controller;


import org.springframework.web.bind.annotation.RequestMapping;
import org.springframework.web.bind.annotation.RestController;

@RestController
public class LuaController {

    @RequestMapping("lua")
    public String lug(){
        return "{'lua':'lua'}";
    }
    @RequestMapping("interDes")
    public String  luaDes(){
        System.out.println("测试");
        return "{\"internet\":\"ie\",\"des\":\"...................................................\"}";
    }
}
进行测试
在浏览器中输入 nginx 上的地址+ip
http://192.168.31.103/boot
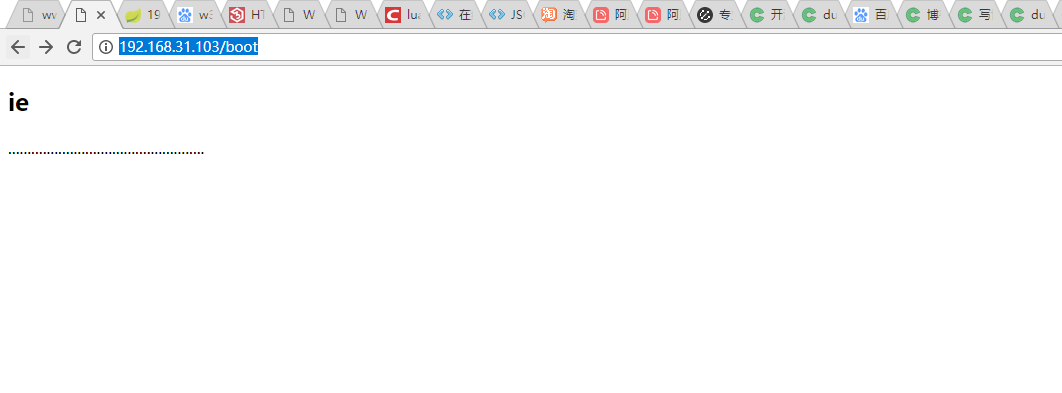
搞定。


 484
484


 被折叠的 条评论
为什么被折叠?
被折叠的 条评论
为什么被折叠?
 到【灌水乐园】发言


