angular2 小知识点@Output Input ngOnInit

forEach  A B

class A {  
    no: number[] = [1, 2, 3];  
    lognumber() {  
        this.no.forEach((nos) => { // foreach statement  
            document.write(" number=:" + nos);  
        })  
    }  
}  
window.onload = () => {  
    var call = new A();  
    call.lognumber();  
}  

foreach0-in-typescript.jpg

Angular 2 Input  A

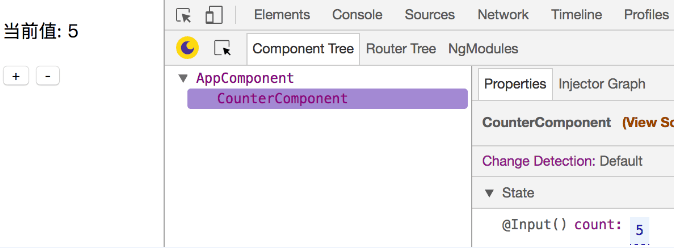
Input 是属性装饰器,用来定义组件内的输入属性。在实际应用场合,我们主要用来实现父组件向子组件传递数据。接受任何数组对象,检查,更新

import { Component, Input } from '@angular/core';

@Component({
    selector: 'exe-counter',
    template: `
      <p>当前值: {{ count }}</p>
      <button (click)="increment()"> + </button>
      <button (click)="decrement()"> - </button>
    `
})
export class CounterComponent {
    @Input() count: number = 0;

    increment() {
        this.count++;
    }

    decrement() {
        this.count--;
    }
}
import { Component } from '@angular/core';

@Component({
  selector: 'exe-app',
  template: `
   <exe-counter [count]="initialCount"></exe-counter>
  `
})
export class AppComponent {
  initialCount: number = 5;
}

28162735_AGZa.jpg

2

转载于:https://my.oschina.net/u/3427060/blog/1057865

  • 0
    点赞
  • 0
    收藏
    觉得还不错? 一键收藏
  • 0
    评论
Angular中的@Input@Output是用来实现组件之间通信的注解。 @Input用来接收父组件传递过来的数据,而@Output则用来向父组件传递数据。 下面是它们的使用方法: 1. @Input 在子组件中使用@Input注解来接收父组件传递的数据。例如: ``` import { Component, Input } from '@angular/core'; @Component({ selector: 'child-component', template: ` <div>{{data}}</div> ` }) export class ChildComponent { @Input() data: string; } ``` 在父组件中使用属性绑定的方式将数据传递给子组件。例如: ``` import { Component } from '@angular/core'; @Component({ selector: 'parent-component', template: ` <child-component [data]="myData"></child-component> ` }) export class ParentComponent { myData = 'Hello world'; } ``` 2. @Output 在子组件中使用@Output注解来定义一个事件。例如: ``` import { Component, Output, EventEmitter } from '@angular/core'; @Component({ selector: 'child-component', template: ` <button (click)="onClick()">Click me</button> ` }) export class ChildComponent { @Output() clicked = new EventEmitter<void>(); onClick() { this.clicked.emit(); } } ``` 在父组件中使用事件绑定的方式监听子组件的事件。例如: ``` import { Component } from '@angular/core'; @Component({ selector: 'parent-component', template: ` <child-component (clicked)="onChildClicked()"></child-component> ` }) export class ParentComponent { onChildClicked() { console.log('Child component clicked'); } } ``` 这样就实现了子组件向父组件传递数据的功能。

“相关推荐”对你有帮助么?

  • 非常没帮助
  • 没帮助
  • 一般
  • 有帮助
  • 非常有帮助
提交
评论
添加红包

请填写红包祝福语或标题

红包个数最小为10个

红包金额最低5元

当前余额3.43前往充值 >
需支付:10.00
成就一亿技术人!
领取后你会自动成为博主和红包主的粉丝 规则
hope_wisdom
发出的红包
实付
使用余额支付
点击重新获取
扫码支付
钱包余额 0

抵扣说明:

1.余额是钱包充值的虚拟货币,按照1:1的比例进行支付金额的抵扣。
2.余额无法直接购买下载,可以购买VIP、付费专栏及课程。

余额充值