


1、仓库定义
用来存储所有maven共享构建的位置
2、仓库布局
根据maven坐标定义每个构建在仓库中的存储路径,大致为:groupId/artifactId/versionId/artifactId-version.packaging
3、仓库分类
1)、本地仓库
位置:~/.m2/resposity(一个用户只有一个本地仓库)
2)、远程仓库
中央仓库:Maven默认的远程仓库(http://repo1.maven.org/maven2)
私服:特殊的远程仓库,架设在局域网内
镜像:代替中央仓库,速度一般比中央仓库快
4、私服
Nexus架构:

Nexus 安装
1)、从http://nexus.sonatype.org/downloads 下载nexus(注:nexus是典型的javaWeb应用,分两种安装包,一种是包含Jetty容器的Budle包,另一种是不包含Web容器的war包。此处以Bundle为例进行讲解)
2)、解压Budle包,建立软连接(方便nexus升级)
$ sudo cp nexus-latest-bundle.tar.gz /usr/local
$ cd /usr/local
$ sudo tar -zxvf nexus-latest-bundle.tar.gz
$ sudo ln -s nexus-2.8.1-01/ nexus
注:解压完之后会得到两个子目录,nexus-2.8.1-01 和 sonatype-work,前者包含Nexus运行所需要的文件,如启动脚本、依赖jar包等,后者包含Nexus生成的配置文件、日志文件、仓库文件等。第一个目录是运行所必须的,而且所有相同版本所包含的该目录是相同的,而第二个目录不是必须的,Nexus会在运行的时候动态创建该目录,不过他的内容对于各个Nexus实例是不一样的,因为不同用户在不同机器上使用的Nexus会有不同的配置和仓库内容,因此备份的时候仅备份该目录即可(它包含了用户的特定内容)
3)、配置环境变量NEXUS_HOME
4)、启动nexus
$ cd /usr/local/nexus
$ ./bin/nexus start
注:如果配置好了NEXUS_HOME/bin到PATH中,则此处可以直接使用如下命令:
$ nexus start 注:启动时候若由于端口冲突造成失败,则可以到 /usr/local/nexus-2.8.1-01/conf/nexus.properties 文件中修改端口参数
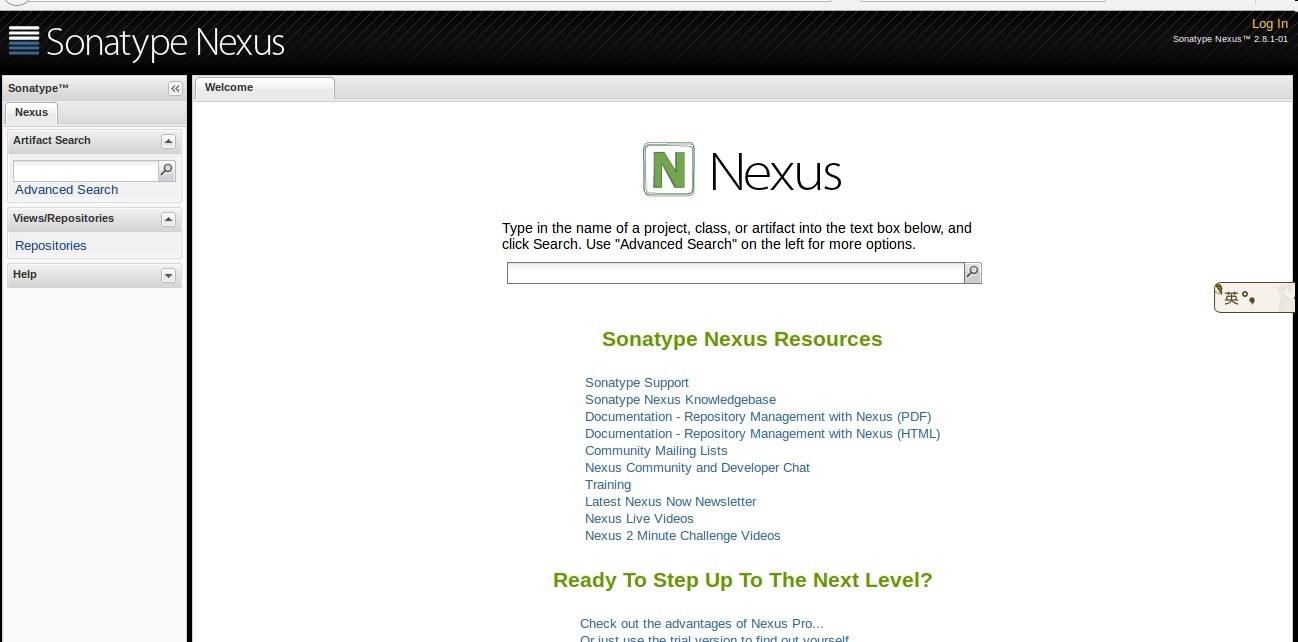
安装完成之后,在浏览器中输入:http://localhost:8081/nexus ,若出现以下界面表示安装成功
配置构建从私服下载
打开./m2/setting.xml文件
找到mirrors,添加如果代码:
<mirror>
<!--此处配置所有的构建均从私有仓库中下载 *代表所有,也可以写central -->
<id>nexus</id>
<mirrorOf>*</mirrorOf>
<url>http://192.168.1.100:8000/nexus/content/groups/public</url>
</mirror>
找到profiles,添加如下代码:
<profile>
<id>nexus</id>
<!—所有请求均通过镜像 -->
<repositories>
<repository>
<id>central</id>
<url>http://central</url>
<releases><enabled>true</enabled></releases>
<snapshots><enabled>true</enabled></snapshots>
</repository>
</repositories>
<pluginRepositories>
<pluginRepository>
<id>central</id>
<url>http://central</url>
<releases><enabled>true</enabled></releases>
<snapshots><enabled>true</enabled></snapshots>
</pluginRepository>
</pluginRepositories>
</profile>
找到activeProfiles,添加如下代码激活profile
<activeProfile>nexus</activeProfile>
部署构建到Nexus
在项目的pom.xml中配置
<distributionManagement>
<repository>
<id>releases</id>
<name>Internal Releases</name>
<url>http://localhost:8000/nexus/content/repositories/releases/</url>
</repository>
<snapshotRepository>
<id>snapshots</id>
<name>Internal Snapshots</name>
<url>http://localhost:8000/nexus/content/repositories/snapshots/</url>
</snapshotRepository>
</distributionManagement>
并在~/.m2/setting文件中找到servers,添加:
<!-- 设置发布时的用户名 -->
<servers>
<server>
<id> releases </id>
<username>admin</username>
<password>admin123</password>
</server>
<server>
<id> snapshots </id>
<username>admin</username>
<password>admin123</password>
</server>
</servers>


 8119
8119

 被折叠的 条评论
为什么被折叠?
被折叠的 条评论
为什么被折叠?
 到【灌水乐园】发言


