下载yolov9
数据集准备好后,克隆 YOLOv9 存储库,然后切换到 YOLOv9 目录并安装所需的依赖项,为对象检测和分割任务做好准备。
git clone https://github.com/SkalskiP/yolov9.git
or
直接去githhub下载zip,快捷又方便。
下载权值
https://github.com/WongKinYiu/yolov9/releases/download/v0.1/gelan-c.pt
https://dl.fbaipublicfiles.com/segment_anything/sam_vit_h_4b8939.pth
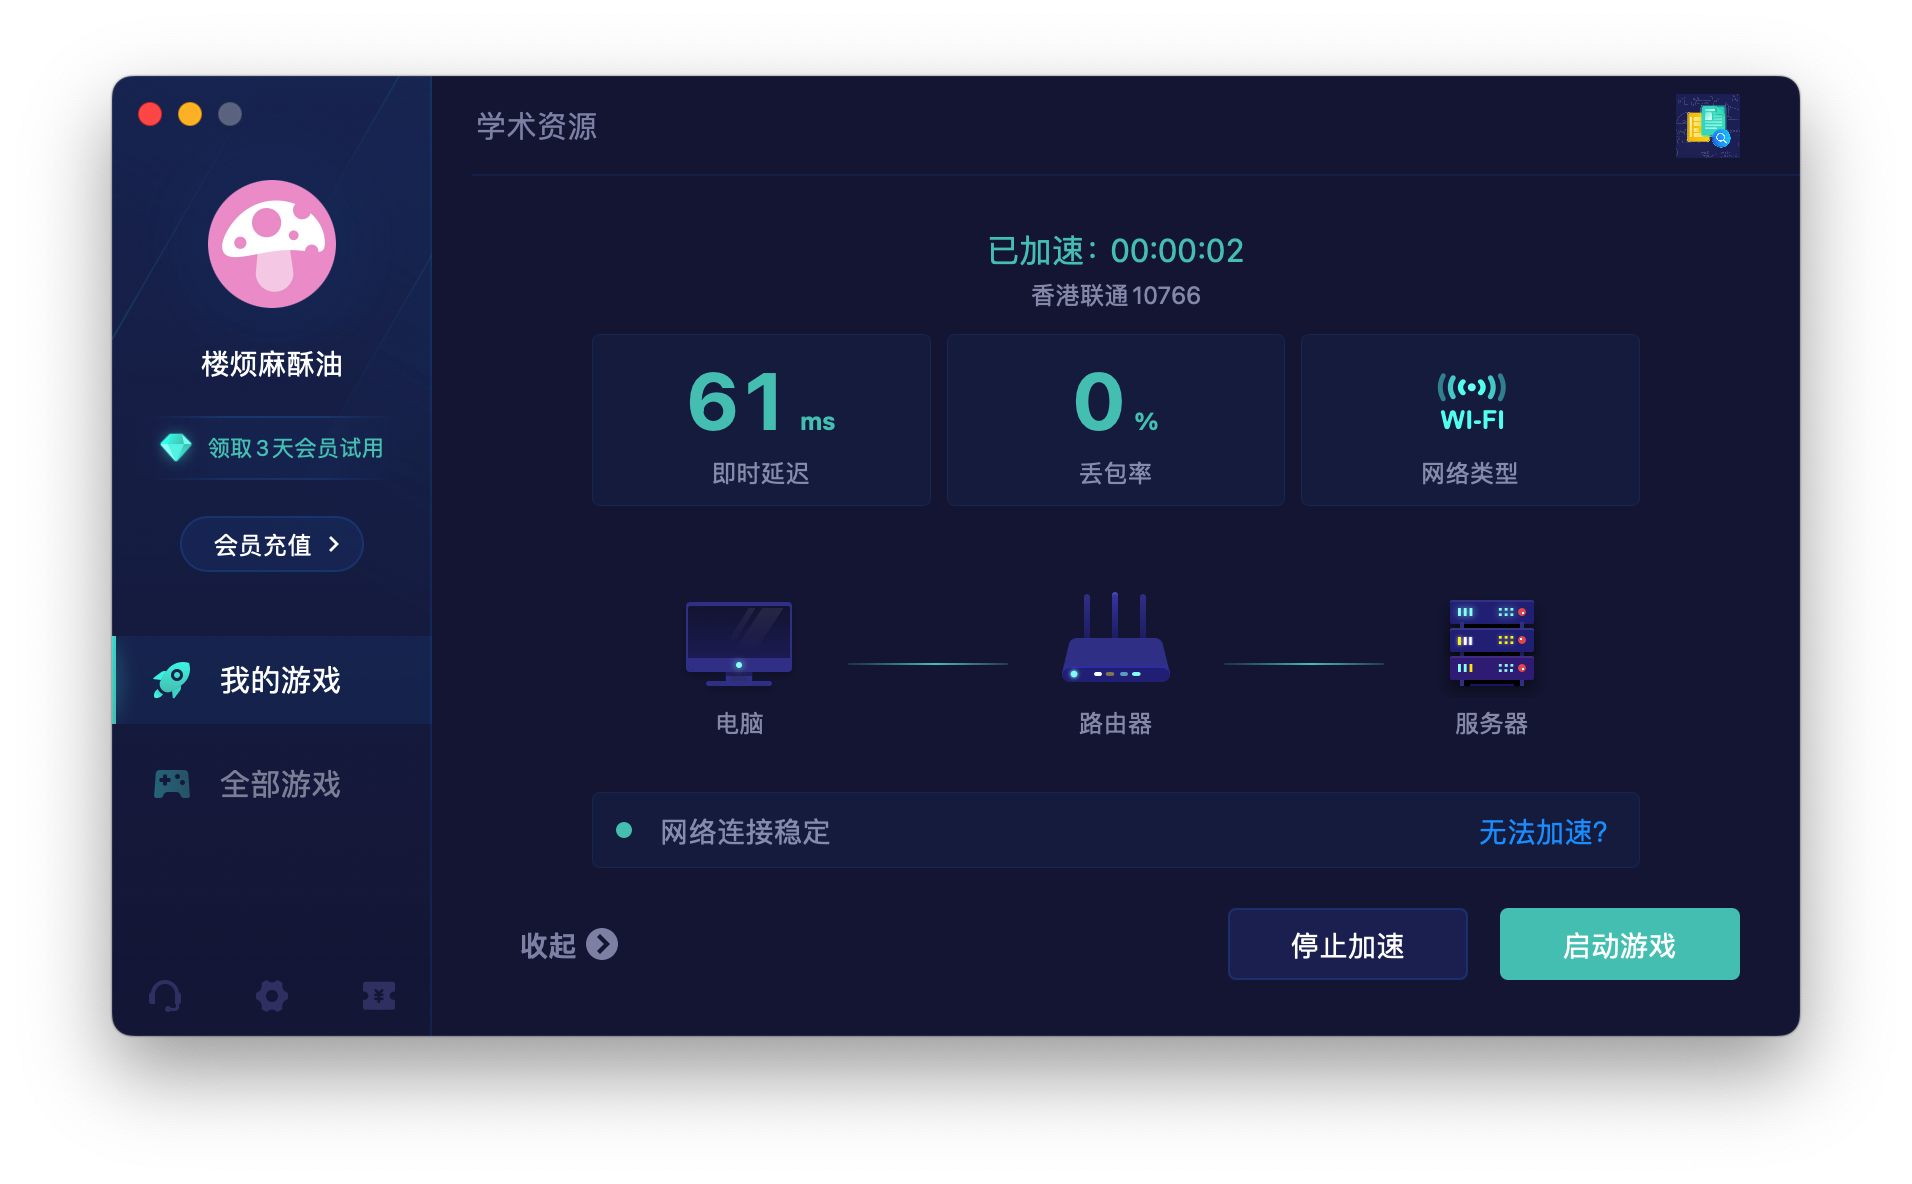
下载到yolov9的目录下即可,开个UU加速器的学术资源,就能飞速下载。

打开,在yolov9的项目下创建两个文件夹:
yolov9SAM.py 红色下划线安装包即可。
import os
import subprocess

import cv2
from segment_anything import sam_model_registry, SamPredictor

from matplotlib import pyplot as plt
import numpy as np
import yaml
import time


def show_mask(mask, ax, color):
    h, w = mask.shape[-2:]
    mask_image = mask.reshape(h, w, 1) * np.array(color).reshape(1, 1, -1)
    ax.imshow(mask_image)


def show_box(box, label, conf_score, color, ax):
    x0, y0 = box[0], box[1]
    w, h = box[2] - box[0], box[3] - box[1]
    rect = plt.Rectangle((x0, y0), w, h, edgecolor=color, facecolor='none', lw=2)
    ax.add_patch(rect)

    label_offset = 10

    # Construct the label with the class name and confidence score
    label_text = f'{label} {conf_score:.2f}'

    ax.text(x0, y0 - label_offset, label_text, color='black', fontsize=10, va='top', ha='left',
            bbox=dict(facecolor=color, alpha=0.7, edgecolor='none', boxstyle='square,pad=0.4'))


weight = 'gelan-c.pt'


def detect(frame, image_name):
    print(frame)
    # 构建调用命令
    image = cv2.imread(frame)
    height, width = image.shape[0], image.shape[1]
    line_thickness = 5
    if width > 640 and height > 640:
        command = f"python detect.py --weight {weight} --source {frame}"
        command = command + f" --save-txt --save-conf --line-thickness {line_thickness} --name {image_name}"
    else:
        command = f"python detect.py --weight {weight} --source {frame} --name {image_name}"

    # 使用subprocess执行命令
    process = subprocess.Popen(command, shell=True, stdout=subprocess.PIPE, stderr=subprocess.PIPE)
    stdout, stderr = process.communicate()

    # 输出结果
    print(stdout.decode("UTF-8"), stderr.decode("UTF-8"))


def run(image_path):
    image_name = image_path.split('/')[-1].split('.')[0]
    # Specify the path to your image
    detect(image_path, image_name)
    # Read the image to get its dimensions
    image = cv2.imread(image_path)
    image_height, image_width, _ = image.shape

    detections_path = f'runs/detect/{image_name}/labels/{image_name}.txt'

    bboxes = []
    class_ids = []
    conf_scores = []

    with open(detections_path, 'r') as file:
        for line in file:
            components = line.split()
            class_id = int(components[0])
            confidence = float(components[5])
            cx, cy, w, h = [float(x) for x in components[1:5]]

            # Convert from normalized [0, 1] to image scale
            cx *= image_width
            cy *= image_height
            w *= image_width
            h *= image_height

            # Convert the center x, y, width, and height to xmin, ymin, xmax, ymax
            xmin = cx - w / 2
            ymin = cy - h / 2
            xmax = cx + w / 2
            ymax = cy + h / 2

            class_ids.append(class_id)
            bboxes.append((int(xmin), int(ymin), int(xmax), int(ymax)))
            conf_scores.append(confidence)

    # 为了可视化检测和分割结果,我们必须使用 SAM 将边界框转换为分割掩模。我们随机为类 ID 分配唯一的颜色,然后定义用于显示掩码、
    # 置信度分数和边界框的辅助函数。coco.yaml 文件用于将 class_ids 映射到类名。
    with open('data/coco.yaml', 'r') as file:
        coco_data = yaml.safe_load(file)
        class_names = coco_data['names']
        # Display the results
    for class_id, bbox, conf in zip(class_ids, bboxes, conf_scores):
        class_name = class_names[class_id]
        print(f'Class ID: {class_id}, Class Name: {class_name}, Confidence: {conf:.2f}, BBox coordinates: {bbox}')
    time1 = time.time()
    sam_checkpoint = "sam_vit_h_4b8939.pth"
    model_type = "vit_h"
    sam = sam_model_registry[model_type](checkpoint=sam_checkpoint)
    predictor = SamPredictor(sam)

    imageSAM = cv2.cvtColor(image, cv2.COLOR_BGR2RGB)
    predictor.set_image(image)
    time2 = time.time()
    print(f'SAM time:{time2 - time1} s')

    color_map = {}
    for class_id in class_ids:
        color_map[class_id] = np.concatenate([np.random.random(3), np.array([0.6])], axis=0)

    plt.figure(figsize=(10, 10))
    ax = plt.gca()
    plt.imshow(image)

    # Display and process each bounding box with the corresponding mask
    for class_id, bbox in zip(class_ids, bboxes):
        class_name = class_names[class_id]
        # print(f'Class ID: {class_id}, Class Name: {class_name}, BBox coordinates: {bbox}')

        color = color_map[class_id]
        input_box = np.array(bbox)

        # Generate the mask for the current bounding box
        masks, _, _ = predictor.predict(
            point_coords=None,
            point_labels=None,
            box=input_box,
            multimask_output=False,
        )

        show_mask(masks[0], ax, color=color)
        show_box(bbox, class_name, conf, color, ax)

    # Show the final plot
    plt.axis('off')
    result_save = f'YOLOV9SAM/{image_name}'
    os.makedirs(result_save, exist_ok=True)
    plt.savefig(f"{result_save}/SAM Result.jpg")
    plt.show()
    return f"{result_save}/SAM Result.jpg"


if __name__ == '__main__':
    image_path = '/Users/。。。。'
    run(image_path)
yolov9SAM-UI.py,运行此文件!!!!!
import sys
import threading

from PyQt5.QtWidgets import QApplication, QMainWindow, QLabel, QVBoxLayout, QPushButton, QWidget, QFileDialog
from PyQt5.QtCore import Qt, QThread, QTimer, pyqtSignal
from PyQt5.QtGui import QImage, QPixmap
import yolov9SAM


class MainWindow(QMainWindow):
    def __init__(self):
        super().__init__()
        self.image_path = ''
        self.initUI()

    def initUI(self):
        self.setWindowTitle('YOLOV9-SAM')
        self.setGeometry(100, 100, 800, 800)
        self.layout = QVBoxLayout()

        self.central_widget = QWidget()
        self.setCentralWidget(self.central_widget)
        self.central_widget.setLayout(self.layout)

        self.label2 = QLabel(self)
        self.layout.addWidget(self.label2, alignment=Qt.AlignCenter)
        self.label2.setText('SEGMENT RESULT:')
        self.label2.setStyleSheet("QLabel{font:40px}")

        self.label3 = QLabel(self)
        self.layout.addWidget(self.label3, alignment=Qt.AlignCenter)
        self.label3.setStyleSheet("QLabel{font:20px}")

        self.scbutton = QPushButton('上传图片', self)
        self.scbutton.clicked.connect(self.shuangchuan)
        self.layout.addWidget(self.scbutton)
        self.scbutton.setFixedSize(100, 25)

        self.detect = QPushButton('识别图片', self)
        self.layout.addWidget(self.detect)
        self.detect.clicked.connect(self.detect32)
        self.detect.setFixedSize(100, 25)

        self.label = QLabel(self)

        self.layout.addWidget(self.label, alignment=Qt.AlignCenter)
        pixmap = QPixmap.fromImage(QImage('SAM Result.jpg'))
        pixmap = QPixmap.scaled(pixmap, 640, 640)
        self.label.setPixmap(pixmap)

    def shuangchuan(self):
        image_path, _ = QFileDialog.getOpenFileName(self, '选择图片', '/Users/。。。。', '图片 (*.jpg *.png *.jpeg)')
        if image_path:
            self.image_path = image_path

    def detect32(self):
        thread = threading.Thread(target=self.detect1)
        thread.start()

    def detect1(self):
        SAMresult = yolov9SAM.run(self.image_path)
        self.label3.setText(f'Result saved in:{SAMresult}')
        pixmap = QPixmap.fromImage(QImage(SAMresult))
        pixmap = QPixmap.scaled(pixmap, 640, 640)
        self.label.setPixmap(pixmap)


if __name__ == '__main__':
    app = QApplication(sys.argv)
    mainWin = MainWindow()
    mainWin.show()
    sys.exit(app.exec_())
修改自己的路径即可。如果有报错,可能是qt的原因。
image_path, _ = QFileDialog.getOpenFileName(self, ‘选择图片’, ‘/Users/。。。。’, ‘图片 (*.jpg *.png *.jpeg)’)
尽量不要用相同名字的图片检测,路径可能会出错
M1芯片分割得要40s左右,估计gpu可能只要1s。
效果:


 7290
7290


 被折叠的 条评论
为什么被折叠?


