


最近需要根据一幅jpeg地图绘制矢量地图,如果一点一点绘制太麻烦,又不想装庞大的arcgis用arcscan处理,查了些资料,发现深度学习在这方面也没啥进展。最后查到了QGIS有一款半自动地图矢量化工具raster_tracer可以解决这个问题,鉴于国内暂时还没有这款插件的资料,试用后特介绍如下:
半自动地图矢量化工具raster_tracer有些像PS里面的魔棒工具,可以根据栅格图片自动生成相应的矢量线;下载地址:
GitHub - mkondratyev85/raster_tracer
我在这儿也上传了一份:
QGIS插件-栅格地图半自动矢量化工具raster-tracer-Python文档类资源-CSDN下载
下载完后解压,将名为raster_tracer-master的文件夹拷贝到
......\AppData\Roaming\QGIS\QGIS3\profiles\default\python\plugins
文件夹下,再打开QGIS,执行如下操作:
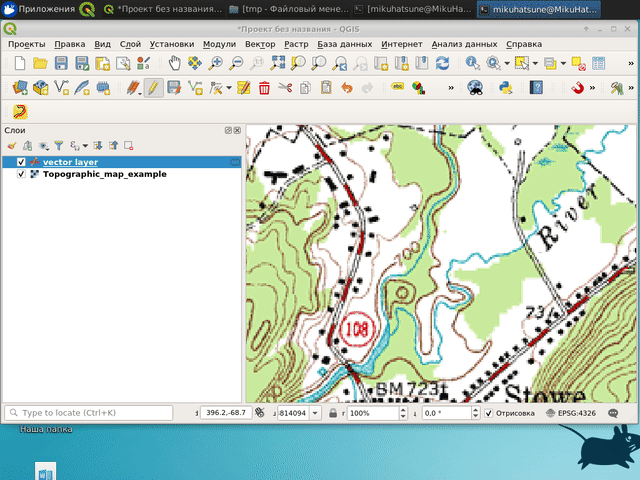
1、将要处理的图片层加载到GIS,将其配准到指定的坐标系,具体可见QGIS配准操作。
2、新建矢量图层
3、将矢量图层切换到编辑状态
4、点击raster trace,左下角会出现几个选项
5、在 layer to trace 选项处选择要处理的图片层
6、在 trace color 处选择要处理的图片层中要描绘的边界线的颜色
7、如果要想曲线平滑些,点选 smooth lines
8、鼠标左键点击,开始半自动矢量化,注意跨度不要太大;键盘上的backspace键可以撤销上一步操作。
9、点击鼠标右键结束。
注意:图片得是RGB色彩空间的才行。
官网示例视频:
下面是官网介绍,写得挺通俗易懂的:
Usage
Tracing is enabled only if the selected vector layer is in the editing mode.
The geometry type of the vector layer has to be MultiLineString / MultiCurve.
You can choose the color that will be traced over in the raster image. To do this, check the box trace color and select the desired color in the dialog window.
If trace color is not checked, the plugin will try to trace the color that is similar to the color of the pixel on the map at the place where you clicked the last time. This means that each time you click on the map, it will trace a slightly different color. This slows down tracing a bit, but may be useful if the color of the line you are tracing varies over the map.
What image can it trace?
Right now the plugin can trace images that have a standard RGB color space. It has no support for any black and white, grey, or indexed images. This means that if your image has an unsupported colorspace, you have to convert the colorspace of your image to RGB first. This can be done in QGis with:
Processing >> Toolbox >> GDAL >> Raster conversion >> PCT to RGB
or directly in the CLI with:
pct2rgb.py <infile> <outfile> -of GTiff -b 1
Also in the current version there are some issues when coordinate system of the raster layer differs from the coordinate system of the project. It might be useful to convert the image that will be processed to the same coordinate system used by the QGis project before importing. For example, the command bellow converts a geotiff image (already georeferenced) to an EPSG:4326 coordinate system.
gdalwarp -t_srs EPSG:4326 -of GTiff infile.tif outfile.tif
NOTE: pct2rgb.py and gdalwarp are part of the GDAL package.
Useful keys
b - delete last segment
a - switch between "trace" mode and "straight-line" mode.
Esc - cancel tracing segment. Useful when raster_tracer struggles to find a good path between clicked points (Usually when points are far from each other).


 1万+
1万+

 被折叠的 条评论
为什么被折叠?
被折叠的 条评论
为什么被折叠?
 到【灌水乐园】发言


