


目录
需求:用户输入账户和密码,后端进行校验账户和密码是否正确。
1、如果不正确,前端要告知用户(提示信息)。
2、如果正确,跳转页面,跳转的页面显示当前用户登录。
3、后续再访问首页,可以获取到用户登录信息。
一、准备工作
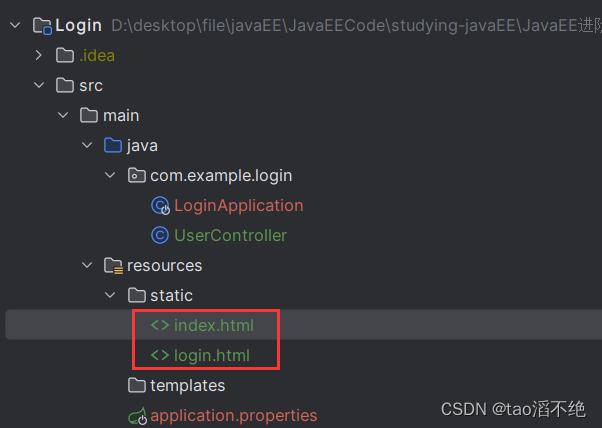
创建一个Spring Boot项目,把下面两个前端代码复制进去,如图:
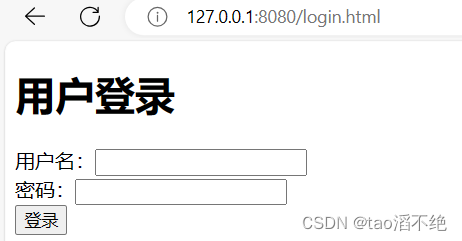
login.html代码:
<!DOCTYPE html>
<html lang="en">

<head>
  <meta charset="UTF-8">
  <title>登录页面</title>
</head>

<body>
  <h1>用户登录</h1>
  用户名:<input name="userName" type="text" id="userName"><br>
  密码:<input name="password" type="password" id="password"><br>
  <input type="button" value="登录" onclick="login()">

  <script src="https://cdn.bootcdn.net/ajax/libs/jquery/3.6.4/jquery.min.js"></script>
  <script>


  </script>
</body>

</html>
页面如下:
index.html代码:
<!doctype html>
<html lang="en">

<head>
    <meta charset="UTF-8">
    <meta name="viewport"
        content="width=device-width, user-scalable=no, initial-scale=1.0, maximum-scale=1.0, minimum-scale=1.0">
    <meta http-equiv="X-UA-Compatible" content="ie=edge">
    <title>用户登录首页</title>
</head>

<body>
    登录人: <span id="loginUser"></span>

    <script src="https://cdn.bootcdn.net/ajax/libs/jquery/3.6.4/jquery.min.js"></script>
    <script>

    </script>
</body>

</html>
页面如下:

二、约定前后端交互接口
1、需求分析
对于后端开发人员而言,不涉及前端页面的展示,只需要提供下面的两个功能:
1、登录页面:通过账号和密码,校验输入的账户密码是否正确,并告知前端。
2、首页:告知前端当前登录用户。如果当前已有用户登录,返回登录的账号,如果没有,返回空。
2、接口定义
1、输入账户密码界面
校验接口:
请求路径:/user/login
请求方式:POST
接口描述:校验账号密码是否正确
请求参数:
| 参数名 | 类型 | 是否必须 | 备注 |
| userName | String | 是 | 校验的账号 |
| password | String | 是 | 校验的密码 |
响应数据:
Content-Type:text/html
响应内容:
true //账号密码验证成功
false //账户密码验证失败
2、当前登录的用户界面
校验接口:
请求路径:/user/index
请求方式:GET
接口描述:查询当前登录的用户
请求参数:无
响应数据:
Content-Type:text/html
响应内容:admin(返回当前登录的用户)
三、实现服务端代码
@RestController
    @RequestMapping("/user")
public class UserController {

    @RequestMapping("/login")
    public Boolean login(String userName, String password, HttpSession session) {
        //参数校验
//        if(userName == null || userName.length() == 0
//            || password == null || password.length() == 0) {
//            return false;
//        }
        //Spring MVC 提供了更方便写法
        if(!StringUtils.hasLength(userName) || !StringUtils.hasLength(password)) {
            return false;
        }
        //判断账户密码是否正确
        //上面已经做了判空处理,userName不会为空,但下面的写法也是一种习惯
        if("admin".equals(userName) && "admin".equals(password)) {
            session.setAttribute("userName", userName);
            return true;
        }
        return false;
    }
    @RequestMapping("/index")
    //两种写法
//    public String getUserName(HttpSession session) {
//        return (String) session.getAttribute("userName");
//    }
    public String getUserName(@SessionAttribute("userName") String userName) {
        return userName;
    }
}
因为是初学,所以这里不涉及到数据库,就直接把用户名和密码写死了,都定义成 admin。
四、调整前端页面代码
1、login.html代码:
对于前端而言,点击登录按钮时,需要把用户输入的信息传递到后端进行校验,后端校验成功,就跳转的:index.html 页面,后端校验失败,则直接弹窗。
<!DOCTYPE html>
<html lang="en">

<head>
  <meta charset="UTF-8">
  <title>登录页面</title>
</head>

<body>
  <h1>用户登录</h1>
  用户名:<input name="userName" type="text" id="userName"><br>
  密码:<input name="password" type="password" id="password"><br>
  <input type="button" value="登录" onclick="login()">

  <script src="https://cdn.bootcdn.net/ajax/libs/jquery/3.6.4/jquery.min.js"></script>
  <script>
    function login() {
      $.ajax({
        url: "/user/login",
        type: "post",
        data: {
          userName: $("#userName").val(),
          password: $("#password").val()
        },
        //http响应成功
        success: function(result) {
          if(result == true) {
            //页面跳转
            location.href ="index.html";
            // location.assign("index.html");
            // location.replace("index.html");
          } else{
            alert("密码错误");
          }
        }
      });
    }

  </script>
</body>

</html>
页面跳转的三种方式:
1、window.location.href="book_list.html";
2、window.location.assign("book_list.html);
3、window.location.replace("book_list.html);
以上的写法,通常把 “window.” 省略,比如 window.location.href="book_list.html"; 写成 location.href="book_list.html"; 。上面的三种写法区别,可参考:location.assign()、location.href、location.replace(url)的不同-阿里云开发者社区 (aliyun.com)
2、index.html代码:
<!doctype html>
<html lang="en">

<head>
    <meta charset="UTF-8">
    <meta name="viewport"
        content="width=device-width, user-scalable=no, initial-scale=1.0, maximum-scale=1.0, minimum-scale=1.0">
    <meta http-equiv="X-UA-Compatible" content="ie=edge">
    <title>用户登录首页</title>
</head>

<body>
    登录人: <span id="loginUser"></span>

    <script src="https://cdn.bootcdn.net/ajax/libs/jquery/3.6.4/jquery.min.js"></script>
    <script>
        $.ajax({
            url: "/user/index",
            type: "get",
            success: function(loginName) {
                $("#loginUser").text(loginName);
            }
        });
    </script>
</body>

</html>
五、运行测试
用户名和密码都输入:admin

点击登录,跳转到如下页面:
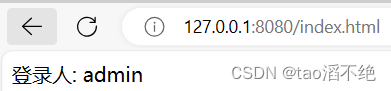
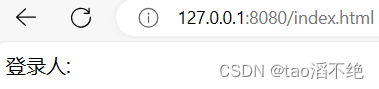
这个页面多次刷新,依然可以获取到登录用户,如果重启服务器,再刷新这个页面,就会发现为空了,如图:
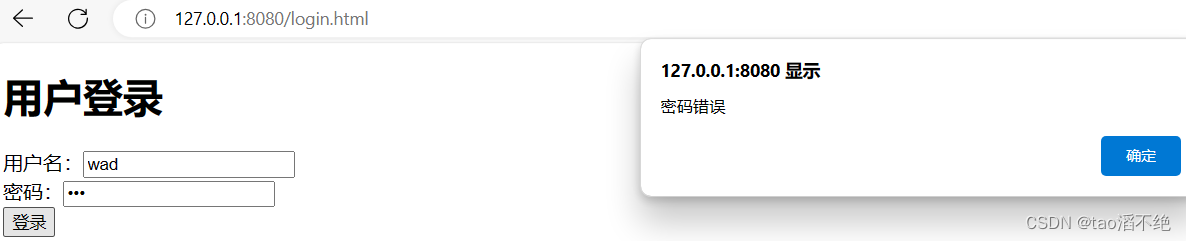
如果登录页面输入错误,就会有弹窗信息:密码错误,如图:


 493
493


 被折叠的 条评论
为什么被折叠?
被折叠的 条评论
为什么被折叠?
 到【灌水乐园】发言


