


目录
随着安全性的要求越来越高,目前项目中很多都使用了验证码,验证码的形式也是多种多样的,更复杂的图形验证码和行为验证码已经成为了更流行的趋势。
验证码的实现方式有很多,可以前端实现,也可以后端实现。网上也有很多的插件或者工具包可以使用,这里选择使用Hutool提供的小工具来实现。
一、需求
界面如下图所示:
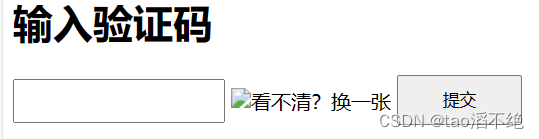
1、页面生成验证码
2、输入验证码,点击提交,验证用户输入的验证码是否正确,正确则进行页面跳转。
二、准备工作
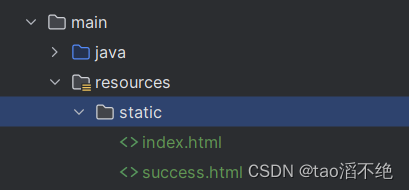
创建Spring Boot项目,引入SpringMVC的依赖包,把前端页面放在项目中:
index.html代码:
<!DOCTYPE html>
<html lang="en">

<head>
  <meta charset="utf-8">

  <title>验证码</title>
  <style>
    #inputCaptcha {
      height: 30px;
      vertical-align: middle;
    }
    #verificationCodeImg{
      vertical-align: middle;
    }
    #checkCaptcha{
      height: 40px;
      width: 100px;
    }
  </style>
</head>

<body>
  <h1>输入验证码</h1>
  <div id="confirm">
    <input type="text" name="inputCaptcha" id="inputCaptcha">
    <img id="verificationCodeImg" src="/admin/captcha" style="cursor: pointer;" title="看不清?换一张" />
    <input type="button" value="提交" id="checkCaptcha">
  </div>
  <script src="https://cdn.bootcdn.net/ajax/libs/jquery/3.6.4/jquery.min.js"></script>
  <script>

    $("#verificationCodeImg").click(function(){
      $(this).hide().attr('src', '/admin/captcha?dt=' + new Date().getTime()).fadeIn();
    });

    $("#checkCaptcha").click(function () {
        alert("验证码校验");
    });

  </script>
</body>

</html>
success.html代码:
<!DOCTYPE html>
<html lang="en">
<head>
    <meta charset="UTF-8">
    <meta name="viewport" content="width=device-width, initial-scale=1.0">
    <title>验证成功页</title>
</head>
<body>
    <h1>验证成功</h1>
</body>
</html>
启动项目,在浏览器查看这两个页面。
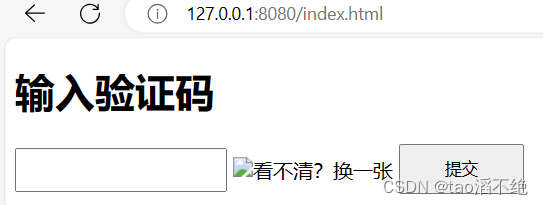
index.html:浏览器访问:127.0.0.1:8080/index.html,页面如下:
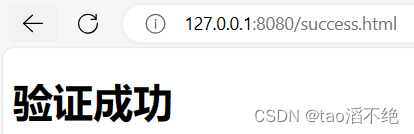
success.html:浏览器访问:127.0.0.1:8080/success.html,页面如下:
三、约定前后端交互接口
1、需求分析
后端生成验证码图片,发送到前端页面,前端根据图片输入内容,点击提交,校验验证码是否正确,正确切换登录页面,错误提示验证码错误。
后端需要提供两个服务:
1、生成验证码图片,返回给前端
2、校验验证码是否正确。
2、接口定义
(1)生成验证码
请求URL:/captcha/getCaptcha
param:无
return:图片(响应)
(2)校验验证码
请求URL:/captcha/check
param:inputCode
return:true / false(响应)
四、Hutool工具介绍
这里验证码的实现,是使用Hutool提供的小工具来实现的。
Hutool是一个Java工具包类库,对文件、流、加密解密、转码、正则、线程、XML等JDK方法进行封装,组成各种Util(静态)工具类。
Hutool是一个小而全的Java工具类库,通过静态方法进行封装,降低相关API的学习成本,提高工作效率,使Java拥有函数式语言般的优雅,让Java语言也可以 "甜甜的"。
Hutool官方:https://hutool.cn/ ,参考文档:简介 | Hutool
源码:https://github.com/dromara/hutool/ (github)https://gitee.com/dromara/hutool/(gitee)
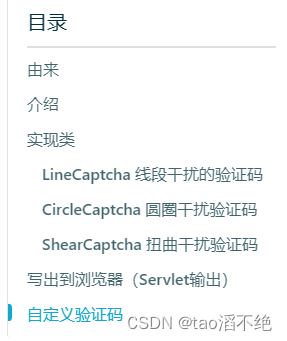
在参考文档中找到图形验证码,如图:
上面会介绍怎么使用Hutool生成验证码,非常详细,如图:
地址:概述 | Hutool
1、引入依赖
在官方文档中,官方建议使用下面这个版本,如图:
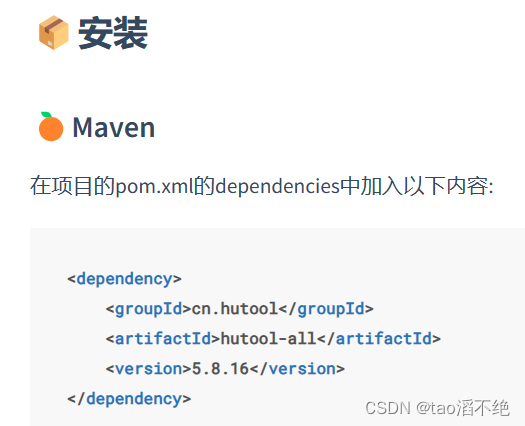
那我们也使用这个版本,可以在这里直接复制,粘贴到我们项目的pom.xml文件中,也可以去maven的中央仓库找,如图:中央仓库地址:https://mvnrepository.com/


它的地址:Maven Repository: cn.hutool » hutool-captcha » 5.8.16 (mvnrepository.com)
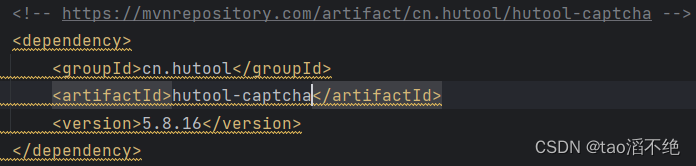
选择你想使用的版本。这里我使用5.8.16版本,因为这里只需要使用验证码功能,所以就只用含有验证码功能的,不选all全部,然后官方文档也推荐这个,所以就使用它吧,在pom.xml文件添加下面内容:
		<!-- https://mvnrepository.com/artifact/cn.hutool/hutool-captcha -->
		<dependency>
			<groupId>cn.hutool</groupId>
			<artifactId>hutool-captcha</artifactId>
			<version>5.8.16</version>
		</dependency>
如图:
这里报黄线不管它,我们能用就行。
2、测试使用Hutool生成验证码
在test包(这个包也是专门给后端人员进行测试代码用的)路径下创建CaptchaTest类,进行测试,使用官方文档给我们提供的代码:
import cn.hutool.captcha.CaptchaUtil;
import cn.hutool.captcha.LineCaptcha;
import cn.hutool.core.lang.Console;
public class CaptchaTest {
public static void main(String[] args) {
//定义图形验证码的长和宽
LineCaptcha lineCaptcha = CaptchaUtil.createLineCaptcha(200, 100);
//图形验证码写出,可以写出到文件,也可以写出到流
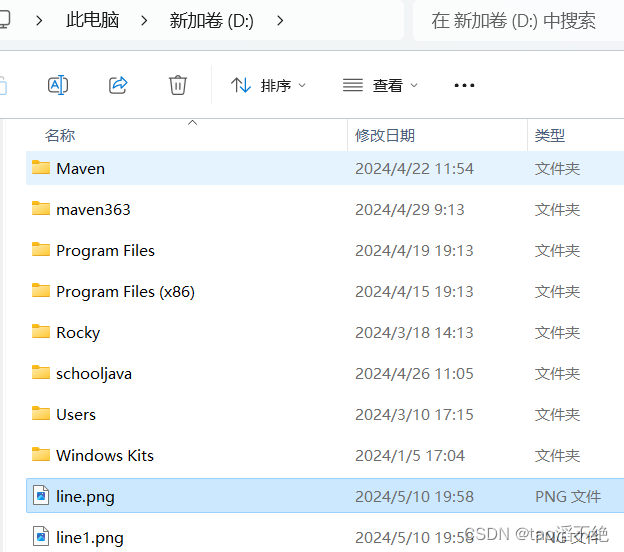
lineCaptcha.write("d:/line.png");
//输出code
Console.log(lineCaptcha.getCode());
//验证图形验证码的有效性,返回boolean值
lineCaptcha.verify("1234");
//重新生成验证码
lineCaptcha.createCode();
lineCaptcha.write("d:/line1.png");
//新的验证码
Console.log(lineCaptcha.getCode());
//验证图形验证码的有效性,返回boolean值
lineCaptcha.verify("1234");
}
}运行main方法后发现,在D盘下,有两个图片,如图:
打开看看:
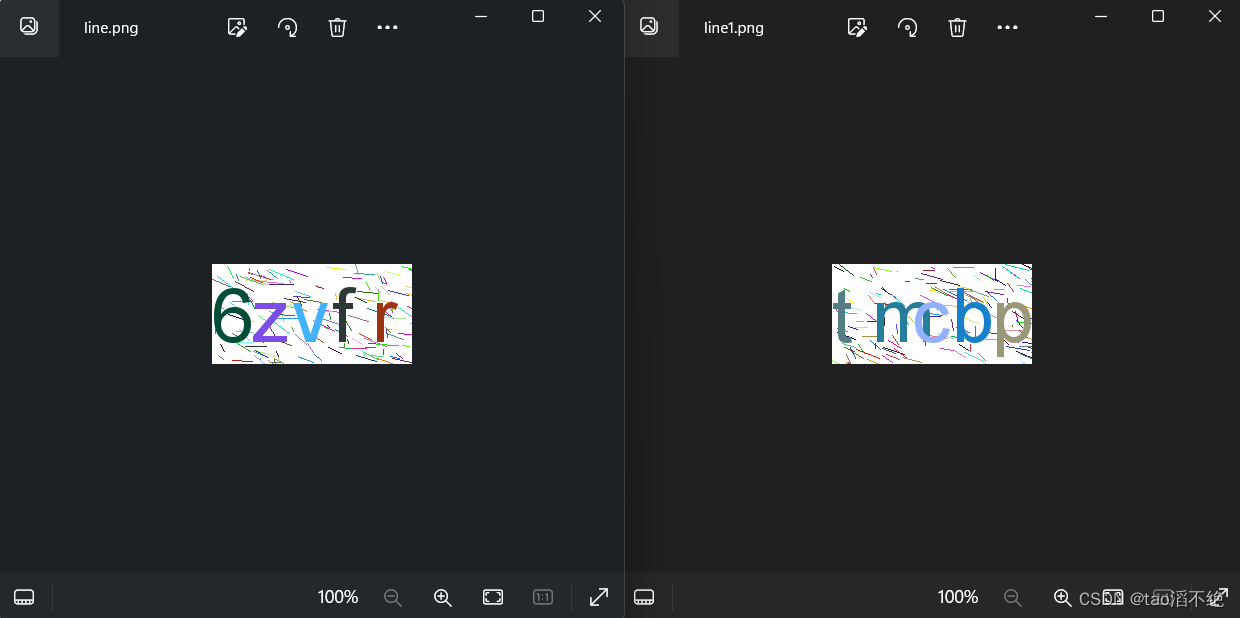
是两张不同的验证码图片,其余代码就不演示了,具体参考官方文档。
控制台输出的内容:

可以看到和上面两个验证码符号匹配。
其他内容就不具体展示了,具体参考官方文档,比较简单,看一下就明白了。
五、实现服务器端代码
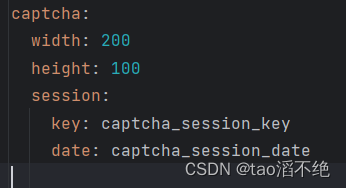
yml配置内容:
captcha:
  width: 200
  height: 100
  session:
    key: captcha_session_key
    date: captcha_session_date
把配置项挪到配置文件中,把生成的验证码存储在Session中,校验时使用配置项。
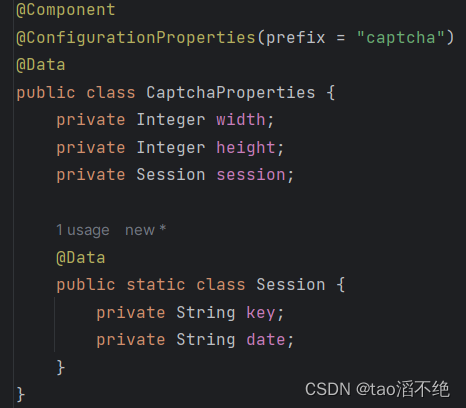
验证码配置项对应的Java对象:
@Component
@ConfigurationProperties(prefix = "captcha")
@Data
public class CaptchaProperties {
    private Integer width;
    private Integer height;
    private Session session;

    @Data
    public static class Session {
        private String key;
        private String date;
    }
}Controller代码:
@RequestMapping("/captcha")
@RestController
public class CaptchaController {
    @Autowired
    private CaptchaProperties captchaProperties;
    public static final long session_valid_timeout = 60 * 1000;//1分钟
    //验证码页面
    @RequestMapping("/get")
    public void getCaptcha(HttpSession session, HttpServletResponse response) {
        //定义图形验证码的长和宽
        LineCaptcha lineCaptcha = CaptchaUtil.createLineCaptcha(captchaProperties.getWidth(), captchaProperties.getHeight());
        //设置返回类型
        response.setContentType("image/jpeg");
        //禁止缓存
        response.setHeader("Progma", "No-cache");
        //图形验证码写出,可以写出到文件,也可以写出到流
        try {
            lineCaptcha.write(response.getOutputStream());
            //存储Session
            session.setAttribute(captchaProperties.getSession().getKey(), lineCaptcha.getCode());
            session.setAttribute(captchaProperties.getSession().getDate(), new Date());
            response.getOutputStream().close();
        } catch (IOException e) {
            throw new RuntimeException(e);
        }
    }
    //校验验证码
    @RequestMapping("/check")
    public Boolean check(String inputCode, HttpSession session) {
        //验证码生成的内容,和用户输入的内容进行比较
        if(!StringUtils.hasLength(inputCode)) {
            return false;
        }
        //从Session获取信息
        String saveCode = (String)session.getAttribute(captchaProperties.getSession().getKey());
        Date saveDate = (Date)session.getAttribute(captchaProperties.getSession().getDate());
        if(inputCode.equals(saveCode)) {
        //如果时间超过1分钟,验证码就失效
            if(saveDate != null && (System.currentTimeMillis() - saveDate.getTime()) < session_valid_timeout) {
                return true;
            }
        }
        return false;
    }
}
代码解读:
这里使用到了读取配置文件的内容,因为验证码的宽度、长度、Session的key和date字符串也是不变的,所以可以把它们放到配置文件中。先定义它们的值,然后创建对象,把配置文件放到对象中,再使用@Autowired注解注入依赖,CaptchaController类就可以读取到配置文件中的内容了。


验证码的界面,如果有多个用户同时登录,那么就要考虑多线程的问题了,不同的用户返回的验证码也要不同,也符合Session的要求,所以我们使用Session存储用户页面的验证码内容,虽然设置字符串的参数一样,但每个用户在服务器存储的Session是不同的对象,会根据SessionId对应不同用户的Session,而验证码也在Session,刚好也可以传给客户端这边。


验证码图片是以流的方式传给用户界面,要记得close关掉文件描述符表,不然资源可能会随着请求的增多,把文件描述符表使用完。
时间可以用当前时间和设置Session时的时间相减,就能知道过去的多久,然后在设置1分钟验证码过期就好了。


我们还要设置返回类型,和禁止缓存,因为验证码不能一直都是一样的,会变化,为了防止浏览器缓存,就要设置一下。

六、调整前端页面代码
<!DOCTYPE html>
<html lang="en">

<head>
  <meta charset="utf-8">

  <title>验证码</title>
  <style>
    #inputCaptcha {
      height: 30px;
      vertical-align: middle;
    }
    #verificationCodeImg{
      vertical-align: middle;
    }
    #checkCaptcha{
      height: 40px;
      width: 100px;
    }
  </style>
</head>

<body>
  <h1>输入验证码</h1>
  <div id="confirm">
    <input type="text" name="inputCaptcha" id="inputCaptcha">
    <img id="verificationCodeImg" src="/captcha/get" style="cursor: pointer;" title="看不清?换一张" />
    <input type="button" value="提交" id="checkCaptcha">
  </div>
  <script src="https://cdn.bootcdn.net/ajax/libs/jquery/3.6.4/jquery.min.js"></script>
  <script>

    $("#verificationCodeImg").click(function(){
      $(this).hide().attr('src', '/captcha/get?dt=' + new Date().getTime()).fadeIn();
    });

    $("#checkCaptcha").click(function () {
        $.ajax({
          url: "/captcha/check",
          type: "post",
          data: {
            inputCode: $("#inputCaptcha").val()
          },
          success: function(result) {
            if(result) {
              location.href = "success.html";
            } else {
              alert("验证码错误或过期");
            }
          }
        });
    });

  </script>
</body>

</html>
代码解读:
用户界面如果验证码看不清,还要可以进行更换验证码图片,就要设置点击图片再去后端拿验证码。

点击图片就会消失,然后去后端重新拿验证码,/captcha/get 后面的 "dt=?" 是为了防止浏览器缓存,让每次请求的参数都不一样(根据时间获得的参数)。

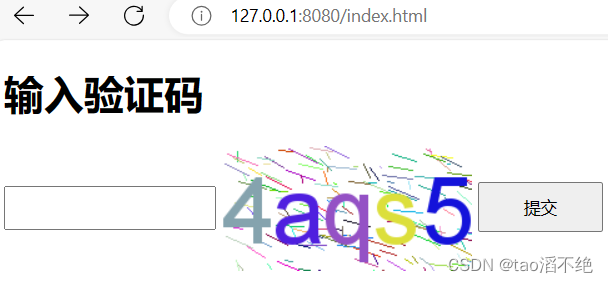
七、运行测试
浏览器输入:127.0.0.1:8080/index.html ,页面如下:
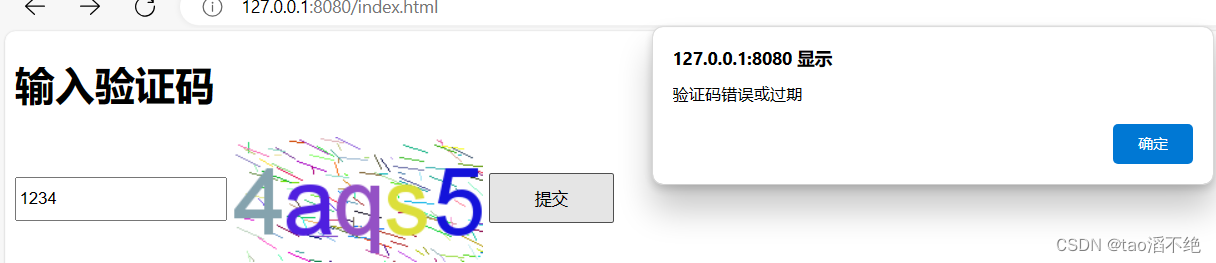
输入错误的验证码,提示错误,如图:
输入正确的验证码,跳转界面,界面如下:


 1325
1325

 被折叠的 条评论
为什么被折叠?
被折叠的 条评论
为什么被折叠?
 到【灌水乐园】发言


