


说明:请确保LNMP环境已经搭建成功,且能正常支持网站的创建和浏览
其他说明:
文章用 Debian 11作为演示系统
Nginx在Debian系统中的默认安装地址:/etc/nginx
Debian系统默认的网站部署根目录:/var/www/html
文章测试用的两个预设测试域名:
siliconcircuit.asia(https://www.chufeng.vip)
jianwangzhan.online
-----------------------------------------------------正文------------------------------------------------------------
1. 在系统中注册两个新的假域名
a.打开hosts文件,
sudo nano /etc/hostsb.在hosts文件的最后添加下面两行,保存关闭
127.0.0.1        siliconcircuit.asia
127.0.0.1        jianwangzhan.online
2. 在Nginx安装目录中的conf.d目录下中新建两个新的配置文件:sitea.conf和siteb.conf
sitea.conf的内容:
server{
        listen 81;
        listen [::]:81;

        root /var/www/html;

        # Add index.php to the list if you are using PHP
        index index.php index.html index.htm index.nginx-debian.html;

        server_name siliconcircuit.asia;

        location / {
                # First attempt to serve request as file, then
                # as directory, then fall back to displaying a 404.
                try_files $uri $uri/ =404;
        }

         # pass PHP scripts to FastCGI server
        #
        location ~ \.php$ {
                           include snippets/fastcgi-php.conf;
        #
        #       # With php-fpm (or other unix sockets):
                fastcgi_pass unix:/run/php/php7.4-fpm.sock;
        #       # With php-cgi (or other tcp sockets):
        #       fastcgi_pass 127.0.0.1:9000;
        }
}
siteb.conf的内容:
server{
        listen 82;
        listen [::]:82;

        root /var/www/html;

        # Add index.php to the list if you are using PHP
        index index.php index.html index.htm index.nginx-debian.html;

        server_name jianwangzhan.online;

        location / {
                # First attempt to serve request as file, then
                # as directory, then fall back to displaying a 404.
                try_files $uri $uri/ =404;
        }

         # pass PHP scripts to FastCGI server
        #
        location ~ \.php$ {
                           include snippets/fastcgi-php.conf;
        #
        #       # With php-fpm (or other unix sockets):
                fastcgi_pass unix:/run/php/php7.4-fpm.sock;
        #       # With php-cgi (or other tcp sockets):
        #       fastcgi_pass 127.0.0.1:9000;
        }
}
3. 在部署网站的根目录中新建一个多域名测试目录:mulitiWordPress
sudo mkdir /var/www/html/mulitiWordPress4. 在新目录mulitiWordPress目录下新建两个方式测试网站内容的目录:siliconcircuit.asia和jianwangzhan.online
并在其中创建一个index.php测试文件
a. 新建siliconcircuit.asia目录
sudo mkdir /var/www/html/mulitiWordPress/siliconcircuit.asia在siliconcircuit.asia目录下创建index.php测试文件
sudo nano /var/www/html/mulitiWordPress/siliconcircuit.asia/index.phpindex.php文件的内容为:
<?php

echo "Welcome! This is the second test domain-->siliconcicuit.asia";

phpinfo();

?>
b. 新建jianwangzhan.online目录
sudo mkdir /var/www/html/mulitiWordPress/jianwangzhan.online在jianwangzhan.online目录下创建index.php测试文件
sudo nano /var/www/html/mulitiWordPress/jianwangzhan.online/index.phpindex.php文件的内容为:
<?php

echo "Welcome! This is the second test domain-->jianwangzhan.online";

phpinfo();

?>
5. 重启Nginx服务
sudo systemctl restart nginx6. 测试效果
在浏览器地址栏输入:siliconcircuit.asia/mulitiWordPress/siliconcircuit.asia/index.php来测试域名siliconcircuit.asia
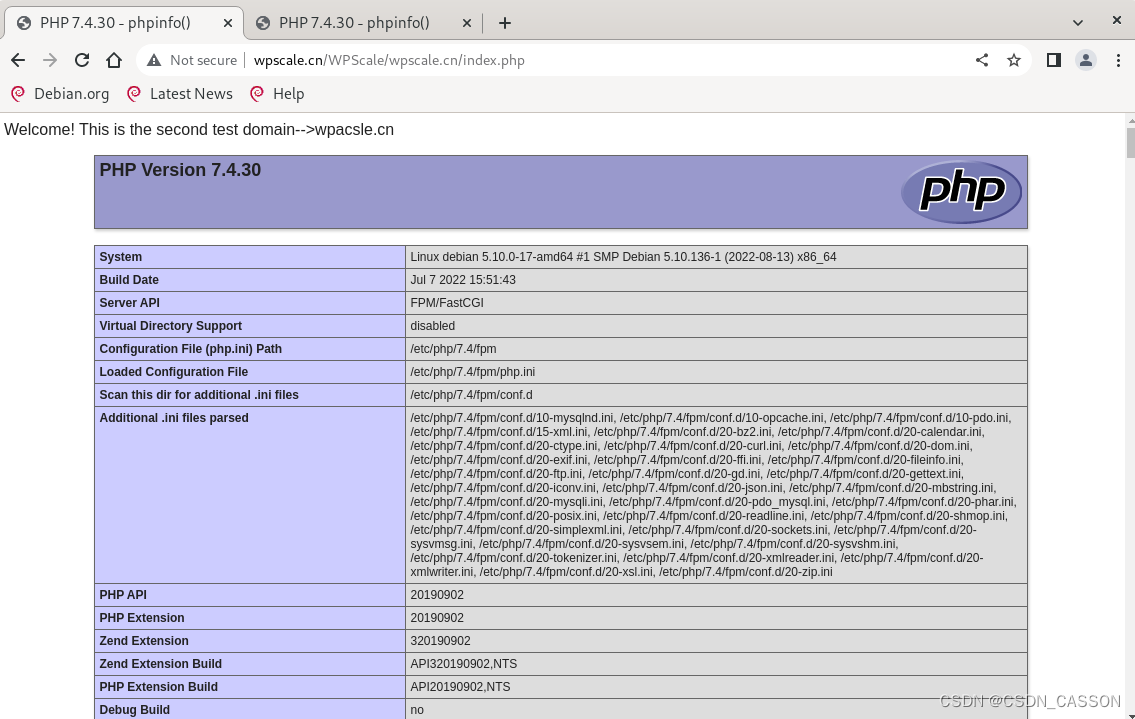
在浏览器地址栏输入:jianwangzhan.online/mulitiWordPress/jianwangzhan.online/index.php来测试域名jianwangzhan.online


 3108
3108


 被折叠的 条评论
为什么被折叠?
被折叠的 条评论
为什么被折叠?
 到【灌水乐园】发言


