


 这篇博客介绍了如何在Vue项目中利用GraphQL查询API,以减少不必要的数据传输,提高效率。首先,对比了传统接口请求与使用GraphQL的区别,然后详细讲解了如何下载并配置相关插件,创建GraphQL实例,编写查询和变异方法,最后展示了如何在组件中发起请求并处理响应。通过这种方式,开发者可以精确地获取所需的数据字段,避免数据冗余。
vue中使用GraphQL查询api
一、描述
GraphQL是用于查询api的一款工具,它可以将你所需要的参数返回给你,不需要的参数就不会返回,举个例子:
1.正常请求接口
在一般的接口请求中,后端往往会将这个接口中所查到的所有数据全部返回给前端,比如我想请求一个getUser接口,最终拿到数据
//得到返回数据
{
	data: {
		username: '张三',
		userId: '123',
		sex: '0',
		age: 18,
		phone: '135xxxxxxxx'
    }
}
如上所见,我一口气得到了这个接口中的所有数据,但是在现实应用中,我只用到了username字段和phone字段,其他的数据我都是用不到的,所以就造成了数据的冗余
2.使用graphQL查询api
回到上一个问题,我在现实应用中,只用到了getUser接口中的 username 和 phone,它却给我返回了很多不相干的参数,那我就用graphQL的方式来请求一下数据
//得到数据
{
	data: {
		username: '张三',
		phone: '135xxxxxxxx'
	}
}
叮叮,你要的全拿走,多余的不挽留~,可以看到,最终拿到的数据都是你想要的,其他无用的数据都没有返回来
二、下载插件
使用npm下载下面三款插件
npm install --save vue-apollo graphql apollo-boost graphql-tag
三、使用GraphQL
1.创建GraphQL实例
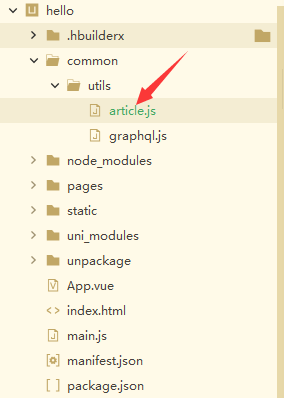
(1)在common/utils/文件夹中创建 graphql.js

(2)在graphql.js写入以下代码
import ApolloClient from 'apollo-boost'; //引入apollo-boost插件

//实例化apolloClient
const apolloClient = new ApolloClient({
  // 你需要在这里使用绝对路径
  uri: 'http://127.0.0.1:7001/graphql'
})

//导出实例
export default apolloClient;
【注】引入插件的时候有可能会报以下错误

如果发现在这个报错,在vue.config.js里面做一下配置就可以了
//vue.config.js
module.exports = {
    chainWebpack: (config) => {
        // GraphQL Loader
        config.module // optional
            .rule('graphql')
            .test(/\.graphql$/)
            .use('graphql-tag/loader')
            .loader('graphql-tag/loader')
            .end()

        config.module
            .rule('mjs')
            .test(/\.mjs$/)
            .include.add(/node_modules/)
            .end()
            .type('javascript/auto')
            .end()

        config.resolve.extensions
            .add('.mjs')
            .add('.gql')
            .add('.graphql')
            .end()
    }
}
2.编写请求方法
在 common/utils 文件夹中 创建相应的请求文件(文件名根据接口的功能取就可以)
下面就可以正式的编写请求方法了
//article.js
import apolloClient from './graphql'
import gql from 'graphql-tag'
//query方式的请求
export function questionById(params) {
	return apolloClient.query({
		query: gql`query ($id: ID) { //这里的$id:ID 是对请求参数的约束,常见的有String,Int,ID
           questionById(id: $id) { //后端中定义的方法名称 括号中的是请求参数
           		 id //想要拿到的参数,不传的话接口中就不会返回这个字段了
           		 title //如上
           		 content //如上
           		 userId //如上
           }
        }`,
		variables: params //变量{id: 1},query($id: Id) 中的id就是取的这里的变量
	})
}

//mutation方式的请求
export function add(params) {
	return apolloClient.mutate({
		mutation: gql`mutation($question: addUserInput!) {
			add(question:$question)
		}`,
		variables: params
	})
}
3.发起请求
(1)在你所需要请求数据的页面引入上面的请求文件
import { questionById, add } from '@/common/utils/article';
(2)发起请求
export default {
		data() {
			return {
				list: []
			}
		},
		created() {
			this.initData()
		},
		methods: {
			 initData() {
			      questionById({id: 126628556787679232})
			        .then(res=>{
			          console.info('获取数据=》'+JSON.stringify(res))
			          this.list = [res.data.questionById]
			        })
			        .catch(err=>{
			          console.log(err)
			        })
			    },

			   add() {
				   add({question: {title: '哈哈哈', content: '瓦蓝蓝的天空飞老鹰', userId: 1}}).then(res => {
					   console.info('添加数据=>'+ JSON.stringify(res))
					   if(res.data.add) {
						   uni.showToast({title: '添加成功'})
					   }
				   })
			   }

		}
	}
</script>
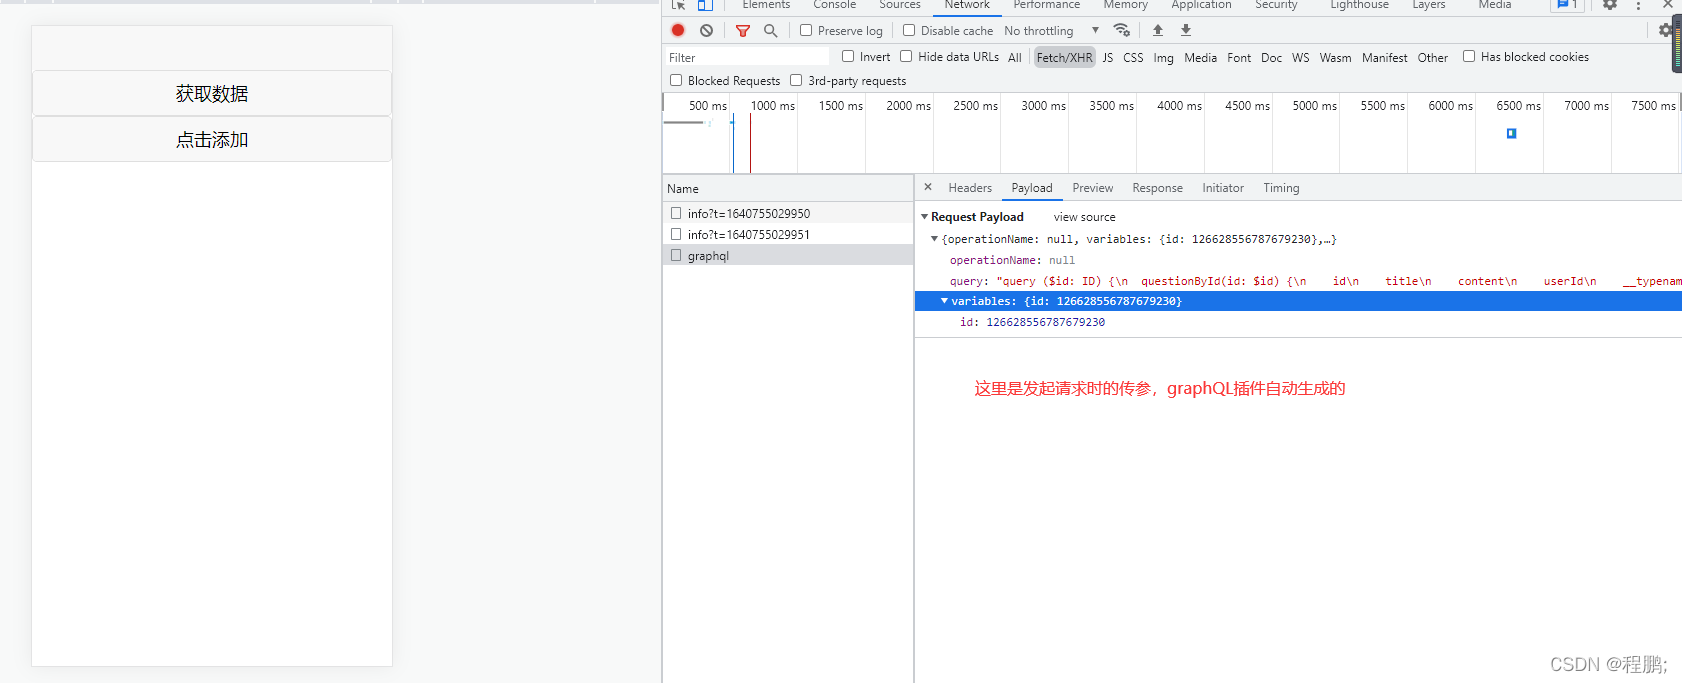
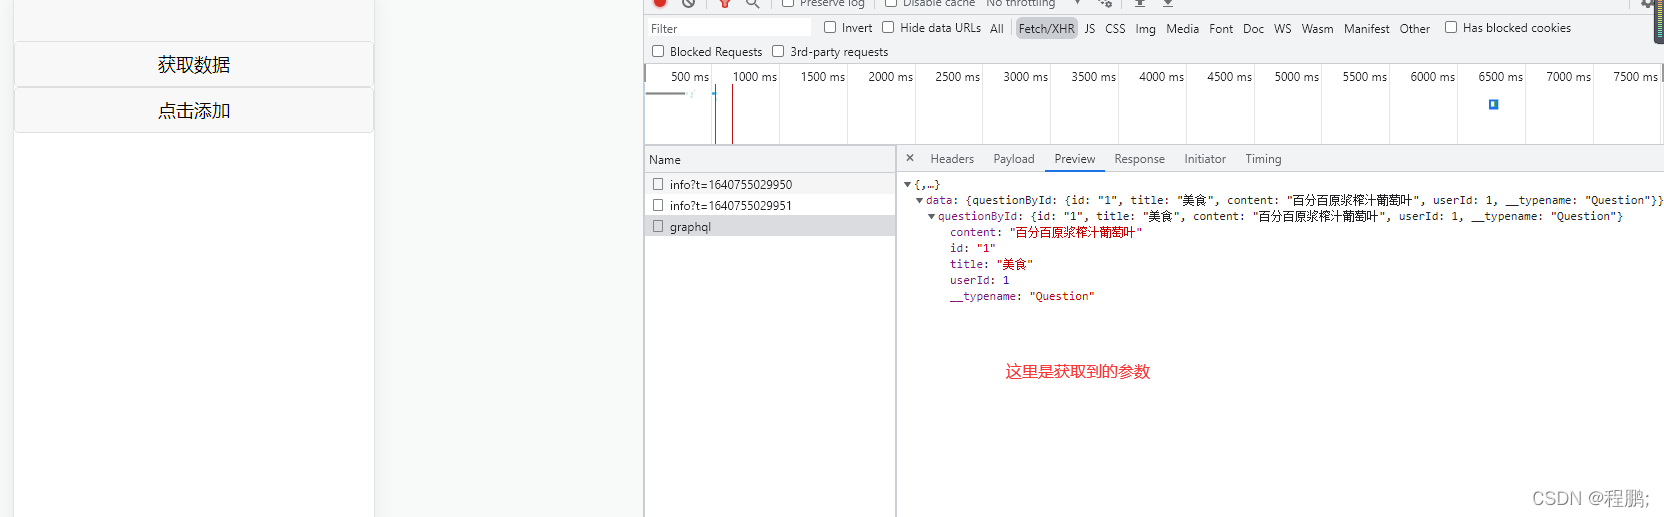
大功告成,来看一下请求回来的数据吧
四、其他方法
1.设置headers
const apolloClient = new ApolloClient({
  // 你需要在这里使用绝对路径
  uri: 'http://192.168.0.5:10014/graphql',
  request: operation =>
          operation.setContext(() => ({
              headers: {
                  authorization: '123'
              }
          }))
})


 1130
1130

 被折叠的 条评论
为什么被折叠?
被折叠的 条评论
为什么被折叠?
 到【灌水乐园】发言


