


一、maven在eclipse中的配置
eclipse默认集成了maven
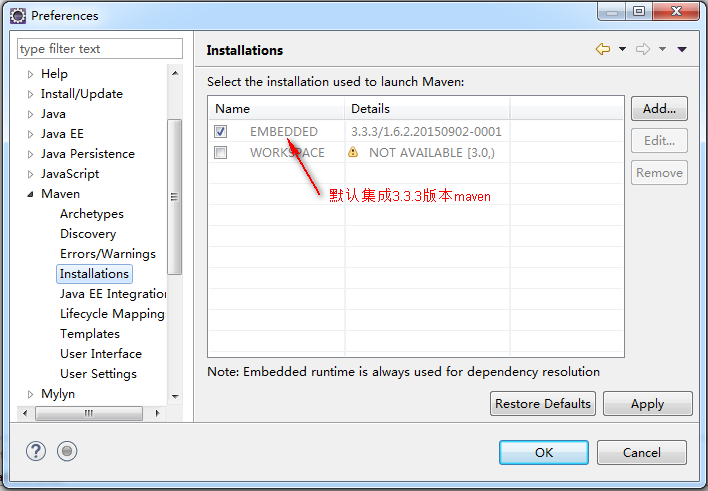
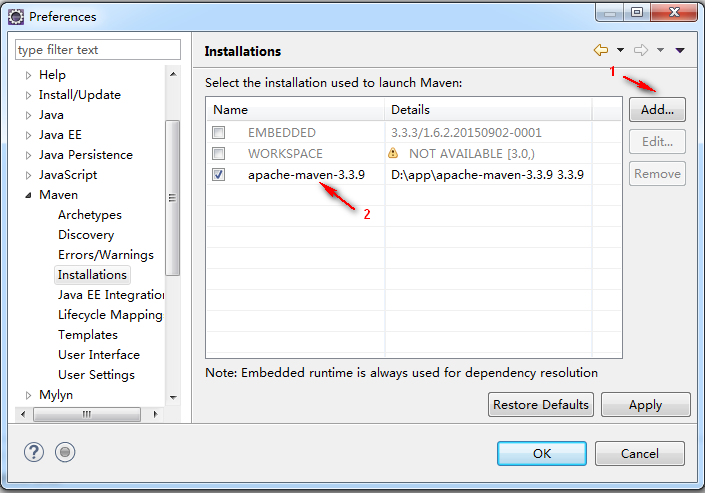
1、配置3.3.9的maven
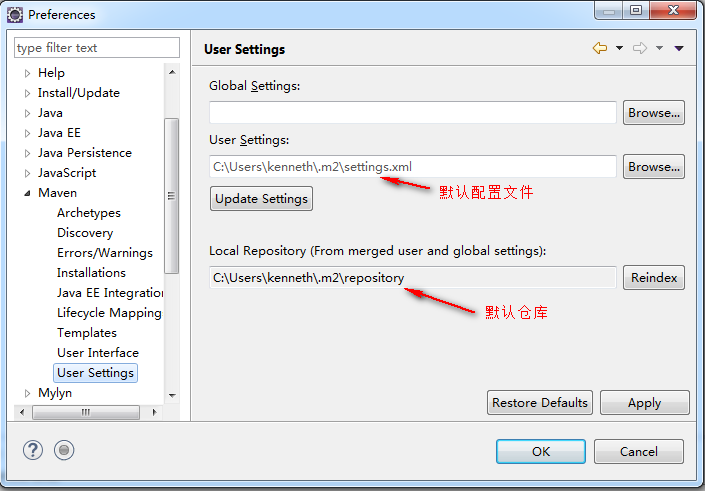
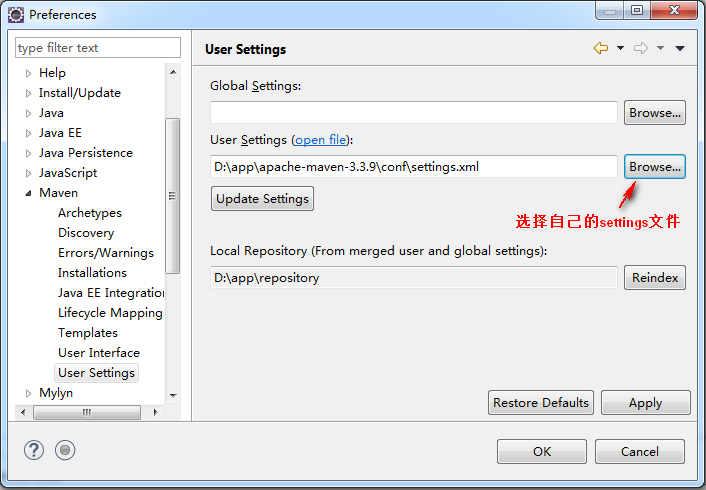
2、修改默认的本地仓库地址
二、入门程序
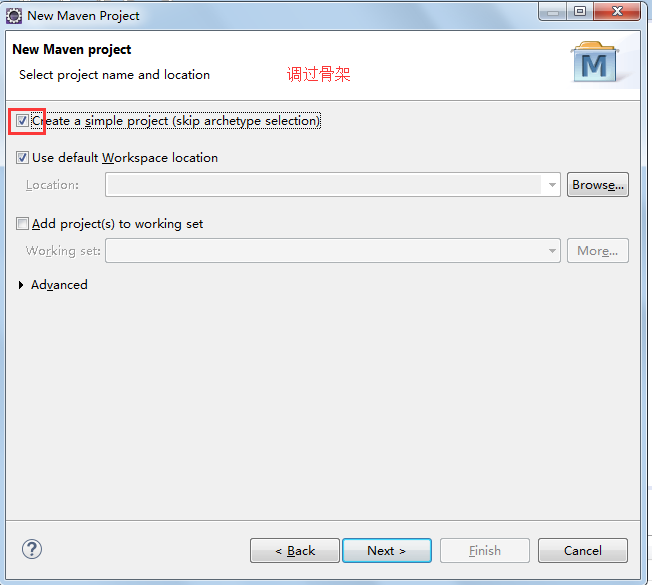
1、新建maven项目

2、跳过骨架,如果不跳过骨架选择创建出的项目目录是不全的
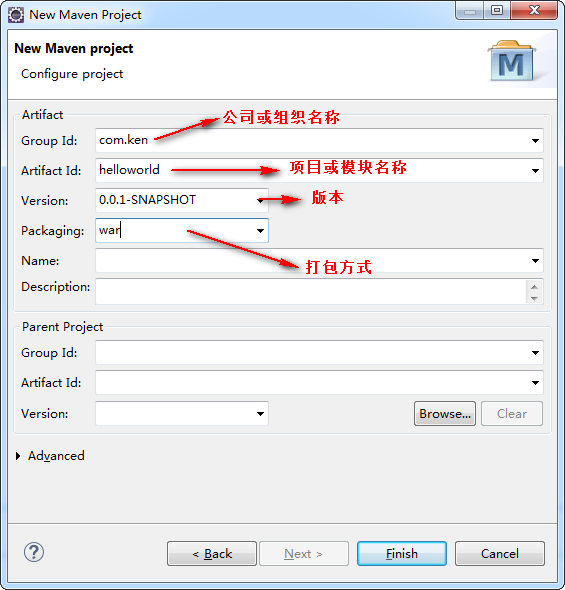
3、填写坐标
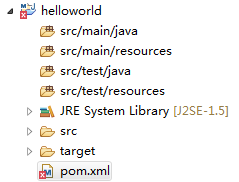
4、创建工程
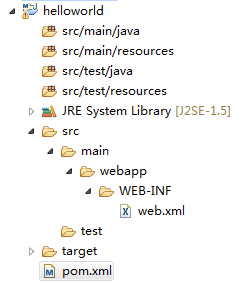
5、处理红色叉号
手动在webapp文件夹下创建一个WEB-INF文件夹,在里面放一个web.xml文件
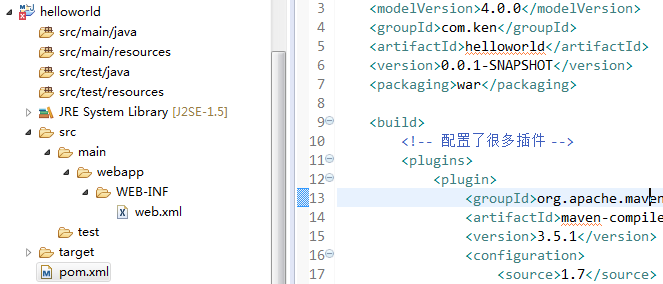
6、处理编译版本
我们看到上面的jre是1.5,改成1.7的。
在pom.xml中添加如下代码<build>
<!-- 配置了很多插件 -->
<plugins>
<plugin>
<groupId>org.apache.maven.plugins</groupId>
<artifactId>maven-compiler-plugin</artifactId>
<version>3.5.1</version>
<configuration>
<source>1.7</source>
<target>1.7</target>
<encoding>UTF-8</encoding>
</configuration>
</plugin>
</plugins>
</build>添加了代码之后,又出现一个小红叉
解决:右击工程-maven-update project
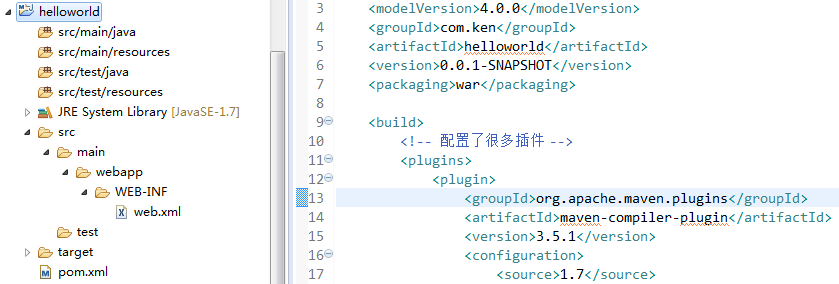
小红叉不见了,jre版本也变成1.7的了
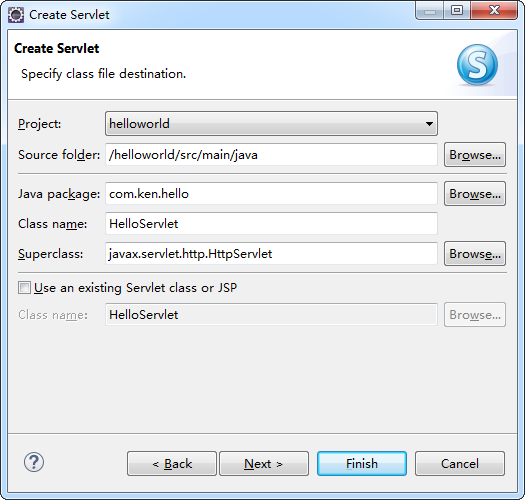
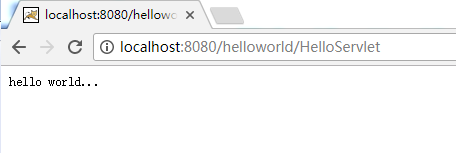
7、创建一个servlet
添加jar包
在pom中添加如下代码:
<dependencies>
<dependency>
<groupId>junit</groupId>
<artifactId>junit</artifactId>
<version>4.9</version>
<scope>test</scope>
</dependency>
<dependency>
<groupId>javax.servlet</groupId>
<artifactId>servlet-api</artifactId>
<version>2.5</version>
<scope>provided</scope>
</dependency>
<dependency>
<groupId>javax.servlet</groupId>
<artifactId>jsp-api</artifactId>
<version>2.0</version>
<scope>provided</scope>
</dependency>
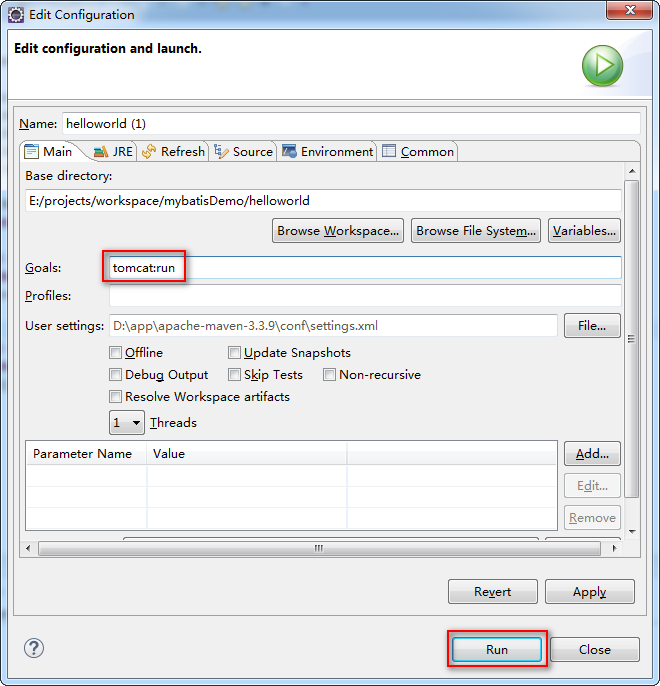
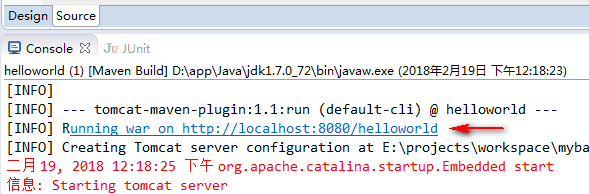
</dependencies>8、启动项目
右击项目---run as –maven build ….


 811
811

 被折叠的 条评论
为什么被折叠?
被折叠的 条评论
为什么被折叠?
 到【灌水乐园】发言


