


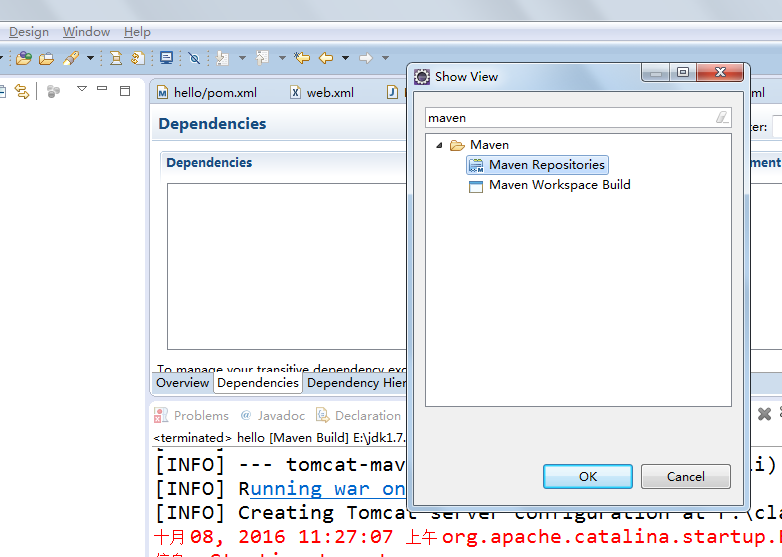
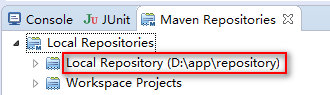
打开maven仓库的视图:
重建索引
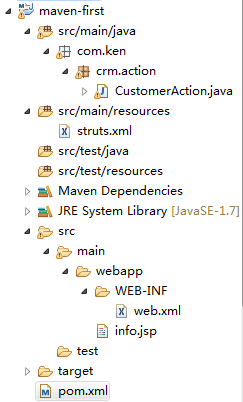
一、创建maven工程maven-first
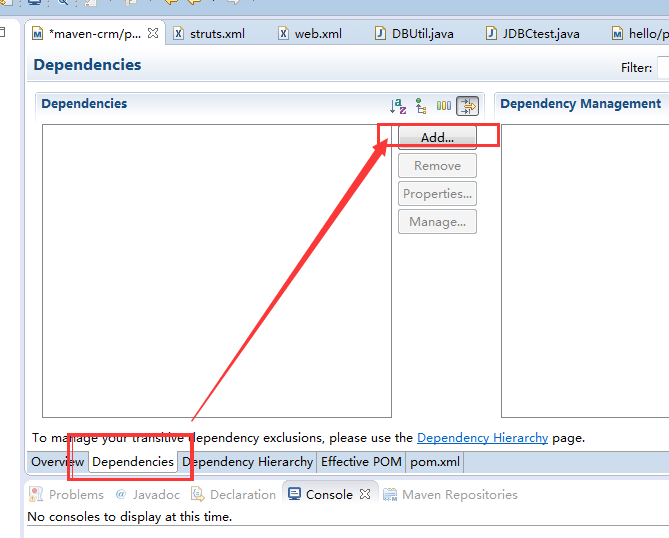
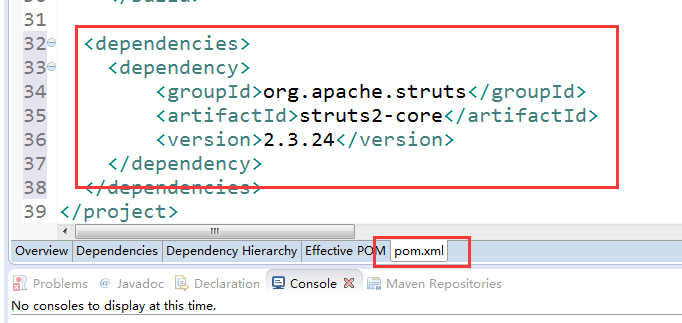
二、配置pom.xml
2.1 手动添加依赖
2.2 手动输入要添加的坐标,选择版本

可以看到 pom.xml文件中多出了如下代码
同样的方式添加servlet-api.jar和jsp-api.jar 注意选择scope为provided
<project xmlns="http://maven.apache.org/POM/4.0.0" xmlns:xsi="http://www.w3.org/2001/XMLSchema-instance"
	xsi:schemaLocation="http://maven.apache.org/POM/4.0.0 http://maven.apache.org/xsd/maven-4.0.0.xsd">
	<modelVersion>4.0.0</modelVersion>
	<groupId>com.ken</groupId>
	<artifactId>maven-first</artifactId>
	<version>0.0.1-SNAPSHOT</version>
	<packaging>war</packaging>

	<dependencies>
		<dependency>
			<groupId>junit</groupId>
			<artifactId>junit</artifactId>
			<version>4.9</version>
			<scope>test</scope>
		</dependency>
		<dependency>
			<groupId>javax.servlet</groupId>
			<artifactId>servlet-api</artifactId>
			<version>2.5</version>
			<scope>provided</scope>
		</dependency>
		<dependency>
			<groupId>javax.servlet</groupId>
			<artifactId>jsp-api</artifactId>
			<version>2.0</version>
			<scope>provided</scope>
		</dependency>
		<dependency>
			<groupId>org.apache.struts</groupId>
			<artifactId>struts2-core</artifactId>
			<version>2.3.24</version>
		</dependency>
	</dependencies>

	<build>
		<!-- 配置了很多插件 -->
		<plugins>
			<plugin>
				<groupId>org.apache.maven.plugins</groupId>
				<artifactId>maven-compiler-plugin</artifactId>
				<version>3.5.1</version>
				<configuration>
					<source>1.7</source>
					<target>1.7</target>
					<encoding>UTF-8</encoding>
				</configuration>
			</plugin>
		</plugins>
	</build>
</project>
三、编写Action
package com.ken.crm.action;
import com.opensymphony.xwork2.ActionSupport;
public class CustomerAction extends ActionSupport {
private Long custId;
public Long getCustId() {
return custId;
}
public void setCustId(Long custId) {
this.custId = custId;
}
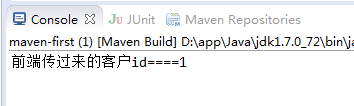
public String findCustomerById() {
System.out.println("前端传过来的客户id====" + custId);
return SUCCESS;
}
}四、struts.xml
struts.xml文件放到resources目录中<?xml version="1.0" encoding="UTF-8"?>
<!DOCTYPE struts PUBLIC
"-//Apache Software Foundation//DTD Struts Configuration 2.3//EN"
"http://struts.apache.org/dtds/struts-2.3.dtd">
<struts>
<!-- 配置常量 -->
<!-- 字符集 -->
<constant name="struts.i18n.encoding" value="UTF-8"></constant>
<!-- 开发模式 -->
<constant name="struts.devMode" value="true"></constant>
<!-- 主题 -->
<constant name="struts.ui.theme" value="simple"></constant>
<!-- 扩展名 -->
<constant name="struts.action.extension" value="action"></constant>
<!-- 通用package -->
<package name="customer" namespace="/" extends="struts-default">
<action name="findById" class="com.ken.crm.action.CustomerAction"
method="findCustomerById">
<result name="success">/info.jsp</result>
</action>
</package>
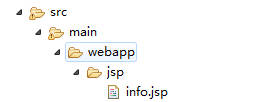
</struts>五、添加jsp页面
六、web.xml
<?xml version="1.0" encoding="UTF-8"?>
<web-app xmlns:xsi="http://www.w3.org/2001/XMLSchema-instance"
xmlns="http://java.sun.com/xml/ns/javaee"
xsi:schemaLocation="http://java.sun.com/xml/ns/javaee http://java.sun.com/xml/ns/javaee/web-app_2_5.xsd"
id="WebApp_ID" version="2.5">
<welcome-file-list>
<welcome-file>index.html</welcome-file>
<welcome-file>index.jsp</welcome-file>
</welcome-file-list>
<filter>
<filter-name>struts2</filter-name>
<filter-class>org.apache.struts2.dispatcher.ng.filter.StrutsPrepareAndExecuteFilter</filter-class>
</filter>
<filter-mapping>
<filter-name>struts2</filter-name>
<url-pattern>/*</url-pattern>
</filter-mapping>
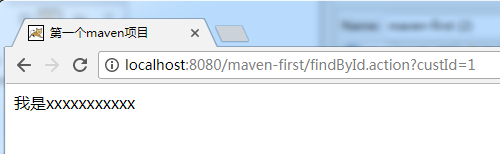
</web-app>七、运行
run as-maven build...-tomcat:run


 622
622


 被折叠的 条评论
为什么被折叠?
被折叠的 条评论
为什么被折叠?
 到【灌水乐园】发言


