


1、 目标
卸载centos自带的mysql
安装mysql 5.6.33
2、步骤
1) 下载mysql,下载地址 http://dev.mysql.com/downloads/mysql/5.6.html#downloads

我们下载,这些包
MySQL-client-5.6.33-1.linux_glibc2.5.x86_64.rpm
MySQL-server-5.6.33-1.linux_glibc2.5.x86_64.rpm
MySQL-devel-5.6.33-1.linux_glibc2.5.x86_64.rpm
MySQL-shared-compat-5.6.33-1.linux_glibc2.5.x86_64.rpm
MySQL-shared-5.6.33-1.linux_glibc2.5.x86_64.rpm
2) 卸载自带的mysql
先通过 rpm -qa | grep -i mysql 找到自带的mysql,然后使用 rpm -e mysql-libs-5.1.71-1.el6.x86_64 卸载
如果系统提示依赖关系存在,不能卸载,可以采用下面的方式进行卸载 rpm -e --nodeps mysql-libs-5.1.71-1.el6.x86_64
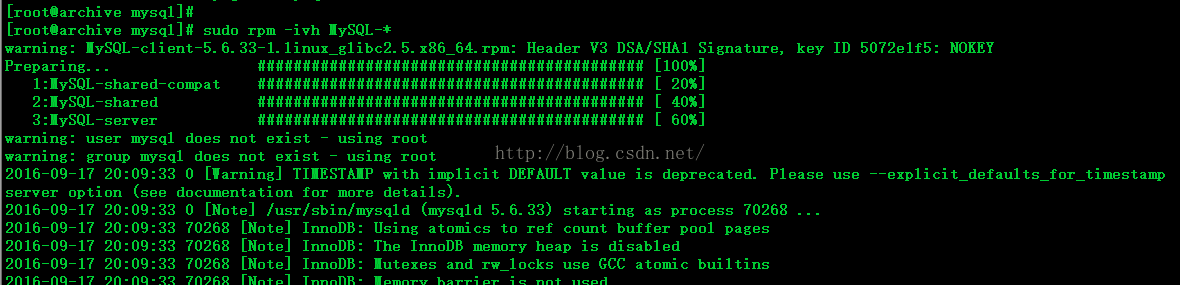
3) 安装
通过root用户,使用rpm进行安装
4)启动MYSQL服务
[root@archive rpm]# cd /etc/rc.d/init.d
[root@archive rpm]# service mysql start
Starting MySQL..........                                   [  OK  ]
启动后,用root登录,如果报错ERROR 1045 (28000):,如下所示,还需要解决此错误。
# mysql -uroot -p
Enter password:
ERROR 1045 (28000): Access denied for user 'root'@'localhost' (using password: NO)
5) 先停止mysql服务,用保护模式进入,进行修改
# /etc/init.d/mysql stop
# mysqld_safe --user=mysql --skip-grant-tables --skip-networking &
# mysql -u root mysql
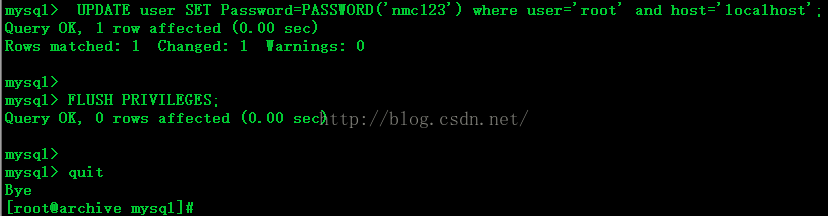
mysql> UPDATE user SET Password=PASSWORD('newpassword') where USER='root';
mysql> FLUSH PRIVILEGES;
mysql> quit
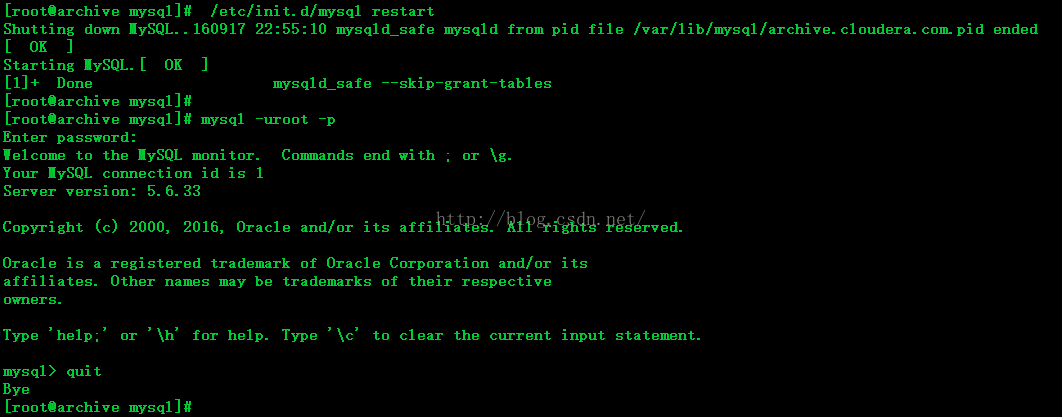
# /etc/init.d/mysql restart
# mysql -uroot -p
Enter password: <输入新设的密码newpassword>
顺利解决上面的问题后,我们进行一下测试:
mysql> create table test(id int);
Query OK, 0 rows affected (0.05 sec)

mysql> insert into test(id) values(1);
Query OK, 1 row affected (0.05 sec)

mysql> insert into test(id) values(2);
Query OK, 1 row affected (0.01 sec)

mysql> commit;
Query OK, 0 rows affected (0.00 sec)

mysql> select * from test;
+------+
| id   |
+------+
|    1 |
|    2 |
+------+
2 rows in set (0.02 sec)


 275
275

 被折叠的 条评论
为什么被折叠?
被折叠的 条评论
为什么被折叠?
 到【灌水乐园】发言


