


jest测试react组件
In this tutorial, we will be looking at what snapshot tests are and how we can use snapshot testing to ensure our user interface does not change without the team knowing about it.
在本教程中,我们将研究什么是快照测试以及如何使用快照测试来确保我们的用户界面在团队不了解的情况下不会发生变化。
To get started, you will need to familiarize yourself with the following:
首先,您需要熟悉以下内容:
NodeJS - A JavaScript runtime built on Chrome’s V8 JavaScript engine.
NodeJS-基于Chrome V8 JavaScript引擎构建JavaScript运行时。
React - A JavaScript library for building delightful UI by Facebook.
React-一个JavaScript库,用于通过Facebook构建令人愉悦的UI。
Jest - A JavaScript testing framework by Facebook.
Jest -FacebookJavaScript测试框架。
什么是快照测试? (What Is Snapshot Testing?)
Unlike strict Test Driven Development where the standard practice is to write failing tests first then write the code to make the tests pass, Snapshot testing takes a different approach.
与严格的“测试驱动开发”不同,在标准实践中,标准做法是先编写失败的测试,然后编写代码以使测试通过,而Snapshot测试则采用另一种方法。
To write a snapshot test, you first get your code working, say, a React component, then generate a snapshot of it’s expected output given certain data. The snapshot tests are committed alongside the component and every time the tests are run. Jest will compare the snapshot to the rendered output for the test.
要编写快照测试,首先要使代码工作,例如React组件,然后在给定某些数据的情况下为其预期输出生成快照。 快照测试在每次运行时都与组件一起提交。 Jest将快照与测试的渲染输出进行比较。
If the test does not pass, it may mean that there were some unexpected changes on the component that you need to fix, or you made some changes to the component and it’s about time you updated the snapshot tests.
如果测试未通过,则可能意味着您需要修复组件上的某些意外更改,或者对组件进行了某些更改,现在该更新快照测试了。
Snapshot testing is meant to be one of many different testing tools. Therefore, you may still need to write tests for your actions and reducers.
快照测试旨在成为许多不同的测试工具之一。 因此,您可能仍需要为操作和减速器编写测试。
Let’s get right into it!
让我们开始吧!
创建一个简单的React组件 (Creating a Simple React Component)
To get started, we will create a React App using Create React App.
首先,我们将使用Create React App创建一个React App 。
- create-react-app ooh-snap 创建React应用ooh快照
- cd ooh-snap cd ooh-snap
- yarn start 纱线开始
We should now have a React app. Let’s go ahead and create a component that we can test. The component that we are going to be creating renders the items props it receives as either a list or as a span element depending on the number of items.
我们现在应该有一个React应用。 让我们继续创建一个可以测试的组件。 我们将要创建的组件根据项目的数量将其接收的items道具渲染为列表或span元素。
Create a Components folder then add the following Items component:
创建一个Components文件夹,然后添加以下Items组件:
import React from 'react';
import PropTypes from 'prop-types';

/**
 * Render a list of items
 *
 * @param {Object} props - List of items
 */
function Items(props) {
  const { items = [] } = props;

  if (!items.length) {
    // No Items on the list, render an empty message
    return <span>No items in list</span>;
  }

  if (items.length === 1) {
    // One Item in the list, render a span
    return <span>{items[0]}</span>;
  }

  // Multiple items on the list, render a list
  return (
    <ul>
      {items.map(item => <li key={item}>{item}</li>)}
    </ul>
  );
}

Items.propTypes = {
  items: PropTypes.array,
};

Items.defaultProps = {
  items: [],
};

export default Items;
Finally, let’s update App.js to render our Component:
最后,让我们更新App.js以呈现我们的组件:
import React, { Component } from 'react';
import Items from './Components/Items';

class App extends Component {
  render() {
    const items = [
      'Thor',
      'Captain America',
      'Hulk'
    ];
    return (
      <Items items={items} />
    );
  }
}

export default App;
Effectively, delete App.test.js because we will be adding our own tests in the next section.
实际上,删除App.test.js因为我们将在下一部分中添加我们自己的测试。
Next, let’s go ahead and add our snapshot tests.
接下来,让我们继续添加快照测试。
编写快照测试 (Writing Snapshot Tests)
To get started, install react-test-renderer, a library that enables you to render React components as JavaScript objects without the need of a DOM.
首先,请安装react-test-renderer这个库,使您无需DOM就可以将React组件呈现为JavaScript对象。
- yarn add react-test-renderer 纱线添加React测试仪
Let’s add our first test. To get started, we will create a test that renders the Items component with no items passed down as props:
让我们添加第一个测试。 首先,我们将创建一个测试,该测试将渲染Items组件,并且不传递任何道具作为道具:
import React from 'react';
import renderer from 'react-test-renderer';

import Items from './Items';

it('renders correctly when there are no items', () => {
  const tree = renderer.create(<Items />).toJSON();
  expect(tree).toMatchSnapshot();
});
Next, let’s run the tests. Thanks to Create React App, we do not need to set anything else up to run our tests.
接下来,让我们运行测试。 感谢Create React App,我们不需要设置其他任何东西即可运行我们的测试。
- yarn test 纱线测试
When you run the tests for the first time, notice that a new snapshot file is created inside a __snapshots__ directory. Since our test file is named Items.test.js, the snapshot file is appropriately named Items.test.js.snap that looks like this:
首次运行测试时,请注意在__snapshots__目录中创建了一个新的快照文件。 由于我们的测试文件名为Items.test.js ,因此快照文件也相应命名为Items.test.js.snap ,如下所示:
// Jest Snapshot v1, https://goo.gl/fbAQLP

exports[`renders correctly when there are no items 1`] = `
<span>
  No items in list
</span>
`;
The test matches the component’s exact output. Jest uses pretty-format to make the snapshot files human readable.
测试与组件的确切输出匹配。 Jest使用漂亮格式使快照文件易于阅读。
If you are getting the hang of it, go ahead and create tests for the two other scenarios where there is one item and where there is multiple items, then run the tests.
如果掌握了这一点,请继续针对一个项目存在且多个项目存在的另外两种方案创建测试,然后运行测试。
...
it('renders correctly when there is one item', () => {
  const items = ['one'];
  const tree = renderer.create(<Items items={items} />).toJSON();
  expect(tree).toMatchSnapshot();
});

it('renders correctly when there are multiple items', () => {
  const items = ['one', 'two', 'three'];
  const tree = renderer.create(<Items items={items} />).toJSON();
  expect(tree).toMatchSnapshot();
});
Next, let’s make updates to our component.
接下来,让我们对组件进行更新。
更新快照测试 (Updating Snapshot Tests)
To understand why we need snapshot tests, we’ll go ahead and update the Items component and re-run the tests. This, for your dev environment, is a simulation of what would happen when someone on your team makes a change to a component and your CI tool runs the tests.
为了理解为什么我们需要快照测试,我们将继续并更新Items组件并重新运行测试。 对于您的开发环境,这是对团队中某人进行组件更改并且您的CI工具运行测试时发生的情况的模拟。
We will add class names to the span and li elements, say, to affect some styling.
我们将类名称添加到span和li元素,例如,以影响某些样式。
...
/**
 * Render a list of items
 *
 * @param {Object} props - List of items
 */
function Items(props) {
  const { items = [] } = props;

  if (!items.length) {
    // No Items on the list, render an empty message
    return <span className="empty-message">No items in list</span>;
  }

  if (items.length === 1) {
    // One Item in the list, render a span
    return <span className="item-message">{items[0]}</span>;
  }

  // Multiple items on the list, render a list
  return (
    <ul>
      {items.map(item => <li key={item} className="item-message">{item}</li>)}
    </ul>
  );
}
...
Let’s run our tests again with yarn test command in lieu of our changes.
代替更改,让我们再次使用yarn test命令运行测试。

Jest matched the existing snapshots against the rendered component with the updated changes and failed because there were some additions to our component. It then shows a diff of the changes that are introduced to the snapshot tests.
Jest用更新的更改将现有快照与呈现的组件进行了匹配,但是失败了,因为我们的组件有所增加。 然后,它显示了快照测试中引入的更改的差异。
To fix this, for whatever reason, would entirely depend on the changes that were introduced to the snapshot tests.
要解决此问题,无论出于何种原因,都将完全取决于快照测试中引入的更改。
If the changes are not expected, that’s good, you got it well in advance before it was too late. If the changes were expected, update your snapshot tests and everything is green again.
如果不希望进行更改,那很好,您可以在为时已晚之前提前做好。 如果需要进行更改,请更新快照测试,然后一切都变为绿色。
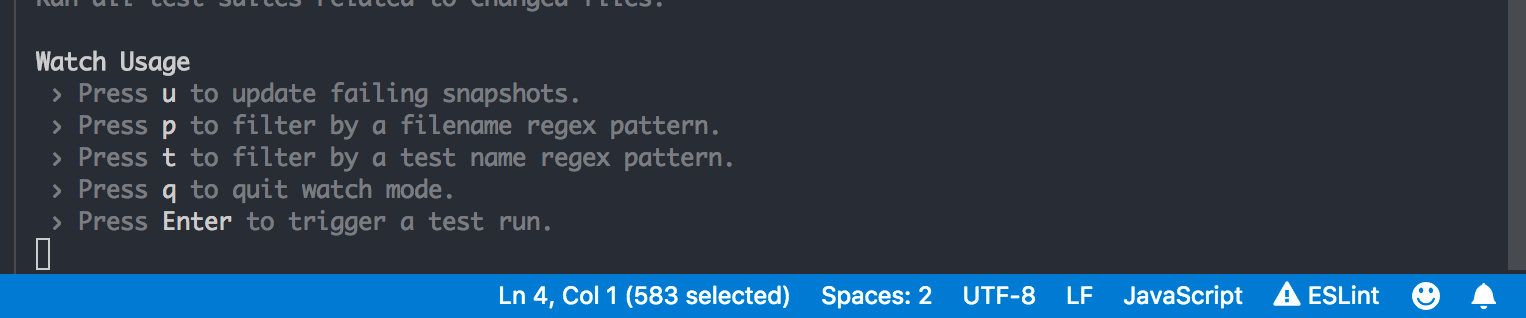
While Jest is in interactive mode, you can update the snapshot tests by simply pressing u with the options provided. Alternatively, you can run jest --updateSnapshot or jest -u.
当Jest处于交互模式时,您可以通过使用提供的选项按u来更新快照测试。 或者,您可以运行jest --updateSnapshot或jest -u 。
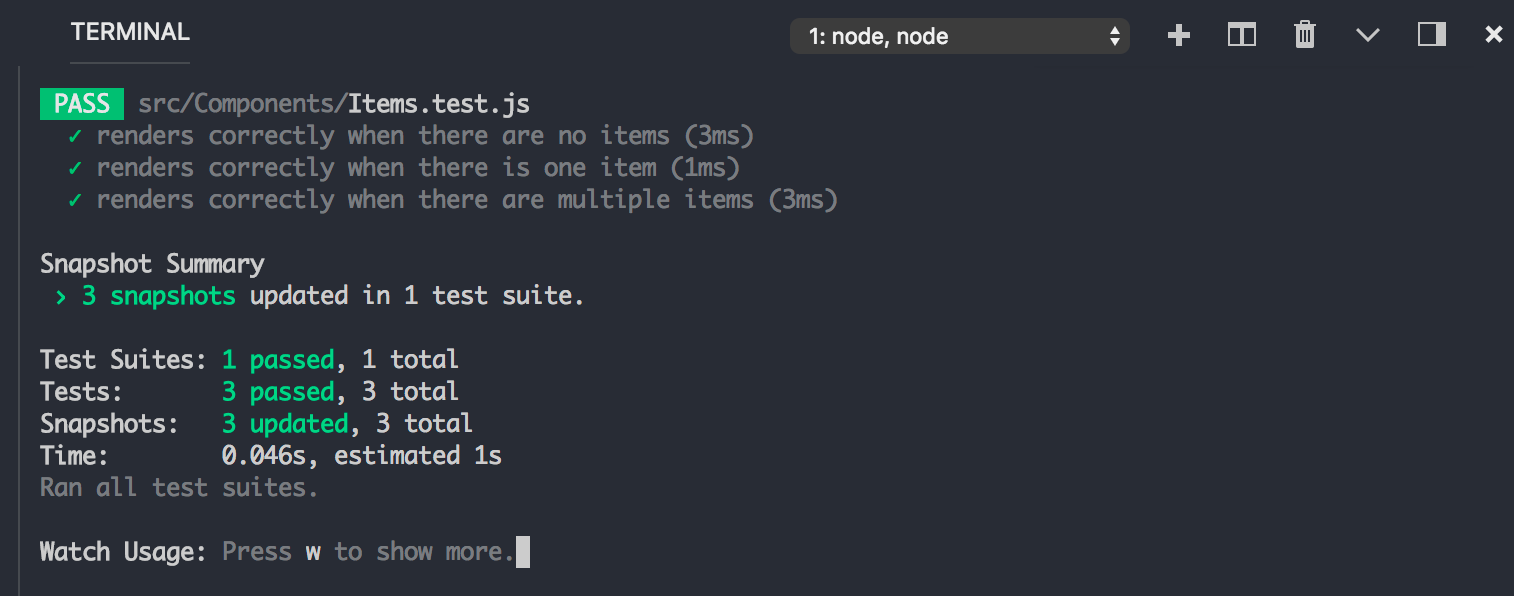
This will update the snapshots to match the updates we made and our tests will effectively pass.
这将更新快照以匹配我们所做的更新,并且我们的测试将有效通过。
Go ahead and pick into the snapshots folder to see how the snapshot files changed. Here is the updated empty snapshot snippet.
继续并进入快照文件夹以查看快照文件如何更改。 这是更新的空快照片段。
exports[`renders correctly when there is one item 1`] = `
<span
  className="item-message"
>
  one
</span>
`;
结论 (Conclusion)
In this tutorial, we have been able to write snapshot tests for a React component. We also updated the component to see the failing tests and eventually update the snapshots to fix the tests.
在本教程中,我们已经能够为React组件编写快照测试。 我们还更新了组件以查看失败的测试,并最终更新了快照以修复测试。
While we have covered the basics of snapshot tests, there is a lot you can learn on writing better snapshot tests. Do take a look at the Snapshot best practices from the Jest’s documentation to learn more about snapshot testing.
虽然我们已经介绍了快照测试的基础知识,但是在编写更好的快照测试方面您可以学到很多。 请查看Jest文档中的Snapshot最佳做法 ,以了解有关快照测试的更多信息。
jest测试react组件


 1496
1496

 被折叠的 条评论
为什么被折叠?
被折叠的 条评论
为什么被折叠?
 到【灌水乐园】发言


