


It was not that long ago that Christopher Pitt wrote an excellent article about writing and running PHP code on an iPad. After reading it, I thought to myself “It would be really cool to do the same on Android”: being able to write and edit code on the fly, for example while traveling, and not having to take the laptop everywhere. So I’ve decided to do some research and see what I could come up with.
不久前, 克里斯托弗·皮特 ( Christopher Pitt)写了一篇很棒的文章,内容涉及在iPad上编写和运行PHP代码 。 阅读后,我心想:“在Android上做同样的事真的很酷”:能够在飞行中(例如在旅途中)即时编写和编辑代码,而不必随身携带笔记本电脑。 因此,我决定进行一些研究,看看我能想到什么。

For this article, you can use any type of Android device. I’ve done it on my phone, but an Android tablet with a Bluetooth keyboard would probably be the ideal setup.
对于本文,您可以使用任何类型的Android设备。 我已经在手机上完成了此操作,但是带有蓝牙键盘的Android平板电脑可能是理想的设置。
There are a couple of different shell apps for Android. For this tutorial we will use one called Termux.
Android有两个不同的Shell应用程序。 在本教程中,我们将使用一个称为Termux的方法 。

Termux combines both a powerful terminal emulation and an extensive Linux package collection. It is also completely free and easy to use.
Termux结合了强大的终端仿真和广泛的Linux软件包集合。 它也是完全免费且易于使用的。
After installing Termux from the Play Store, the first thing to do is to run the apt update command. As per the documentation: “This command needs to be run initially directly after installation and regularly afterwards to receive updates.”
从Play商店安装Termux后,要做的第一件事是运行apt update命令。 按照文档所述 : “此命令首先需要在安装后立即运行,然后定期定期运行以接收更新。”
Now for the fun part. The first two commands I want to talk about are the apt list and apt list --installed commands. The first one will list all the available packages for Termux. We can see that it has support for a lot of different programming languages, text editors and has some useful utility packages like zip, tar and so on. The second command will list all the installed packages. As we can see Termux already comes with some packages like apt and bash pre-installed.
现在是有趣的部分。 我想谈的前两个命令是apt list和apt list --installed命令。 第一个将列出Termux的所有可用软件包。 我们可以看到它支持许多不同的编程语言,文本编辑器,并具有一些有用的实用程序包,例如zip,tar等。 第二个命令将列出所有已安装的软件包。 如我们所见,Termux已经预装了一些软件包,例如apt和bash。
My goal when testing Termux was to see if I could assemble a proper* PHP development environment, so I started by installing a text editor. I prefer Vim, but there are some more options available, like Emacs and Nano. Vim has a bit of a learning curve to it, but it gets very comfortable when you get past the basics of it. You can get Vim with the apt install vim command.
测试Termux时,我的目标是查看是否可以组装适当PHP开发环境,因此我从安装文本编辑器开始。 我更喜欢Vim,但是还有更多可用的选项,例如Emacs和Nano。 Vim有一些学习曲线,但是当您了解它的基础知识时,它会变得非常舒适。 您可以使用apt install vim命令获取Vim。
If you want to learn more about vim, there’s this very good article or, alternatively, after installing it, type vimtutor to use the built-in tutorial.
如果您想了解有关vim的更多信息,请阅读这篇很好的文章 ,或者在安装后,键入vimtutor以使用内置教程。
If you are testing this on your Android phone, running vim will bring the first set of problems. How can I hit the Escape button? Termux has a large list of shortcuts that be used to simulate the buttons that are not available on the Android keyboards:
如果您正在Android手机上进行测试,则运行vim将带来第一组问题。 如何点击Escape按钮? Termux包含大量的快捷键,可用于模拟Android键盘上不可用的按钮:
| Command | Key |
|---|---|
| Volume Up+E | Escape key |
| Volume Up+T | Tab key |
| Volume Up+1 | F1 (and Volume Up+2 → F2, etc) |
| Volume Up+0 | F10 |
| Volume Up+B | Alt+B, back a word when using readline |
| Volume Up+F | Alt+F, forward a word when using readline |
| Volume Up+X | Alt+X |
| Volume Up+W | Up arrow key |
| Volume Up+A | Left arrow key |
| Volume Up+S | Down arrow key |
| Volume Up+D | Right arrow key |
| Volume Up+L | (the pipe character) |
| Volume Up+U | _ (underscore) |
| Volume Up+P | Page Up |
| Volume Up+N | Page Down |
| Volume Up+. | Ctrl+\ (SIGQUIT) |
| Volume Up+V | Show the volume control |
| 命令 | 键 |
|---|---|
| 音量调高+ E | 退出键 |
| 音量+ T | Tab键 |
| 音量调高+1 | F1(和增大音量+2→F2等) |
| 音量调高+0 | F10 |
| 音量调高+ B | Alt + B,在使用readline时返回一个单词 |
| 音量调高+ F | Alt + F,在使用readline时转发一个单词 |
| 音量调高+ X | Alt + X |
| 音量+ W | 上箭头键 |
| 音量调高+ A | 左箭头键 |
| 音量调高+ S | 向下箭头键 |
| 音量调高+ D | 右箭头键 |
| 音量增大+ L | (管道字符) |
| 调高音量 | _(下划线) |
| 音量调高+ P | 向上翻页 |
| 音量调高+ N | 向下翻页 |
| 调高音量+。 | Ctrl + \(SIGQUIT) |
| 音量调高+ V | 显示音量控制 |
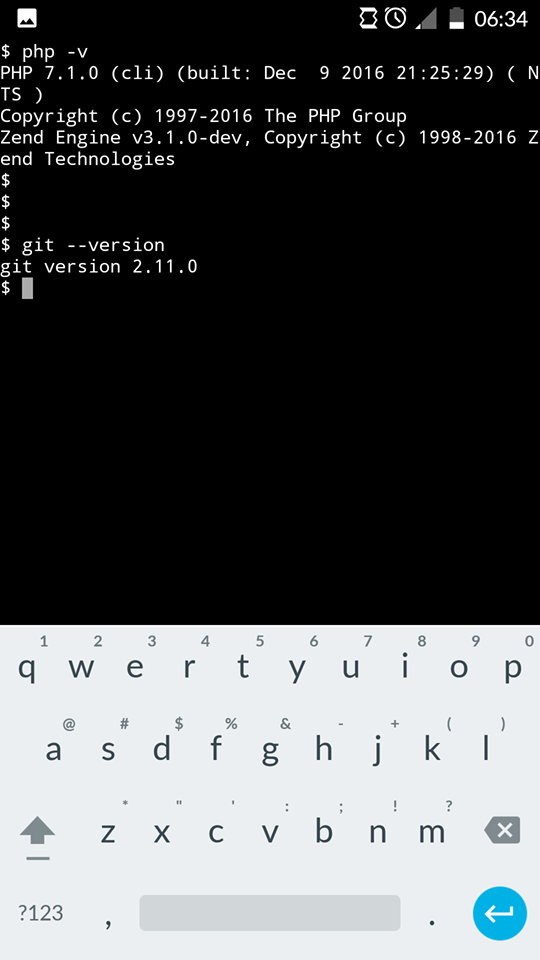
Now that we have our editor up and running, it’s time to install the packages we’ll need: PHP, Git and Composer.
现在我们已经启动了编辑器并开始运行,是时候安装我们需要的软件包了:PHP,Git和Composer。
apt install php
apt install git
This will install the latest PHP and Git packages.
这将安装最新PHP和Git软件包。
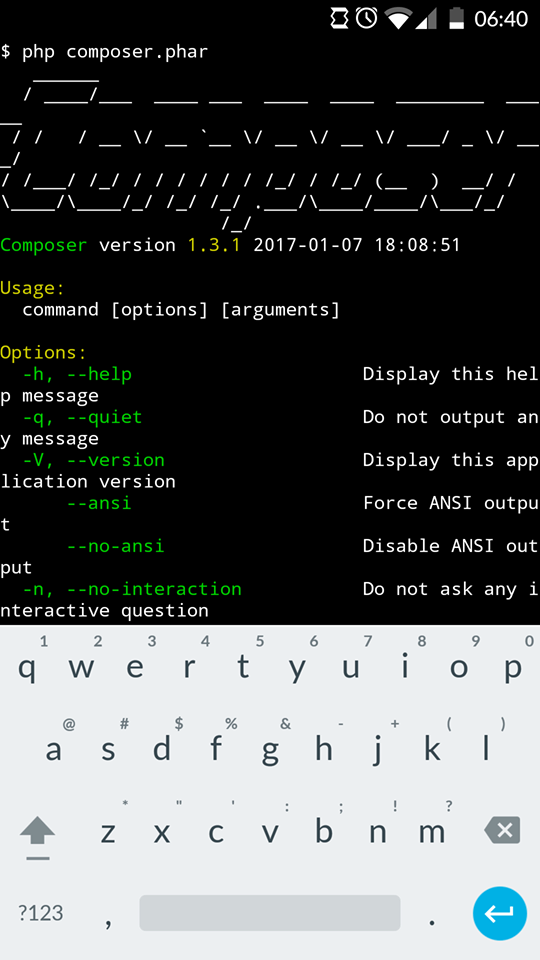
For Composer, we need to do a little bit of extra work. We need to go to the Composer download page and use the instructions for the command line installation:
对于Composer,我们需要做一些额外的工作。 我们需要转到Composer下载页面,并使用命令行安装说明:
php -r "copy('https://getcomposer.org/installer', 'composer-setup.php');"
php -r "if (hash_file('SHA384', 'composer-setup.php') === '55d6ead61b29c7bdee5cccfb50076874187bd9f21f65d8991d46ec5cc90518f447387fb9f76ebae1fbbacf329e583e30') { echo 'Installer verified'; } else { echo 'Installer corrupt'; unlink('composer-setup.php'); } echo PHP_EOL;"
php composer-setup.php
php -r "unlink('composer-setup.php');"
This will download the installer, verify it, run it and delete it. If everything went well, we should be able to run Composer from Termux.
这将下载安装程序,对其进行验证,运行并删除它。 如果一切顺利,我们应该能够从Termux运行Composer。
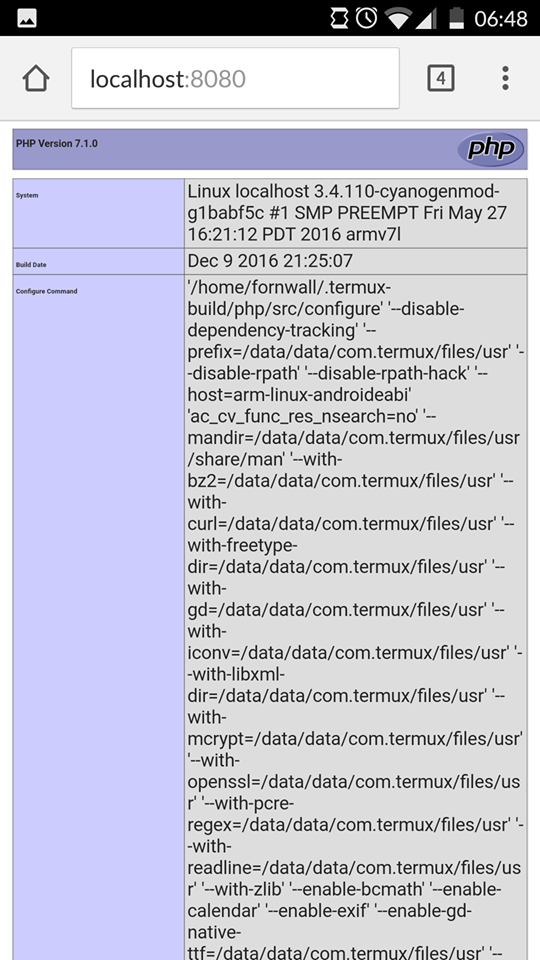
Now that we have all of our tools installed, we should test if our PHP installation is running correctly. For that, let’s do a simple phpinfo() test. Let’s create a new folder and test our PHP installation.
现在我们已经安装了所有工具,我们应该测试PHP安装是否正确运行。 为此,让我们做一个简单的phpinfo()测试。 让我们创建一个新文件夹并测试我们PHP安装。
mkdir test
cd test
echo "<?php phpinfo();" > index.php
php -S localhost:8080
This will create a new folder and then create an index.php file with the phpinfo() command inside of it. I’m echoing it directly into the file, but you can use Vim to do it. Finally, we are using the PHP server to serve it to our localhost. When accessing localhost:8080 in our browser we should see something like this:
这将创建一个新文件夹,然后在其中使用phpinfo()命令创建一个index.php文件。 我直接将其回显到文件中,但是您可以使用Vim来做到这一点。 最后,我们使用PHP服务器将其提供给本地主机。 在我们的浏览器中访问localhost:8080 ,我们应该看到以下内容:
We now have Composer for dependency management, and git for version control. But I know what you’re thinking: “we just made a simple phpinfo test, what about the rest?”.
现在,我们有Composer用于依赖关系管理,而git用于版本控制。 但是我知道您在想什么:“我们刚刚做了一个简单的phpinfo测试,其余的呢?”。
我们可以在Android设备上安装Laravel吗? (Can we Install Laravel on an Android device?)
At this point we have everything we need to install and run Laravel on our Android device. To create a new Laravel project, we need to run the following command:
至此,我们已具备在Android设备上安装和运行Laravel所需的一切。 要创建一个新的Laravel项目,我们需要运行以下命令:
php composer.phar create-project --prefer-dist laravel/laravel new_projectThis will create a new Laravel project in the new_project folder. The --prefer-dist option is well documented here. The installation will probably take a little while. After it’s complete, we can run our newly created project using Laravel’s own Artisan command line interface. Inside the new_project folder, we can run the command:
这将在new_project文件夹中创建一个新的Laravel项目。 --prefer-dist选项在此处有详细记录。 安装可能需要一点时间。 完成后,我们可以使用Laravel自己的Artisan命令行界面运行新创建的项目。 在new_project文件夹中,我们可以运行以下命令:
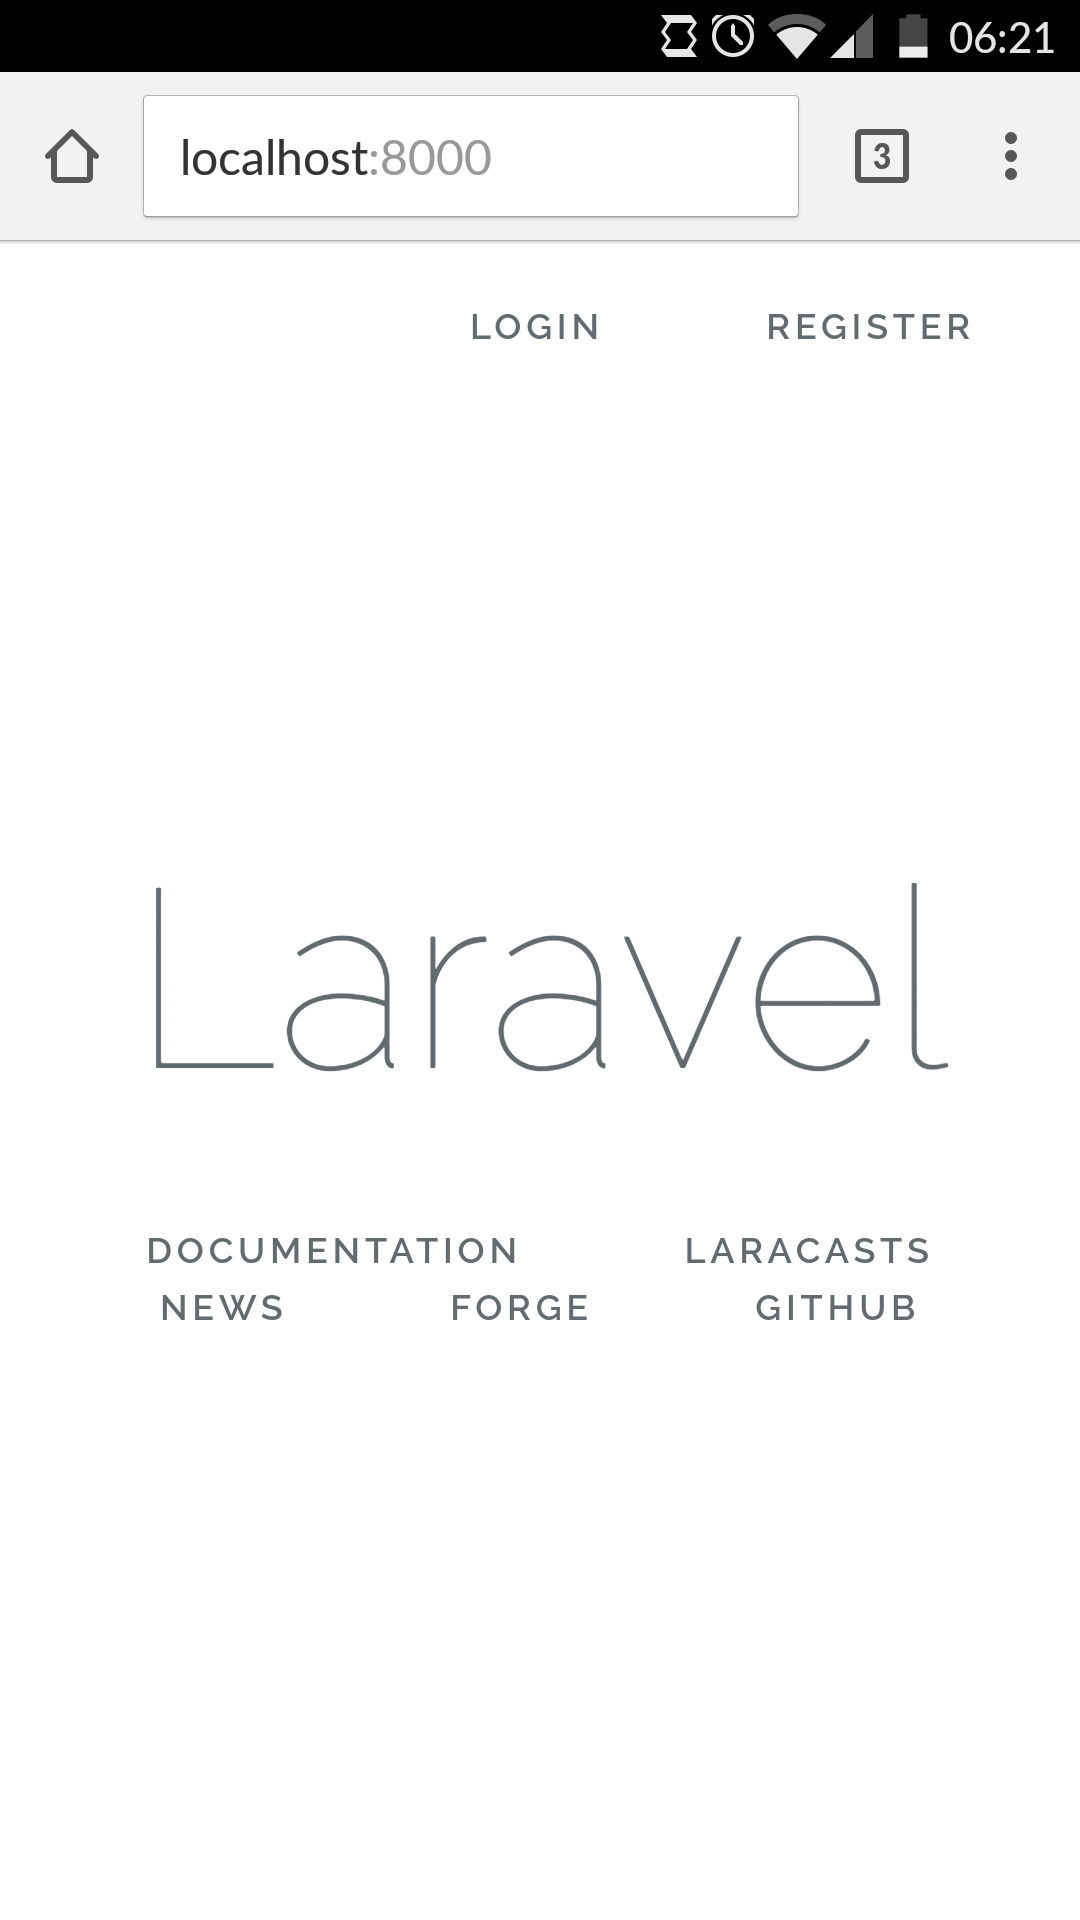
php artisan serveAccessing the localhost:8000 URL in the browser should show us the Laravel home screen now.
现在,在浏览器中访问localhost:8000 URL应该会向我们显示Laravel主屏幕。
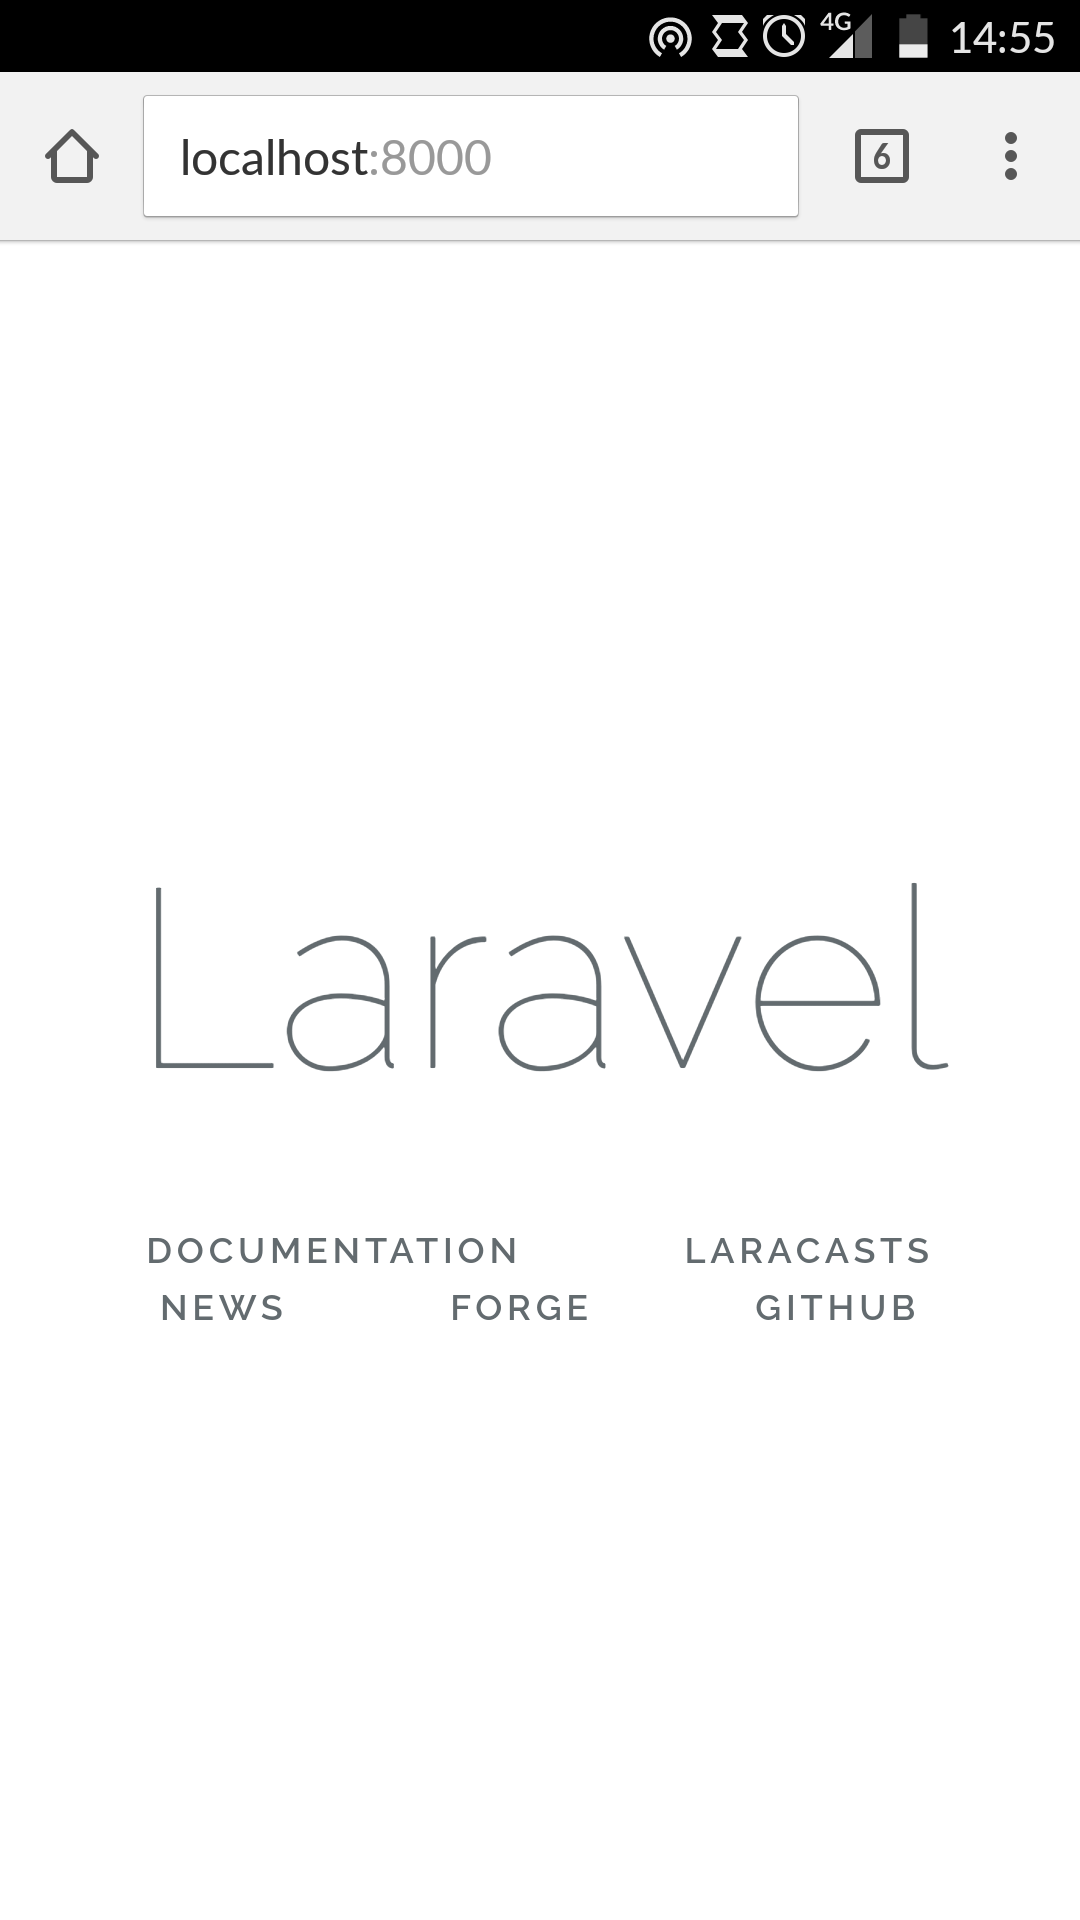
Success! Our Laravel installation is complete. We have successfully installed the tools we need to write and execute code. But no development environment is complete without a way of persisting data.
成功! 我们的Laravel安装完成。 我们已经成功安装了编写和执行代码所需的工具。 但是,如果没有持久化数据的方法,那么没有完整的开发环境。
When it comes to Android devices, most of the time, memory and storage capacity are real issues. Because of that, Termux only offers sqlite as a way of persisting data. SQLite is a serverless, file-based database engine. It is lightweight and ideal for small amounts of data, as you can read here and in this beyond the basics post. First, we need to install it.
对于Android设备,大多数时候,内存和存储容量都是真正的问题。 因此,Termux仅提供sqlite作为持久数据的一种方式。 SQLite是一个无服务器的,基于文件的数据库引擎。 它是轻量级的,非常适合少量数据,因为您可以在此处和基础知识之外的内容中 阅读 。 首先,我们需要安装它。
apt install sqliteNext, we need to configure our Laravel project to use sqlite. In the root of our project we have a .env file. This is the environment configuration file and is the first file we need to edit. Use your editor of choice to edit the following lines:
接下来,我们需要配置Laravel项目以使用sqlite。 在我们项目的根目录中,我们有一个.env文件。 这是环境配置文件,是我们需要编辑的第一个文件。 使用您选择的编辑器来编辑以下行:
DB_CONNECTION=sqlite
DB_HOST=127.0.0.1
DB_PORT=3306
DB_DATABASE=homestead
DB_USERNAME=homestead
DB_PASSWORD=secret

BROADCAST_DRIVER=log
CACHE_DRIVER=file
SESSION_DRIVER=file
QUEUE_DRIVER=sync
Then go to the config/database.php file and change the following line from:
然后转到config/database.php文件,并将以下行更改为:
'default' => env('DB_CONNECTION', 'mysql'),to
至
'default' => env('DB_CONNECTION', 'sqlite'),This will make sqlite the default connection from the connections array.
这将使sqlite成为connections数组中的默认连接。
'connections' => [
        'sqlite' => [
            'driver' => 'sqlite',
            'database' => env('DB_DATABASE', database_path('database.sqlite')),
            'prefix' => '',
        ],
        'mysql' => [
            'driver' => 'mysql',
            'host' => env('DB_HOST', '127.0.0.1'),
            'port' => env('DB_PORT', '3306'),
            'database' => env('DB_DATABASE', 'forge'),
            'username' => env('DB_USERNAME', 'forge'),
            'password' => env('DB_PASSWORD', ''),
            'charset' => 'utf8mb4',
            'collation' => 'utf8mb4_unicode_ci',
            'prefix' => '',
            'strict' => true,
            'engine' => null,
        ],
        'pgsql' => [
            'driver' => 'pgsql',
            'host' => env('DB_HOST', '127.0.0.1'),
            'port' => env('DB_PORT', '5432'),
            'database' => env('DB_DATABASE', 'forge'),
            'username' => env('DB_USERNAME', 'forge'),
            'password' => env('DB_PASSWORD', ''),
            'charset' => 'utf8',
            'prefix' => '',
            'schema' => 'public',
            'sslmode' => 'prefer',
        ],
    ],
The database path points to a database.sqlite file. This file does not exist yet, so we need to create it.
数据库路径指向database.sqlite文件。 该文件尚不存在,因此我们需要创建它。
touch database/database.sqliteThis is all the configuration we need to tell Laravel to use SQLite – we are now ready to test it. We’ll use Laravel’s pre-built authentication system. To create the scaffold we need to run the following command:
这就是告诉Laravel使用SQLite所需的所有配置-现在我们准备测试它。 我们将使用Laravel的预制身份验证系统。 要创建支架,我们需要运行以下命令:
php artisan make:authAfter this, we will run the migrations to build our database schema. This will create the users and password_reset tables.
之后,我们将运行迁移以构建数据库架构。 这将创建users表和password_reset表。
php artisan migrateIf we run php artisan serve again we’ll see that now we have the option to register and log in. Our authentication CRUD has been successfully created!
如果再次运行php artisan serve ,我们将看到现在我们可以选择注册和登录。我们的身份验证CRUD已成功创建!
结论 (Conclusion)
I did all this on my Android phone. This setup is great for small development tasks, as it has all the tools necessary for you to start developing on smaller devices, without the need to carry your laptop with you everywhere.
我在Android手机上完成了所有这些操作。 此设置非常适合小型开发任务,因为它具有在小型设备上开始开发所需的所有工具,而无需随身携带笔记本电脑。
While not exactly the pinnacle of productivity, it could easily come in handy when an urgent fix needs to be done, or when you want to see how much PHP performance you can milk out of an Android device.
尽管这并不是生产力的顶峰,但当需要进行紧急修复时,或者当您想知道可以从Android设备中吸收多少PHP性能时,它很容易派上用场。
Give it a try and tells us what you think, and if you built something interesting in PHP on Android, sell us the concept and we’ll write about it!
尝试一下,告诉我们您的想法,如果您在Android上PHP中构建了一些有趣的东西,请把这个概念卖给我们,我们会写出它!
*proper meaning proper for the context. An Android phone won’t have MySQL running, and won’t be able to run intricate test suites, especially e2e tests, but other things might just work well enough to get some work done.
*适当的含义适合上下文。 Android手机将无法运行MySQL,也将无法运行复杂的测试套件,尤其是e2e测试,但其他方面的工作可能足以完成某些工作。
翻译自: https://www.sitepoint.com/android-elephpant-laravel-android-phone/


 112
112


 被折叠的 条评论
为什么被折叠?
被折叠的 条评论
为什么被折叠?
 到【灌水乐园】发言


