


parse server
This article was originally published on mongoDB. Thank you for supporting the partners who make SitePoint possible.
本文最初在mongoDB上发布 。 感谢您支持使SitePoint成为可能的合作伙伴。
Whether you’re migrating from the deprecated Parse.com (api.parse.com) or building a new application, the Parse Server community is alive and strong, and since Parse Server version 2.1.11, there is support for MongoDB 3.2 which makes MongoDB Atlas an ideal back-end for Parse Server based applications.
无论您是从不推荐使用的Parse.com(api.parse.com)迁移还是构建新的应用程序,Parse Server社区都是活跃而强大的,并且自从Parse Server 2.1.11版本开始,就对MongoDB 3.2进行了支持,这使得MongoDB Atlas是基于Parse Server的应用程序的理想后端。
Existing hosted Parse / api.parse.com users can migrate their back-end using Parse’s Database Migration tool directly to MongoDB Atlas using a connection string like the following (with bold items replaced with your details):
现有的托管Parse / api.parse.com用户可以使用Parse的数据库迁移工具 ,使用如下所示的连接字符串将其后端直接迁移到MongoDB Atlas(将粗体替换为您的详细信息):
mongodb://username:password@node1.mongodb.net:27017,node2.mongodb.net:27017,node3.mongodb.net:27017/applicationDbName?replicaSet=clusterName-shard-0&ssl=true&authSource=adminWe will learn in this blog post:
我们将在此博客文章中学习:
How to deploy a MongoDB Atlas cluster
如何部署MongoDB Atlas集群
How to deploy the Parse Server (in our case we will show how to do so using AWS Elastic Beanstalk quick start, but updated to use the newest version of Parse Server)
如何部署Parse Server (在我们的案例中,我们将展示如何使用AWS Elastic Beanstalk快速入门进行部署,但已更新为使用最新版本的Parse Server)
- How to configure Parse Server to connect to MongoDB Atlas 如何配置Parse Server连接到MongoDB Atlas
- How to confirm connectivity 如何确认连接
如何使用MongoDB Atlas后端设置新的示例解析服务器应用程序 (How to Set Up A New Sample Parse Server Application with A MongoDB Atlas Back End)
- Deploy MongoDB Atlas cluster 部署MongoDB Atlas集群
- Consider sizing options but start small for a hello world style application. You can always scale later (MongoDB Atlas allows you to migrate to larger instances with no downtime to your database). 考虑大小调整选项,但对于世界风格的问候应用程序,请从小做起。 您以后可以随时进行扩展(MongoDB Atlas允许您迁移到较大的实例,而不会造成数据库停机)。
Register for MongoDB Atlas at mongodb.com/atlas
在mongodb.com/atlas上注册MongoDB Atlas
-
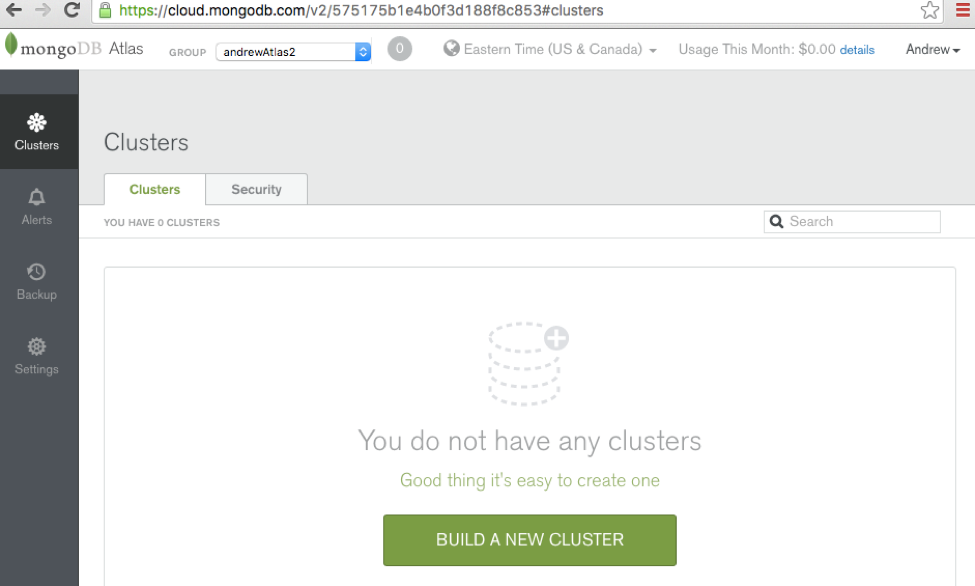
Build and deploy your first cluster (we’ll use a small M10 instance-sized replica set for our example, and deploy it into the US East region)
构建并部署您的第一个集群(在我们的示例中,我们将使用小型M10实例大小的副本集,并将其部署到美国东部地区)
-

-
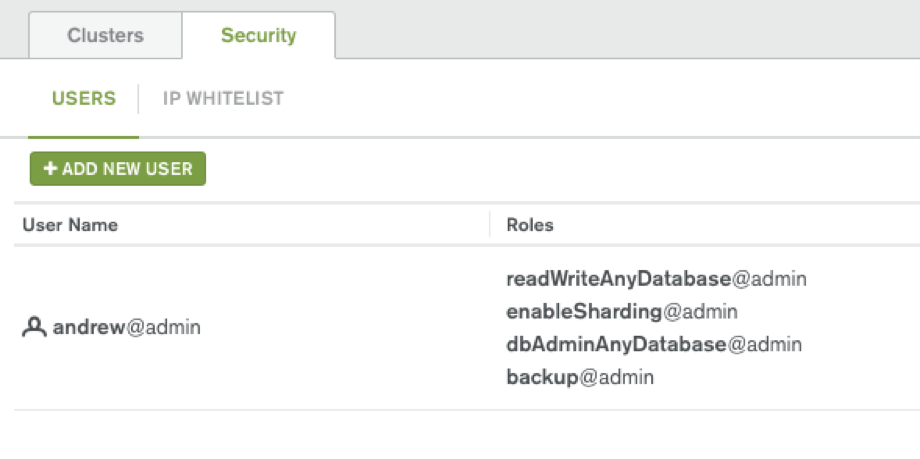
We’ll Create a user with at least readWrite on the applicationDbName database (or the user with readWriteAnyDatabase@admin which gets created automatically will do)
我们将在applicationDbName数据库上创建一个至少具有readWrite的用户(或者将自动创建具有readWriteAnyDatabase @ admin的用户)
-
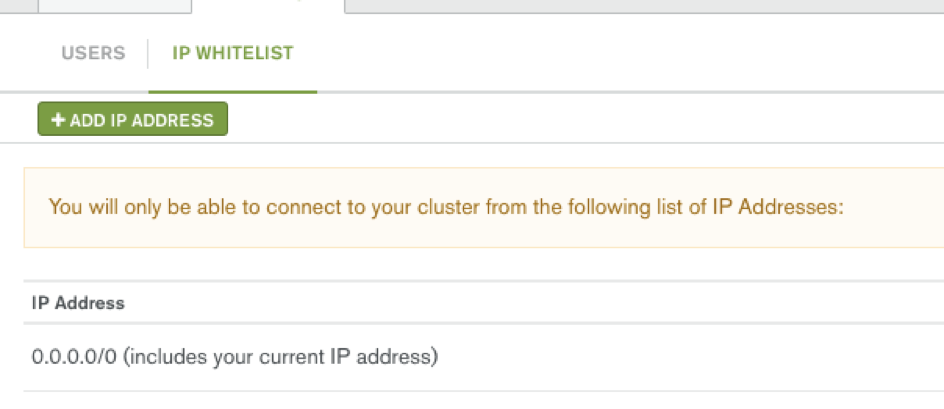
For testing purposes, we will open IP address to all IP addresses initially (0.0.0.0/0): Later we should leave only open to our application servers’ public IP addresses.
出于测试目的,我们最初将IP地址开放给所有IP地址(0.0.0.0/0):稍后,我们应仅开放应用程序服务器的公共IP地址。
- Choose where and how you want to deploy the Parse Server: 选择要在何处以及如何部署解析服务器:
Many options are described here, some of which provide easier set-ups than others. AWS Elastic Beanstalk and Heroku are easy options.
这里介绍了许多选项,其中一些选项比其他选项更容易设置。 AWS Elastic Beanstalk和Heroku是简单的选择。
就本博客而言,我们将通过以下URL(需要AWS账户)使用AWS Elastic Beanstalk进行Parse Server快速入门。 (For purposes of this blog post, we will go with AWS Elastic Beanstalk for the Parse Server quick start, by following the URL below (requires AWS account):)
Click for AWS Elastic Beanstalk for the Parse Server quick start deployment example.
单击以获取适用于Parse Server快速入门部署示例的AWS Elastic Beanstalk 。
But we will make sure we install Parse Server 2.1.12 or higher, e.g. in parse-server-example, ensure that the package.json file includes “parse-server”: “~2.2.16” (where 2.2.16 is the current latest at time of this writing).
但是,我们将确保安装Parse Server 2.1.12或更高版本,例如在parse-server-example中 ,确保package.json文件包含“ parse-server”:“〜2.2.16”(其中2.2.16是目前的最新消息)。
-
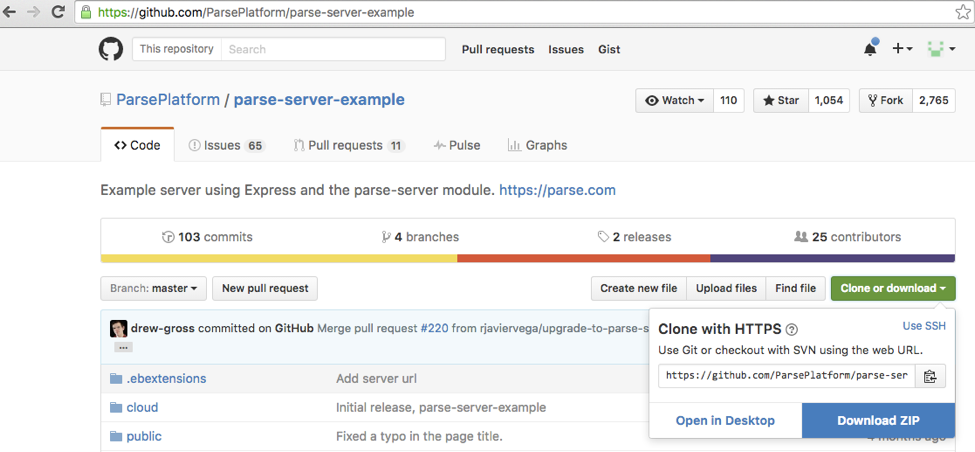
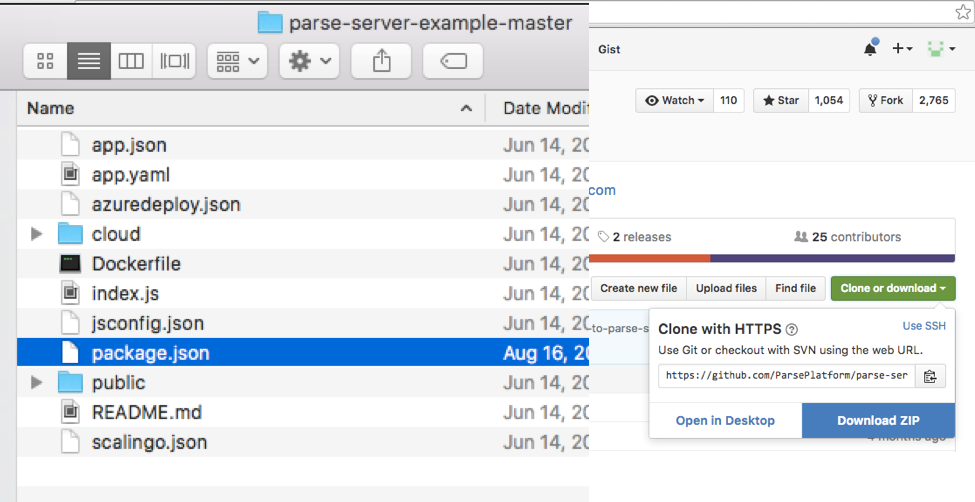
The Parse Server Example can be downloaded from github:
解析服务器示例可以从github下载:
If we extract the Zip file, we can edit the version in package.json
如果我们提取Zip文件,则可以在package.json中编辑版本
-
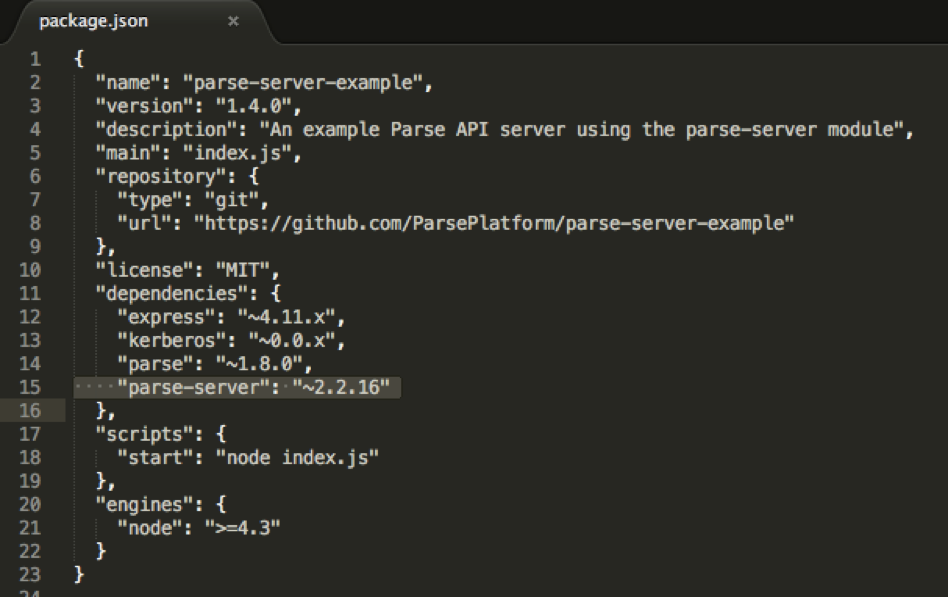
We’ll set the Parse Server version to 2.2.16 (latest at time of writing)
我们将Parse Server版本设置为2.2.16(在撰写本文时为最新)
-
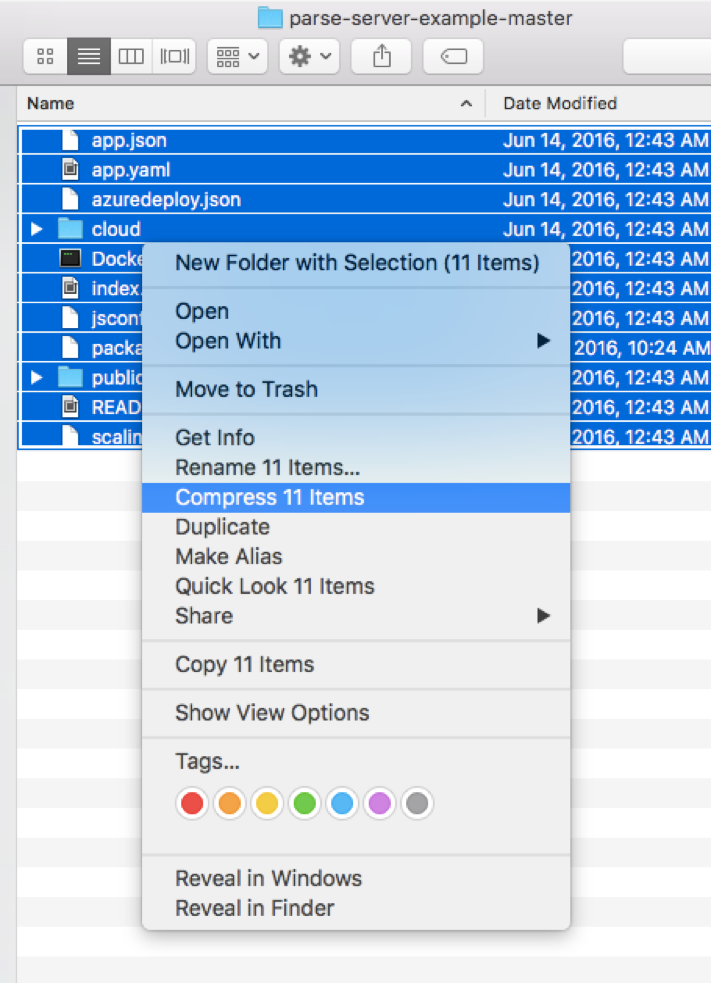
We’ll select the files in the directory and re-compress them into a new Zip file
我们将在目录中选择文件,然后将其重新压缩为新的Zip文件
-
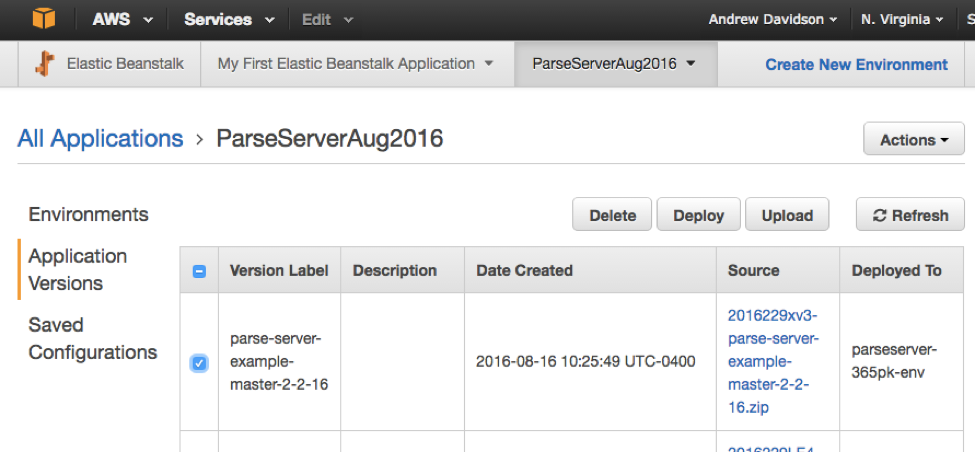
We’ll upload our new zip file so that it can be deployed
我们将上传新的zip文件,以便可以对其进行部署
- Configure Parse Server to connect to MongoDB Atlas 配置解析服务器以连接到MongoDB Atlas
-
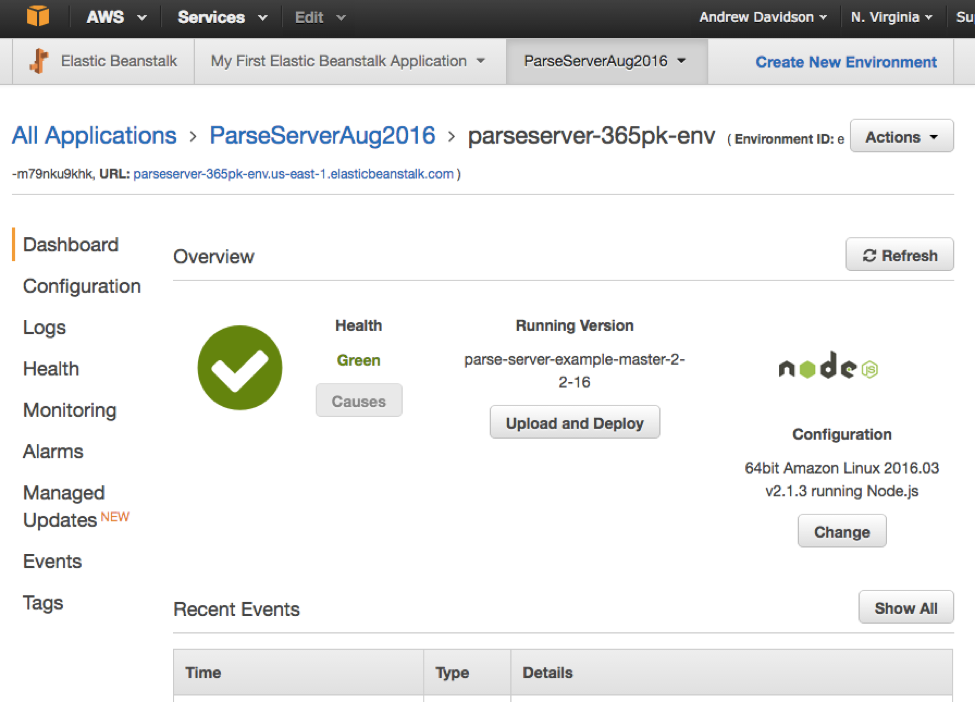
Inside the AWS Elastic Beanstalk UI
在AWS Elastic Beanstalk UI中
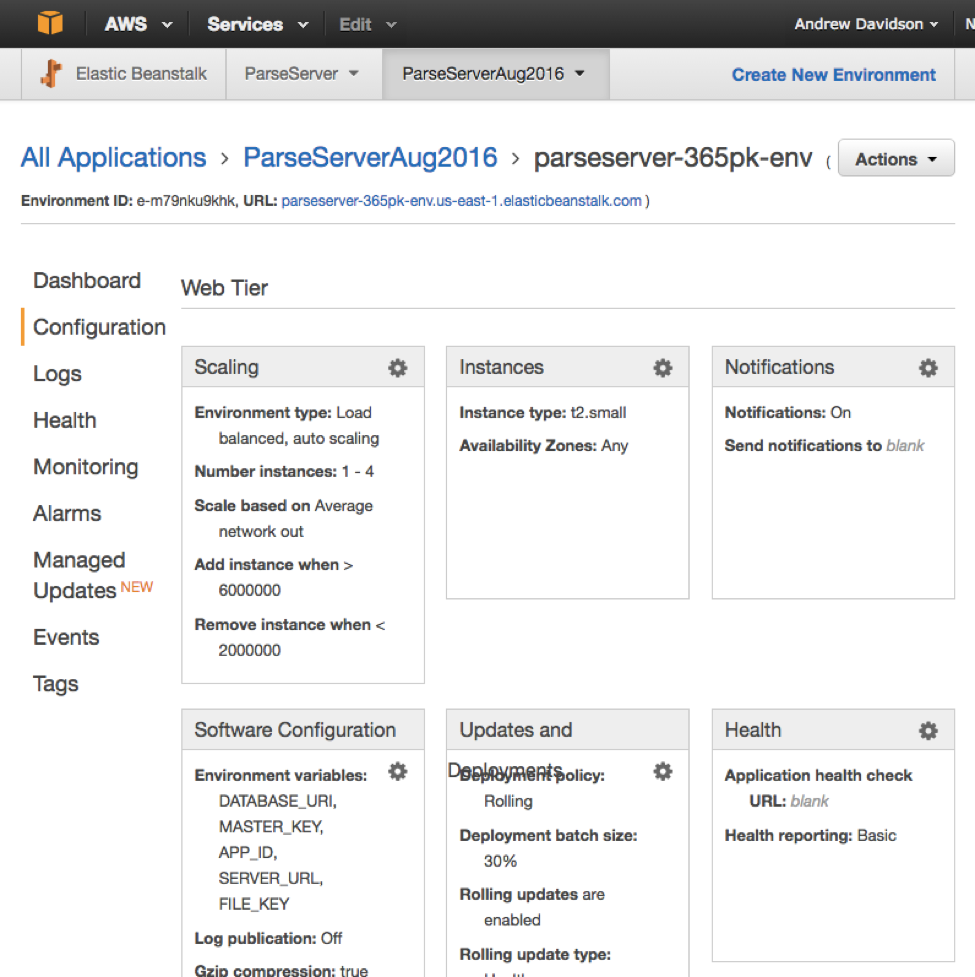
We’ll navigate to the “Configuration” section on the left-hand menu
我们将导航到左侧菜单上的“配置”部分
-
Then we’ll navigate to the “Software Configuration” section by clicking the gear icon, and scroll down to the “Environment Properties” section
然后,我们通过点击齿轮图标导航至“软件配置”部分,并向下滚动至“环境属性”部分
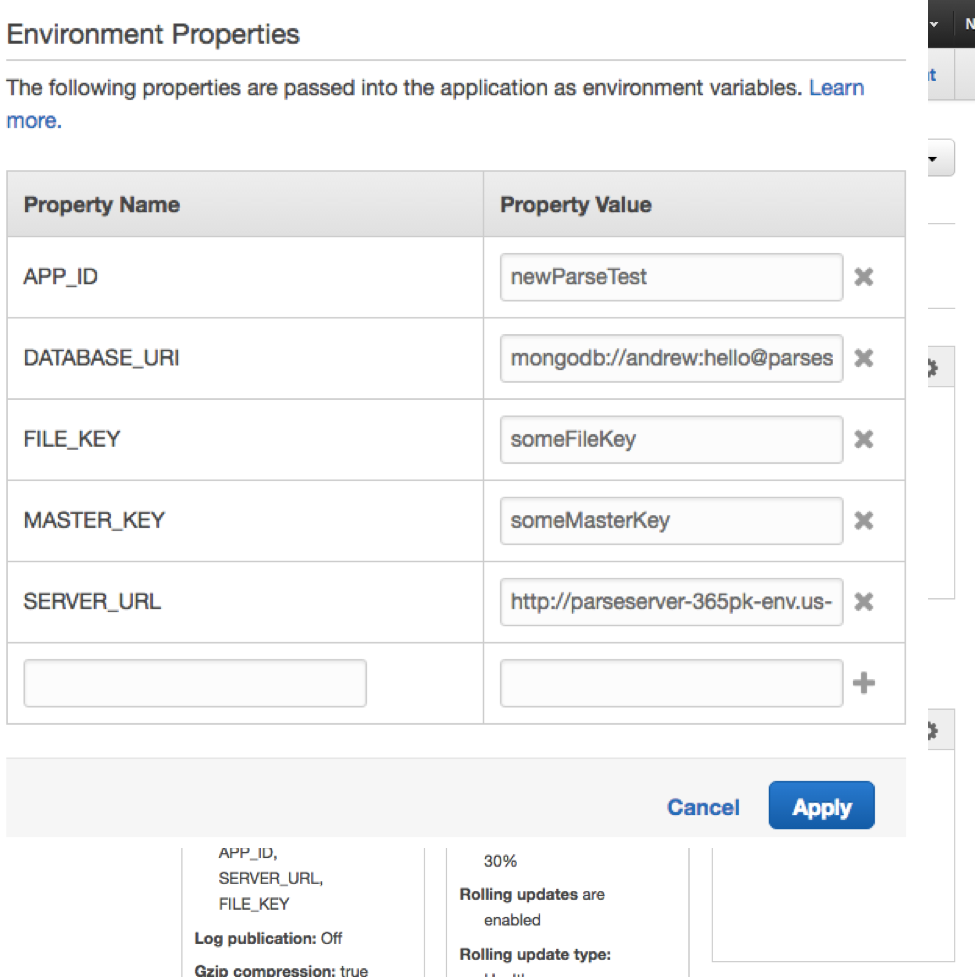
- In the environment properties, we’ll use any myAppId, myFileKey, mySecretMasterKey we want (since this is a new application, we set these). 在环境属性中,我们将使用所需的任何myAppId,myFileKey,mySecretMasterKey(由于这是一个新应用程序,因此我们将对其进行设置)。
-
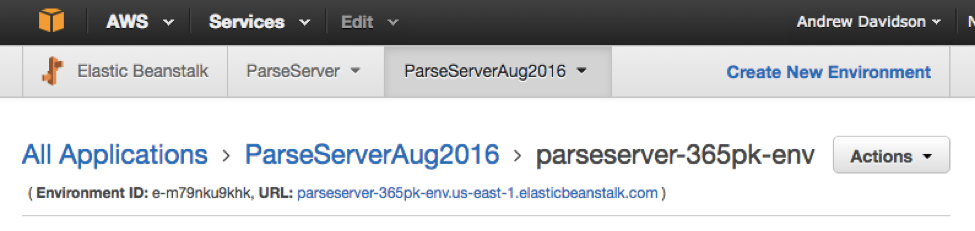
We’ll set the to that which shows near the top of our AWS Elastic Beanstalk application UI to the right of “URL: …“
我们将设置为显示在AWS Elastic Beanstalk应用程序UI顶部附近的“ URL:…”右侧。
- We’ll set the DATABASE_URI as follows (replacing the bold text with our specific cluster’s details) 我们将按如下所示设置DATABASE_URI(用特定集群的详细信息替换粗体文本)
mongodb://username:password@node1.mongodb.net:27017,node2.mongodb.net:27017,node3.mongodb.net:27017/applicationDbName?replicaSet=clusterName-shard-0&ssl=true&authSource=adminmongodb://username:password@node1.mongodb.net:27017,node2.mongodb.net:27017,node3.mongodb.net:27017/applicationDbName?replicaSet=clusterName-shard-0&ssl=true&authSource=admin-
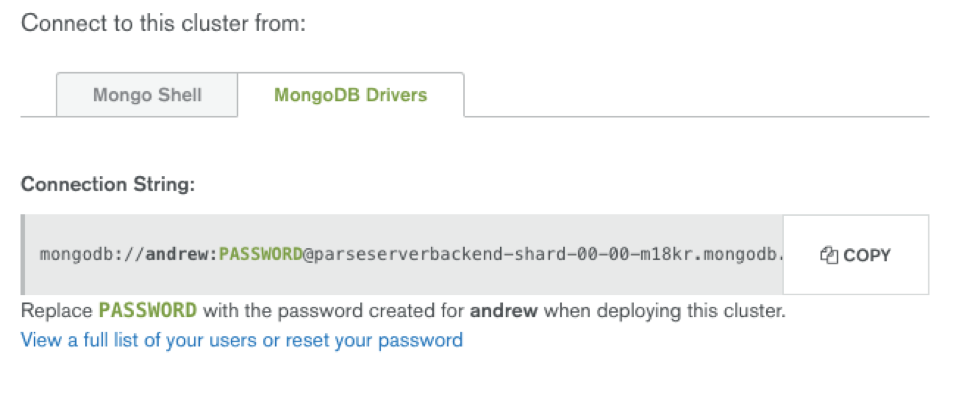
We can see that the appropriate MongoDB URI should be inside of MongoDB Atlas’s “Connect” UI for the cluster, under the Driver connections section
我们可以在驱动程序连接部分下看到适当的MongoDB URI应该在集群的MongoDB Atlas的“ Connect” UI中
- Test to confirm connectivity of our example application to Parse Server and the MongoDB Atlas backend: 测试以确认我们的示例应用程序与Parse Server和MongoDB Atlas后端的连接性:
$ curl -X POST \
> -H "X-Parse-Application-Id: newParseTest" \
> -H "Content-Type: application/json" \
> -d '{"score":1337,"playerName":"John Doe","cheatMode":false}' \
> http://parseserver-365pk-env.us-east-1.elasticbeanstalk.com/parse/classes/GameScore
Returns:
{
"objectId": "YMgGV6kVTP",
"createdAt": "2016-08-26T14:54:26.580Z"
}$ curl -X GET \
> -H "X-Parse-Application-Id: newParseTest" \
> -H "X-Parse-Master-Key: MASTER_KEY" \
> http://parseserver-365pk-env.us-east-1.elasticbeanstalk.com/parse/classes/GameScoreReturns:
{
"results": [
{
"objectId": "YMgGV6kVTP",
"score": 1337,
"playerName": "John Doe",
"cheatMode": false,
"createdAt": "2016-08-26T14:54:26.580Z",
"updatedAt": "2016-08-26T14:54:26.580Z"
}
]
}Now you can use the SDK to build a new application pointing to your instance of Parse Server + MongoDB Atlas!
现在,您可以使用SDK来构建指向您的Parse Server + MongoDB Atlas实例的新应用程序!
翻译自: https://www.sitepoint.com/building-new-parse-server-mongodb-atlas-based-application/
parse server


 482
482


 被折叠的 条评论
为什么被折叠?
被折叠的 条评论
为什么被折叠?
 到【灌水乐园】发言


