


Creating an intro for your PowerPoint using the signature Star Wars text crawl during the opening scene is an excellent way to captivate your audience, getting them more interested and engaged in your presentation.
在开幕式中使用签名的《星球大战》文字抓取为您的PowerPoint创建一个简介,这是一种吸引观众,使他们更感兴趣并吸引您的演示文稿的绝佳方法。
在PowerPoint中创建星球大战简介抓取 (Creating the Star Wars Intro Crawl in PowerPoint)
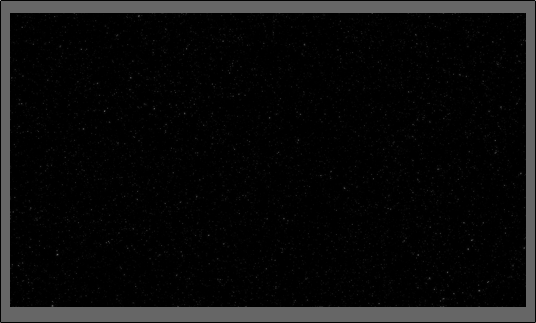
First things first, you need to add an image of a clear, starry night sky as the background of our slide. Locate the image online or, if luck is on your side and you have a good camera handy, go outside and take one yourself.
首先,您需要添加一张晴朗的星空图像作为幻灯片的背景。 在网上找到图片,或者,如果碰巧有运气,并且手边有个不错的相机,请出去拿自己的东西。
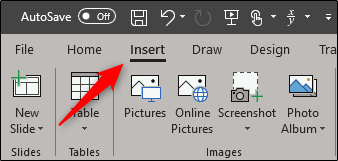
Once you’ve placed the image in PowerPoint, you’ll need to insert a text box so we can enter our introduction text. To add a text box, first, click the “Insert” tab.
将图像放置在PowerPoint中后,您需要插入一个文本框,以便我们输入我们的简介文本。 要添加文本框,首先,单击“插入”选项卡。
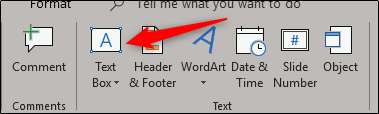
Next, click the “Text Box” button.
接下来,单击“文本框”按钮。
Click and drag to draw your text box. Be sure to be a bit generous on the size of the text box.
单击并拖动以绘制您的文本框。 确保在文本框的大小上要大方一些。
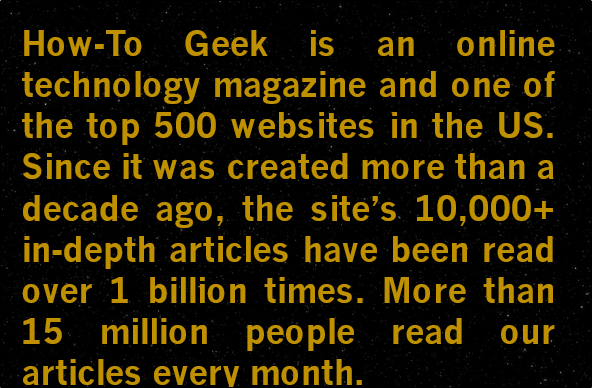
Make sure the image is set to be behind the text. Once you’re ready, enter the text you’d like to be displayed.
确保将图像设置为在文本后面 。 准备好之后,输入您想要显示的文本。
The font style has changed a bit in more recent films, but if you’re looking to at least closely mock the text style of the original 1977 version, then you’ll need to set the font to the following:
在最近的电影中,字体样式已经发生了一些变化,但是,如果您希望至少紧密模拟原始1977版本的文本样式,则需要将字体设置为以下字体:
- Color: Gold (Red 250, Green 190, Blue 0) 颜色:金色(红色250,绿色190,蓝色0)
- Font Style: News Gothic MT; Bold 字体样式:News Gothic MT; 胆大
- Font Size: 44 pt. 字体大小:44 pt。
- Alignment: Justify 对齐方式:对齐
After you adjust your settings, you should have something that looks like this:
调整设置后,您应该会看到以下内容:
Now it’s time to change the perspective of the text. First, select the text box.
现在是时候更改文本的角度了。 首先,选择文本框。
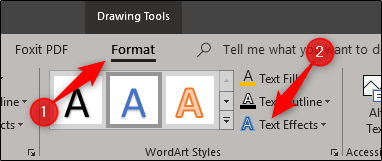
Next, switch to the “Format” tab and then click the “Text Effects” button.
接下来,切换到“格式”选项卡,然后单击“文本效果”按钮。
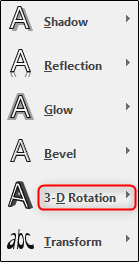
From the dropdown menu that appears, select “3-D Rotation.”
从出现的下拉菜单中,选择“ 3-D旋转”。
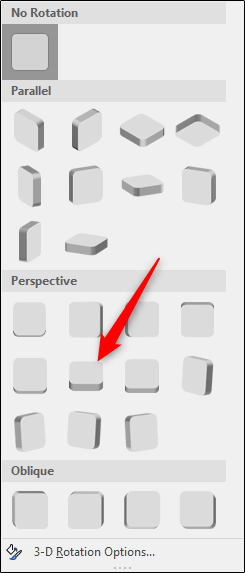
Another menu will appear. Here, select the “Perspective Relaxed Moderately” option from the “Perspective” group.
出现另一个菜单。 在这里,从“透视”组中选择“中等透视放松”选项。
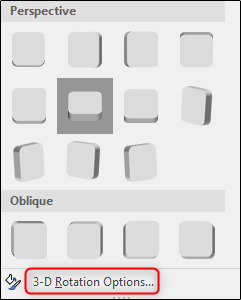
Next, head back to the menu where we selected our perspective, but this time, select “3-D Rotation Options” at the bottom.
接下来,返回到我们选择透视图的菜单,但是这次,选择底部的“ 3-D旋转选项”。
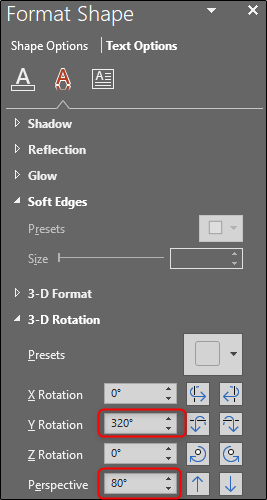
The “Format Shape” pane will appear on the right-hand side. Near the bottom, change the “Y Rotation” value to 320 degrees and the “Perspective” option to 80 degrees.
“格式形状”窗格将出现在右侧。 在底部附近,将“ Y旋转”值更改为320度,将“透视”选项更改为80度。
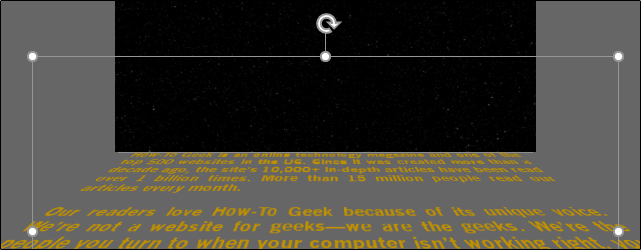
The next part is a bit tricky—you need to position your text box so that the top of the text is at the bottom of the slide. You also need to make sure the text is centered. To do so, click and drag the text box. Adjust the width of the text box to make the top line of text the same width (or close to the same width) as your slide.
下一部分有些棘手-您需要放置文本框,使文本的顶部在幻灯片的底部。 您还需要确保文本居中。 为此,请单击并拖动文本框。 调整文本框的宽度,以使文本的第一行与幻灯片的宽度相同(或接近相同的宽度)。
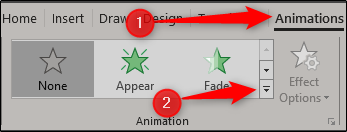
Next, head over to the “Animations” tab and select the down arrow at the bottom right of “Animation” group.
接下来,转到“动画”选项卡,然后选择“动画”组右下角的向下箭头。
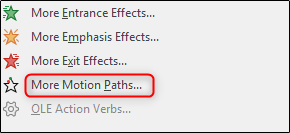
At the bottom of the menu that appears, select “More Motion Paths.”
在出现的菜单底部,选择“更多运动路径”。
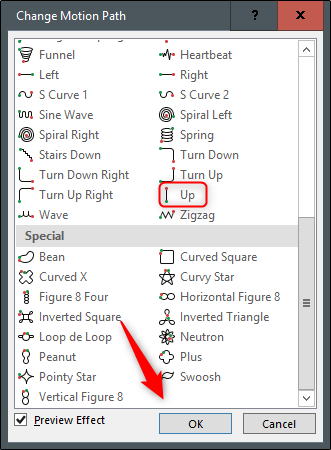
The “Change Motion Path” menu will appear. Here, select “Up” and then click “OK.”
将出现“更改运动路径”菜单。 在这里,选择“向上”,然后单击“确定”。
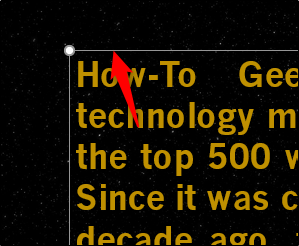
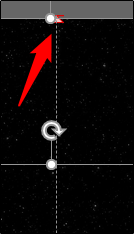
You’ll see a red and green arrow appear, signifying the end and beginning of the animation, respectively. Click and drag the red arrow to the very top of the slide. Hold the Shift key while dragging to keep your line straight.
您将看到一个红色和绿色箭头,分别表示动画的结束和开始。 单击并将红色箭头拖动到幻灯片的顶部。 拖动时按住Shift键可保持直线。
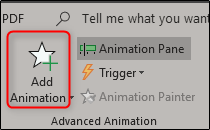
Now head to the “Advanced Animations” group and select the “Add Animation” option.
现在转到“高级动画”组,然后选择“添加动画”选项。
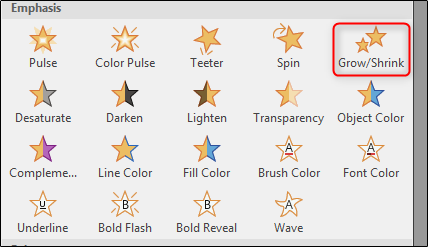
Select the “Grow/Shrink” animation from the “Emphasis” group.
从“强调”组中选择“增长/收缩”动画。
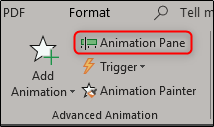
Head back over to the “Advanced Animation” group and select “Animation Pane.”
回到“高级动画”组,然后选择“动画窗格”。
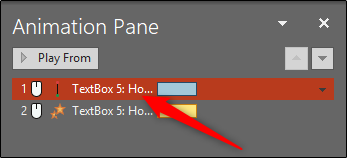
A pane will appear on the right-hand side of the window, displaying the selected animations. Here, double-click the “Up” animation.
窗格将出现在窗口的右侧,显示选定的动画。 在这里,双击“向上”动画。
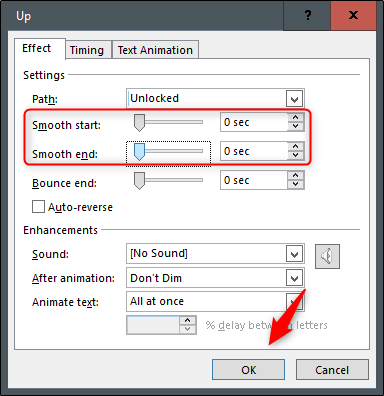
A window will appear, presenting several options for the Up animation. Here, change the “Smooth start” and “Smooth end” settings to zero and then click “OK.”
将出现一个窗口,其中显示了Up动画的几个选项。 在这里,将“平滑开始”和“平滑结束”设置更改为零,然后单击“确定”。
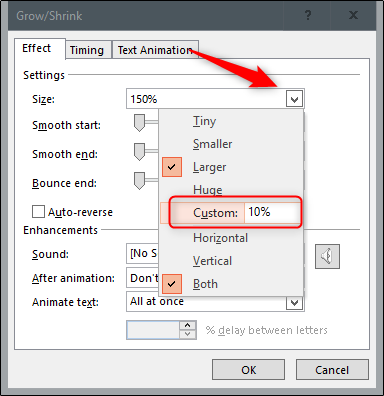
Next, double-click the “Grow/Shrink” animation from the list to bring up its settings window. In the “Settings” section, click the arrow next to the “Size” option. In the dropdown menu that appears, enter “10%” in the “Custom” option and then press Enter.
接下来,双击列表中的“增长/收缩”动画以打开其设置窗口。 在“设置”部分中,单击“大小”选项旁边的箭头。 在出现的下拉菜单中,在“自定义”选项中输入“ 10%”,然后按Enter。
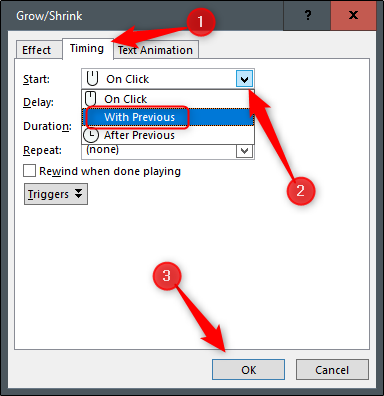
Head over to the “Timing” tab and select the arrow next to the “Start” option. Select “With Previous” and then click “OK.”
转到“计时”选项卡,然后选择“开始”选项旁边的箭头。 选择“使用上一个”,然后单击“确定”。
Now, you need to adjust the length of the “Up” animation. By default, the animation length is only two seconds, which is too quick.
现在,您需要调整“向上”动画的长度。 默认情况下,动画长度只有两秒钟,这太快了。

To adjust the timing, click and grab the end of the colored bar next to the animation. The timing depends on how much text you have. We’ll set ours to 30 seconds.
要调整时间,请单击并抓住动画旁边彩色条的末端。 时间取决于您有多少文字。 我们将其设置为30秒。
Do the same for your Grow/Shrink animation.
对“增长/收缩”动画执行相同的操作。
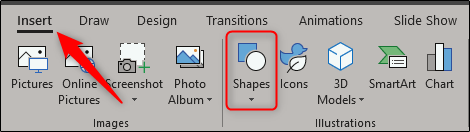
Now, we need to add a shape to that uses the same image as the background. Head over to the “Insert” tab and select the “Shapes” option from the “Illustrations” group.
现在,我们需要添加一个形状,使其使用与背景相同的图像。 转到“插入”选项卡,然后从“插图”组中选择“形状”选项。
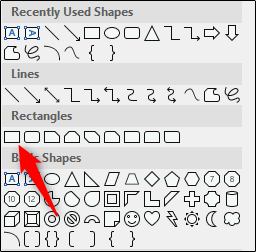
A dropdown menu will appear. Select “Rectangle” from the “Rectangles” group.
将会出现一个下拉菜单。 从“矩形”组中选择“矩形”。
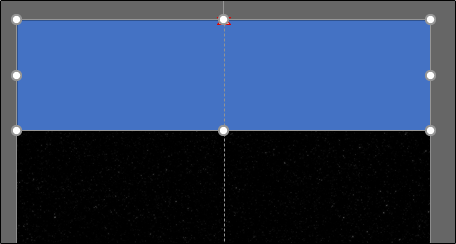
Draw the rectangle so that it covers the top half of the slide.
绘制矩形,使其覆盖幻灯片的上半部分。
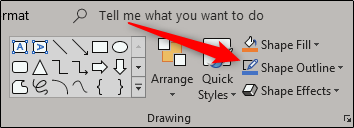
Now we need to remove the outline of the rectangle. Make sure the shape is selected, then head over to the “Home” tab and click “Shape Outline.”
现在我们需要删除矩形的轮廓。 确保选择了形状,然后转到“主页”选项卡,然后单击“形状轮廓”。
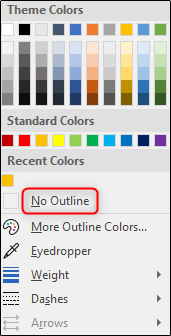
From the dropdown menu that appears, select “No Outline.”
从出现的下拉菜单中,选择“无轮廓”。
Next, we need to give the shape the same image as our background. To do this, head back over to the “Drawing” group and select “Shape Fill.”
接下来,我们需要为形状提供与背景相同的图像。 为此,请回到“绘图”组,然后选择“形状填充”。

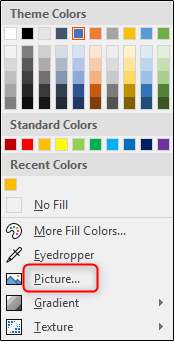
From the dropdown menu, select “Picture.” Browse to the location of the picture you used for your background and select it.
从下拉菜单中选择“图片”。 浏览到用于背景图片的位置,然后选择它。
You’ll now have what appears to be one solid background. The point of the shape is to have the text disappear behind it.
您现在将拥有一个坚实的背景。 形状的重点是使文本在其后面消失。
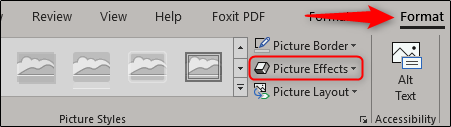
If you were to play the slideshow now, the text would disappear kind of abruptly. To have a smoother exit, give soft edges to your shape. To do this, select the shape and head over to the “Format” tab and select “Picture Effects” from the “Picture Styles” group.
如果您现在要播放幻灯片,则文本会突然消失。 要使出口更平滑,请为形状赋予柔和的边缘。 为此,选择形状并转到“格式”选项卡,然后从“图片样式”组中选择“图片效果”。
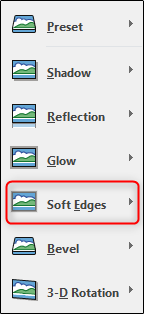
Select “Soft Edges” from the dropdown menu.
从下拉菜单中选择“软边”。
In the “Soft Edge Variations” group, select the last option for the softest edges.
在“柔和边缘变化”组中,为最柔和的边缘选择最后一个选项。

That it! All that’s left to do is wow your audience with your creative presentation!
那个! 剩下要做的就是让您的观众欣赏您的创意演讲!
翻译自: https://www.howtogeek.com/413258/how-to-create-star-wars-scrolling-text-in-powerpoint/


 被折叠的 条评论
为什么被折叠?
被折叠的 条评论
为什么被折叠?
 到【灌水乐园】发言


