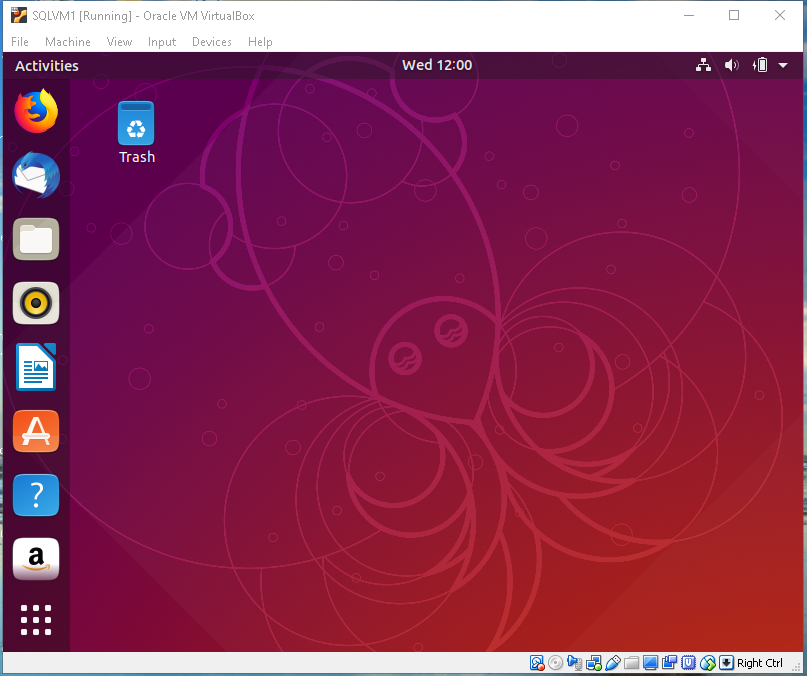
In the first article of the series on SQL Server 2019 and Ubuntu, we prepared the virtual machine environment and installed Ubuntu 18.10 in it. In this part of the article, we will install the latest SQL Server 2019 Preview CTP 2.1.
在有关SQL Server 2019和Ubuntu的系列的第一篇文章中,我们准备了虚拟机环境并在其中安装了Ubuntu 18.10。 在本文的此部分中,我们将安装最新SQL Server 2019 Preview CTP 2.1。
We can install SQL Server on Ubuntu by two methods.
我们可以通过两种方法在Ubuntu上安装SQL Server。
- Directly install SQL Server on Ubuntu 在Ubuntu上直接安装SQL Server
- Install SQL Server using Docker container on Ubuntu 在Ubuntu上使用Docker容器安装SQL Server
In this article, we will install SQL Server 2019 using the Docker container. Docker is basically an application package which contains all dependencies in the package itself. We can just call the Docker container and provide the configuration parameter to start using the application.
在本文中,我们将使用Docker容器安装SQL Server 2019。 Docker基本上是一个应用程序包,它本身包含所有依赖项。 我们只需调用Docker容器并提供配置参数即可开始使用该应用程序。
Before we install SQL Server 2019 on the virtual machine let us do a few checks and necessary pre-requisites.
在虚拟机上安装SQL Server 2019之前,我们先做一些检查和必要的先决条件。
Launch the virtual machine if it is not already running using the ID and password we configured during installation wizard.
如果虚拟机尚未运行,请使用我们在安装向导期间配置的ID和密码启动虚拟机。
>

>
找出虚拟机的IP地址 (Find out the IP address of the virtual machine)
In Ubuntu, we can check the IP address using the ‘ifconfig’ command. But as you can see here, it shows an error that command ‘ifconfig’ not found. By default, it is not installed on Ubuntu so we need to install net tools to use this command.
在Ubuntu中,我们可以使用'ifconfig'命令检查IP地址。 但是正如您在这里看到的那样,它显示了一个错误,即找不到命令“ ifconfig”。 默认情况下,它未安装在Ubuntu上,因此我们需要安装网络工具才能使用此命令。
We can install ‘ifconfig’ using the command below:
我们可以使用以下命令安装“ ifconfig”:
- sudo apt install net-tools sudo apt安装网络工具
We will connect the virtual machine from outside to perform the installation. To do so, we need to configure the network at the VM level. Right click on the VM, go to Settings and then click on the Network.
我们将从外部连接虚拟机以执行安装。 为此,我们需要在VM级别配置网络。 右键单击VM,转到“设置”,然后单击“网络”。
Below is the default configuration for the VM:
以下是虚拟机的默认配置:
As you see above by default, the network adapter is ‘NAT’. The virtual machine does not contain any IP address in ‘NAT’ configuration, therefore, you cannot connect externally to this virtual machine.
如您在默认情况下所见,网络适配器为“ NAT”。 该虚拟机在“ NAT”配置中不包含任何IP地址,因此,您无法从外部连接到该虚拟机。
Modify this to ‘Bridged Adapter’ from the drop-down list. In bridged networking, we connect a virtual machine by the network adapter on the host system. Therefore, when you configure to ‘Bridged Adapter’ you can see the host network name as shown here.
从下拉列表中将其修改为“桥接适配器”。 在桥接网络中,我们通过主机系统上的网络适配器连接虚拟机。 因此,当您配置为“桥接适配器”时,您可以看到主机网络名称,如下所示。
Click OK to save this setting. This takes little time to get the setting effective. Now, we can run the ‘ifconfig’ command and check the IP address.
单击确定保存此设置。 这花费很少的时间来使设置生效。 现在,我们可以运行“ ifconfig”命令并检查IP地址。


 本文介绍了如何在Ubuntu 18.10上使用Docker安装SQL Server 2019 Preview CTP 2.1。首先,确保虚拟机配置正确,包括设置网络为桥接适配器,安装OpenSSH服务器和PuTTY工具。接着,通过curl和apt-get安装Docker。完成Docker安装后,拉取SQL Server 2019容器映像,并使用配置选项运行容器。最后,文章提到了如何连接到容器内的SQL Server以及如何删除Docker容器。
 最低0.47元/天 解锁文章


 974
974


 被折叠的 条评论
为什么被折叠?


