


 本文介绍了如何在Windows 10中创建一个不会触发用户访问控制(UAC)提示的管理员模式快捷方式。通过设置计划任务并在其上创建桌面快捷方式,可以在不被UAC打扰的情况下运行需要管理员权限的程序。

uac管理员程序
User Access Control (UAC) prompts in Windows 10 can be annoying, especially when you often run a program that requires Administrator permissions. Thankfully, there’s a way to create a shortcut that doesn’t prompt you for UAC.
Windows 10中的用户访问控制(UAC)提示可能很烦人,尤其是当您经常运行需要管理员权限的程序时。 幸运的是,有一种方法可以创建不会提示您输入UAC的快捷方式。
This trick works by setting up a scheduled task to run the target application in Administrator mode for you. You can then create a desktop shortcut that tells the task to run, which will bypass the UAC prompt the next time you click the shortcut.
此技巧通过设置计划任务以在管理员模式下为您运行目标应用程序而起作用。 然后,您可以创建一个告诉任务运行的桌面快捷方式,下次您单击该快捷方式时,它将绕过UAC提示。
While you can technically disable UAC prompts altogether, that’s an inherently bad idea as it opens up your computer’s security to potential threats and malicious code.
从技术上来说,您可以完全禁用UAC提示,但这是一个固有的坏主意,因为它使计算机的安全性不受潜在威胁和恶意代码的影响。
Because running Task Scheduler requires you to click through a UAC prompt that gives Administrator privileges to set up a task, this trick isn’t really a security loophole.
因为运行Task Scheduler需要您单击UAC提示符,该提示符为管理员提供了设置任务的特权,所以该技巧实际上并不是安全漏洞。
如何创建计划任务 (How to Create a Scheduled Task)
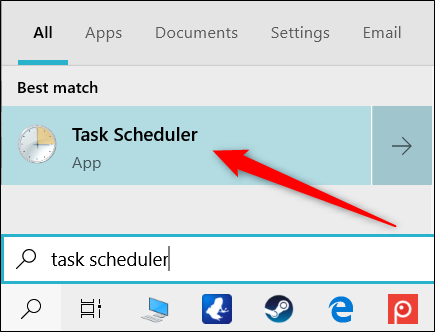
To launch the Task Scheduler, click Start, type Task Scheduler into the search bar, and then select the Task Scheduler icon in the search results.
要启动任务计划程序,请单击“开始”,在搜索栏中键入“ Task Scheduler ”,然后在搜索结果中选择“任务计划程序”图标。
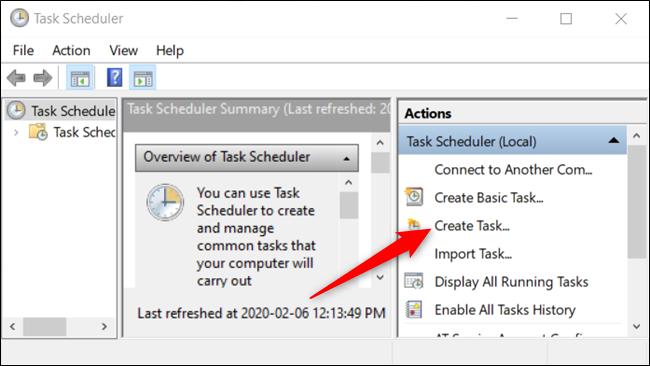
When Task Scheduler opens, click on “Create Task” from the pane on the right side of the window.
当“任务计划程序”打开时,从窗口右侧的窗格中单击“创建任务”。
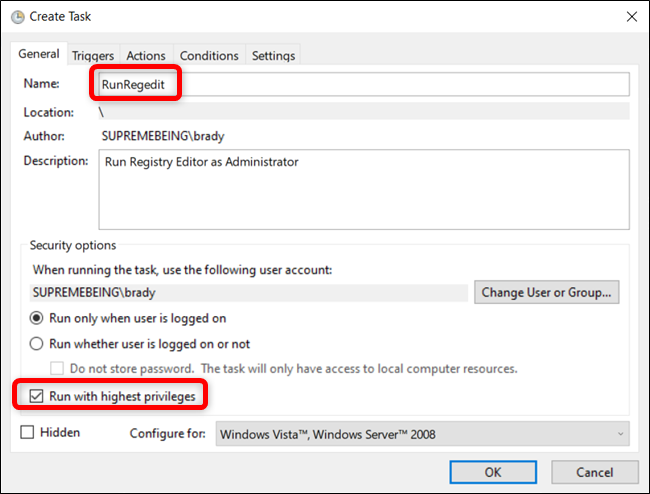
Give the task a simple name—preferably without any spaces—that’s easy to remember and then tick the box next to “Run with Highest Privileges.” You can even give it a brief description if you want, but it isn’t necessary.
给任务起一个简单的名字-最好不要有空格-这样容易记住,然后在“以最高特权运行”旁边的框内打钩。 如果需要,您甚至可以对其进行简短描述,但这不是必需的。
By default, if you’re setting up this task on a laptop, Task Scheduler won’t run the task unless your computer is connected to AC power. If you don’t disable this option, when you click on the shortcut, the task won’t initiate the program and stick in a “Queued” state until you plug in the AC power.
默认情况下,如果您要在笔记本电脑上设置此任务,除非您的计算机连接到交流电源,否则“任务计划程序”将不会运行该任务。 如果不禁用此选项,则在单击快捷方式时,该任务将不会启动程序,并且在插入交流电源之前不会停留在“排队”状态。
Click the “Conditions” tab and untick the box next to “Start the Task Only If the Computer Is on AC Power.”
单击“条件”选项卡,然后取消选中“仅当计算机使用交流电源时才启动任务”旁边的框。

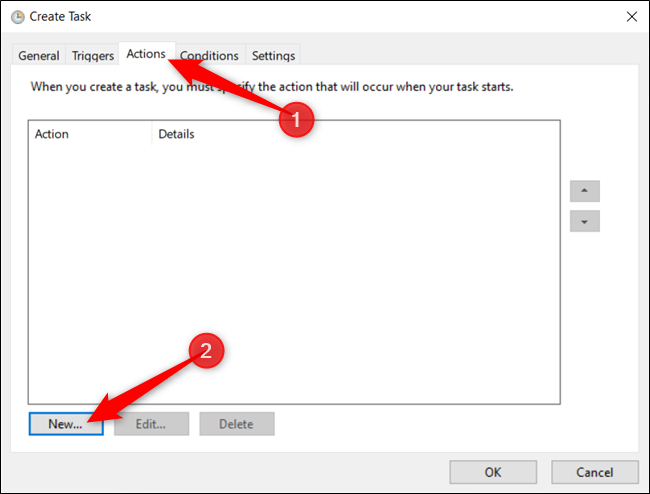
Next, switch to the “Actions” tab and then click the “New” button to create a new action for the task.
接下来,切换到“动作”选项卡,然后单击“新建”按钮为任务创建一个新动作。
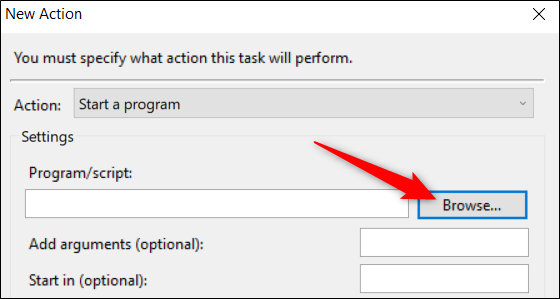
Now, click “Browse” to search for the application to run when you start the task.
现在,单击“浏览”以搜索启动任务时要运行的应用程序。
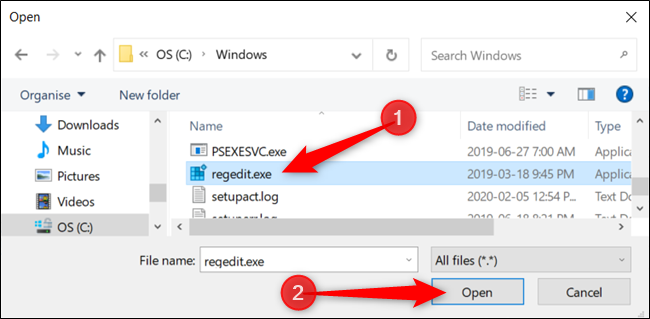
Locate the application you want to start and then click “Open” after selecting it in File Explorer.
找到您要启动的应用程序,然后在“文件资源管理器”中选择它后单击“打开”。
Click “OK” to save the changes.
单击“确定”保存更改。
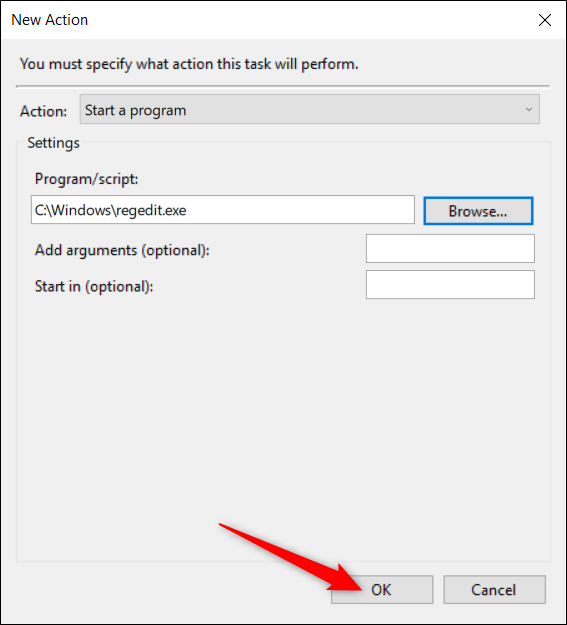
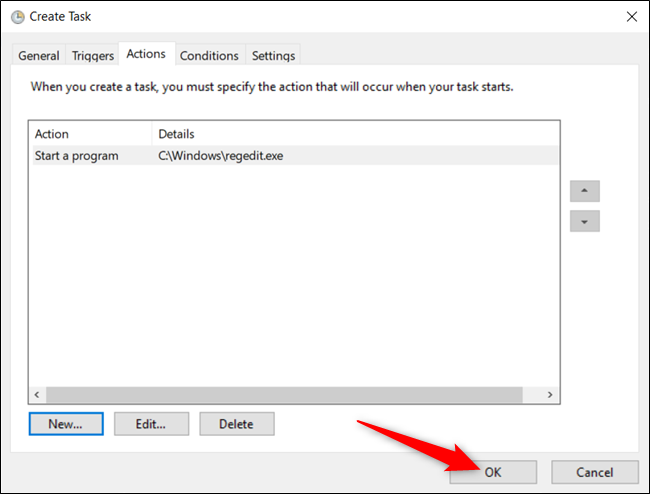
Click “OK” one more time to finish the task creation process.
再单击一次“确定”以完成任务创建过程。
After you create the task, that’s all you need to do for this part. If you want to make sure the task runs as expected, select the “Task Scheduler Library,” right-click on the task in the list, and then click “Run” from the context menu.
创建任务之后,这就是您要做的所有事情。 如果要确保任务按预期运行,请选择“任务计划程序库”,右键单击列表中的任务,然后从上下文菜单中单击“运行”。

Once all systems are go, close Task Scheduler, taking note of the name you used for the task.
所有系统运行完毕后,关闭Task Scheduler,并记下您用于该任务的名称。
如何创建快捷方式以启动任务 (How to Create the Shortcut to Start the Task)
Now that you’ve successfully made the task that will open the application, it’s time to create a shortcut that will run the task.
现在您已经成功完成了将打开应用程序的任务,现在该创建一个可以运行该任务的快捷方式了。
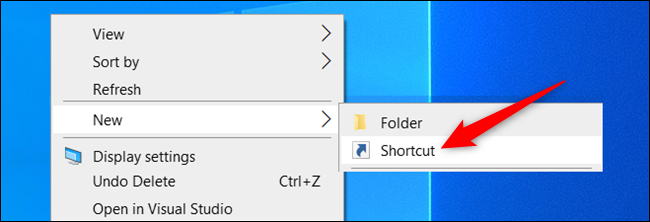
Right-click an empty spot on the Desktop and then select New > Shortcut from the context menu.
右键单击桌面上的空白处,然后从上下文菜单中选择“新建”>“快捷方式”。
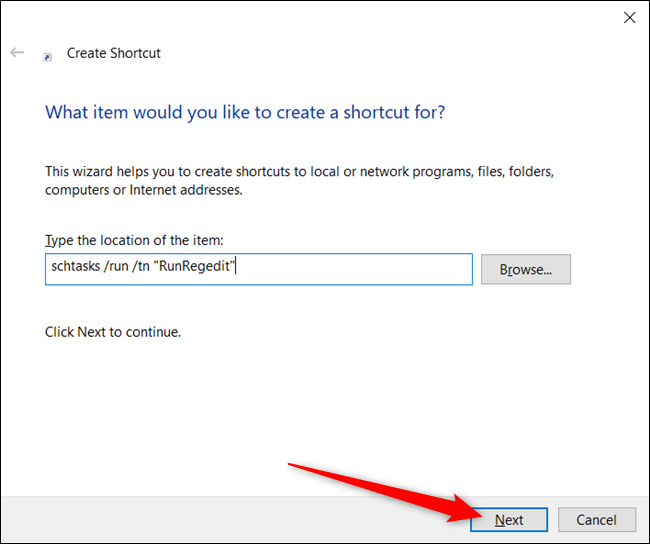
In the window that appears, we need to type in the command that runs the scheduled task, replacing <taskName> with the task name we used from earlier. Be sure to keep the quotations around the name. It should look like this:
在出现的窗口中,我们需要输入运行计划任务的命令,将<taskName>替换为之前使用的任务名称。 确保在名称周围使用引号。 它看起来应该像这样:
schtasks /run /tn "<taskName>"
Click “Next” after you enter the command.
输入命令后,单击“下一步”。
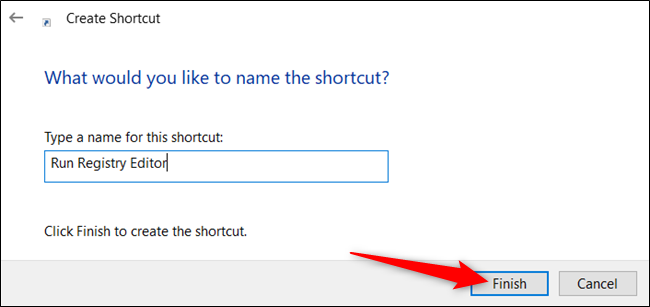
Give the new shortcut a useful name and click “Finish” to create it.
给新的快捷方式起一个有用的名称,然后单击“完成”以创建它。
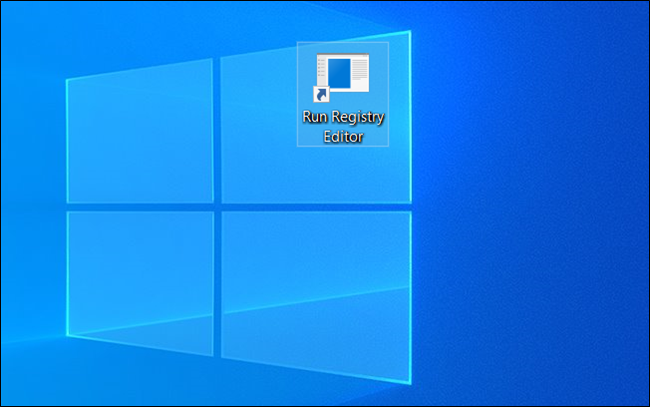
Now, the desktop has a shortcut icon that will run the task that launches the application in Administrator mode—without a UAC prompt—when you double-click on it.
现在,桌面上有一个快捷方式图标,当您双击它时,该图标将运行在管理员模式下启动应用程序的任务(没有UAC提示)。
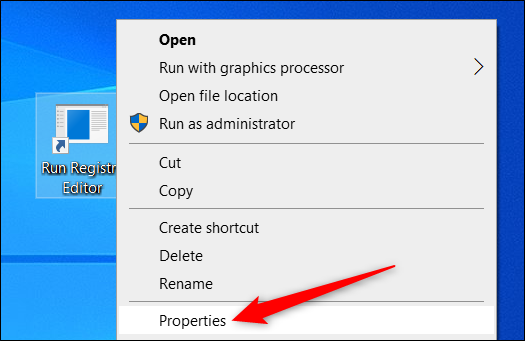
However, the fun doesn’t end here. If you want to tweak it a bit more, right-click the shortcut and then select “Properties” from the context menu.
但是,乐趣并没有就此结束。 如果您想对其进行更多调整,请右键单击该快捷方式,然后从上下文菜单中选择“属性”。
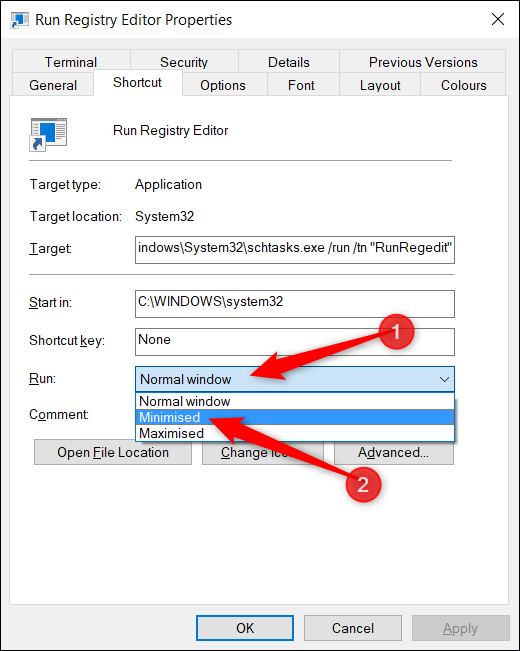
Because the shortcut runs a command to start the task, Command Prompt will open for an instance, run the schtasks command, and then close before the application opens. If you want, you can set it to minimize when you open the shortcut, so Command Prompt doesn’t flash on the screen.
由于快捷方式运行命令来启动任务,因此命令提示符将为实例打开,运行schtasks命令,然后在应用程序打开之前关闭。 如果需要,可以在打开快捷方式时将其设置为最小,这样命令提示符不会在屏幕上闪烁。
Click the drop-down menu next to “Run” and choose “Minimized” from the list below.
单击“运行”旁边的下拉菜单,然后从下面的列表中选择“最小化”。
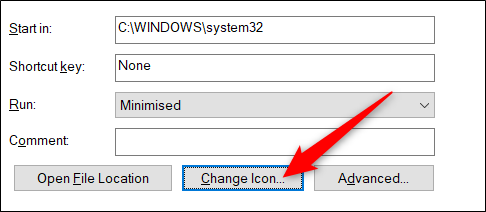
Next, click “Change Icon” to personalize the shortcut’s icon.
接下来,单击“更改图标”以个性化快捷方式的图标。
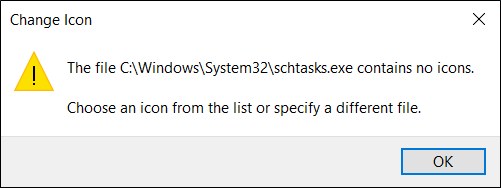
If you receive this message, don’t worry, just click “OK” to continue.
如果您收到此消息,请不要担心,只需单击“确定”继续。
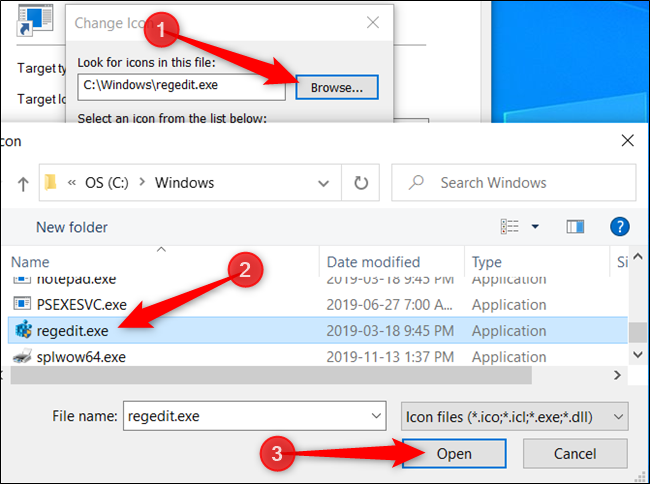
Now, you can either scroll through the suggested icons or click “Browse” and locate the application that you’re opening with the task. Select “Open” to see its icons.
现在,您可以滚动浏览建议的图标,或单击“浏览”并找到要通过任务打开的应用程序。 选择“打开”以查看其图标。
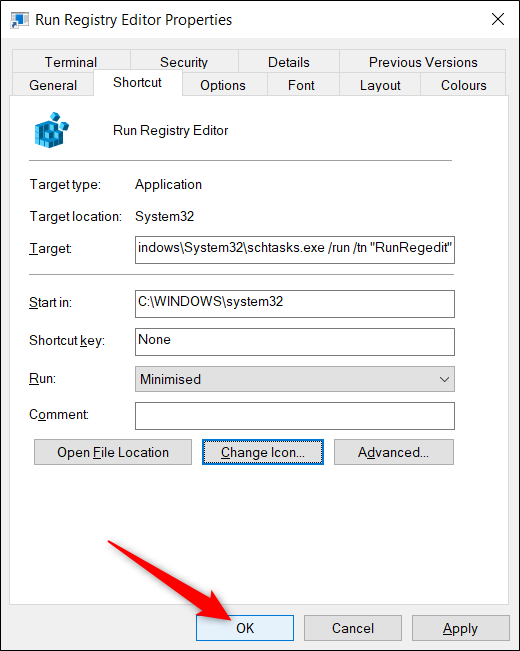
Select the application’s icon and click “OK” to save the changes.
选择应用程序的图标,然后单击“确定”以保存更改。

Select “OK” one more time to save all changes and return to the desktop.
再选择一次“确定”保存所有更改并返回桌面。
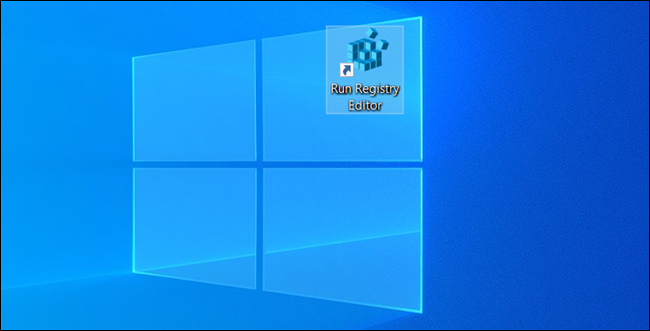
Now you have a shortcut that looks nice—even resembling the application you’re opening—and doesn’t have a pesky UAC prompt to get in your way.
现在,您有了一个看起来不错的快捷方式-甚至类似于您正在打开的应用程序-并且没有烦人的UAC提示妨碍您前进。
That’s all there is to it. Repeat this process for any other applications you regularly use to bypass the UAC prompts.
这里的所有都是它的。 对您经常用来绕过UAC提示的任何其他应用程序重复此过程。
uac管理员程序


 被折叠的 条评论
为什么被折叠?
被折叠的 条评论
为什么被折叠?
 到【灌水乐园】发言


