在上一个Android教程中 ,您可以使用“ ImageButton ”轻松显示带有自定义背景图片的“ Button ”。 但是,除了简单的图像外,您还可以做更多的事情,Android允许您根据不同的状态(例如,按钮处于聚焦状态或按钮被按下)来更改按钮的图像。
此示例从此Android自定义按钮文章引用,但做了一些细微的更改。
PS此项目在Eclipse 3.7中开发,并通过Android 2.3.3进行了测试。
1.将图像添加到资源
为按钮状态准备3张图像,并将其放入“ resource / drawable ”文件夹。
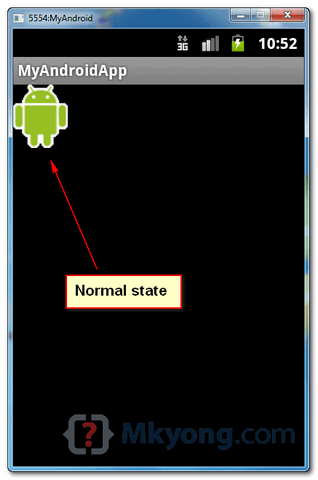
- button_normal_green.png –默认图像按钮。
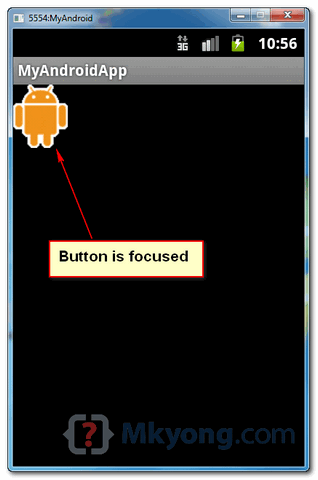
- button_focused_orange.png –当按钮被聚焦时显示,例如,当手机的键盘在该按钮上移动(聚焦)时显示。
- button_pressed_yellow.png –按下按钮时显示。
2.为不同的按钮状态添加选择器
现在,以您想要的任何名称在“ res / drawable / ”文件夹中创建一个新的XML文件,在这种情况下,我们只需将其命名为“ new_button.xml ”即可。 该文件定义了哪个按钮状态属于哪个图像。
现在,您可以通过以下ID引用此按钮: @drawable/new_button 。
文件:res / drawable / new_button.xml
<?xml version="1.0" encoding="utf-8"?>
<selector xmlns:android="http://schemas.android.com/apk/res/android">
    <item android:drawable="@drawable/button_pressed_yellow"
          android:state_pressed="true" />
    <item android:drawable="@drawable/button_focused_orange"
          android:state_focused="true" />
    <item android:drawable="@drawable/button_normal_green" />
</selector>
3.添加按钮
打开“ res / layout / main.xml ”文件,添加一个普通按钮,然后通过“ android:background="@drawable/new_button ”将背景图像附加到“ new_button ”上方
文件:res / layout / main.xml
<?xml version="1.0" encoding="utf-8"?>
<LinearLayout xmlns:android="http://schemas.android.com/apk/res/android"
    android:layout_width="fill_parent"
    android:layout_height="fill_parent"
    android:orientation="vertical" >

    <Button
        android:id="@+id/imageButtonSelector"
        android:layout_width="wrap_content"
        android:layout_height="wrap_content"
        android:background="@drawable/new_button" />

</LinearLayout>
4.代码代码
带有简单点击侦听器的普通按钮。
文件:MyAndroidAppActivity.java
package com.mkyong.android;

import android.app.Activity;
import android.os.Bundle;
import android.widget.Button;
import android.widget.Toast;
import android.view.View;
import android.view.View.OnClickListener;

public class MyAndroidAppActivity extends Activity {

	Button imageButton;

	@Override
	public void onCreate(Bundle savedInstanceState) {
		super.onCreate(savedInstanceState);
		setContentView(R.layout.main);

		addListenerOnButton();

	}

	public void addListenerOnButton() {

		imageButton = (Button) findViewById(R.id.imageButtonSelector);

		imageButton.setOnClickListener(new OnClickListener() {

			@Override
			public void onClick(View arg0) {

				Toast.makeText(MyAndroidAppActivity.this,
					"ImageButton (selector) is clicked!",
					Toast.LENGTH_SHORT).show();

			}

		});

	}

}
5.演示
运行应用程序。
1.结果,默认按钮。 (button_normal_green.png)

2.按钮已聚焦。 (button_focused_orange.png)

3.按下按钮。 (button_pressed_yellow.png)

下载源代码
下载它– Android-ImageButton-Selector-Example.zip (23 KB)
参考文献
翻译自: https://mkyong.com/android/android-imagebutton-selector-example/


 4367
4367

 被折叠的 条评论
为什么被折叠?


