


通过这篇文章你可以掌握如何将github action 环境下临时生成的文件推送至指定分支,并且可以打开利用github开放的api做各种强大或有趣的事情的视野和思路。
如果你对github-action感兴趣,还可以看这篇文章, 这篇文章教会你如何开发Github Action,并且让你明白它是什么,怎么用,如何做到的。如何开发一个action
如何将临时生成的文件推送至指定分支
场景分析
- 问题:什么时候需要这样子的功能?
- 解答:当时我开发社区贡献统计Action的时候,会生成一个svg图片,但是为了让更多人能够复用这个工具,又节约一笔服务器的运营成本。
核心代码
先抛出全部代码,然后在后续把这段代码的实现讲清楚。
 try {
    // 1. 获取特定分支的最后一次提交 SHA
    const branchResponse = await Axios.get(`/branches/${branch}`);
    const lastCommitSHA = branchResponse.data.commit.sha;
    console.log("lastCommitSHA", lastCommitSHA);

    // 2. 创建 Blobs(base64 编码)
    const createBlob = async (content, encoding) => {
      const blobResponse = await Axios.post("/git/blobs", {
        content: content,
        encoding: encoding
      });
      return blobResponse.data.sha;
    };

    const jsonSHA = await createBlob(
      Buffer.from(JSON.stringify(contributors)).toString("base64"),
      "base64"
    );
    const pngSHA = await createBlob(imageContent.toString("base64"), "base64");

    // 3. 创建一个定义了文件夹结构的树
    const createTree = async (baseTreeSHA, blobs) => {
      const tree = blobs.map(blob => {
        return {
          path: blob.path,
          mode: "100644",
          type: "blob",
          sha: blob.sha
        };
      });

      const treeResponse = await Axios.post("/git/trees", {
        base_tree: baseTreeSHA,
        tree: tree
      });
      return treeResponse.data.sha;
    };

    const treeSHA = await createTree(lastCommitSHA, [
      { path: pngPath, sha: pngSHA },
      { path: jsonPath, sha: jsonSHA }
    ]);
    console.log("treeSHA", treeSHA);

    // 4. 创建提交
    const createCommit = async treeSHA => {
      const commitResponse = await Axios.post("/git/commits", {
        message: commitMessage,
        author: {
          name: committerName,
          email: committerEmail
        },
        parents: [lastCommitSHA],
        tree: treeSHA
      });
      return commitResponse.data.sha;
    };

    const newCommitSHA = await createCommit(treeSHA);

    // 5. 更新分支引用
    await Axios.patch(`/git/refs/heads/${branch}`, {
      sha: newCommitSHA
    });
  } catch (error) {
    console.log("遇到错误", error);
  }
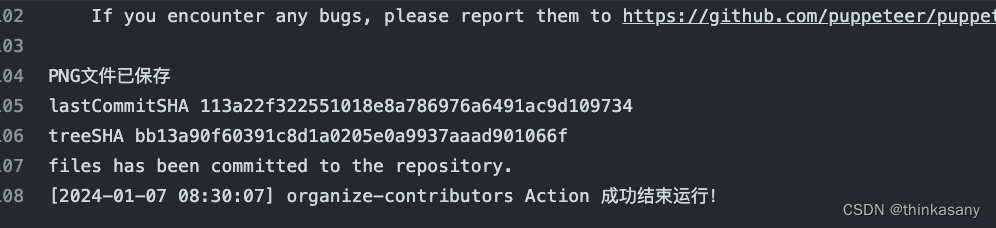
检查action 运行的历史
前置知识
每一个接口都可以翻阅文档来查看参数配置。
https://docs.github.com/en/rest/git/refs?apiVersion=2022-11-28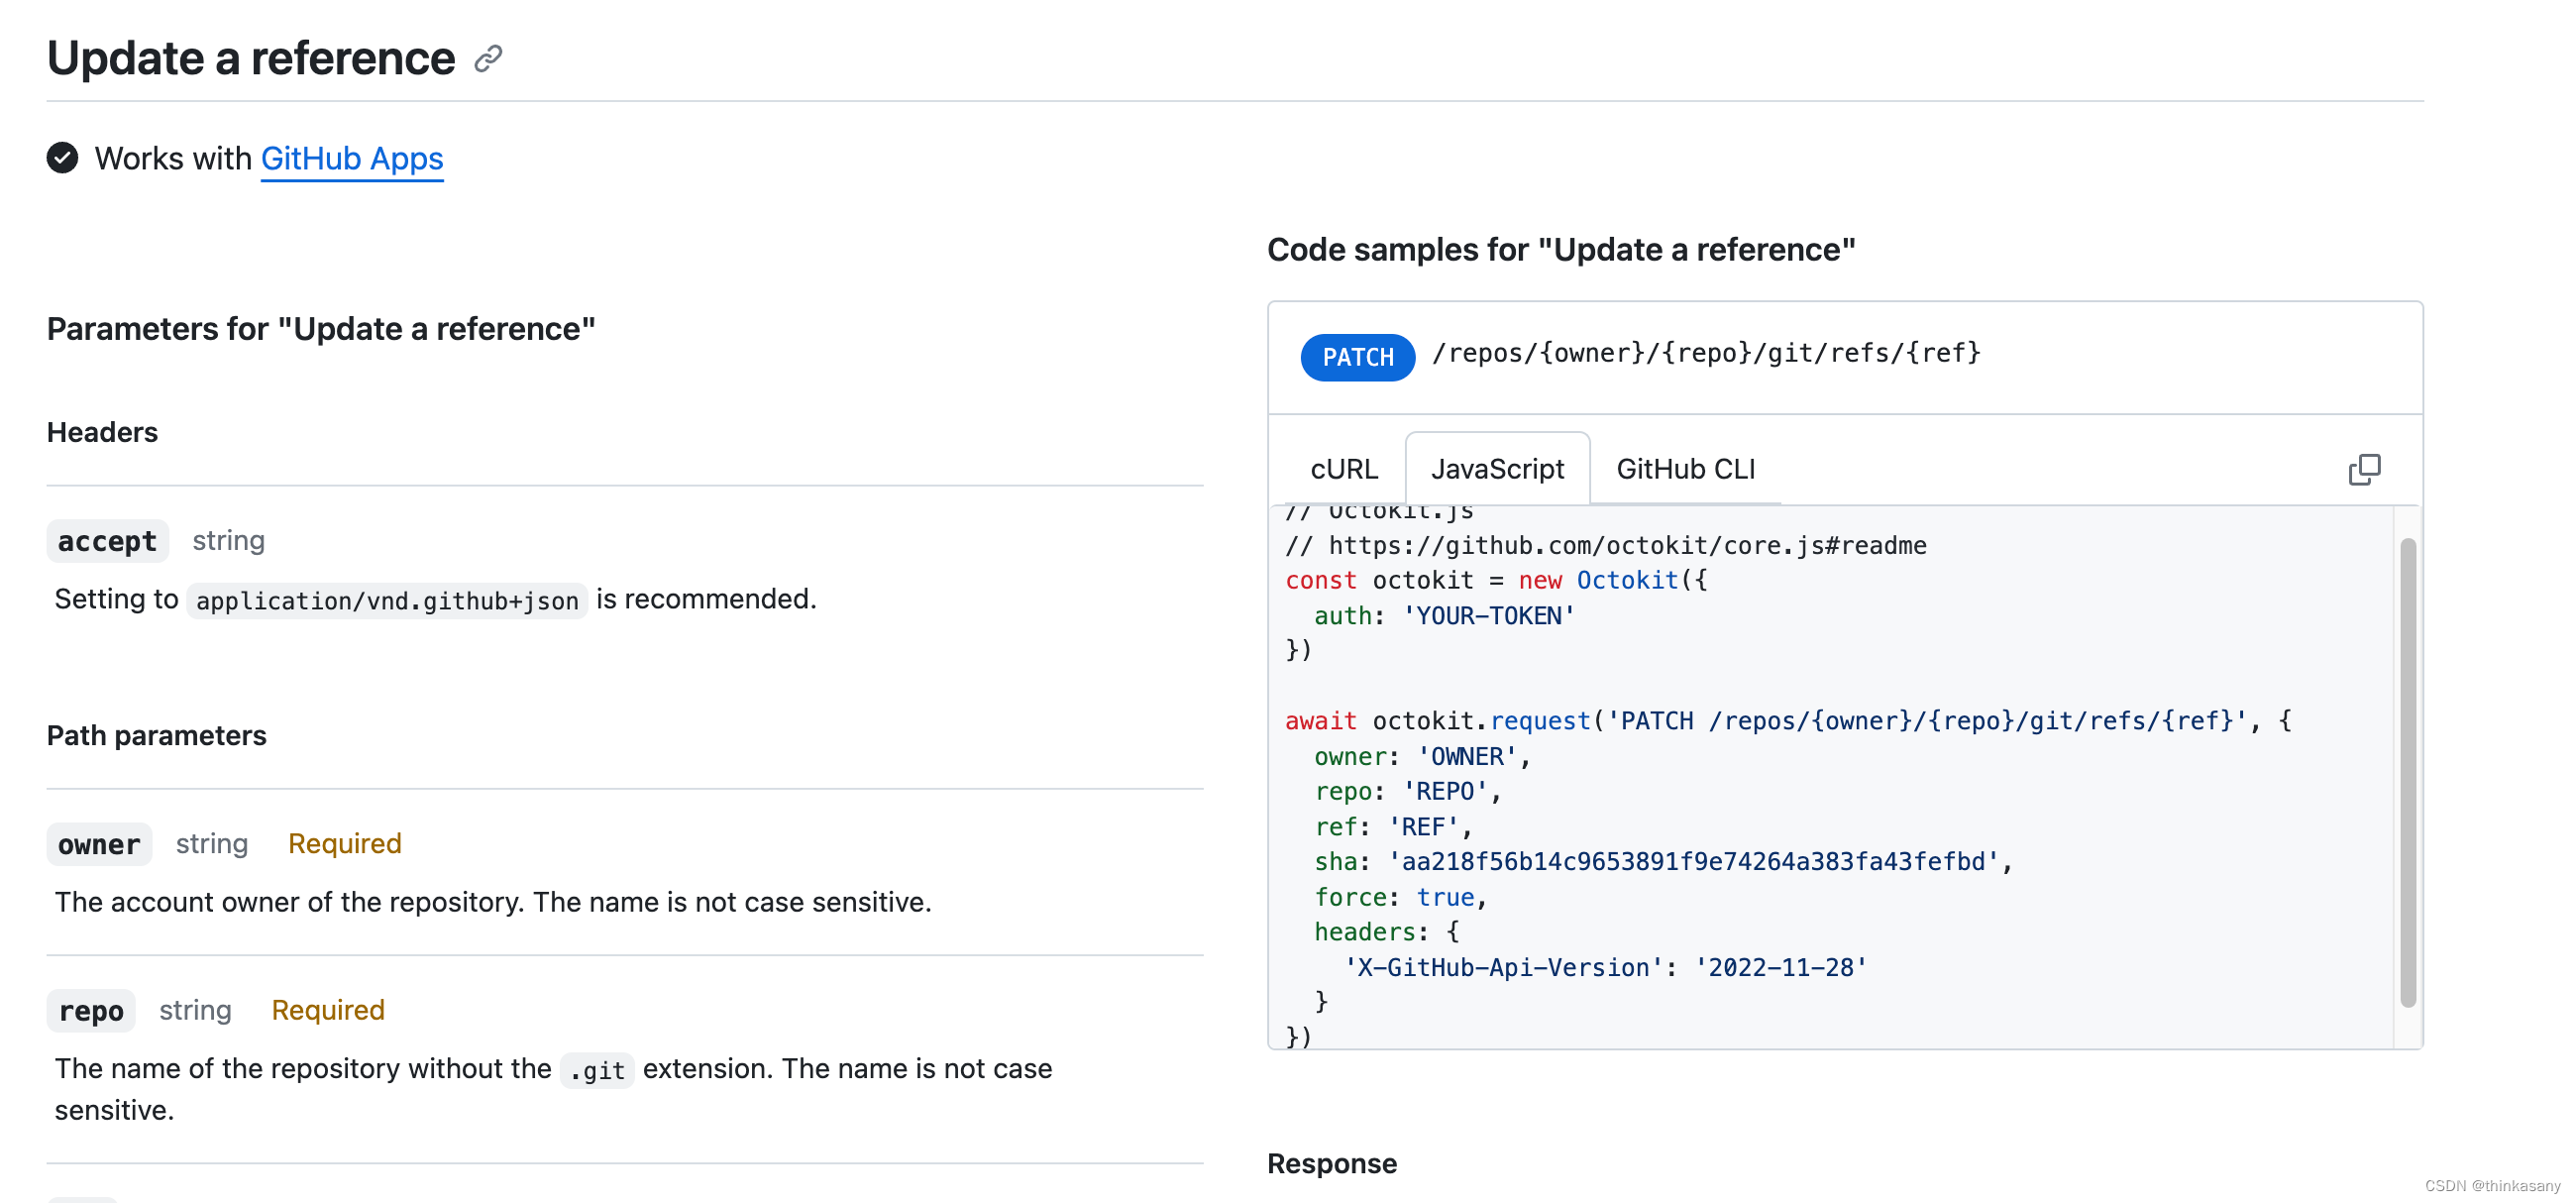 以下两种接口的写法是等价的。
await octokit.request('PATCH /repos/{owner}/{repo}/git/refs/{ref}', {
  owner: 'OWNER',
  repo: 'REPO',
  ref: 'REF',
  sha: 'aa218f56b14c9653891f9e74264a383fa43fefbd',
  force: true,
  headers: {
    'X-GitHub-Api-Version': '2022-11-28'
  }
})
 await Axios.patch(`/git/refs/heads/${branch}`, {
      sha: newCommitSHA
    });
开发步骤详解
1. 获取特定分支的最后一次提交 SHA
console.log("lastCommitSHA", lastCommitSHA);
2. 创建 Blobs(base64 编码)
封装了一个createBlob 函数,用于将图片文件和json文件生成blob
    const createBlob = async (content, encoding) => {
      return sha;
    };
   const jsonSHA = await createBlob(
      Buffer.from(JSON.stringify(contributors)).toString("base64"),
      "base64"
    );
    const pngSHA = await createBlob(imageContent.toString("base64"), "base64");
3. 创建一个定义了文件夹结构的树
创建我们需要提交的commit,指定这个commit需要提交的文件变更。
treeSHA里面包含了两个文件,以数组的形式配置sha和path。

    const createTree = async (baseTreeSHA, blobs) => {
        return sha;
    };

    const treeSHA = await createTree(lastCommitSHA, [
      { path: pngPath, sha: pngSHA },
      { path: jsonPath, sha: jsonSHA }
    ]);
    console.log("treeSHA", treeSHA);
4. 创建提交
这边就是配置几个参数,就跟我们平常的git提交习惯差不多,需要有账号邮箱,message信息。只是我们不需要关心变更的文件tree以及parentCommitSha,通过第一步的lastCommitSHA,拿来直接用就好了。
console.log("lastCommitSHA", lastCommitSHA);
  const createCommit = async treeSHA => {
    const commitResponse = await Axios.post("/git/commits", {
      message: commitMessage,
      author: {
        name: committerName,
        email: committerEmail
      },
      parents: [lastCommitSHA],
      tree: treeSHA
    });
    return commitResponse.data.sha;
  };

  const newCommitSHA = await createCommit(treeSHA);
5. 更新分支引用
这边的branch可以暴露可配置的变量,
  await Axios.patch(`/git/refs/heads/${branch}`, {
    sha: newCommitSHA
  });
最后
写的够详细了吧,绝对有用吧,写了也是花了不少精力的,文章和你看了这么久的仓库总该点赞吧。


 128
128


 被折叠的 条评论
为什么被折叠?
被折叠的 条评论
为什么被折叠?
 到【灌水乐园】发言


