


RocketMQ 因其架构简单、业务功能丰富、具备极强可扩展性等特点被众多企业开发者以及云厂商广泛采用。历经十余年的大规模场景打磨,RocketMQ 已经成为业内共识的金融级可靠业务消息首选方案,被广泛应用于互联网、大数据、移动互联网、物联网等领域的业务场景
目录
1、官网下载 RocketMQ
2、安装 RocketMQ
3、启动 RocketMQ
4、代码测试
5、RocketMQ Dashboard 安装
6、关闭 RocketMQ
1、官网下载 RocketMQ
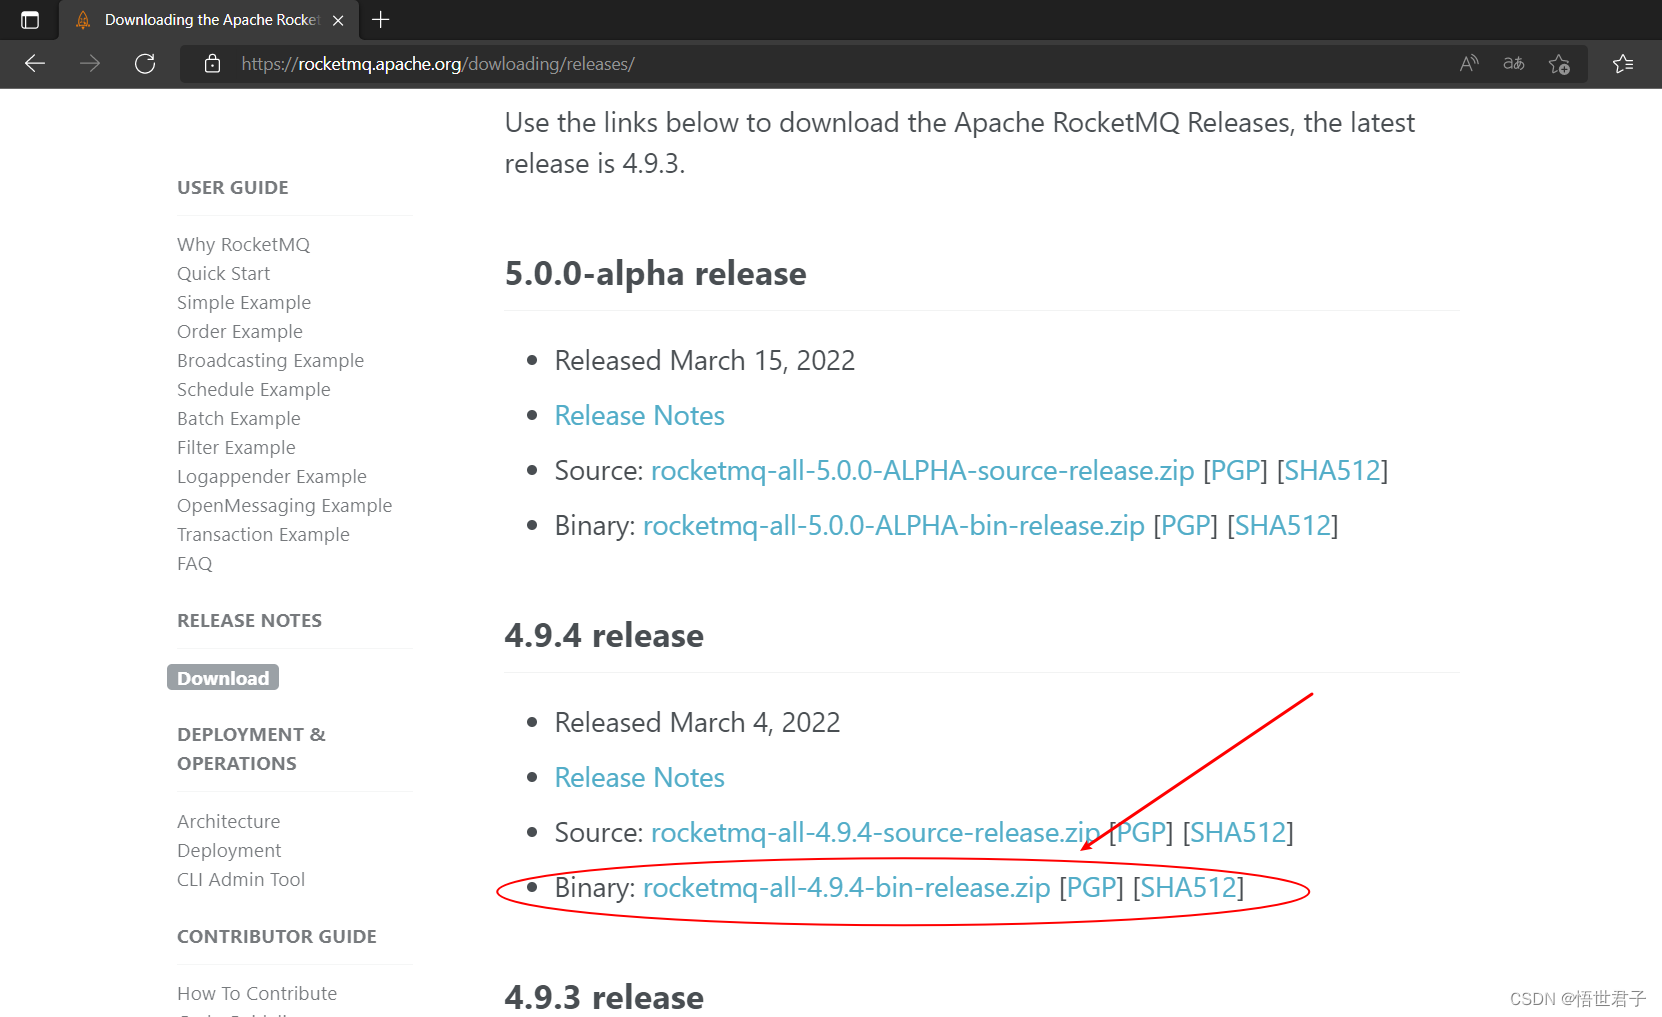
RocketMQ 官网:RocketMQ · 官方网站 | RocketMQ

笔者这里选择 4.9.4版本
2、安装 RocketMQ
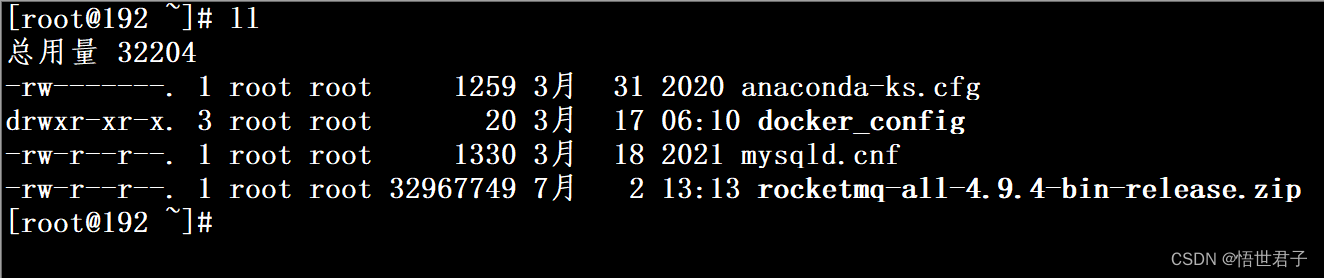
下载安装包后,将安装包上传到 linux
创建 RocketMQ 安装目录
mkdir -p /usr/local/rocketmq将安装包解压到新建的安装目录
unzip -d /usr/local/rocketmq rocketmq-all-4.9.4-bin-release.zip如果没有安装 unzip,可以执行下面命令安装
yum install -y unzip zip 
进入 rocketmq 安装目类
cd /usr/local/rocketmq/rocketmq-all-4.9.4-bin-release创建存放数据的目录
mkdir -p store store/commitlog store/consumequeue进入 conf 目录
cd conf
编辑 broker.conf 文件
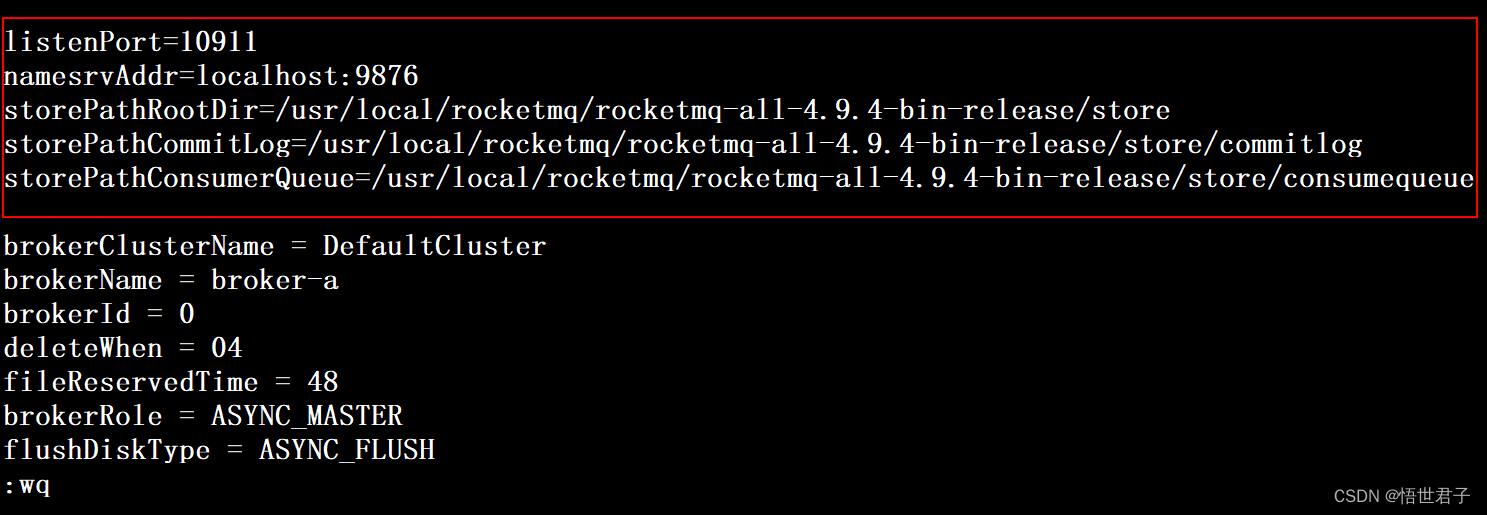
vi broker.conf在 broker.conf 文件中追加下面内容
-
listenPort=10911 -
namesrvAddr=localhost:9876 -
storePathRootDir=/usr/local/rocketmq/rocketmq-all-4.9.4-bin-release/store -
storePathCommitLog=/usr/local/rocketmq/rocketmq-all-4.9.4-bin-release/store/commitlog -
storePathConsumerQueue=/usr/local/rocketmq/rocketmq-all-4.9.4-bin-release/store/consumequeue
修改内存大小(这步不是必须的,如果你的机器内存足够,可以跳过这步,笔者机器内存只有1g,因此需要修改内存大小)
进入 bin 目录
cd /usr/local/rocketmq/rocketmq-all-4.9.4-bin-release/bin编辑 runbroker.sh 文件和 runserver.sh 文件,修改内存大小
编辑 runbroker.sh 文件,将 8g 修改为 512m
vi runbroker.sh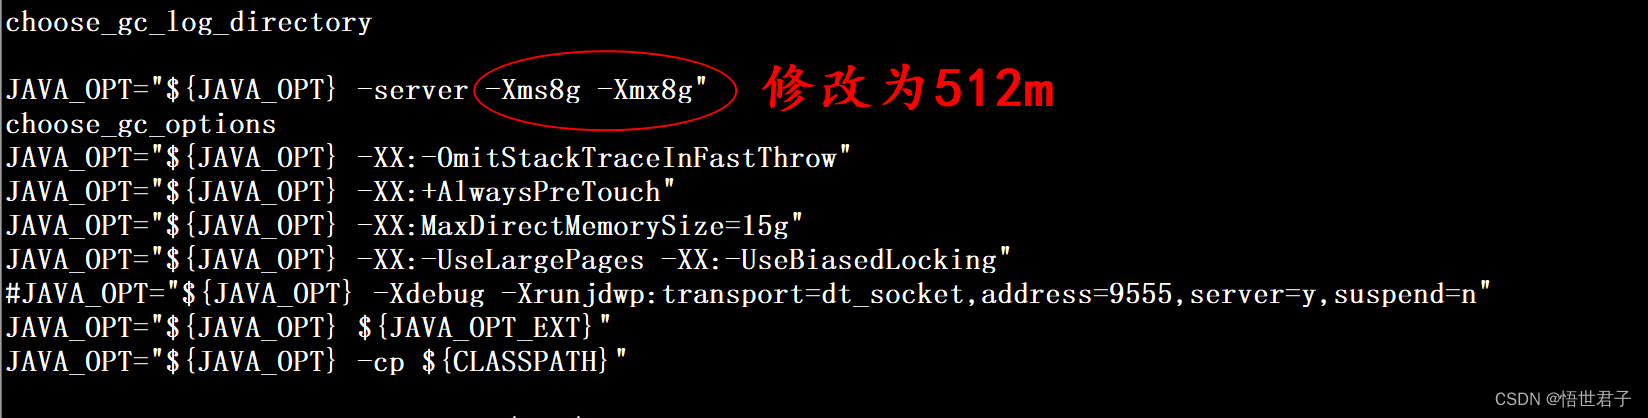
修改后

编辑 runserver.sh 文件
vi runserver.sh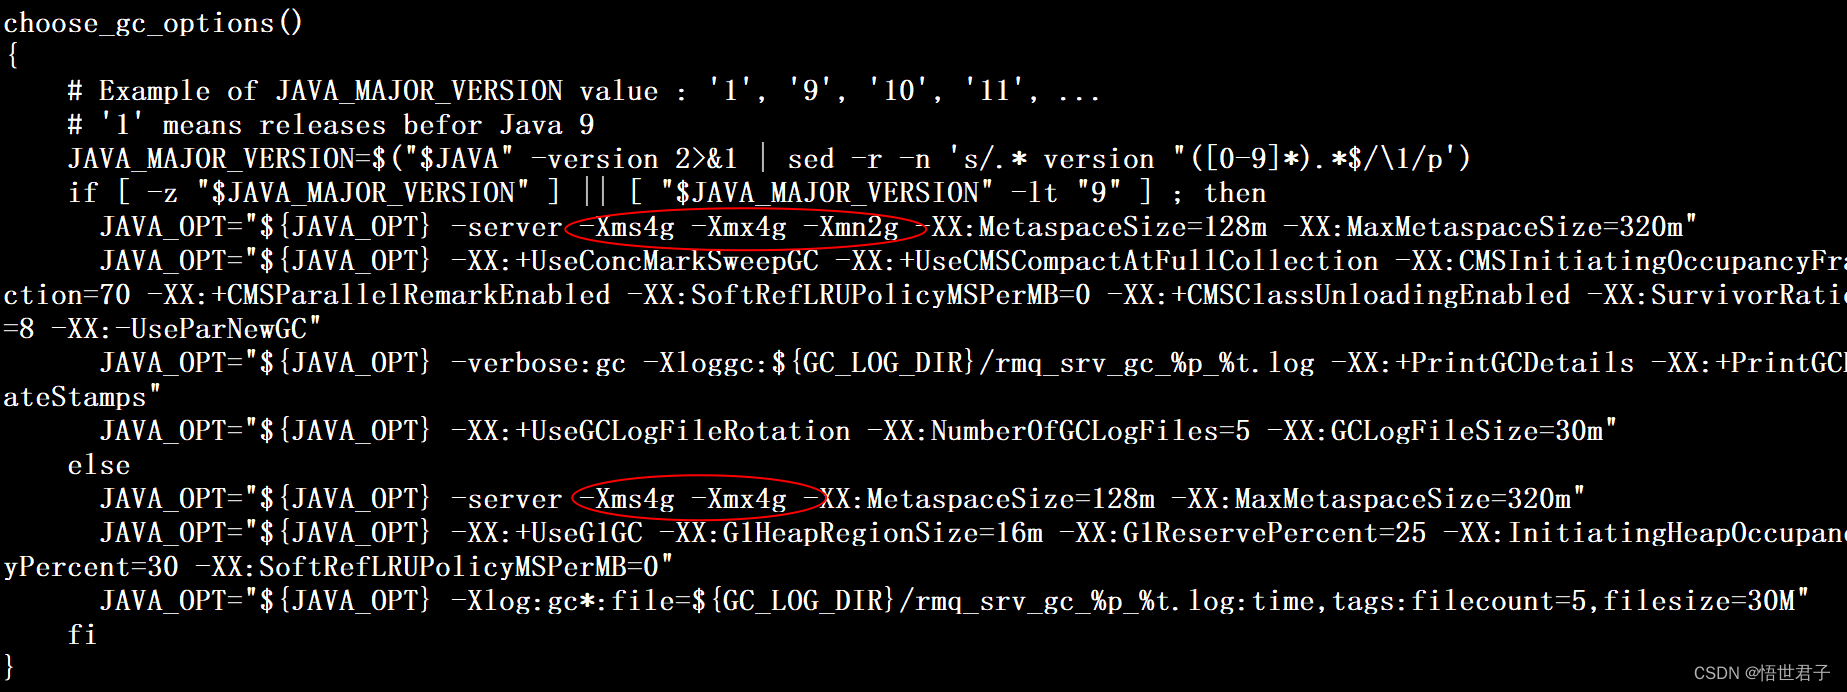
这里对 java 版本进行了判断,上面 2 处配置笔者都修改为 512m

开放防火墙 9876 和 10911 端口
firewall-cmd --zone=public --add-port=9876/tcp --permanentfirewall-cmd --zone=public --add-port=10911/tcp --permanent更新防火墙规则(无需断开连接,动态添加规则)
firewall-cmd --reload查看防火墙所有开放的端口
firewall-cmd --list-port3、启动 RocketMQ
在 bin 目录下,执行下面命令
启动nameserver
nohup sh mqnamesrv &启动 broker
nohup sh mqbroker -c /usr/local/rocketmq/rocketmq-all-4.9.4-bin-release/conf/broker.conf &查看运行状态
ps -ef | grep mqnamesrv
ps -ef | grep mqbroker
4、代码测试
新建 maven 项目,添加 rocketmq-client 依赖
-
<dependency> -
<groupId>org.apache.rocketmq</groupId> -
<artifactId>rocketmq-client</artifactId> -
<version>4.9.4</version> -
</dependency>
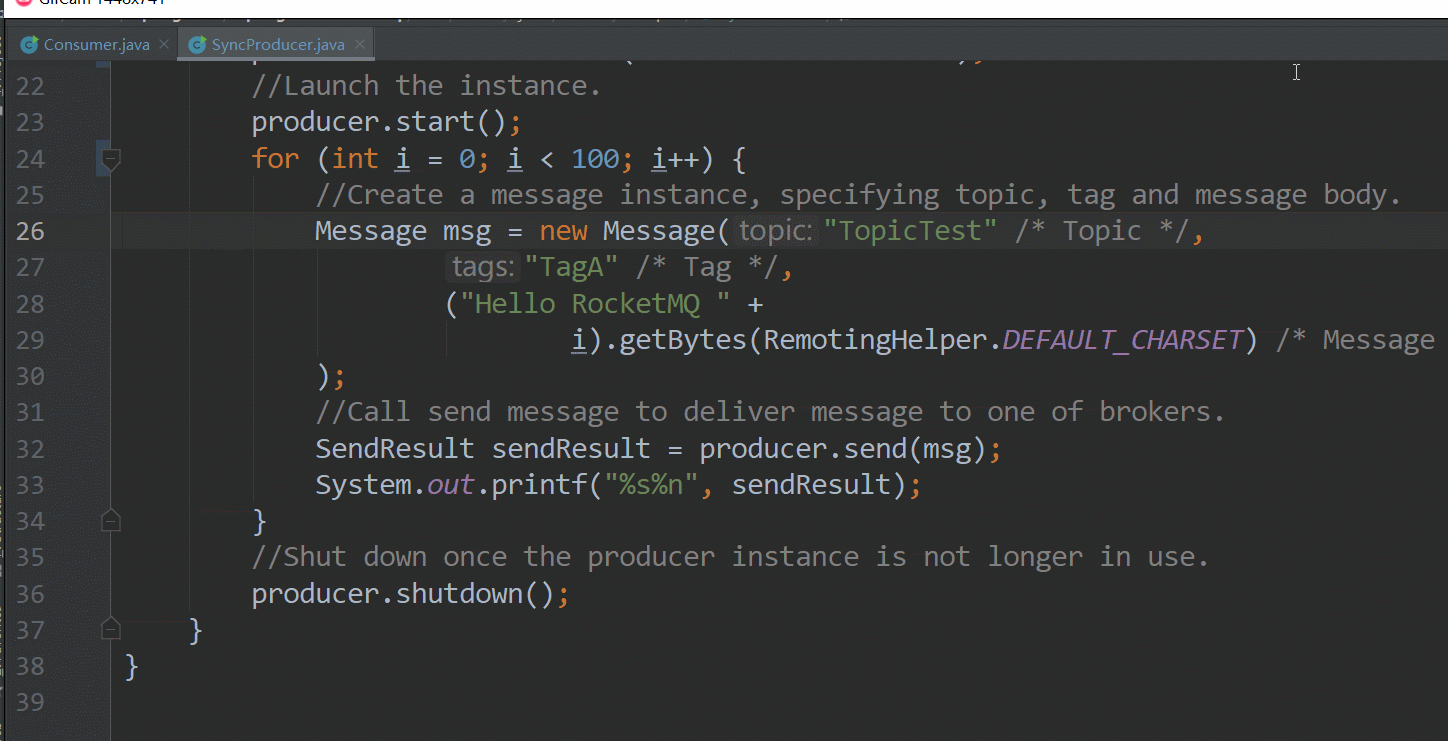
官网示例
生产者代码
将 ip 地址修改为 linux 地址,笔者这里是 192.168.0.103
-
package client.sample; -
import org.apache.rocketmq.client.producer.DefaultMQProducer; -
import org.apache.rocketmq.client.producer.SendResult; -
import org.apache.rocketmq.common.message.Message; -
import org.apache.rocketmq.remoting.common.RemotingHelper; -
/** -
* SyncProducer -
* -
* @author wsjz -
* @date 2022/07/01 -
*/ -
public class SyncProducer { -
public static void main(String[] args) throws Exception { -
//Instantiate with a producer group name. -
DefaultMQProducer producer = new -
DefaultMQProducer("please_rename_unique_group_name"); -
// Specify name server addresses. -
producer.setNamesrvAddr("192.168.0.103:9876"); -
//Launch the instance. -
producer.start(); -
for (int i = 0; i < 100; i++) { -
//Create a message instance, specifying topic, tag and message body. -
Message msg = new Message("TopicTest" /* Topic */, -
"TagA" /* Tag */, -
("Hello RocketMQ " + -
i).getBytes(RemotingHelper.DEFAULT_CHARSET) /* Message body */ -
); -
//Call send message to deliver message to one of brokers. -
SendResult sendResult = producer.send(msg); -
System.out.printf("%s%n", sendResult); -
} -
//Shut down once the producer instance is not longer in use. -
producer.shutdown(); -
} -
}
![]()
消费者代码
-
package client.sample; -
import org.apache.rocketmq.client.consumer.DefaultMQPushConsumer; -
import org.apache.rocketmq.client.consumer.listener.ConsumeConcurrentlyContext; -
import org.apache.rocketmq.client.consumer.listener.ConsumeConcurrentlyStatus; -
import org.apache.rocketmq.client.consumer.listener.MessageListenerConcurrently; -
import org.apache.rocketmq.client.exception.MQClientException; -
import org.apache.rocketmq.common.message.MessageExt; -
import java.util.List; -
/** -
* Consumer -
* -
* @author wsjz -
* @date 2022/07/01 -
*/ -
public class Consumer { -
public static void main(String[] args) throws InterruptedException, MQClientException { -
// Instantiate with specified consumer group name. -
DefaultMQPushConsumer consumer = new DefaultMQPushConsumer("please_rename_unique_group_name"); -
// Specify name server addresses. -
consumer.setNamesrvAddr("192.168.0.103:9876"); -
// Subscribe one more more topics to consume. -
consumer.subscribe("TopicTest", "*"); -
// Register callback to execute on arrival of messages fetched from brokers. -
consumer.registerMessageListener(new MessageListenerConcurrently() { -
@Override -
public ConsumeConcurrentlyStatus consumeMessage(List<MessageExt> msgs, -
ConsumeConcurrentlyContext context) { -
System.out.printf("%s Receive New Messages: %s %n", Thread.currentThread().getName(), msgs); -
return ConsumeConcurrentlyStatus.CONSUME_SUCCESS; -
} -
}); -
//Launch the consumer instance. -
consumer.start(); -
System.out.printf("Consumer Started.%n"); -
} -
}
![]()
运行效果
5、RocketMQ Dashboard 安装
RocketMQ Dashboard安装可以选择使用 docker方式也可以使用源码方式安装,笔者下面介绍源码方式安装
官方文档:https://rocketmq.apache.org/zh/docs/deploymentOperations/17Dashboard/
先在github上下载源码
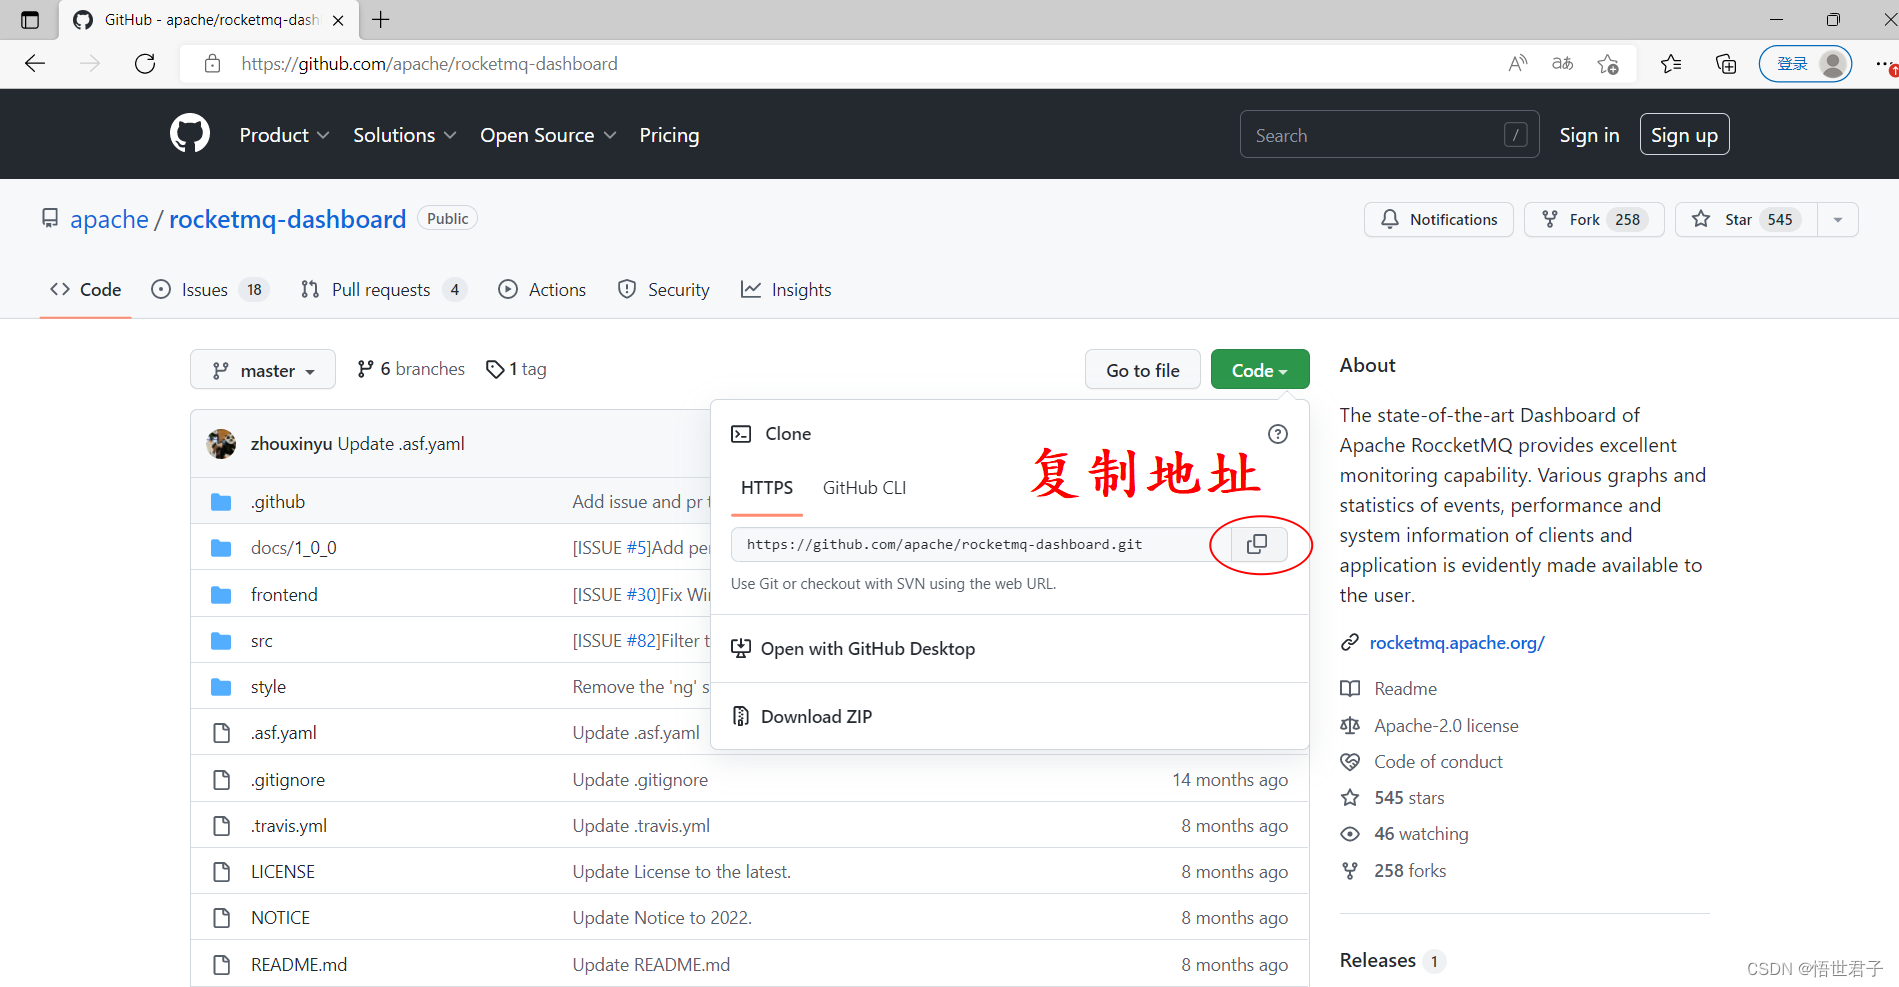
将项目克隆到本地文件夹

使用eclipse等编辑器打开项目
项目是 springboot项目,找到 application.yml 文件,修改 rocketmq 地址

笔者的地址是192.168.0.103:9876
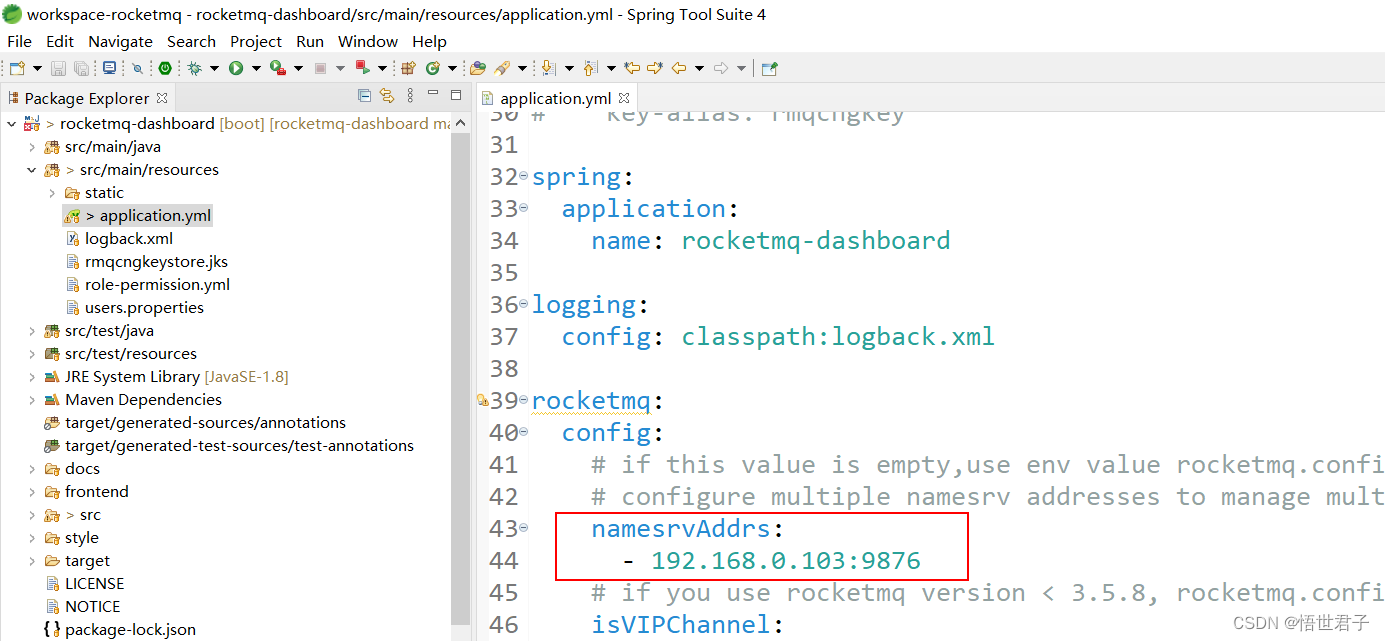
不使用 VIP 通道,改为 false

启动项目,浏览器访问 http://localhost:8080
如果需要的话,可以将RocketMQ Dashboard打成 jar 包,进行部署
RocketMQ Dashboard安装成功
6、关闭 RocketMQ
进入bin目录
关闭 broker
sh mqshutdown broker关闭 nameserver
sh mqshutdown namesrv至此完


 319
319


 被折叠的 条评论
为什么被折叠?
被折叠的 条评论
为什么被折叠?
 到【灌水乐园】发言


