


load 源码梳理
根据上篇文章对with方法的梳理可以知道,Glide.with(this) 返回的是RequestManager对象,所以load方法在RequestManager类里面,现在我们分析一下load方法
public class RequestManager
    implements ComponentCallbacks2, LifecycleListener, ModelTypes<RequestBuilder<Drawable>> {
	  @NonNull
	  @CheckResult
	  public RequestBuilder<Drawable> asDrawable() {
	    return as(Drawable.class);
	  }

	  @NonNull
	  @CheckResult
	  @Override
	  public RequestBuilder<Drawable> load(@Nullable Bitmap bitmap) {
	    return asDrawable().load(bitmap);
	  }

	  @NonNull
	  @CheckResult
	  @Override
	  public RequestBuilder<Drawable> load(@Nullable Drawable drawable) {
	    return asDrawable().load(drawable);
	  }

	  @NonNull
	  @CheckResult
	  @Override
	  public RequestBuilder<Drawable> load(@Nullable String string) {
	    return asDrawable().load(string);
	  }
	// ...
	  @NonNull
	  @CheckResult
	  public <ResourceType> RequestBuilder<ResourceType> as(@NonNull Class<ResourceType> resourceClass) {
	    return new RequestBuilder<>(glide, this, resourceClass, context);
	  }
  }
从上面的代码可见,asDrawable()方法的主要作用就是构建RequestBuilder;
代码拆开来看,
// 伪代码
public RequestBuilder<Drawable> load(@Nullable String string) {
	    RequestBuilder requestBuilder = asDrawable();
		requestBuilder = requestBuilder.load(string);
	    return requestBuilder;
	  }
下面进入RequestBuilder类,看一下RequestBuilder.load(string)方法;
public class RequestBuilder<TranscodeType> extends BaseRequestOptions<RequestBuilder<TranscodeType>>
    implements Cloneable, ModelTypes<RequestBuilder<TranscodeType>> {

  public RequestBuilder<TranscodeType> load(@RawRes @DrawableRes @Nullable Integer resourceId) {
    return loadGeneric(resourceId).apply(signatureOf(AndroidResourceSignature.obtain(context)));
  }

  @NonNull
  private RequestBuilder<TranscodeType> loadGeneric(@Nullable Object model) {
    this.model = model;// 相当于传递过来的资源url
    isModelSet = true;// 标记已经加载过资源
    return this;// 返回RequestBuilder
  }

	//这个主要是调用父类的方法,初始化 配置信息
  @Override
  public RequestBuilder<TranscodeType> apply(@NonNull BaseRequestOptions<?> requestOptions) {
    Preconditions.checkNotNull(requestOptions);
    return super.apply(requestOptions);
  }
}
至此,load方法的主线流程就差不多完事了,主要就是构建RequestBuilder,为了下一步into做准备
into() 源码梳理
这里才算是真正进入Glide源码的核心之处
由于load方法返回的是RequestBuilder,所以 into方法肯定是在RequestBuilder类里面
RequestBuilder.java
  @NonNull
  public ViewTarget<ImageView, TranscodeType> into(@NonNull ImageView view) {
    Util.assertMainThread();// 主线程检查
    Preconditions.checkNotNull(view);// 目标控件  空检查
	//根据布局文件里面scaleType属性的设置,重置RequestOptions
    BaseRequestOptions<?> requestOptions = this;
    if (!requestOptions.isTransformationSet()
        && requestOptions.isTransformationAllowed()
        && view.getScaleType() != null) {
      // Clone in this method so that if we use this RequestBuilder to load into a View and then
      // into a different target, we don't retain the transformation applied based on the previous
      // View's scale type.
      switch (view.getScaleType()) {
        case CENTER_CROP:
          requestOptions = requestOptions.clone().optionalCenterCrop();
          break;
        case CENTER_INSIDE:
          requestOptions = requestOptions.clone().optionalCenterInside();
          break;
        case FIT_CENTER:
        case FIT_START:
        case FIT_END:
          requestOptions = requestOptions.clone().optionalFitCenter();
          break;
        case FIT_XY:
          requestOptions = requestOptions.clone().optionalCenterInside();
          break;
        case CENTER:
        case MATRIX:
        default:
          // Do nothing.
      }
    }
//调用 into 重载函数,创建一个 ViewTarget
    return into(
    //调用 buildImageViewTarget 构建一个 ImageView 类型的 Target(Bitmap/Drawable)
        glideContext.buildImageViewTarget(view, transcodeClass),
        /*targetListener=*/ null,
        requestOptions,
        Executors.mainThreadExecutor());
  }
上面代码就两大步:
第一步:先拿到当前 ImageView getScaleType 类型的属性,然后重新 clone 一个进行配置;
第二步:调用 into 重载继续构建;
- 先来看下into方法的第一个参数 glideContext.buildImageViewTarget 是怎么构建出来 ImageViewTarget 的:
  @NonNull
  public <X> ViewTarget<ImageView, X> buildImageViewTarget(
      @NonNull ImageView imageView, @NonNull Class<X> transcodeClass) {
    return imageViewTargetFactory.buildTarget(imageView, transcodeClass);
  }
public class ImageViewTargetFactory {
  @NonNull
  @SuppressWarnings("unchecked")
  public <Z> ViewTarget<ImageView, Z> buildTarget(
      @NonNull ImageView view, @NonNull Class<Z> clazz) {
    if (Bitmap.class.equals(clazz)) {
    //如果目标的编码类型属于 Bitmap 那么就创建一个 Bitmap 类型的 ImageViewTarget
      return (ViewTarget<ImageView, Z>) new BitmapImageViewTarget(view);
    } else if (Drawable.class.isAssignableFrom(clazz)) {
    //如果目标的编码类型属于 Drawable 那么就创建一个 Drawable 类型的 ImageViewTarget
      return (ViewTarget<ImageView, Z>) new DrawableImageViewTarget(view);
    } else {
      throw new IllegalArgumentException(
          "Unhandled class: " + clazz + ", try .as*(Class).transcode(ResourceTranscoder)");
    }
  }
}
注意:上面 生成Target 的时候注意一下,只要调用了 asBitmap 才会执行生成BitmapImageViewTarget ,所以这里我们关注 Drawable 类型就行了,我们就先简单看看这个 target 内部怎么实现的
public class DrawableImageViewTarget extends ImageViewTarget<Drawable> {

  public DrawableImageViewTarget(ImageView view) {
    super(view);
  }

  /** @deprecated Use {@link #waitForLayout()} instead. */
  // Public API.
  @SuppressWarnings({"unused", "deprecation"})
  @Deprecated
  public DrawableImageViewTarget(ImageView view, boolean waitForLayout) {
    super(view, waitForLayout);
  }

  @Override
  protected void setResource(@Nullable Drawable resource) {
    view.setImageDrawable(resource);
  }
}
这里DrawableImageViewTarget 继承 ImageViewTarget,重写了setResource方法,这里是显示图片到控件上的逻辑,记住这里
- 继续重载into方法
  private <Y extends Target<TranscodeType>> Y into(
      @NonNull Y target,
      @Nullable RequestListener<TranscodeType> targetListener,
      BaseRequestOptions<?> options,
      Executor callbackExecutor) {
    Preconditions.checkNotNull(target);
    //这里的 isModelSet 是在 load 的时候赋值为 true 的,所以不会抛异常
    if (!isModelSet) {
      throw new IllegalArgumentException("You must call #load() before calling #into()");
    }
		//为这个 http://xxx.png 生成一个 Glide request 请求
    Request request = buildRequest(target, targetListener, options, callbackExecutor);
		//相当于拿到上一个请求
    Request previous = target.getRequest();// 先取Request,
    //下面的几行说明是否与上一个请求冲突,一般不用管 直接看下面 else 判断
    if (request.isEquivalentTo(previous)
        && !isSkipMemoryCacheWithCompletePreviousRequest(options, previous)) {
        // 意思就是说 如果当前请求跟上一次的请求是同一个,那就释放本次请求,执行上一个请求,
      request.recycle();
      if (!Preconditions.checkNotNull(previous).isRunning()) {
        previous.begin();
      }
      return target;
    }
	//清理掉目标请求管理
    requestManager.clear(target);
    //重新为目标设置一个 Glide request 请求
    target.setRequest(request);
    //最后是调用 RequestManager 的 track 来执行目标的 Glide request 请求
    requestManager.track(target, request);

    return target;
  }
以上核心就两个点:
- 第一点:为 target buildRequest 构建一个 Glide request 请求;
- 第二点:将构建出来的 Request 交于 RequestManager 来执行
简单的来看下怎么构建的 Request:
  private Request buildRequest(...) {
    return buildRequestRecursive(...省略参数);
  }
  //  .... 一系列的方法调用,最终执行到下面的方法
    private Request obtainRequest(...省略参数) {
    return SingleRequest.obtain(...省略参数);
  }
最终是调用了SingleRequest.obtain方法,得到Request之后,交给RequestManager执行requestManager.track(target, request);
  synchronized void track(@NonNull Target<?> target, @NonNull Request request) {
     //添加一个目标任务
  	targetTracker.track(target);
  	//执行 Glide request
    requestTracker.runRequest(request);
  }
  public void runRequest(@NonNull Request request) {
    //添加一个请求
    requests.add(request);
    //是否暂停
    if (!isPaused) {
      //没有暂停,开始调用 Request begin 执行
      request.begin();
    } else {
      //如果调用了 暂停,清理请求
      request.clear();
      pendingRequests.add(request);
    }
  }
继续查看Request的执行begin()方法,
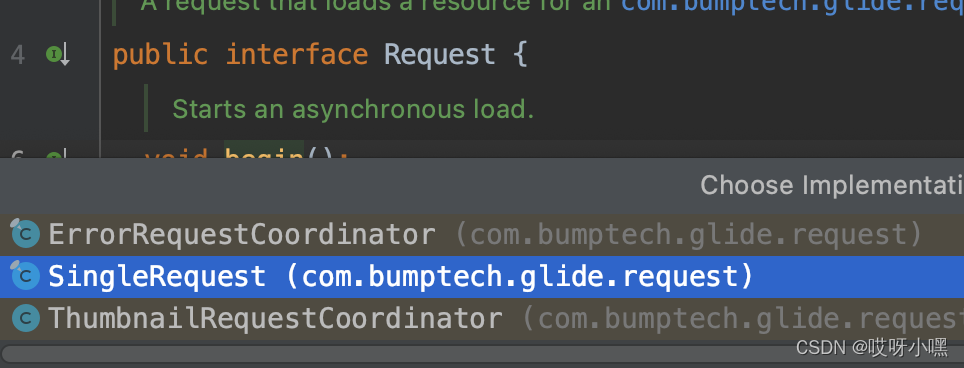
前面已经备注得到的Request是 SingleRequest,所以,在点击begin方法的时候进入了接口Request里面的begin方法,这时候去找实现类,就应该找 SingleRequest的begin方法;
SingleRequest.java
  @Override
  public void begin() {
    synchronized (requestLock) {
      assertNotCallingCallbacks();
      stateVerifier.throwIfRecycled();
      startTime = LogTime.getLogTime();
      if (model == null) {
      //检查外部调用的尺寸是否有效
        if (Util.isValidDimensions(overrideWidth, overrideHeight)) {
          width = overrideWidth;
          height = overrideHeight;
        }
        //失败的回调
        int logLevel = getFallbackDrawable() == null ? Log.WARN : Log.DEBUG;
        onLoadFailed(new GlideException("Received null model"), logLevel);
        return;
      }

      if (status == Status.RUNNING) {
        throw new IllegalArgumentException("Cannot restart a running request");
      }
      if (status == Status.COMPLETE) {//表示资源准备好了
        onResourceReady(resource, DataSource.MEMORY_CACHE);
        return;
      }
      status = Status.WAITING_FOR_SIZE;
      if (Util.isValidDimensions(overrideWidth, overrideHeight)) {
      //这里表示大小已经准备好了---去寻找缓存,准备资源
        onSizeReady(overrideWidth, overrideHeight);
      } else {
        target.getSize(this);
      }

      if ((status == Status.RUNNING || status == Status.WAITING_FOR_SIZE)
          && canNotifyStatusChanged()) {
        target.onLoadStarted(getPlaceholderDrawable());
      }
      if (IS_VERBOSE_LOGGABLE) {
        logV("finished run method in " + LogTime.getElapsedMillis(startTime));
      }
    }
  }
大小准备好之后 去寻找缓存,准备资源
onSizeReady
  @Override
  public void onSizeReady(int width, int height) {
    stateVerifier.throwIfRecycled();
    synchronized (requestLock) {
      // ...
      loadStatus = engine.load(...省略参数);
              // ...
    }
  }
Engine.java
engine.load
public <R> LoadStatus load(...) {
// 拿到 key
    EngineKey key = keyFactory.buildKey(...);
    EngineResource<?> memoryResource;
    synchronized (this) {
    // 去内存查找
      memoryResource = loadFromMemory(key, isMemoryCacheable, startTime);
      if (memoryResource == null) {//内存没有找到,执行一个新的任务
        return waitForExistingOrStartNewJob(...);
      }
    }
    cb.onResourceReady(memoryResource, DataSource.MEMORY_CACHE);
    return null;
  }
  // 执行已经存在的任务 或者 开启一个新任务
  private <R> LoadStatus waitForExistingOrStartNewJob(...) {
    EngineJob<?> current = jobs.get(key, onlyRetrieveFromCache);
    if (current != null) {
      current.addCallback(cb, callbackExecutor);
      if (VERBOSE_IS_LOGGABLE) {
        logWithTimeAndKey("Added to existing load", startTime, key);
      }
      return new LoadStatus(cb, current);
    }

    EngineJob<R> engineJob = engineJobFactory.build(...);
    DecodeJob<R> decodeJob = decodeJobFactory.build(...);

    //把当前需要执行的 key 添加进缓存
    jobs.put(key, engineJob);
	//执行任务的回调
    engineJob.addCallback(cb, callbackExecutor);
    //开始执行。
    engineJob.start(decodeJob);
    // ...
    return new LoadStatus(cb, engineJob);
  }
查找内存的过程
  @Nullable
  private EngineResource<?> loadFromMemory(
      EngineKey key, boolean isMemoryCacheable, long startTime) {
    if (!isMemoryCacheable) {
      return null;
    }
	// 查找活动缓存
    EngineResource<?> active = loadFromActiveResources(key);
    if (active != null) {
      // 活动缓存有,就返回
      return active;
    }
	// 活动缓存没找到,查找内存缓存
    EngineResource<?> cached = loadFromCache(key);
    if (cached != null) {
      // 内存缓存有,就返回
      return cached;
    }
    // 活动缓存、内存缓存都没有,就返回null
    return null;
  }
  // 查找内存缓存
 private EngineResource<?> loadFromCache(Key key) {
    EngineResource<?> cached = getEngineResourceFromCache(key);
    if (cached != null) {
      cached.acquire();
      // 如果内存缓存找到了,就放到活动缓存里面去
      //此处注意,是剪切,意思就是 内存缓存和活动缓存只能有一处,不能共存,
      // 详情请继续查看activate方法
      activeResources.activate(key, cached);
    }
    return cached;
  }
通过 engine.load 这个函数里面的逻辑,同学们我们可以总结3点:
-
先构建请求或者缓存 KEY ;
-
根据 KEY 从内存缓存中查找对应的资源数据(ActiveResources(活动缓存,内部是一个 Map 用弱引用持有),LruResourceCache),如果有就回调 对应监听的 onResourceReady 表示数据准备好了。
-
从执行缓存中查找对应 key 的任务
-
如果找到了,就说明已经正在执行了,不用重复执行。
-
没有找到,通过 EngineJob.start 开启一个新的请求任务执行。
-
下面我们就来看下 engineJob.start 具体执行逻辑:
engineJob.start(decodeJob);
  public synchronized void start(DecodeJob<R> decodeJob) {
    this.decodeJob = decodeJob;
    // 从线程池里得到线程
    GlideExecutor executor =
        decodeJob.willDecodeFromCache() ? diskCacheExecutor : getActiveSourceExecutor();
        //开始执行
    executor.execute(decodeJob);
  }
通过 DecodeJob 源码得知,它是实现的 Runnable 接口,这里 GlideExecutor 线程池开始执行,就会启动 DecodeJob 的 run 函数,我们跟踪 run 的实现:
class DecodeJob<R> implements Runnable ...{
  @Override
  public void run() {
    // ...
      if (isCancelled) {
        notifyFailed();
        return;
      }
      // 开始执行
      runWrapped();
      // ...
  }
}
 private void runWrapped() {
    switch (runReason) {
      case INITIALIZE:
        //获取资源状态
        stage = getNextStage(Stage.INITIALIZE);
        //根据当前资源状态,获取资源执行器
        currentGenerator = getNextGenerator();
        //执行
        runGenerators();
        break;
      ...
    }
  }

  private Stage getNextStage(Stage current) {
    switch (current) {
      case INITIALIZE:
        //如果外部调用配置了资源缓存策略,那么返回 Stage.RESOURCE_CACHE
       	//否则继续调用 Stage.RESOURCE_CACHE 执行。
        return diskCacheStrategy.decodeCachedResource()
            ? Stage.RESOURCE_CACHE : getNextStage(Stage.RESOURCE_CACHE);
      case RESOURCE_CACHE:
        //如果外部配置了源数据缓存,那么返回 Stage.DATA_CACHE
        //否则继续调用 getNextStage(Stage.DATA_CACHE)
        return diskCacheStrategy.decodeCachedData()
            ? Stage.DATA_CACHE : getNextStage(Stage.DATA_CACHE);
      case DATA_CACHE:
        //如果只能从缓存中获取数据,则直接返回 FINISHED,否则,返回SOURCE。
        //意思就是一个新的资源
        return onlyRetrieveFromCache ? Stage.FINISHED : Stage.SOURCE;
      case SOURCE:
      case FINISHED:
        return Stage.FINISHED;
      default:
        throw new IllegalArgumentException("Unrecognized stage: " + current);
    }
  }
通过上面代码可以知道,我们在找资源的执行器,这里由于我们没有在外部配置缓存策略所以,直接从源数据加载,看下面代码:
  private DataFetcherGenerator getNextGenerator() {
    switch (stage) {
      //从资源缓存执行器
      case RESOURCE_CACHE:
        return new ResourceCacheGenerator(decodeHelper, this);
      //源数据磁盘缓存执行器
      case DATA_CACHE:
        return new DataCacheGenerator(decodeHelper, this);
      //什么都没有配置,源数据的执行器
      case SOURCE:
        return new SourceGenerator(decodeHelper, this);
      case FINISHED:
        return null;
      default:
        throw new IllegalStateException("Unrecognized stage: " + stage);
    }
  }
由于我们什么都没有配置,返回的是 SourceGenerator 源数据执行器。继续下面代码执行:
runGenerators()
  private void runGenerators() {
    // ...
    while (!isCancelled
        && currentGenerator != null
        && !(isStarted = currentGenerator.startNext())) {
      stage = getNextStage(stage);
      currentGenerator = getNextGenerator();
      // ...
  }
着重看 while循环里面的currentGenerator.startNext();
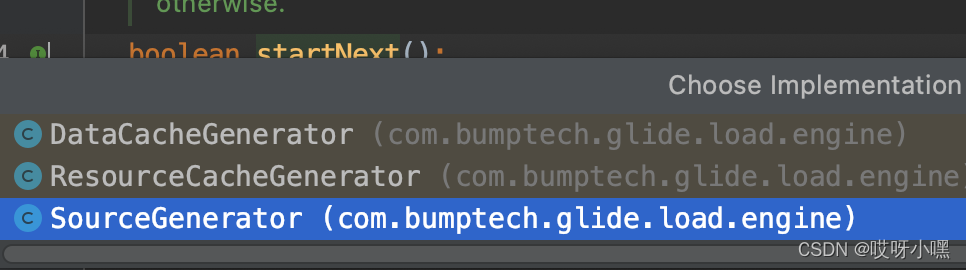
DataFetcherGenerator 是一个抽象类,那么这里执行的实现类是哪一个,可以参考下面说明:
Stage.RESOURCE_CACHE【状态标记】 ---- 从磁盘中获取缓存的资源数据【作用】 — ResourceCacheGenerator【执行器】
Stage.DATA_CACHE【状态标记】 ---- 从磁盘中获取缓存的源数据【作用】 — DataCacheGenerator【执行器】
Stage.SOURCE【状态标记】 — 一次新的请求任务 — SourceGenerator【执行器】
因为这里我们没有配置缓存,那么直接看 SourceGenerator
  @Override
  public boolean startNext() {
		...
    loadData = null;
    boolean started = false;
    while (!started && hasNextModelLoader()) {
      //获取一个 ModelLoad 加载器
      loadData = helper.getLoadData().get(loadDataListIndex++);
      if (loadData != null
          && (helper.getDiskCacheStrategy().isDataCacheable(loadData.fetcher.getDataSource())
          || helper.hasLoadPath(loadData.fetcher.getDataClass()))) {
        started = true;
        //使用加载器中的 fetcher 根据优先级加载数据
        loadData.fetcher.loadData(helper.getPriority(),
        new DataCallback<Object>() {
          @Override
          public void onDataReady(@Nullable Object data) {
            if (isCurrentRequest(toStart)) {
            //这里需要记住,后面资源准备好之后 ,会回调到这里
              onDataReadyInternal(toStart, data);
            }
          }

          @Override
          public void onLoadFailed(@NonNull Exception e) {
            if (isCurrentRequest(toStart)) {
              onLoadFailedInternal(toStart, e);
            }
          }
        });
      }
    }
    return started;
  }
helper.getLoadData() 获取的是一个什么样的加载器,我们可以先猜一下,因为没有配置任何缓存,所以可以猜得到是 http 请求了,那么是不是猜测的那样的,我们一起来验证下。
List<LoadData<?>> getLoadData() {
    if (!isLoadDataSet) {
      isLoadDataSet = true;
      loadData.clear();
      //从 Glide 注册的 Model 来获取加载器(注册是在 Glide 初始化的时候通过 registry
       // .append()添加的)
      List<ModelLoader<Object, ?>> modelLoaders = glideContext.getRegistry().getModelLoaders(model);

      for (int i = 0, size = modelLoaders.size(); i < size; i++) {
        ModelLoader<Object, ?> modelLoader = modelLoaders.get(i);
        LoadData<?> current =
          //开始构建加载器
            modelLoader.buildLoadData(model, width, height, options);
        //如果架子啊器不为空,那么添加进临时缓存
        if (current != null) {
          loadData.add(current);
        }
      }
    }
    return loadData;
  }
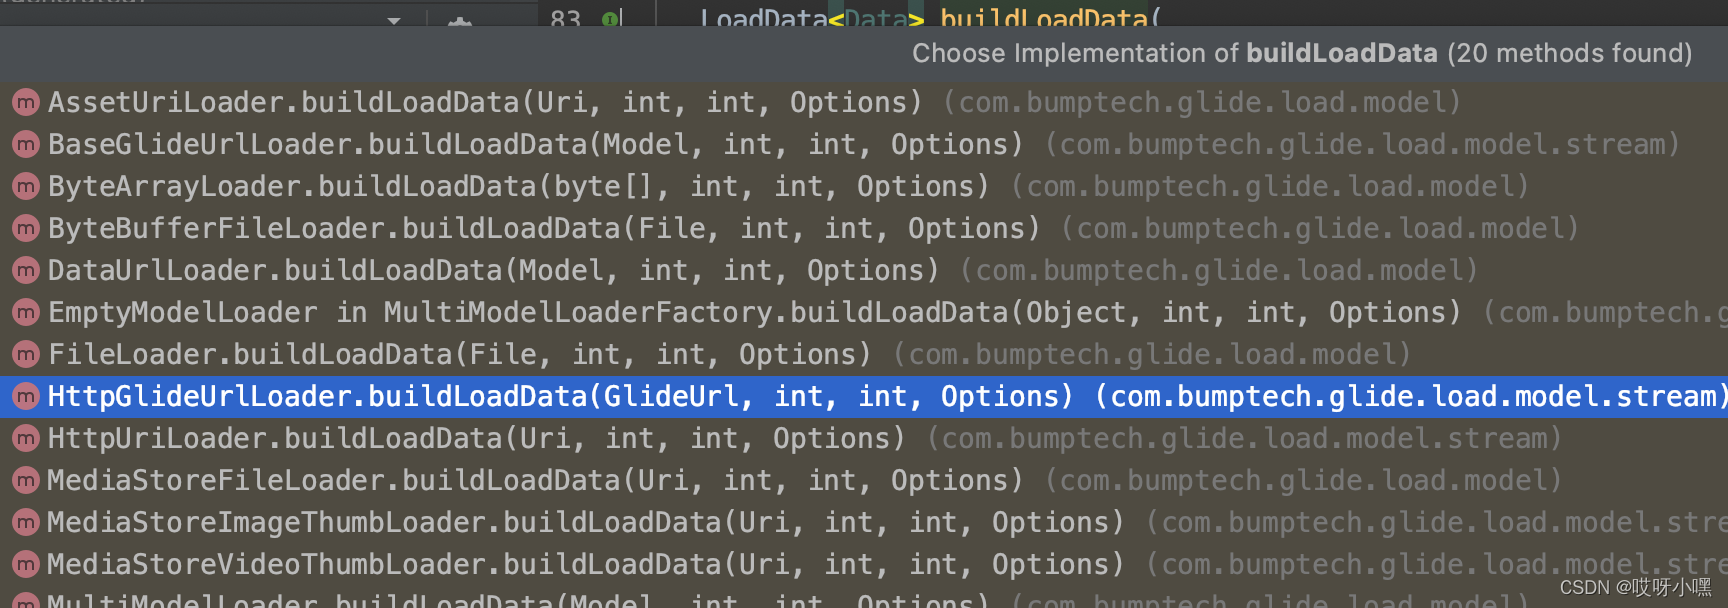
首先拿到一个加载器的容器,加载器是在 Glide 初始化的时候 通过 Registry.append() 添加的,这里我们以网络链接举例的。所以,ModelLoad 的实现类是 HttpGlideUrlLoader 加载器,我们看下它的具体实现:
  @Override
  public LoadData<InputStream> buildLoadData(
      @NonNull GlideUrl model, int width, int height, @NonNull Options options) {
    GlideUrl url = model;
    if (modelCache != null) {
      url = modelCache.get(model, 0, 0);
      if (url == null) {
        modelCache.put(model, 0, 0, model);
        url = model;
      }
    }
    int timeout = options.get(TIMEOUT);
    // 看这里,TMD 终于看见Glide 网络加载器了
    return new LoadData<>(url, new HttpUrlFetcher(url, timeout));
  }
看到是返回的一个HttpUrlFetcher 给加载器。加载器我们拿到了,现在开始加载,返回到刚刚的源码,请看下面:
  @Override
  public boolean startNext() {
  // ...
    while (!started && hasNextModelLoader()) {
      loadData = helper.getLoadData().get(loadDataListIndex++);
      if (loadData != null
          && (helper.getDiskCacheStrategy().isDataCacheable(loadData.fetcher.getDataSource())
              || helper.hasLoadPath(loadData.fetcher.getDataClass()))) {
        started = true;
        startNextLoad(loadData);
      }
    }
    return started;
  }

  private void startNextLoad(final LoadData<?> toStart) {
    loadData.fetcher.loadData(...);
  }
  @Override
  public void loadData(...) {
  	//...
     //http 请求,返回一个 InputStream 输入流
      InputStream result = loadDataWithRedirects(glideUrl.toURL(), 0, null, glideUrl.getHeaders());
      //将 InputStream 以回调形式回调出去
      callback.onDataReady(result);
   	//...
  }
  private InputStream loadDataWithRedirects(...) {
   // ...
    urlConnection = connectionFactory.build(url);
    for (Map.Entry<String, String> headerEntry : headers.entrySet()) {
      urlConnection.addRequestProperty(headerEntry.getKey(), headerEntry.getValue());
    }
    urlConnection.setConnectTimeout(timeout);
    urlConnection.setReadTimeout(timeout);
    urlConnection.setUseCaches(false);
    urlConnection.setDoInput(true);

    urlConnection.setInstanceFollowRedirects(false);

    // Connect explicitly to avoid errors in decoders if connection fails.
    urlConnection.connect();
    // Set the stream so that it's closed in cleanup to avoid resource leaks. See #2352.
    stream = urlConnection.getInputStream();
    // ...
  }
至此,终于找到网络请求了,这里是 HttpURLConnection 作为 Glide 底层成网络请求的。请求成功之后直接返回的是一个输入流,最后会通过 callback.onDataReady(result); 回调到 DecodeJob onDataFetcherReady 函数中。同学们我们跟下回调,回调到 SourceGenerator
loadData.fetcher.loadData(helper.getPriority(),
        new DataCallback<Object>() {
          @Override
          public void onDataReady(@Nullable Object data) {
            if (isCurrentRequest(toStart)) {
            //这里需要记住,后面资源准备好之后 ,会回调到这里
              onDataReadyInternal(toStart, data);
            }
          }

          @Override
          public void onLoadFailed(@NonNull Exception e) {
            if (isCurrentRequest(toStart)) {
              onLoadFailedInternal(toStart, e);
            }
          }
        });
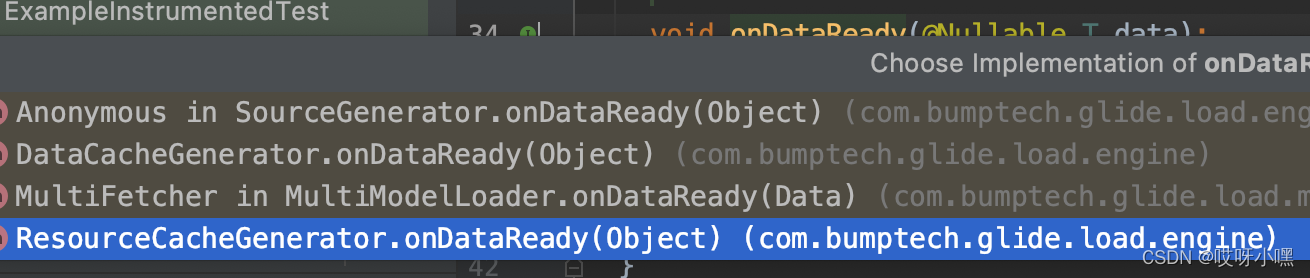
前面调用loadData.fetcher.loadData方法重写了onDataReady,所以有继续调用onDataReadyInternal
  void onDataReadyInternal(LoadData<?> loadData, Object data) {
    DiskCacheStrategy diskCacheStrategy = helper.getDiskCacheStrategy();
    if (data != null && diskCacheStrategy.isDataCacheable(loadData.fetcher.getDataSource())) {
      dataToCache = data;
      // We might be being called back on someone else's thread. Before doing anything, we should
      // reschedule to get back onto Glide's thread.
      cb.reschedule();
    } else {// 由于没有配置缓存,所以继续回调到 DecodeJob --》onDataFetcherRead
      cb.onDataFetcherReady(
          loadData.sourceKey,
          data,
          loadData.fetcher,
          loadData.fetcher.getDataSource(),
          originalKey);
    }
  }
 	  @Override
      public void onDataFetcherReady(Key sourceKey, Object data, DataFetcher<?> fetcher,
          DataSource dataSource, Key attemptedKey) {
        this.currentSourceKey = sourceKey; //当前返回数据的 key
        this.currentData = data; //返回的数据
        this.currentFetcher = fetcher; //返回的数据执行器,这里可以理解为 HttpUrlFetcher
        this.currentDataSource = dataSource; //数据来源 url
        this.currentAttemptingKey = attemptedKey;
        if (Thread.currentThread() != currentThread) {
          runReason = RunReason.DECODE_DATA;
          callback.reschedule(this);
        } else {
          GlideTrace.beginSection("DecodeJob.decodeFromRetrievedData");
          try {
            //解析返回回来的数据
            decodeFromRetrievedData();
          } finally {
            GlideTrace.endSection();
          }
        }
      }

  //解析返回的数据
  private void decodeFromRetrievedData() {
    Resource<R> resource = null;
    try {
      // 调用 decodeFrom 解析 数据;HttpUrlFetcher , InputStream ,  currentDataSource
      resource = decodeFromData(currentFetcher, currentData, currentDataSource);
    } catch (GlideException e) {
      e.setLoggingDetails(currentAttemptingKey, currentDataSource);
      throwables.add(e);
    }
    //解析完成后,通知下去
    if (resource != null) {
      notifyEncodeAndRelease(resource, currentDataSource);
    } else {
      runGenerators();
    }
  }
private void notifyEncodeAndRelease(Resource<R> resource, DataSource dataSource) {
    ...
	//通知调用层数据已经装备好了
    notifyComplete(result, dataSource);

    stage = Stage.ENCODE;
    try {
      //这里就是将资源磁盘缓存
      if (deferredEncodeManager.hasResourceToEncode()) {
        deferredEncodeManager.encode(diskCacheProvider, options);
      }
    } finally {
     ...
    }
	//完成
    onEncodeComplete();
  }

  private void notifyComplete(Resource<R> resource, DataSource dataSource) {
    setNotifiedOrThrow();
    // 在 DecodeJob 的构建中, 我们知道这个 Callback 是 EngineJob
    callback.onResourceReady(resource, dataSource);
  }
}
可以看到上面的 DecodeJob.decodeFromRetrievedData 中主要做了三个处理:
第一个处理:解析返回回来的资源。
第二个处理:拿到解析的资源,如果配置了本地缓存,就缓存到磁盘。
第三个处理:通知上层资源准备就绪,可以使用了。
同学们我们直接看 EngineJob 的 onResourceReady 回调函数:
  @Override
  public void onResourceReady(Resource<R> resource, DataSource dataSource) {
    synchronized (this) {
      this.resource = resource;
      this.dataSource = dataSource;
    }
    notifyCallbacksOfResult();
  }

void notifyCallbacksOfResult() {
  // ...
	//回调上层 Engine 任务完成了
    engineJobListener.onEngineJobComplete(this, localKey, localResource);

    //遍历资源回调给 ImageViewTarget
    for (final ResourceCallbackAndExecutor entry : copy) {
      entry.executor.execute(new CallResourceReady(entry.cb));
    }
  }
通过上面 EngineJob 的 onResourceReady 回调函数 主要做了 两个处理:
第一个处理:通知上层任务完成。
第二个处理:回调 ImageViewTarget 用于展示数据
private class CallResourceReady implements Runnable {

    private final ResourceCallback cb;

    CallResourceReady(ResourceCallback cb) {
      this.cb = cb;
    }

    @Override
    public void run() {
      synchronized (EngineJob.this) {
        if (cbs.contains(cb)) {
         ...
          //返回准备好的资源
          callCallbackOnResourceReady(cb);
          removeCallback(cb);
        }
        decrementPendingCallbacks();
      }
    }
  }
  @Synthetic
  synchronized void callCallbackOnResourceReady(ResourceCallback cb) {
    try {
      //回调给 SingleRequest
      cb.onResourceReady(engineResource, dataSource);
    } catch (Throwable t) {
      throw new CallbackException(t);
    }
  }
  @Override
  public void onResourceReady(Resource<?> resource, DataSource dataSource) {
    // ...
    //当资源准备好的时候
      onResourceReady((Resource<R>) resource, (R) received, dataSource);
      // ...
  }

  private void onResourceReady(Resource<R> resource, R result, DataSource dataSource) {
    // ...
      if (!anyListenerHandledUpdatingTarget) {
        Transition<? super R> animation = animationFactory.build(dataSource, isFirstResource);
        //回调给目标 ImageViewTarget 资源准备好了
        target.onResourceReady(result, animation);
      }

    notifyLoadSuccess();
  }
public abstract class ImageViewTarget<Z> extends ViewTarget<ImageView, Z>
    implements Transition.ViewAdapter {
  @Override
  public void onResourceReady(@NonNull Z resource, @Nullable Transition<? super Z> transition) {
    if (transition == null || !transition.transition(resource, this)) {
      setResourceInternal(resource);
    } else {
      maybeUpdateAnimatable(resource);
    }
  }
 private void setResourceInternal(@Nullable Z resource) {
    setResource(resource);
    maybeUpdateAnimatable(resource);
  }

  protected abstract void setResource(@Nullable Z resource);
}
在最开始构建的时候,我们知道只有调用 asBitmap 的时候实现类是 BitmapImageViewTarget,在这里的测试,并没有调用这个函数,所以它的实现类是 DrawableImageViewTarget,具体看下它内部实现:
public class DrawableImageViewTarget extends ImageViewTarget<Drawable> {

  public DrawableImageViewTarget(ImageView view) {
    super(view);
  }

  /** @deprecated Use {@link #waitForLayout()} instead. */
  // Public API.
  @SuppressWarnings({"unused", "deprecation"})
  @Deprecated
  public DrawableImageViewTarget(ImageView view, boolean waitForLayout) {
    super(view, waitForLayout);
  }

  @Override
  protected void setResource(@Nullable Drawable resource) {
    view.setImageDrawable(resource);
  }
}
这里看到抽象类中调用了 setResource ,子类实现并调用了 view.setImageDrawable(resource); 图片现在算是真正的显示出来了


 464
464


 被折叠的 条评论
为什么被折叠?
被折叠的 条评论
为什么被折叠?
 到【灌水乐园】发言


