


FreeMarker的maven引用及application配置见第一篇教程
SpringBoot+FreeMarker 学习(一)初识FreeMarker
一、if指令
<#if condition> </#if>
当condition值为false时,if标签内的东西会被忽略
例子:创建模板文件if.ftl
<!DOCTYPE html>
<html lang="en">
<head>
    <meta charset="UTF-8">
    <title>Welcome!</title>
</head>
<body>
<h1>Welcome ${user} <#if user == "Boss">, our boss</#if>!</h1>
</body>
</html>
创建LabelController
@Controller
@RequestMapping(value = "label")
public class LabelController {

    @RequestMapping("/if")
    public String ifLabel(String username, Model model) {
        model.addAttribute("user", username);
        return "if";
    }

}
运行项目之后,分别访问
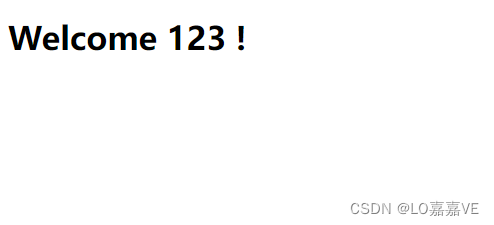
http://127.0.0.1:8080/label/if?username=123
http://127.0.0.1:8080/label/if?username=Boss
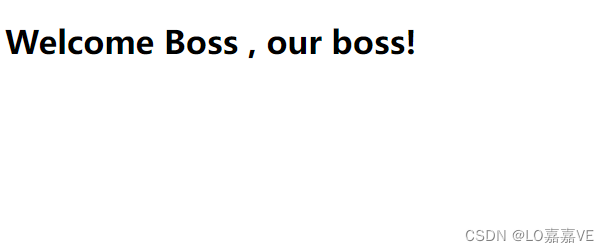
可以看到,输出的内容会根据 user == "Boss" 的判定条件做出改变。
<#else> <#elseif condition>
else标签和elseif标签,可以让我们有更多的条件处理
例子:在上面if模板的基础上加上else判定语句
<!DOCTYPE html>
<html lang="en">
<head>
<meta charset="UTF-8">
<title>Welcome!</title>
</head>
<body>
<h1>Welcome ${user} <#if user == "Boss">, our boss</#if>!</h1>
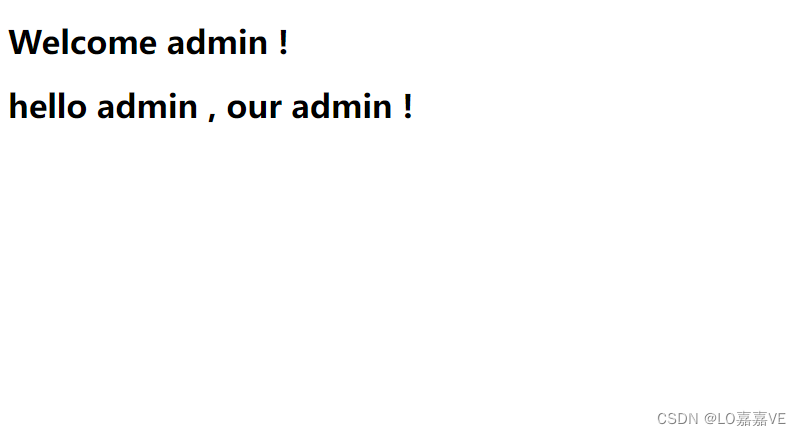
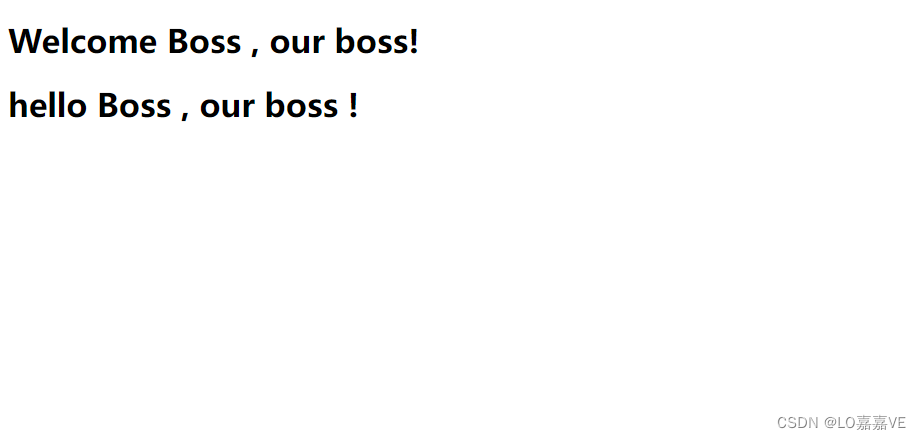
<h1>hello ${user} <#if user == "Boss">, our boss <#elseif user == "admin">, our admin <#else>, our ${user} </#if>!</h1>
</body>
</html>LabelController不变,直接运行项目,分别访问三个地址,查看效果
http://127.0.0.1:8080/label/if?username=123

http://127.0.0.1:8080/label/if?username=admin
http://127.0.0.1:8080/label/if?username=Boss
二、list指令
<#list sequence as loopVariable>repeatThis</#list>
list指令会遍历sequence数据,从第一项开始到最后一项,重复执行repeatThis代码。loopVariable是sequence当前遍历项的值,仅在list标签内有效
例子:创建list.ftl模板
<p>We have users:
<table border=1>
    <#list users as user>
    <tr><td>${user.name}<td>${user.age}
    </#list>
</table>
创建用户User实体类
@Getter
@Setter
public class User {

    private String name;

    private int age;

}
在LabelController中添加
    @RequestMapping("/list")
    public String listLabel(int userCount, Model model) {
        List<User> users = new ArrayList<>();
        for (int i = 0; i < userCount; i++) {
            User user = new User();
            user.setName(String.format("user%d", i + 1));
            user.setAge(i + 20);
            users.add(user);
        }
        model.addAttribute("users", users);
        return "list";
    }
运行项目之后访问地址: http://127.0.0.1:8080/label/list?userCount=10
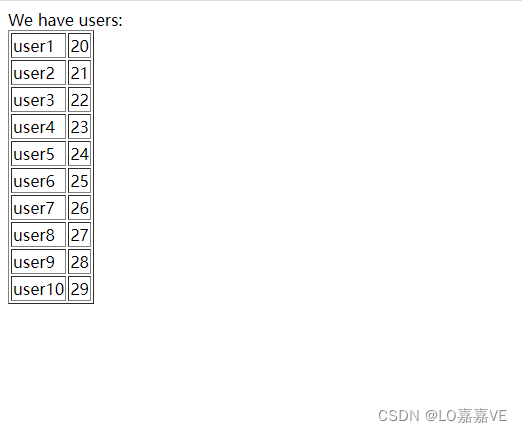
<#items as loopVariable> repeatThis </#items>
包含item标签之后,list指令将进行一个判定,看要遍历的列表是否为空,如果是空,则不执行,如果不为空,则在item标签内进行循环。
例子:在list.ftl模板的基础上,我们在加上一些代码
<p>We have users:
<table border=1>
    <#list users as user>
    <tr><td>${user.name}<td>${user.age}
    </#list>
</table>

<br>

<#list users>
    <table border=1>
        <#items as user>
        <tr><td>${user.name}<td>${user.age}
        </#items>
    </table>
</#list>
分别访问 http://127.0.0.1:8080/label/list?userCount=10
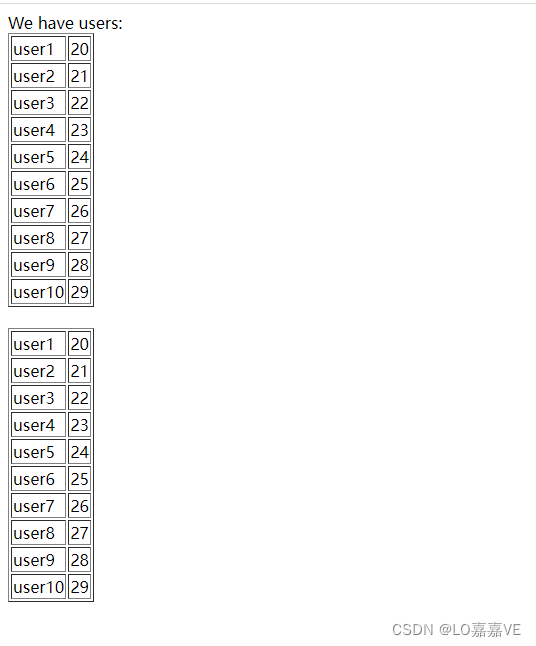
看展示效果没有区别,我们在访问 http://127.0.0.1:8080/label/list?userCount=0
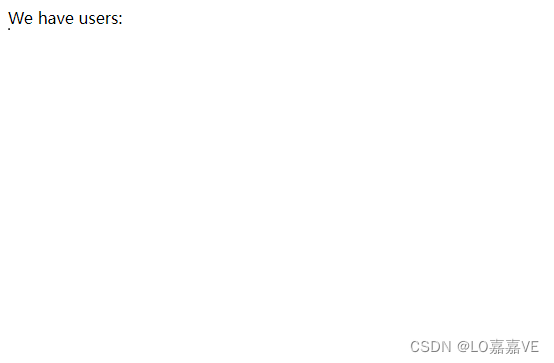
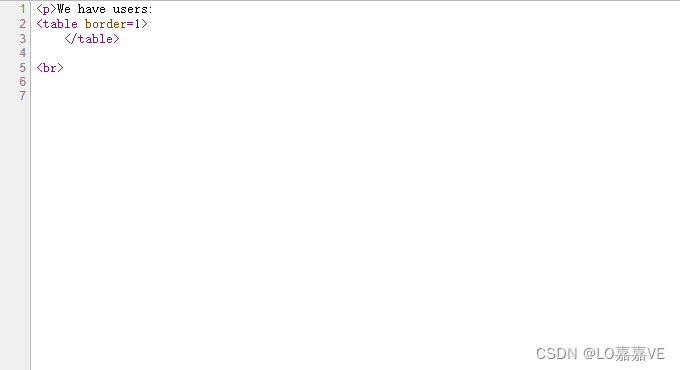
两个table的展示效果,上面的生成了一个空的table,下面的写法没有生成table
查看网页源码更直观
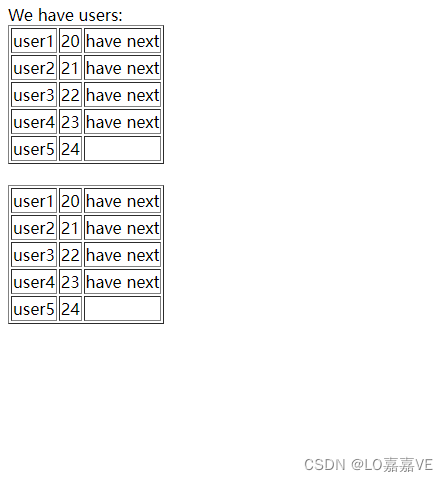
<#sep> </#sep>
sep指令在list中使用,只有当list中遍历的数据还有下一个时会执行里面的内容,否则忽略
例子:继续在list.ftl模板中添加代码
<p>We have users:
<table border=1>
    <#list users as user>
    <tr><td>${user.name}<td>${user.age}<td> <#sep> have next</#sep>
    </#list>
</table>

<br>

<#list users>
    <table border=1>
        <#items as user>
        <tr><td>${user.name}<td>${user.age}<td> <#sep> have next </#sep>
        </#items>
    </table>
</#list>访问地址:http://127.0.0.1:8080/label/list?userCount=5
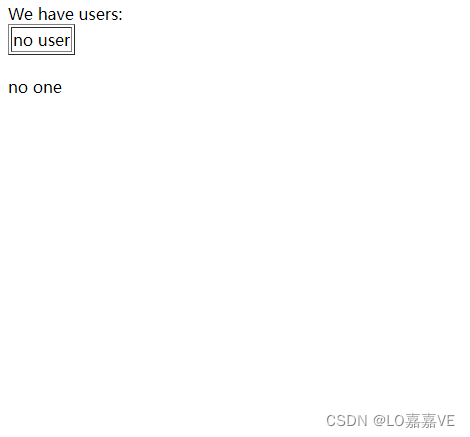
<#else>
list标签可以和else同时使用,当list要遍历的数据为空时,执行else的代码
示例:在list.ftl模板中添加else代码
<p>We have users:
<table border=1>
    <#list users as user>
    <tr><td>${user.name}<td>${user.age}<td> <#sep> have next</#sep>
    <#else>
    <tr><td>no user
    </#list>
</table>

<br>

<#list users>
    <table border=1>
        <#items as user>
        <tr><td>${user.name}<td>${user.age}<td> <#sep> have next </#sep>
        </#items>
    </table>
<#else>
    no one
</#list>
访问地址: http://127.0.0.1:8080/label/list?userCount=0
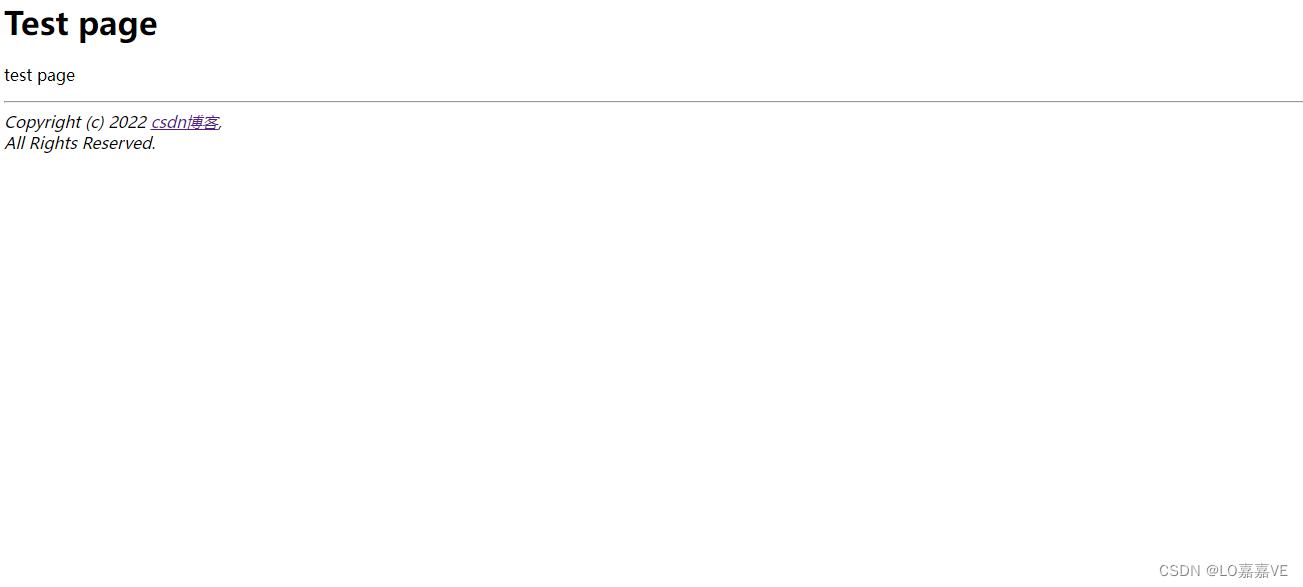
三、include指令
使用include指令可以在模板中插入其他文件的内容。
例子:我们创建一个copyright_footer.html的文件
<hr>
<i>
    Copyright (c) 2022 <a href="https://blog.csdn.net/dengdaijc?type=blog">csdn博客</a>,
    <br>
    All Rights Reserved.
</i>
在创建一个模板文件include.ftl
<html>
<head>
    <title>Test page</title>
</head>
<body>
<h1>Test page</h1>
<p>test page
    <#include "/copyright_footer.html">
</body>
</html>
LabelController中添加
    @RequestMapping("/include")
    public String includeLabel(Model model) {
        return "include";
    }
运行项目之后访问地址: http://127.0.0.1:8080/label/include


 774
774


 被折叠的 条评论
为什么被折叠?
被折叠的 条评论
为什么被折叠?
 到【灌水乐园】发言


