


目录:
(1)路由队列
(2)主题队列
(3)RPC队列
(4)事务
(5)同步确认模式
(6) 异步确认模式
(7) SpringAMQP
(1)路由队列
上面将了发布订阅模式,本质上用的交换机的广播模式:
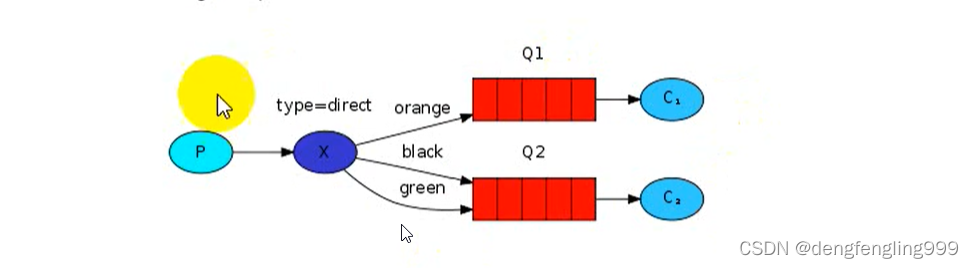
生产者发送消息给交换机,然后由交换机发给绑定他的一个队列,然后被不同的队列后面的消费者所接收,这样我们发送一条消息,消费者接收到的都是一条消息,那么现在又有一个需求,比如会员制,比如说:微信公众号,只有开通会员的才能看的文章,可以推给会员用户,没开会员的职能看一些普通文章。那么发布订阅就不行了,它无法根据文章的需求,那些消费者可以接收,那些不能接收,我们就要有这样一条消息,这两个消费者能接收,那两个消费者不能接收,还有一条消息4个消费者都能接收这种区分开来,就用来另外一种模式路由模式:
绑定一个路由key:交换机通过路由key来传给对应的队列
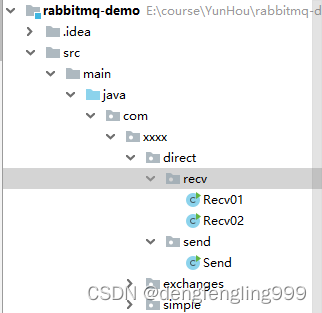
创建者:
package com.xxxx.direct.send;
import com.rabbitmq.client.BuiltinExchangeType;
import com.rabbitmq.client.Channel;
import com.rabbitmq.client.Connection;
import com.rabbitmq.client.ConnectionFactory;
import java.nio.charset.StandardCharsets;
/*
* 路由队列:消息的生产者
*
* */
public class Send {
//定义交换机名称
private final static String EXCHANGE_NAME = "exchange_direct";
public static void main(String[] argv) throws Exception {
// 创建连接工厂
ConnectionFactory factory=new ConnectionFactory();
//相关配置
factory.setHost("192.168.23.129");
factory.setUsername("yeb");
factory.setVirtualHost("/yeb");
factory.setPassword("123456");
factory.setPort(5672);
try(
//连接工厂创建连接
Connection connection=factory.newConnection();
//创建信道
Channel channel = connection.createChannel()){
//绑定交换机
channel.exchangeDeclare(EXCHANGE_NAME, BuiltinExchangeType.DIRECT);
// 消息内容
String infomessage = "普通信息!";
String errormessage = "错误信息!";
String waringmessage = "警告信息!";
//路由
String infoRoutingKey="info";
String errorRoutingKey="error";
String waringRoutingKey="waring";
//发送消息 第一个参数是交换机,第二个:路由key 第三个:对应的参数 第四个:消息的实体
channel.basicPublish(EXCHANGE_NAME,infoRoutingKey, null, infomessage.getBytes(StandardCharsets.UTF_8));
channel.basicPublish(EXCHANGE_NAME,errorRoutingKey, null, errormessage.getBytes(StandardCharsets.UTF_8));
channel.basicPublish(EXCHANGE_NAME,waringRoutingKey, null, waringmessage.getBytes(StandardCharsets.UTF_8));
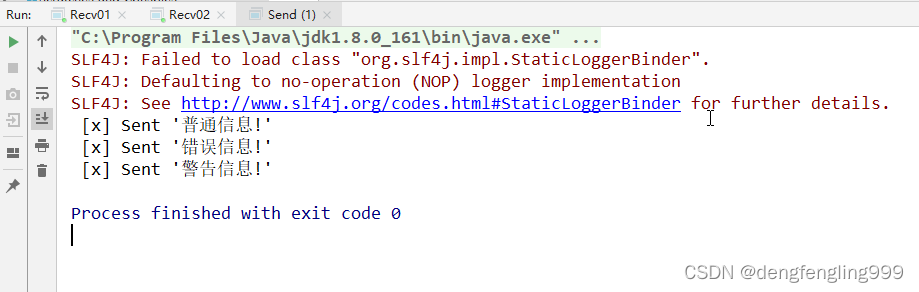
System.out.println(" [x] Sent '" + infomessage + "'");
System.out.println(" [x] Sent '" + errormessage + "'");
System.out.println(" [x] Sent '" + waringmessage + "'");
}
}
}
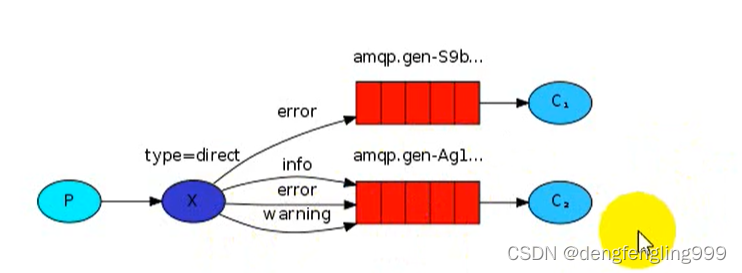
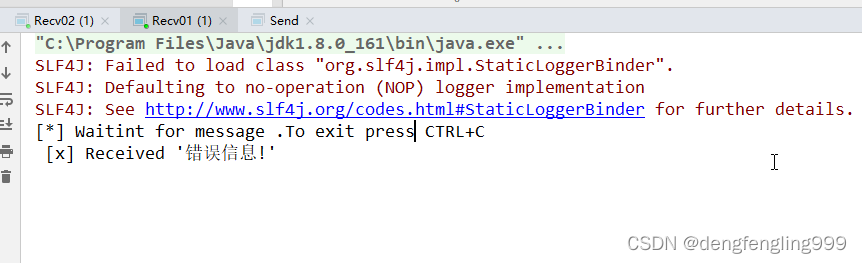
消费者1:让他只接受错误消息
package com.xxxx.direct.recv;

import com.rabbitmq.client.*;


/*
* 路由队列:消息的消费者
*
* */
public class Recv01 {
    //定义队列名称
    private final static String EXCHANGE_NAME = "exchange_direct";

    public static void main(String[] argv) throws Exception {
        // 创建连接工厂
        ConnectionFactory factory=new ConnectionFactory();
        //相关配置
        factory.setHost("192.168.23.129");
        factory.setUsername("yeb");
        factory.setVirtualHost("/yeb");
        factory.setPassword("123456");
        factory.setPort(5672);

        //连接工厂创建连接
        Connection connection=factory.newConnection();
        //创建信道
        Channel channel = connection.createChannel();

        //绑定交换机
        channel.exchangeDeclare(EXCHANGE_NAME, BuiltinExchangeType.DIRECT);
        //获取队列(排他队列)
        String queueName=channel.queueDeclare().getQueue();
        String errorRoutingKey="error";//路由key,只让他接收错误信息
        //绑定队列和交换机、
        channel.queueBind(queueName,EXCHANGE_NAME,errorRoutingKey);

        System.out.println("[*] Waitint for message .To exit press CTRL+C");

        DeliverCallback deliverCallback=(consumerTag, delivery) -> {

            String message=new String(delivery.getBody(),"UTF-8");
            System.out.println(" [x] Received '" + message + "'");
        };
        //监听队列消费消息  第二个参数:消息自动回值告诉生产者收到消息
        channel.basicConsume(queueName,true,deliverCallback,consumerTag -> {
        });

    }
}
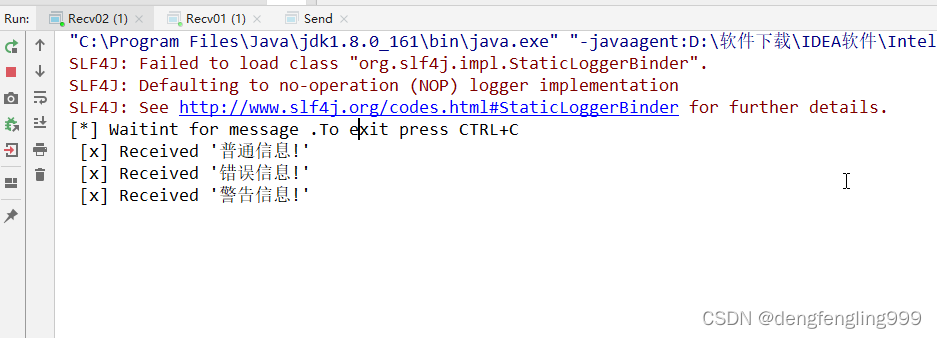
消费者2:接收3条消息
package com.xxxx.direct.recv;

import com.rabbitmq.client.*;


/*
* 路由队列:消息的消费者
*
* */
public class Recv02 {
    //定义队列名称
    private final static String EXCHANGE_NAME = "exchange_direct";

    public static void main(String[] argv) throws Exception {
        // 创建连接工厂
        ConnectionFactory factory=new ConnectionFactory();
        //相关配置
        factory.setHost("192.168.23.129");
        factory.setUsername("yeb");
        factory.setVirtualHost("/yeb");
        factory.setPassword("123456");
        factory.setPort(5672);

        //连接工厂创建连接
        Connection connection=factory.newConnection();
        //创建信道
        Channel channel = connection.createChannel();

        //绑定交换机
        channel.exchangeDeclare(EXCHANGE_NAME, BuiltinExchangeType.DIRECT);
        //获取队列(排他队列)
        String queueName=channel.queueDeclare().getQueue();

        String infoRoutingKey="info";
        String errorRoutingKey="error";
        String waringRoutingKey="waring";

        //绑定队列和交换机
        channel.queueBind(queueName,EXCHANGE_NAME,infoRoutingKey);
        channel.queueBind(queueName,EXCHANGE_NAME,errorRoutingKey);
        channel.queueBind(queueName,EXCHANGE_NAME,waringRoutingKey);

        System.out.println("[*] Waitint for message .To exit press CTRL+C");

        DeliverCallback deliverCallback=(consumerTag, delivery) -> {

            String message=new String(delivery.getBody(),"UTF-8");
            System.out.println(" [x] Received '" + message + "'");

        };
        //监听队列消费消息  第二个参数:消息自动回值告诉生产者收到消息
        channel.basicConsume(queueName,true,deliverCallback,consumerTag -> {
        });

    }
}
启动消费者、消息的创建者:
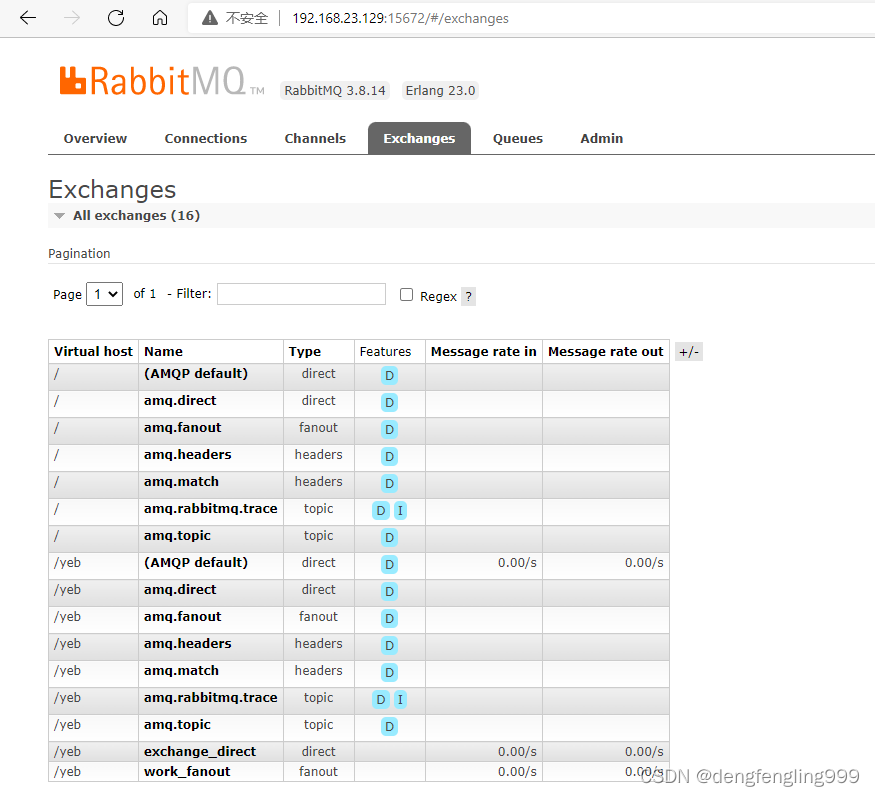
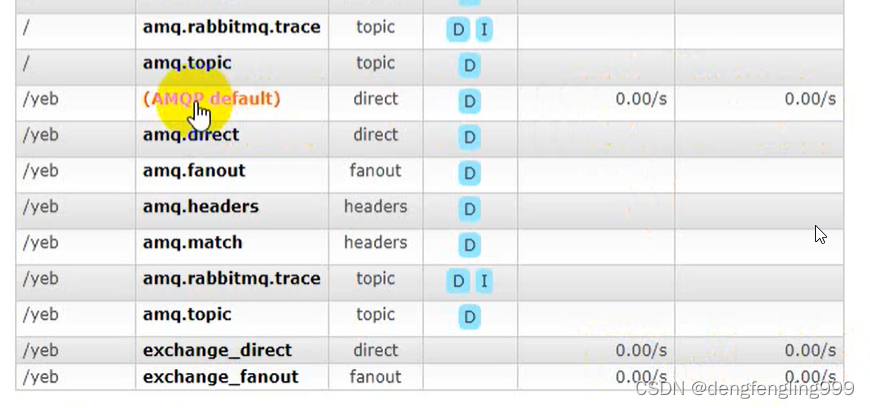
发现交换机多了:direct:
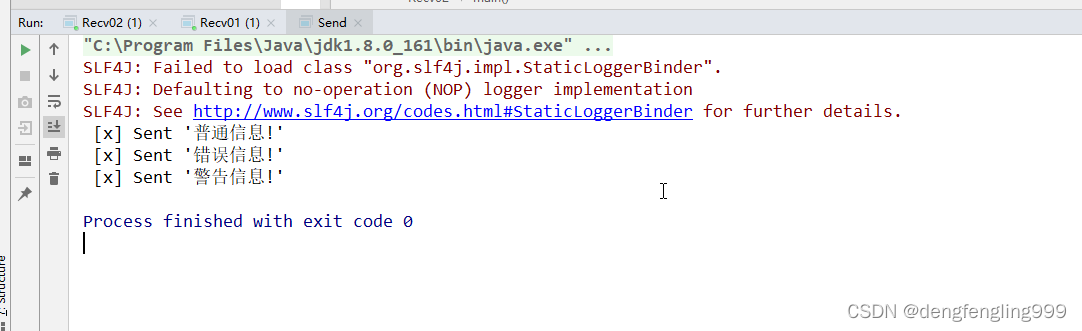
发送者:
消费者1:
消费者2:
与发布与订阅最大的区别是加了路由key,通过路由key去绑定不同的队列,然后发消息的时候携带上路由key ,根据这个路由key去交换机,去找到它所绑定的队列,然后把消息发送到对应的队列
查看简单队列中,未绑定交换机:本质上也是使用的交换机

默认使用的:AMQP default交换机
(2)主题队列
路由队列根据路由key去之指定绑定的队列,发送消息呢也要根据路由key去找到对应交换机绑定的队列,它可以满足发布与订阅模式,所有的队列绑定的同一个路由key,就相当于一条消息都可以发送到了,有一个缺点,当我们的项目越来越大,使用的路由key越来越多的时候,可能有很多个key,怎么去维护管理,下,下面就用到主题模式:
路由key很多不利于管理吗,我们给你加通配符,类似于正则表达式
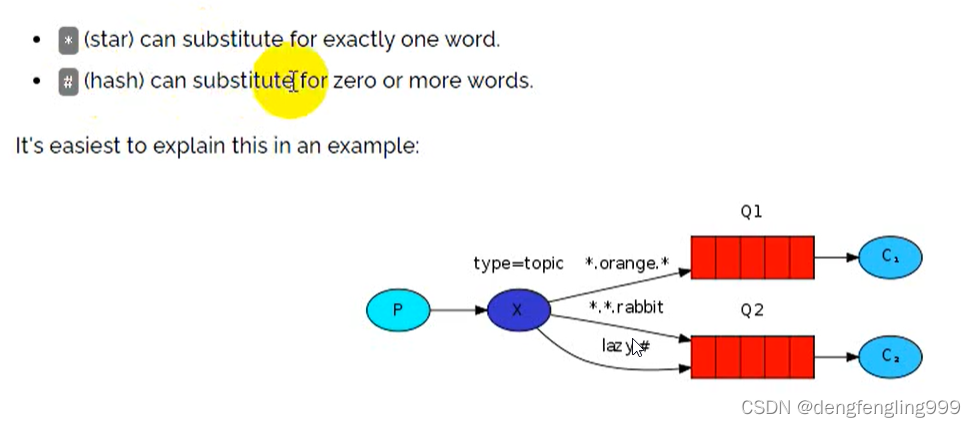
*:表示接收一个单词
#:表示一个或多个单词
发送者写具体的路由key
消费者:写通配规则的路由key
发送者:
package com.xxxx.topic.send;

import com.rabbitmq.client.BuiltinExchangeType;
import com.rabbitmq.client.Channel;
import com.rabbitmq.client.Connection;
import com.rabbitmq.client.ConnectionFactory;

import java.nio.charset.StandardCharsets;

/*
* 主题队列:消息的生产者
*
* */
public class Send {
    //定义交换机名称
    private final static String EXCHANGE_NAME = "exchange_topic";

    public static void main(String[] argv) throws Exception {
        // 创建连接工厂
        ConnectionFactory factory=new ConnectionFactory();
        //相关配置
        factory.setHost("192.168.23.129");
        factory.setUsername("yeb");
        factory.setVirtualHost("/yeb");
        factory.setPassword("123456");
        factory.setPort(5672);


        try(
                //连接工厂创建连接
                Connection connection=factory.newConnection();
                //创建信道
                Channel channel = connection.createChannel()){

            //绑定交换机
                channel.exchangeDeclare(EXCHANGE_NAME, BuiltinExchangeType.TOPIC);

                // 消息内容
                String infomessage = "普通信息!";
                String errormessage = "错误信息!";
                String waringmessage = "警告信息!";
                //路由
                String infoRoutingKey="info.message.orange";
                String errorRoutingKey="error.rabbit.lazy";
                String waringRoutingKey="orange.waring.message";

                //发送消息 第一个参数是交换机,第二个:路由key 第三个:对应的参数  第四个:消息的实体
                channel.basicPublish(EXCHANGE_NAME,infoRoutingKey, null, infomessage.getBytes(StandardCharsets.UTF_8));
                channel.basicPublish(EXCHANGE_NAME,errorRoutingKey, null, errormessage.getBytes(StandardCharsets.UTF_8));
                channel.basicPublish(EXCHANGE_NAME,waringRoutingKey, null, waringmessage.getBytes(StandardCharsets.UTF_8));

                System.out.println(" [x] Sent '" + infomessage + "'");
                System.out.println(" [x] Sent '" + errormessage + "'");
                System.out.println(" [x] Sent '" + waringmessage + "'");


        }
    }
}
消费者1:只能匹配上面2条路由key 第一条和第三条
package com.xxxx.topic.recv;

import com.rabbitmq.client.*;


/*
* 主题队列:消息的消费者
*
* */
public class Recv01 {
    //定义队列名称
    private final static String EXCHANGE_NAME = "exchange_topic";

    public static void main(String[] argv) throws Exception {
        // 创建连接工厂
        ConnectionFactory factory=new ConnectionFactory();
        //相关配置
        factory.setHost("192.168.23.129");
        factory.setUsername("yeb");
        factory.setVirtualHost("/yeb");
        factory.setPassword("123456");
        factory.setPort(5672);

        //连接工厂创建连接
        Connection connection=factory.newConnection();
        //创建信道
        Channel channel = connection.createChannel();

        //绑定交换机
        channel.exchangeDeclare(EXCHANGE_NAME, BuiltinExchangeType.TOPIC);
        //获取队列(排他队列)
        String queueName=channel.queueDeclare().getQueue();
        String RoutingKey="#.message.#";//路由key,只让他接收错误信息
        //绑定队列和交换机、
        channel.queueBind(queueName,EXCHANGE_NAME,RoutingKey);

        System.out.println("[*] Waitint for message .To exit press CTRL+C");

        DeliverCallback deliverCallback=(consumerTag, delivery) -> {

            String message=new String(delivery.getBody(),"UTF-8");
            System.out.println(" [x] Received '" + message + "'");
        };
        //监听队列消费消息  第二个参数:消息自动回值告诉生产者收到消息
        channel.basicConsume(queueName,true,deliverCallback,consumerTag -> {
        });

    }
}
消费者2:只能匹配第 二条
package com.xxxx.topic.recv;

import com.rabbitmq.client.*;


/*
* 主题队列:消息的消费者
*
* */
public class Recv02 {
    //定义队列名称
    private final static String EXCHANGE_NAME = "exchange_topic";

    public static void main(String[] argv) throws Exception {
        // 创建连接工厂
        ConnectionFactory factory=new ConnectionFactory();
        //相关配置
        factory.setHost("192.168.23.129");
        factory.setUsername("yeb");
        factory.setVirtualHost("/yeb");
        factory.setPassword("123456");
        factory.setPort(5672);

        //连接工厂创建连接
        Connection connection=factory.newConnection();
        //创建信道
        Channel channel = connection.createChannel();

        //绑定交换机
        channel.exchangeDeclare(EXCHANGE_NAME, BuiltinExchangeType.TOPIC);
        //获取队列(排他队列)
        String queueName=channel.queueDeclare().getQueue();

        String RoutingKey="*.rabbit.*";
        //绑定队列和交换机
        channel.queueBind(queueName,EXCHANGE_NAME,RoutingKey);

        System.out.println("[*] Waitint for message .To exit press CTRL+C");

        DeliverCallback deliverCallback=(consumerTag, delivery) -> {

            String message=new String(delivery.getBody(),"UTF-8");
            System.out.println(" [x] Received '" + message + "'");

        };
        //监听队列消费消息  第二个参数:消息自动回值告诉生产者收到消息
        channel.basicConsume(queueName,true,deliverCallback,consumerTag -> {
        });

    }
}
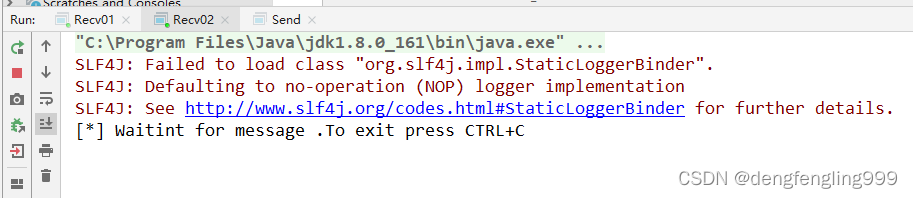
启动消费者:
多了个topic的交换机
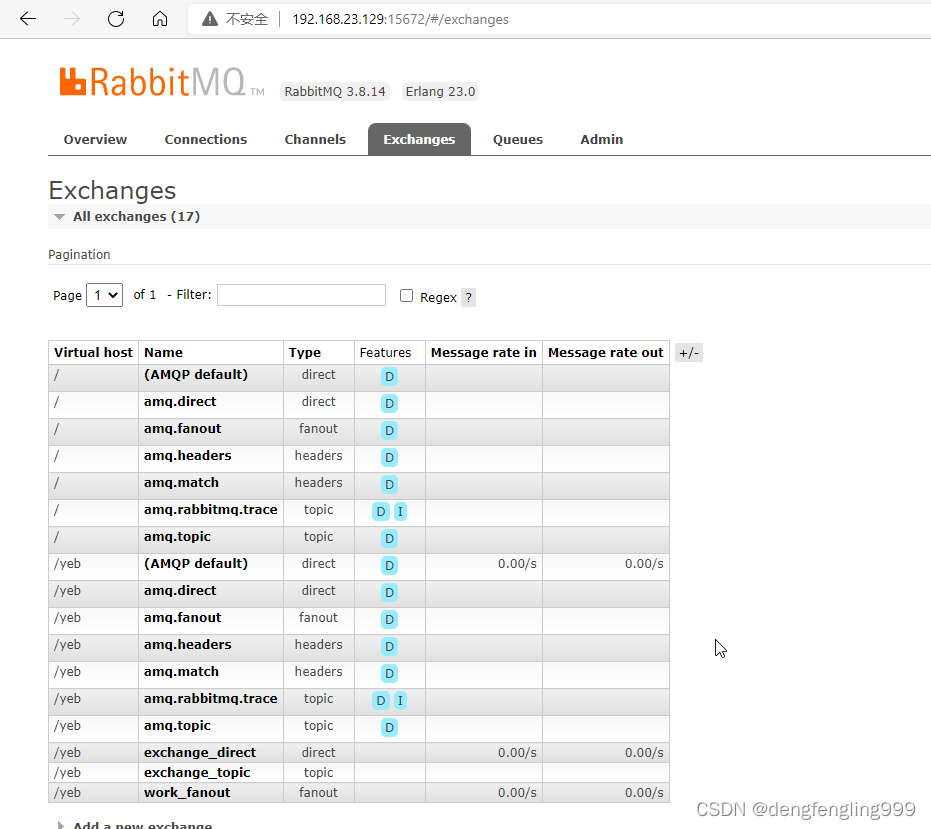
路由key是带有匹配规则的路由key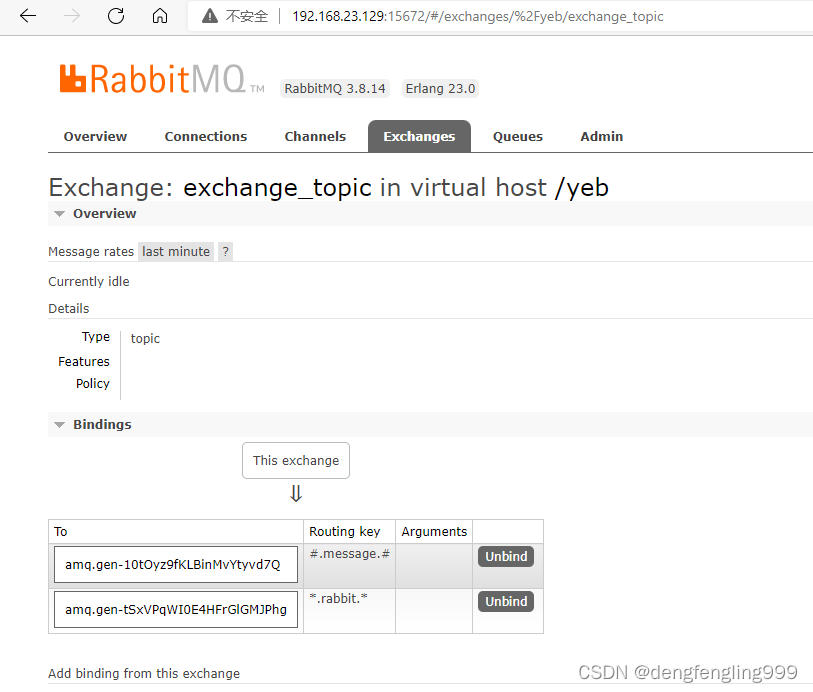
启动发送者:
消费者1:

消费者2:

工作中用的最多的就是主题队列,前面讲的模式都可以使用主题队列来实现
(3)RPC队列
RPC本身是同步的,很少用到

类似于发快递 reply_to:发送的目的地,correction_id:唯一表识,发送订单--给服务器订单网站给你发快递,发送到你指定的目的地,通过id判断判断是谁的,在RPC模式里不管是客户端,还是服务器,都由两种角色,生产者和消费者。
代码略
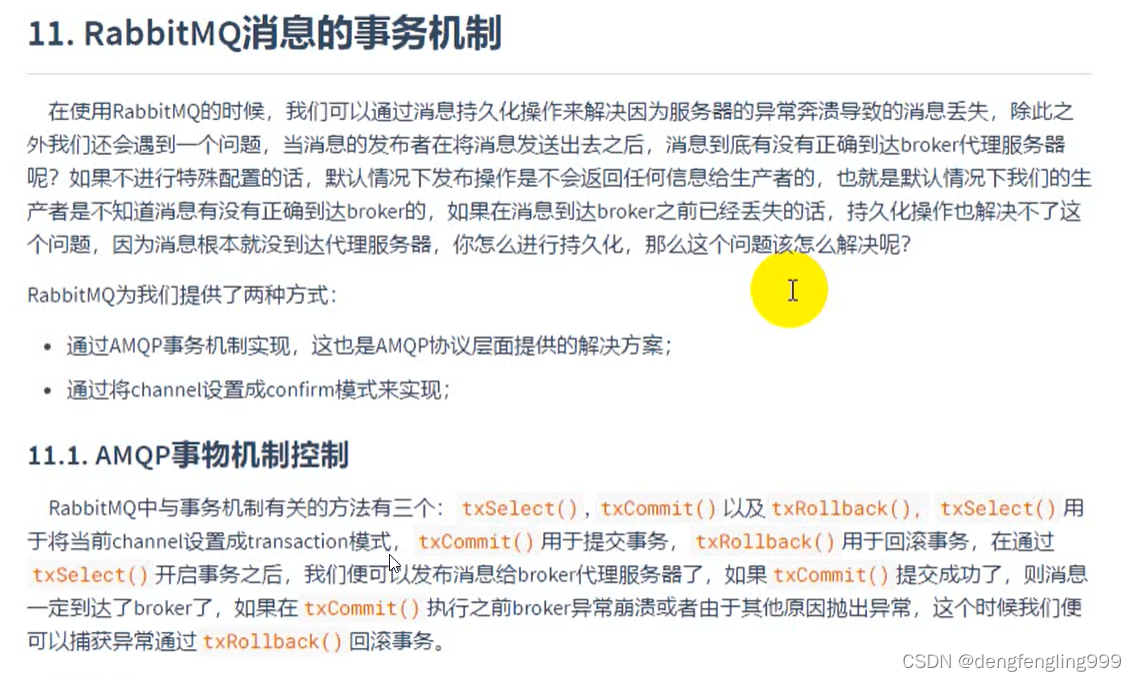
(4)事务
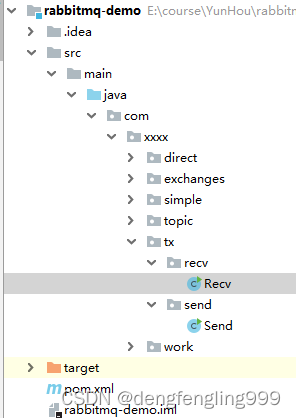
发送者:
package com.xxxx.tx.send;

import com.rabbitmq.client.Channel;
import com.rabbitmq.client.Connection;
import com.rabbitmq.client.ConnectionFactory;

import java.nio.charset.StandardCharsets;

/*
* 事务:消息生产者
*
* */
public class Send {
    //定义队列名称
    private final static String QUEUE_NAME = "tx";

    public static void main(String[] argv) throws Exception {
        // 创建连接工厂
        ConnectionFactory factory=new ConnectionFactory();
        //相关配置
        factory.setHost("192.168.23.129");
        factory.setUsername("yeb");
        factory.setVirtualHost("/yeb");
        factory.setPassword("123456");
        factory.setPort(5672);

        Connection connection=null;
        Channel channel=null;
        try{
            //连接工厂创建连接
            connection=factory.newConnection();
            //创建信道
            channel = connection.createChannel();

            //开启事务
            channel.txSelect();

            // 绑定队列 参数第一个:队列名称 第二个:持久化 第三个:排他队列 第四个:自动删除 第五个:额外携带的参数
            channel.queueDeclare(QUEUE_NAME, false, false, false, null);
            // 消息内容
            String message = "Hello World!";
            //发送消息 第一个参数是交换机,第三个:对应的参数  第四个:消息的实体
            channel.basicPublish("", QUEUE_NAME, null, message.getBytes(StandardCharsets.UTF_8));

            //提交事务
            channel.txCommit();

            System.out.println(" [x] Sent '" + message + "'");
        }catch (Exception e){
            e.printStackTrace();
            //回滚事务
            channel.txRollback();
        }
    }
}
消费者:
package com.xxxx.tx.recv;
import com.rabbitmq.client.Channel;
import com.rabbitmq.client.Connection;
import com.rabbitmq.client.ConnectionFactory;
import com.rabbitmq.client.DeliverCallback;
/*
* 事务:消息的消费者
*
* */
public class Recv {
//定义队列名称
private final static String QUEUE_NAME = "tx";
public static void main(String[] argv) throws Exception {
// 创建连接工厂
ConnectionFactory factory=new ConnectionFactory();
//相关配置
factory.setHost("192.168.23.129");
factory.setUsername("yeb");
factory.setVirtualHost("/yeb");
factory.setPassword("123456");
factory.setPort(5672);
//连接工厂创建连接
Connection connection=factory.newConnection();
//创建信道
Channel channel = connection.createChannel();
//绑定队列
channel.queueDeclare(QUEUE_NAME, false, false, false, null);
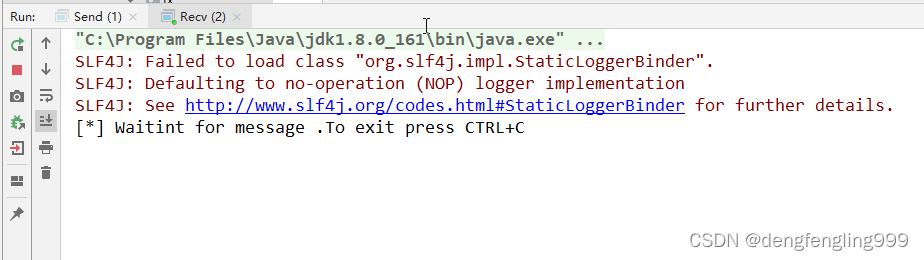
System.out.println("[*] Waitint for message .To exit press CTRL+C");
DeliverCallback deliverCallback=(consumerTag, delivery) -> {
String message=new String(delivery.getBody(),"UTF-8");
System.out.println(" [x] Received '" + message + "'");
};
//监听队列消费消息
channel.basicConsume(QUEUE_NAME,true,deliverCallback,consumerTag -> {
});
}
}
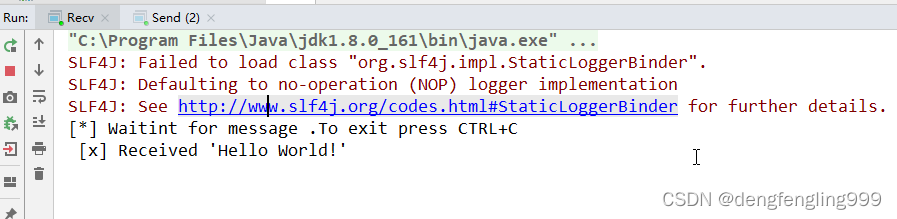
运行发送者,消费者:
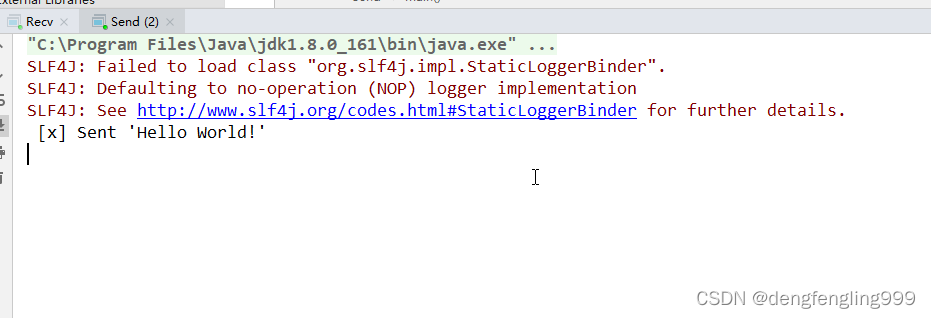
正常情况下接收到了消息:
给一个异常:
package com.xxxx.tx.send;

import com.rabbitmq.client.Channel;
import com.rabbitmq.client.Connection;
import com.rabbitmq.client.ConnectionFactory;

import java.nio.charset.StandardCharsets;

/*
* 事务:消息生产者
*
* */
public class Send {
    //定义队列名称
    private final static String QUEUE_NAME = "tx";

    public static void main(String[] argv) throws Exception {
        // 创建连接工厂
        ConnectionFactory factory=new ConnectionFactory();
        //相关配置
        factory.setHost("192.168.23.129");
        factory.setUsername("yeb");
        factory.setVirtualHost("/yeb");
        factory.setPassword("123456");
        factory.setPort(5672);

        Connection connection=null;
        Channel channel=null;
        try{
            //连接工厂创建连接
            connection=factory.newConnection();
            //创建信道
            channel = connection.createChannel();

            //开启事务
            channel.txSelect();

            // 绑定队列 参数第一个:队列名称 第二个:持久化 第三个:排他队列 第四个:自动删除 第五个:额外携带的参数
            channel.queueDeclare(QUEUE_NAME, false, false, false, null);
            // 消息内容
            String message = "Hello World!";

            //给一个异常
            int i=1/0;

            //发送消息 第一个参数是交换机,第三个:对应的参数  第四个:消息的实体
            channel.basicPublish("", QUEUE_NAME, null, message.getBytes(StandardCharsets.UTF_8));

            //提交事务
            channel.txCommit();

            System.out.println(" [x] Sent '" + message + "'");
        }catch (Exception e){
            e.printStackTrace();
            //回滚事务
            channel.txRollback();
        }
    }
}
这样事务就进行回滚没有发送
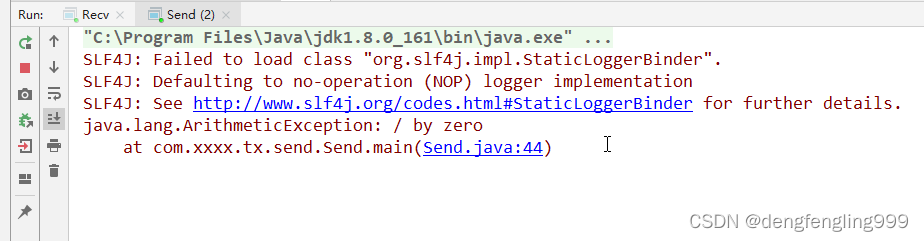
很少去用事务,因为用到了事务就会降低它的性能

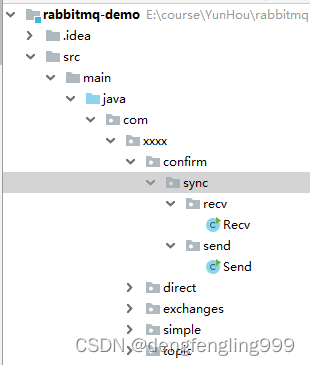
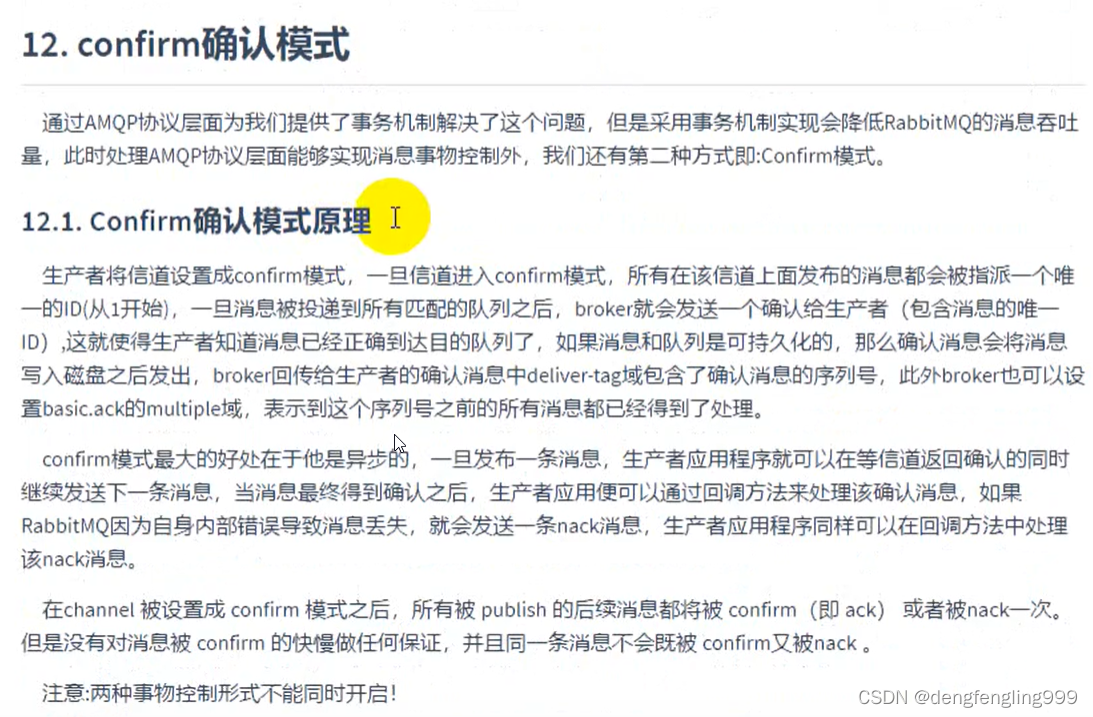
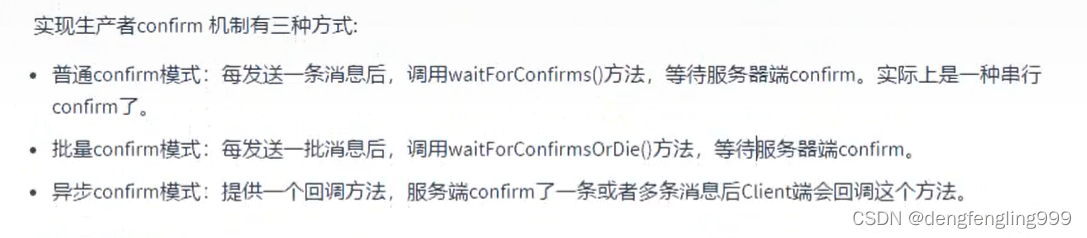
(5)同步确认模式
虽然使用事务可以解决生产者和对应的队列之间究竟能否收到消息确认这个问题,但是会降低性能,可以使用更的解决方案confirm确认模式
确认模式最大的好处是异步的,事务是同步的会降低性能
发送者:
package com.xxxx.confirm.sync.send;
import com.rabbitmq.client.Channel;
import com.rabbitmq.client.Connection;
import com.rabbitmq.client.ConnectionFactory;
import java.nio.charset.StandardCharsets;
/*
* 确认模式-同步:消息生产者
*
* */
public class Send {
//定义队列名称
private final static String QUEUE_NAME = "confirm_sync";
public static void main(String[] argv) throws Exception {
// 创建连接工厂
ConnectionFactory factory=new ConnectionFactory();
//相关配置
factory.setHost("192.168.23.129");
factory.setUsername("yeb");
factory.setVirtualHost("/yeb");
factory.setPassword("123456");
factory.setPort(5672);
Connection connection=null;
Channel channel=null;
try{
//连接工厂创建连接
connection=factory.newConnection();
//创建信道
channel = connection.createChannel();
//开启确认模式
channel.confirmSelect();
// 绑定队列 参数第一个:队列名称 第二个:持久化 第三个:排他队列 第四个:自动删除 第五个:额外携带的参数
channel.queueDeclare(QUEUE_NAME, false, false, false, null);
// 消息内容
String message = "Hello World!";
//发送消息 第一个参数是交换机,第三个:对应的参数 第四个:消息的实体
channel.basicPublish("", QUEUE_NAME, null, message.getBytes(StandardCharsets.UTF_8));
//普通模式单条确认模式,一条一条发送
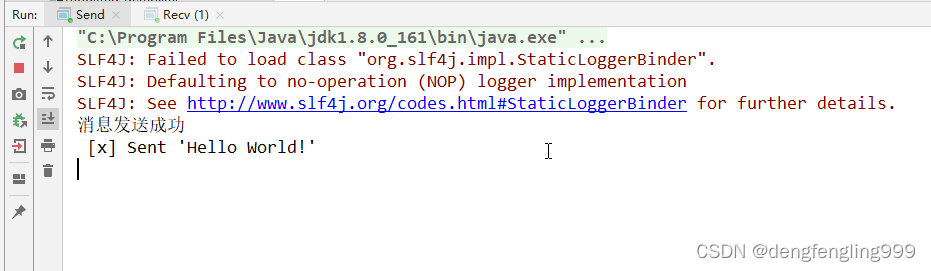
if (channel.waitForConfirms()){
System.out.println("消息发送成功");
}
/* //批量模式confirm,只要一条没确认,直接抛异常
channel.waitForConfirmsOrDie();
System.out.println("消息发送成功");*/
System.out.println(" [x] Sent '" + message + "'");
}catch (Exception e){
e.printStackTrace();
}
}
}
消费者:
package com.xxxx.confirm.sync.recv;
import com.rabbitmq.client.Channel;
import com.rabbitmq.client.Connection;
import com.rabbitmq.client.ConnectionFactory;
import com.rabbitmq.client.DeliverCallback;
/*
* 确认模式-同步:消息的消费者
*
* */
public class Recv {
//定义队列名称
private final static String QUEUE_NAME = "confirm_sync";
public static void main(String[] argv) throws Exception {
// 创建连接工厂
ConnectionFactory factory=new ConnectionFactory();
//相关配置
factory.setHost("192.168.23.129");
factory.setUsername("yeb");
factory.setVirtualHost("/yeb");
factory.setPassword("123456");
factory.setPort(5672);
//连接工厂创建连接
Connection connection=factory.newConnection();
//创建信道
Channel channel = connection.createChannel();
//绑定队列
channel.queueDeclare(QUEUE_NAME, false, false, false, null);
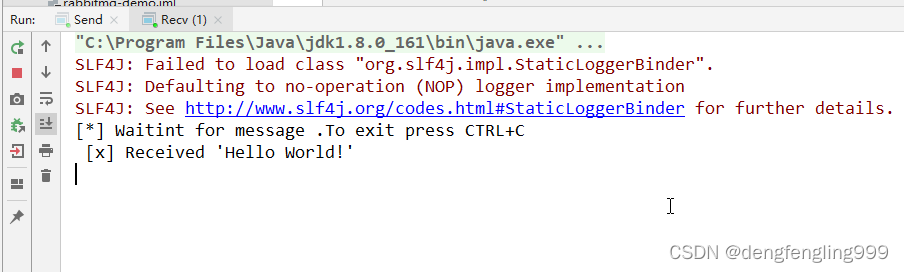
System.out.println("[*] Waitint for message .To exit press CTRL+C");
DeliverCallback deliverCallback=(consumerTag, delivery) -> {
String message=new String(delivery.getBody(),"UTF-8");
System.out.println(" [x] Received '" + message + "'");
};
//监听队列消费消息
channel.basicConsume(QUEUE_NAME,true,deliverCallback,consumerTag -> {
});
}
}
RubbitMQ是异步的,上面的确认模式是同步的,也会降低性能,一般不会使用同步的 确认模式
(6) 异步确认模式
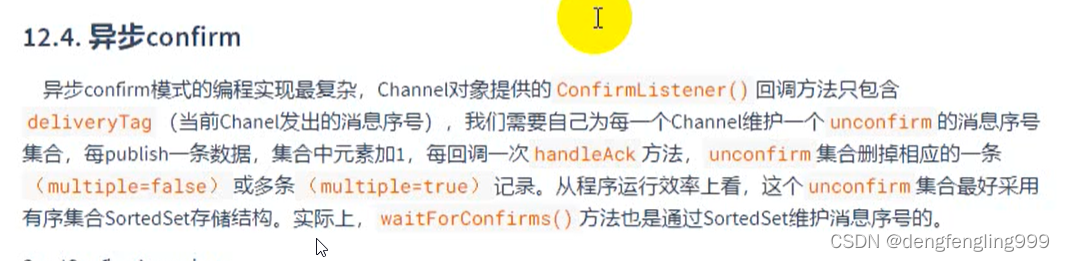
发消息,这边等确认,确认的同时也可以发消息,这个队列确认了之后返回,生产者有一个回调的方法,能够收到你返回的确认消息,进行响应的处理,所以你在等确认的同时,也可以发消息,这就叫异步
发送者:
package com.xxxx.confirm.async.send;
import com.rabbitmq.client.Channel;
import com.rabbitmq.client.ConfirmListener;
import com.rabbitmq.client.Connection;
import com.rabbitmq.client.ConnectionFactory;
import java.io.IOException;
import java.nio.charset.StandardCharsets;
import java.util.Collections;
import java.util.SortedSet;
import java.util.TreeSet;
import java.util.concurrent.TimeoutException;
/*
* 确认模式-异步:消息生产者
*
* */
public class Send {
//定义队列名称
private final static String QUEUE_NAME = "confirm_async";
public static void main(String[] argv) throws Exception {
// 创建连接工厂
ConnectionFactory factory=new ConnectionFactory();
//相关配置
factory.setHost("192.168.23.129");
factory.setUsername("yeb");
factory.setVirtualHost("/yeb");
factory.setPassword("123456");
factory.setPort(5672);
Connection connection=null;
Channel channel=null;
try{
//维护信息发送回执deliveryTag
final SortedSet<Long> confirmSet= Collections.synchronizedSortedSet(new TreeSet<Long>());
//连接工厂创建连接
connection=factory.newConnection();
//创建信道
channel = connection.createChannel();
//开启确认模式
channel.confirmSelect();
// 声明队列 参数第一个:队列名称 第二个:持久化 第三个:排他队列 第四个:自动删除 第五个:额外携带的参数
channel.queueDeclare(QUEUE_NAME, false, false, false, null);
//添加channel监听
channel.addConfirmListener(new ConfirmListener() {
//已确认
@Override
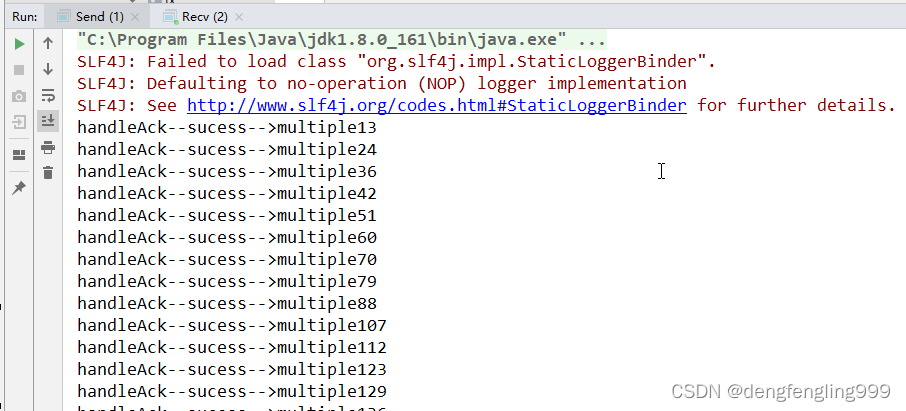
public void handleAck(long deliverTag, boolean mutiple) throws IOException {
//mutiple=true,已确认多条 false已确认单条
if (mutiple){
System.out.println("handleAck--sucess-->multiple"+deliverTag);
//清除前deliveryTag 项标识id
confirmSet.headSet(deliverTag+1L).clear();
}else {
System.out.println("handleAck--sucess-->single"+deliverTag);
confirmSet.remove(deliverTag);
}
}
//没确认,可以做其他的业务处理
@Override
public void handleNack(long deliverTag, boolean mutiple) throws IOException {
//mutiple=true未确认多条 false未确认单条
if (mutiple){
System.out.println("handleAck--failed-->multiple"+deliverTag);
//清除前deliveryTag 项标识id
confirmSet.headSet(deliverTag+1L).clear();
}else {
System.out.println("handleAck--failed-->single"+deliverTag);
confirmSet.remove(deliverTag);
}
}
});
while(true){
//创建消息
String message="Hello Word";
//获取unconfirm的消息序号deliverTag
Long seqNo=channel.getNextPublishSeqNo();
channel.basicPublish("",QUEUE_NAME,null,message.getBytes("utf-8"));
//将消息的序号deliverTag添加至SortSet
confirmSet.add(seqNo);
}
} catch (IOException | TimeoutException e){
e.printStackTrace();
}finally {
try{
//关闭通道
if (null !=channel && channel.isOpen())
channel.close();
if (null !=connection && connection.isOpen())
connection.close();
}catch (TimeoutException e){
e.printStackTrace();
}catch (IOException e){
e.printStackTrace();
}
}
}
}
消费者:
package com.xxxx.confirm.async.recv;
import com.rabbitmq.client.Channel;
import com.rabbitmq.client.Connection;
import com.rabbitmq.client.ConnectionFactory;
import com.rabbitmq.client.DeliverCallback;
/*
* 确认模式-异步:消息的消费者
*
* */
public class Recv {
//定义队列名称
private final static String QUEUE_NAME = "confirm_async";
public static void main(String[] argv) throws Exception {
// 创建连接工厂
ConnectionFactory factory=new ConnectionFactory();
//相关配置
factory.setHost("192.168.23.129");
factory.setUsername("yeb");
factory.setVirtualHost("/yeb");
factory.setPassword("123456");
factory.setPort(5672);
//连接工厂创建连接
Connection connection=factory.newConnection();
//创建信道
Channel channel = connection.createChannel();
//绑定队列
channel.queueDeclare(QUEUE_NAME, false, false, false, null);
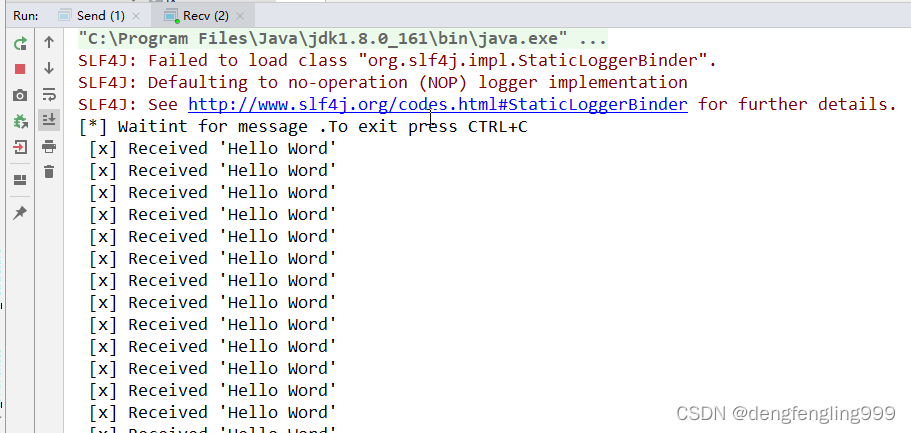
System.out.println("[*] Waitint for message .To exit press CTRL+C");
DeliverCallback deliverCallback=(consumerTag, delivery) -> {
String message=new String(delivery.getBody(),"UTF-8");
System.out.println(" [x] Received '" + message + "'");
};
//监听队列消费消息
channel.basicConsume(QUEUE_NAME,true,deliverCallback,consumerTag -> {
});
}
}
运行消费者,发送者
(7) SpringAMQP
springAMQP说白了就是spring对AMQP模板的封装
创建Maven项目使用模板-quickstar

加入父依赖:
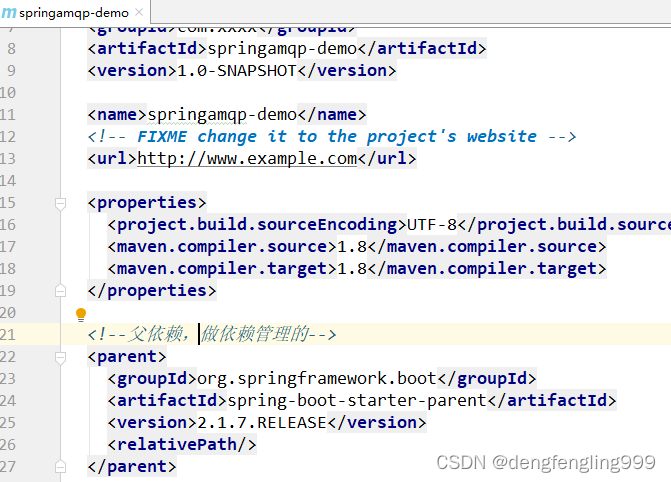
POM.XML
<?xml version="1.0" encoding="UTF-8"?>

<project xmlns="http://maven.apache.org/POM/4.0.0" xmlns:xsi="http://www.w3.org/2001/XMLSchema-instance"
  xsi:schemaLocation="http://maven.apache.org/POM/4.0.0 http://maven.apache.org/xsd/maven-4.0.0.xsd">
  <modelVersion>4.0.0</modelVersion>

  <groupId>com.xxxx</groupId>
  <artifactId>springamqp-demo</artifactId>
  <packaging>pom</packaging>
  <version>1.0-SNAPSHOT</version>
  <modules>
    <module>amqp-send</module>
    <module>amqp-recv</module>
  </modules>

  <name>springamqp-demo</name>
  <!-- FIXME change it to the project's website -->
  <url>http://www.example.com</url>

  <properties>
    <project.build.sourceEncoding>UTF-8</project.build.sourceEncoding>
    <maven.compiler.source>1.8</maven.compiler.source>
    <maven.compiler.target>1.8</maven.compiler.target>
  </properties>

  <!--父依赖,做依赖管理的-->
  <parent>
    <groupId>org.springframework.boot</groupId>
    <artifactId>spring-boot-starter-parent</artifactId>
    <version>2.1.7.RELEASE</version>
    <relativePath/>
  </parent>

  <dependencies>

  </dependencies>

</project>
删除src:

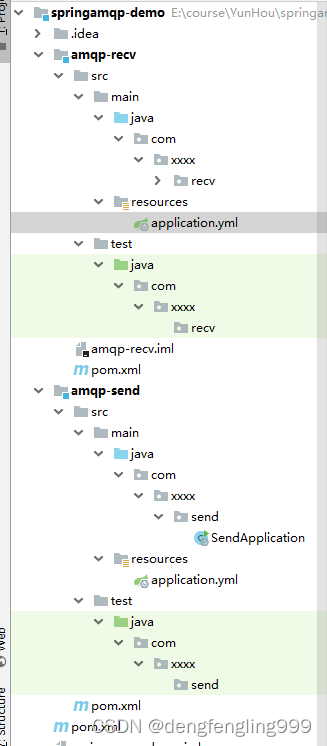
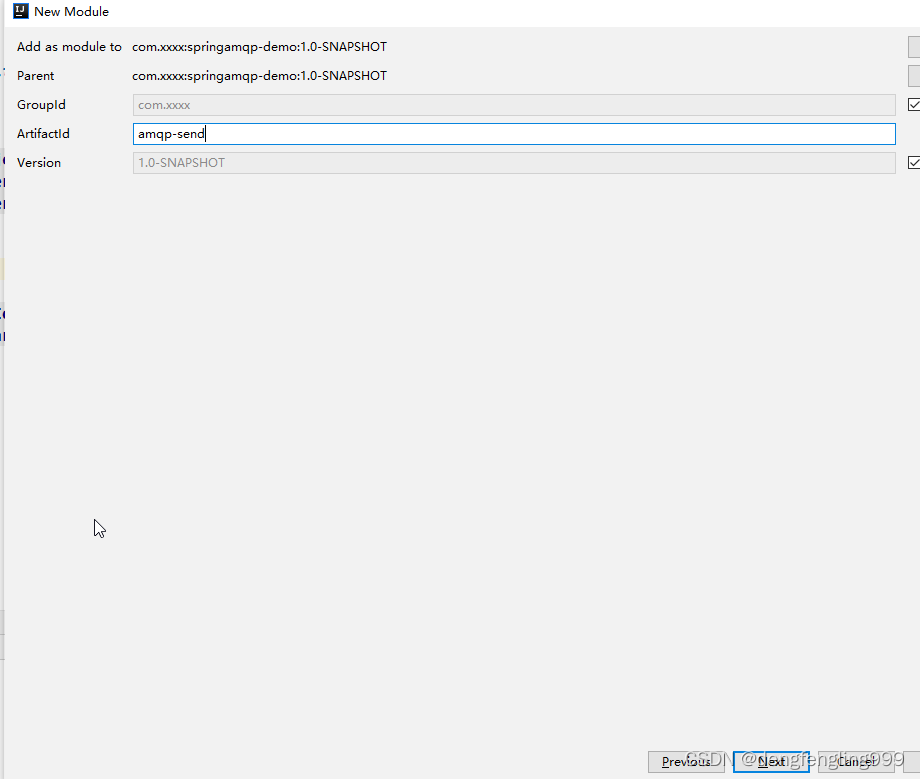
在创建2个子项目:一个是消息的生产者,一个是消息的消费者
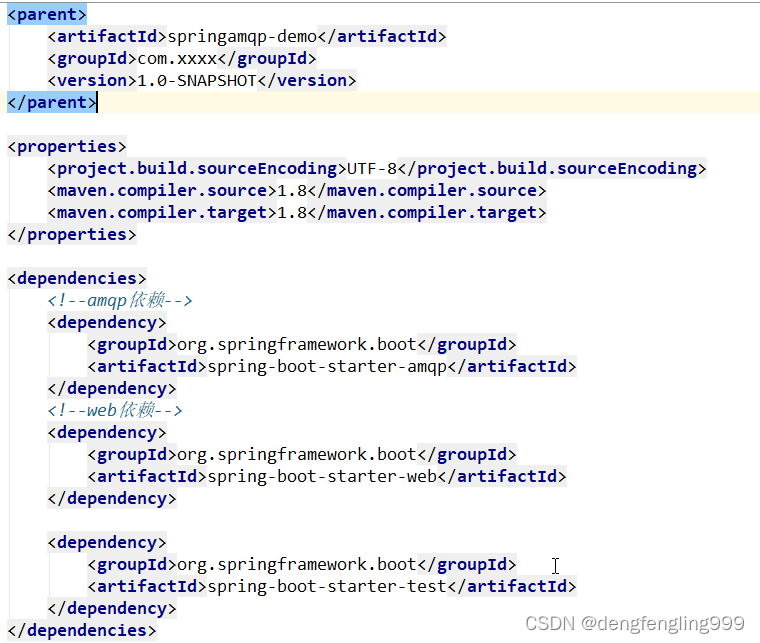
子项目引入依赖:
<?xml version="1.0" encoding="UTF-8"?>

<project xmlns="http://maven.apache.org/POM/4.0.0" xmlns:xsi="http://www.w3.org/2001/XMLSchema-instance"
         xsi:schemaLocation="http://maven.apache.org/POM/4.0.0 http://maven.apache.org/xsd/maven-4.0.0.xsd">

    <modelVersion>4.0.0</modelVersion>

    <artifactId>amqp-send</artifactId>
    <!--父项目依赖-->
    <parent>
        <groupId>com.xxxx</groupId>
        <artifactId>springamqp-demo</artifactId>
        <version>1.0-SNAPSHOT</version>
    </parent>

    <properties>
        <project.build.sourceEncoding>UTF-8</project.build.sourceEncoding>
        <maven.compiler.source>1.8</maven.compiler.source>
        <maven.compiler.target>1.8</maven.compiler.target>
    </properties>

    <dependencies>
        <!--amqp依赖-->
        <dependency>
            <groupId>org.springframework.boot</groupId>
            <artifactId>spring-boot-starter-amqp</artifactId>
        </dependency>
        <!--web依赖-->
        <dependency>
            <groupId>org.springframework.boot</groupId>
            <artifactId>spring-boot-starter-web</artifactId>
        </dependency>

        <dependency>
            <groupId>org.springframework.boot</groupId>
            <artifactId>spring-boot-starter-test</artifactId>
        </dependency>

    </dependencies>


</project>
因为是Springboot项目,创建启动类:
SendApplication:
package com.xxxx.send;

import org.springframework.boot.SpringApplication;
import org.springframework.boot.autoconfigure.SpringBootApplication;

@SpringBootApplication
public class SendApplication {
    public static void main(String[] args) {
        SpringApplication.run(SendApplication.class,args);
    }
}
创建资源目录,创建application.yml配置文件:
spring:
  rabbitmq:
    host: 192.168.23.129
    port: 5672
    username: yeb
    password: 123456
    virtual-host: /yeb
server:
  port: 8081
在创建子项目消费者:
这个项目的依赖跟上面发送者的依赖一样
创建springboot的启动类:
package com.xxxx.recv;

import org.springframework.boot.SpringApplication;
import org.springframework.boot.autoconfigure.SpringBootApplication;

@SpringBootApplication
public class RecvApplication {
    public static void main(String[] args) {
        SpringApplication.run(RecvApplication.class,args);
    }
}
创建资源目录,创建配置文件:改下端口号
spring:
  rabbitmq:
    host: 192.168.23.129
    port: 5672
    username: yeb
    password: 123456
    virtual-host: /yeb
server:
  port: 8082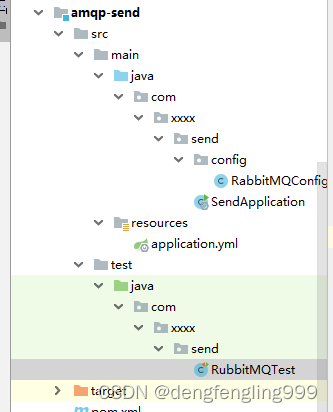
现在要发送消息,做一些处理,这里写一个配置类
RabbitMQConfig:
package com.xxxx.send.config;

import com.rabbitmq.client.AMQP;
import org.springframework.amqp.core.Binding;
import org.springframework.amqp.core.BindingBuilder;
import org.springframework.amqp.core.Queue;
import org.springframework.amqp.core.TopicExchange;
import org.springframework.context.annotation.Bean;
import org.springframework.context.annotation.Configuration;

@Configuration
public class RabbitMQConfig {

    //声明队列
    @Bean
    public Queue queue(){
        return new Queue("amqp_queue");
    }

    //声明交换机
    @Bean
    public TopicExchange topicExchange(){
        return new TopicExchange("amqp_exchange");
    }

    //绑定交换机和队列
    @Bean
    public Binding binding(){
        return BindingBuilder.bind(queue()).to(topicExchange()).with("*.amqp.#");
    }
}
测试类RubbitMQTest:
发送消息:
package com.xxxx.send;

import org.junit.Test;
import org.junit.runner.RunWith;
import org.springframework.amqp.rabbit.core.RabbitTemplate;
import org.springframework.beans.factory.annotation.Autowired;
import org.springframework.boot.test.context.SpringBootTest;
import org.springframework.test.context.junit4.SpringRunner;

@SpringBootTest
@RunWith(SpringRunner.class)
public class RubbitMQTest {

    @Autowired
    private RabbitTemplate rabbitTemplate;

    @Test
    public void testSend(){
        String message="Hello";
        System.out.println("发送消息:"+message);
        //发送消息
        rabbitTemplate.convertAndSend("amqp_exchange","test.amqp",message);
    }
}
消费者:
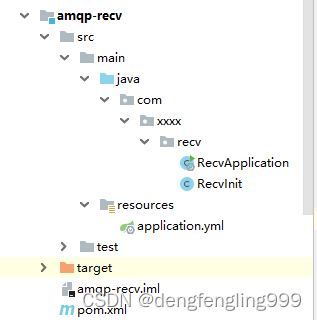
RecvInit:
package com.xxxx.recv;
import org.springframework.amqp.rabbit.annotation.RabbitHandler;
import org.springframework.amqp.rabbit.annotation.RabbitListener;
import org.springframework.boot.CommandLineRunner;
import org.springframework.stereotype.Component;
@Component
//监听队列
@RabbitListener(queues = "amqp_queue")
public class RecvInit{
//监听之后获取消息的处理方法
@RabbitHandler
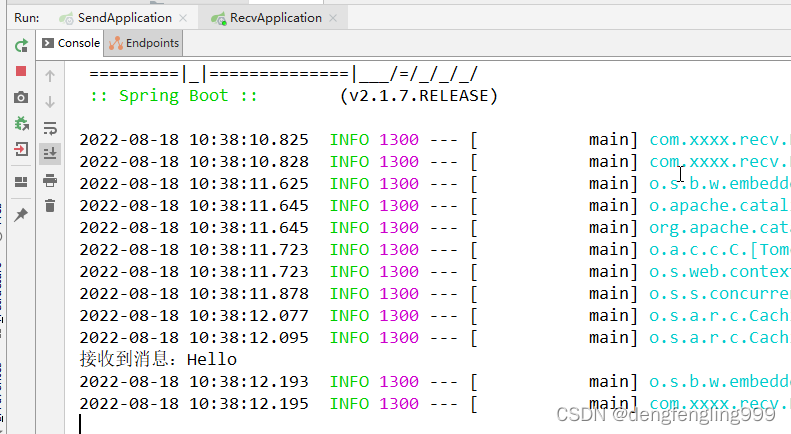
public void testRecv(String message){
System.out.println("接收到消息:"+message);
}
}
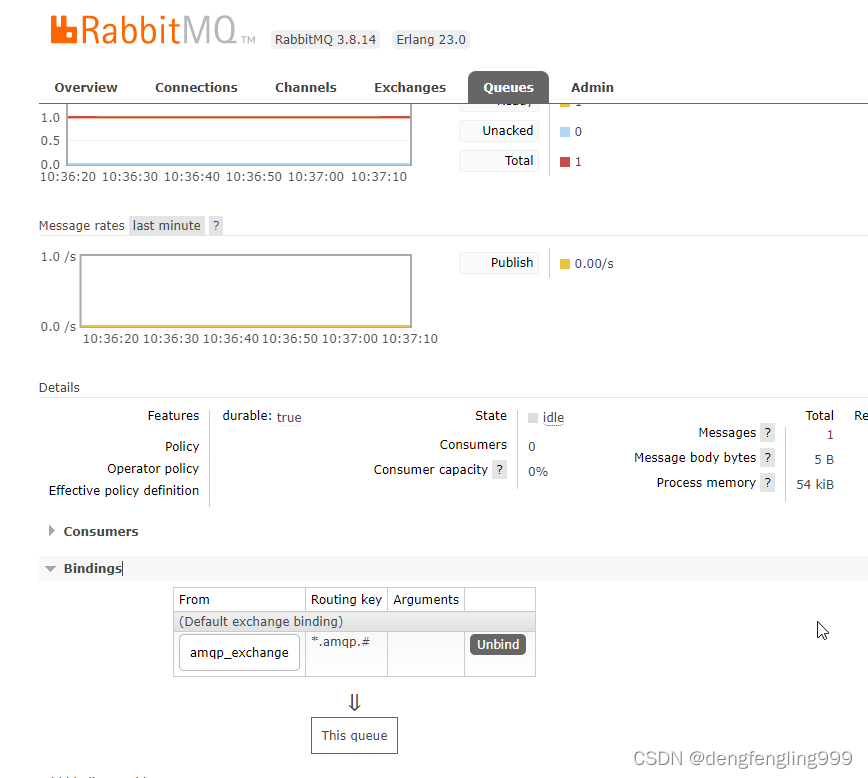
队列中:多了amqp_queue
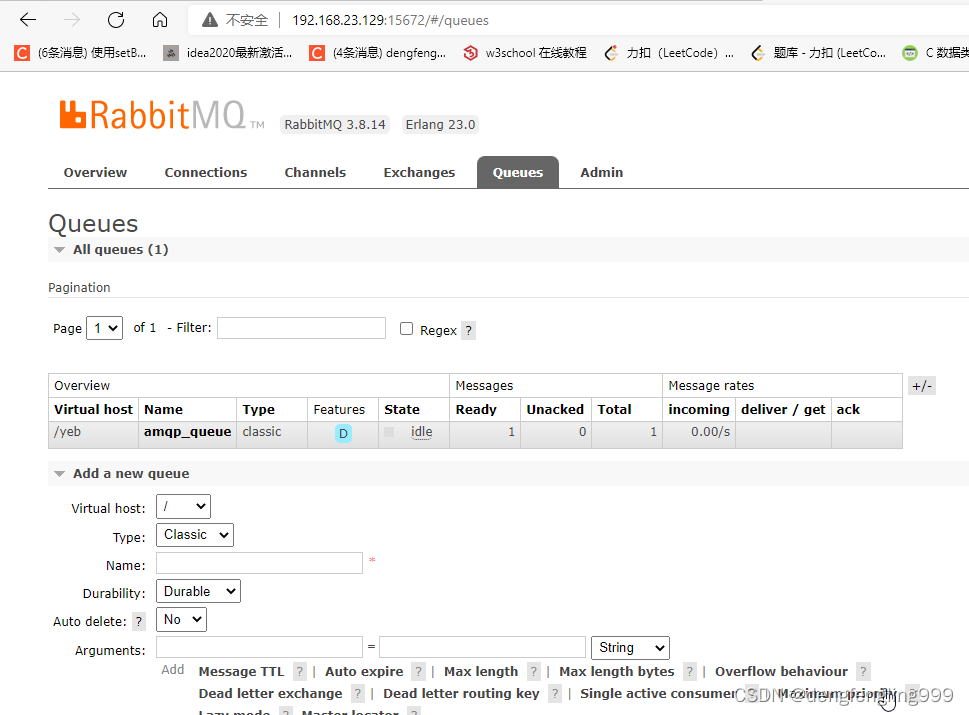
当定了交换机:
启动消费者启动类:
已启动它就会监听:接收到消息


 222
222


 被折叠的 条评论
为什么被折叠?
被折叠的 条评论
为什么被折叠?
 到【灌水乐园】发言


