


 文章介绍了如何为AndroidSwitchPreference添加自定义背景、内外边距、颜色和字体,通过重写`onBindViewHolder`方法实现。展示了完整代码和使用示例。
1. 为SwitchPreference 添加背景:custom_preference_background.xml
<?xml version="1.0" encoding="utf-8"?>
<selector xmlns:android="http://schemas.android.com/apk/res/android">
    <item>
        <shape android:shape="rectangle" >
            <gradient android:startColor="@color/white" android:endColor="@color/white" android:angle="90"/>
            <corners android:radius="8dp"/>
        </shape>
    </item>
</selector>
2. 自定义 CustomSwitchPreference 继承自 witchPreference
public class CustomSwitchPreference extends SwitchPreference {

    public CustomSwitchPreference(Context context, AttributeSet attrs) {
        super(context, attrs);
    }

    public CustomSwitchPreference(Context context) {
        super(context);
    }

//
....
//
}
3. 重载 onBindViewHolder, 实现自定义的效果, 如:设置背景、添加外边距、设置内边距、修改文字的颜色和字体等等:
    @Override
    public void onBindViewHolder(PreferenceViewHolder holder) {
        super.onBindViewHolder(holder);
    //设置背景


   holder.itemView.setBackgroundResource(R.drawable.custom_preference_background);

    //设置内边距
    holder.itemView.setPadding(
                DensityUtils.dp2px(getContext(),20),
                DensityUtils.dp2px(getContext(),2),
                DensityUtils.dp2px(getContext(),20),
                DensityUtils.dp2px(getContext(),2));

          //设置外边距
        ViewGroup.MarginLayoutParams params = (ViewGroup.MarginLayoutParams)   holder.itemView.getLayoutParams();
        int textSize = (int) TypedValue.applyDimension(TypedValue.COMPLEX_UNIT_PX, 18, getContext().getResources().getDisplayMetrics());
        params.topMargin = DensityUtils.dp2px(getContext(),5);
        params.bottomMargin = DensityUtils.dp2px(getContext(),5);
        params.leftMargin = DensityUtils.dp2px(getContext(),20);
        params.rightMargin = DensityUtils.dp2px(getContext(),20);
        holder.itemView.setLayoutParams(params);

        TextView titleView = holder.itemView.findViewById(android.R.id.title);
        titleView.setTextColor(Color.BLACK); // 这里设置为红色,你可以根据需要设置其他颜色
        TextView summaryView = holder.itemView.findViewById(android.R.id.summary);
        summaryView.setTextColor(Color.BLACK); // 设置为黑色
    }
完整代码如下:
public class CustomSwitchPreference extends SwitchPreference {

    public CustomSwitchPreference(Context context, AttributeSet attrs) {
        super(context, attrs);
    }

    public CustomSwitchPreference(Context context) {
        super(context);
    }

    @Override
    public void onBindViewHolder(PreferenceViewHolder holder) {
        super.onBindViewHolder(holder);
        holder.itemView.setBackgroundResource(R.drawable.custom_preference_background);
        holder.itemView.setPadding(
                DensityUtils.dp2px(getContext(),20),
                DensityUtils.dp2px(getContext(),2),
                DensityUtils.dp2px(getContext(),20),
                DensityUtils.dp2px(getContext(),2));

        ViewGroup.MarginLayoutParams params = (ViewGroup.MarginLayoutParams)   holder.itemView.getLayoutParams();
        int textSize = (int) TypedValue.applyDimension(TypedValue.COMPLEX_UNIT_PX, 18, getContext().getResources().getDisplayMetrics());
        params.topMargin = DensityUtils.dp2px(getContext(),5);
        params.bottomMargin = DensityUtils.dp2px(getContext(),5);
        params.leftMargin = DensityUtils.dp2px(getContext(),20);
        params.rightMargin = DensityUtils.dp2px(getContext(),20);
        holder.itemView.setLayoutParams(params);

        TextView titleView = holder.itemView.findViewById(android.R.id.title);
        titleView.setTextColor(Color.BLACK); // 这里设置为红色,你可以根据需要设置其他颜色
        TextView summaryView = holder.itemView.findViewById(android.R.id.summary);
        summaryView.setTextColor(Color.BLACK); // 设置为蓝色
    }
}
用法:
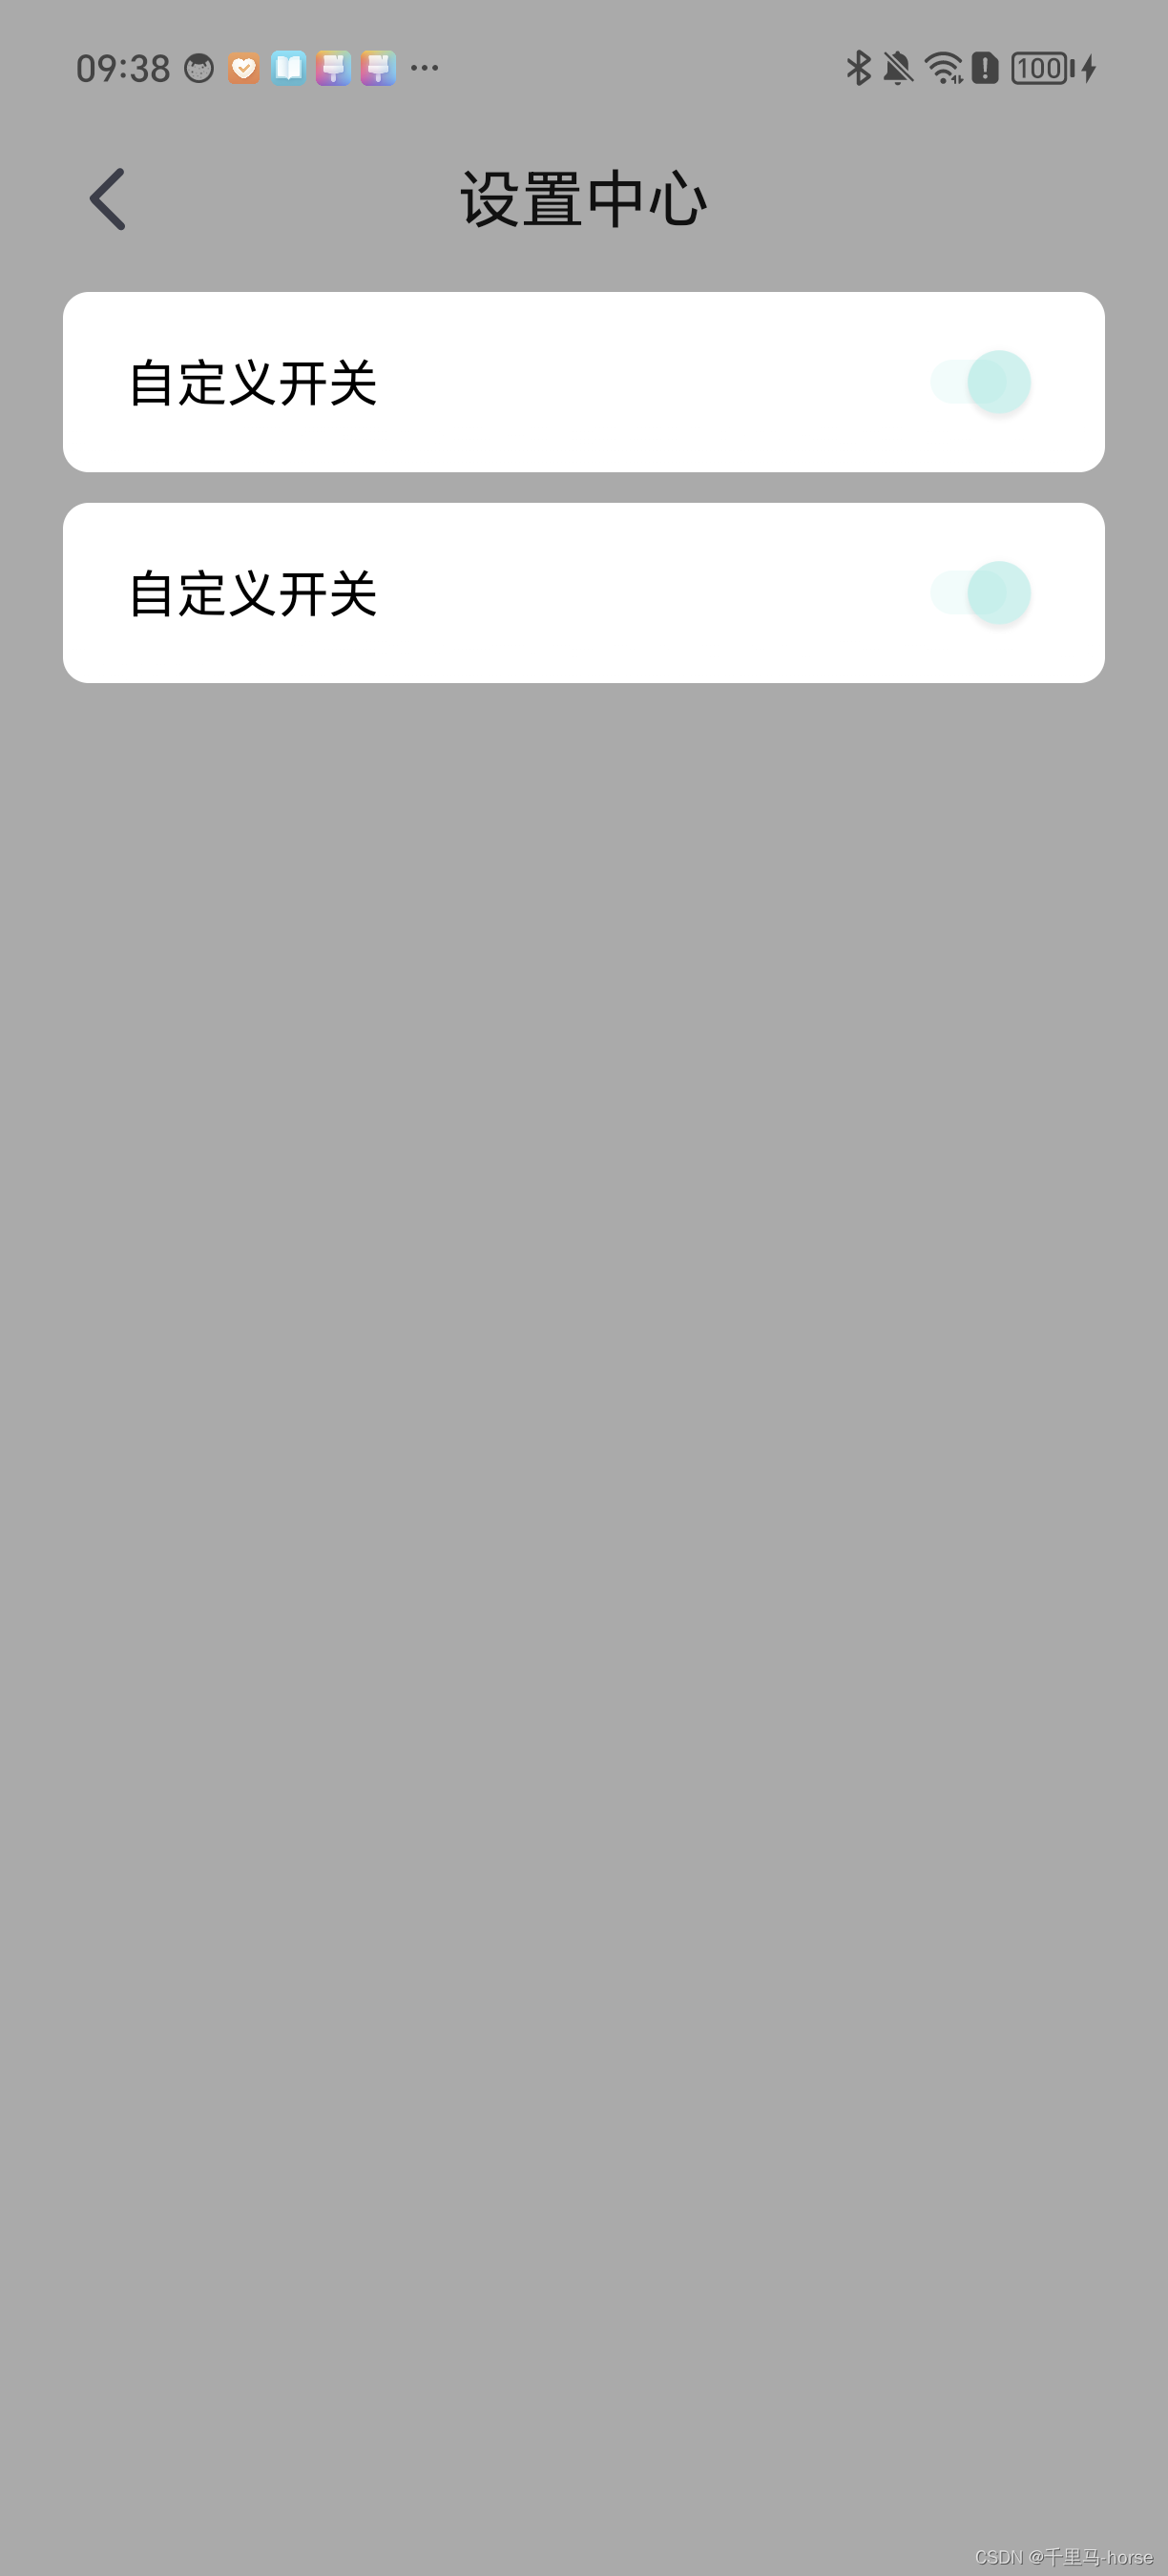
    <com.tetras.sensechat.wedgit.CustomSwitchPreference
        app:defaultValue="true"
        app:iconSpaceReserved="false"
        app:key="key_continuous_switch"
        app:title="@string/text_continuous_switch" />
效果如图:


 1330
1330

 被折叠的 条评论
为什么被折叠?
被折叠的 条评论
为什么被折叠?
 到【灌水乐园】发言


