


简介
在企业网络运维过程中,管理员必须时刻关注服务器的运行状态,如CPU、内存、磁盘空间使用情况等。为了能够及时的发现问题,尽量减少故障的发生。当网络中的设备,服务器等数量较多时,可以部署一套监控系统来实时跟踪服务器,我们通常会借助一些软件来实现
今天我们就以Cacti套件为例,介绍服务器集中监测体系的构建和使用
一、Cacti基本监测体系概述
Cacti是一款使用PHP语言开发的性能与流量监测工具,监测的对象可以使linux或windows服务器也可以是路由交换等网络设备,主要是基于SNMP(Simple Network Management Protocol 简单网络管理协议)来搜集CPU、占用、内存使用、运行进程数以及磁盘使用空间、网卡流量等各种数据。说白了就是监控服务器状态。
实际上Cacti本身只是一个Web界面的管理套件,通过调用Net-SNMP工具来采集检测数据 并结合RRDtool(Round Robin Database tool 轮询数据库工具)记录数据并绘制图片。如图1所示
图1
Cacti提供了优秀的整合和协调能力,充分利用LAMP技术平台、SNMP协议工具以及RRDtool数据引擎、不仅配置简单、直观、而且支持插件和数据模板,使用时非常整洁,便于扩展。
实际上Cacti可以从逻辑上分为三个部分、第一部分:被检测的对象,也就是客户端。第二部分:检测平台,也就是服务器端。第三部分:管理平台。Cacti采用了两种结构实现功能,一种是C/S结构主要是实现服务器到客户端监控另外一种就是B/S主要完成对Cacti平台的管理。从图1我们可以看出,管理端是在Web上对Cacti进行管理。
简单的整理一下Cacti的工作过程。
首先通过LAMP平台部署Cacti监控工具,之后通过客户端的web登录Cacti进行多其他客户端的设置,可以从图1看到Cacti采集数据时必须要使用SNMP协议来连接客户端进而能够采集数据吗,也就是说客户端必须支持SNMP协议。监控之后通过RRDtool来生成图表,其实这个图表是静态的,经过频繁的数据采集,我们也可以认为是动态的,也就是说Cacti是基于某段时间的监控。
二、服务器配置(控制端——client)
实验拓扑
| 主机 | 操作系统 | IP地址 | 主要软件 |
| centos1 | CentOS 7 x86_64 | 192.168.92.130 | Cacti-0.8.8b.tar.gz Rrdtool-1.4.8.tar.gz |
| centos2 | CentOS 7 x86_64 | 192.168.1.132 | Mysql.5.5.tar.gz |
构建Cacti集中监测平台的服务器端时,应提前安装好LAMP或者是LNMP平台,以及Net-SNMP和RRDtool等软件支持,然后下载Cacti源码包
1、安装Net-SNMP、RRDtool软件支持
(1)构建数据库及Web平台
前面已经学习过了如何部署源码包的LAMP或LNMP平台,为了方便演示这里直接以RPM包的LAMP平台为基础搭建Cacti。所需安装包如下所述。若还提示缺少一些包请在以YUM的方式进行安装即可。
# yum -y install httpd
# yum -y install mariadb mariadb-server
# yum -y install zlib freetype libjpeg fontconfig gd libxml2 libxml2-devel php-gd
 //安装PHP需要的库文件
# yum -y install php php-mysql
# systemctl start httpd.service
# chkconfig httpd on
# systemctl start mariadb
# chkconfig mariadb on
# setenforce 0
# iptables -I INPUT -p tcp --dport 80 -j ACCEPT
# iptables -I INPUT -p tcp --dport 3306 -j ACCEPT
# mysqladmin -u root -p password '123.abc'
Enter password: (此处直接回车即可) 服务启动之后我们可以编写测试页来验证LAMP平台的协同工作
# cat /var/www/html/test.php
<?php
$link=mysql_connect('localhost','root','123.abc');
if ($link) echo "mysql connect is ok!!";
mysql_close();
phpinfo();
?>
访问页面测试
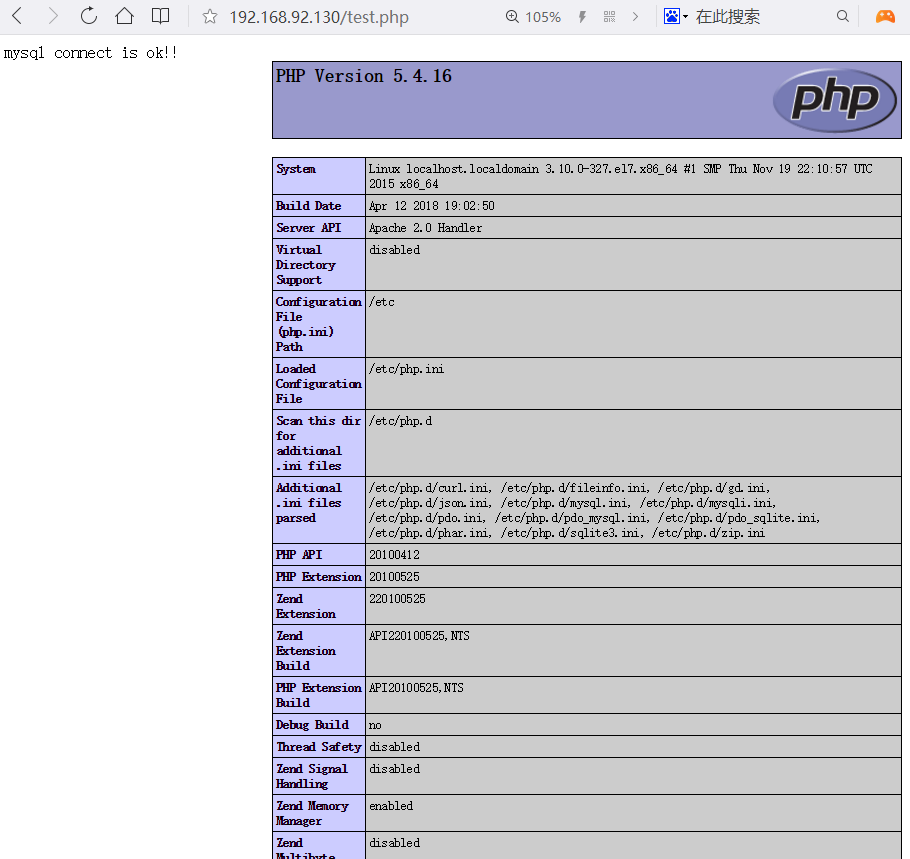
经过测试LAMP平台已经能够完全的结合在一起并运行。
之后在客户端进行访问
(2)安装net-snmp-utils软件包
Cacti平台通过SNMP协议采集检测数据,这些工具由net-snmp-utils软件包提供,所需安装的软件包如下所示。
# yum -y install net-snmp net-snmp-utils(3)安装rrdtool软件包
下载rrdtool软件到/root目录下
通过YUM确认并安装相关软件包
# yum -y install cairo-devel zlib libxml2 libxml2-devel glib2 glib2-devel libpng libpng-devel freetype freetype-devel libart_lgpl pango pango-devel perl-CPAN如果提示需要其他软件包,在另行安装。
安装rddtool源码包
# tar -xvf rrdtool-1.4.5.tar.gz
# cd rrdtool-1.4.5/
# ./configure --prefix=/usr/local && make && make install2、部署Cacti、设置数据库连接
(1)部署Cacti源码包
下载到root目录下
将下载的源码包解压到root下并移动到网页文档根目录下改名为cacti
# wget http://www.cacti.net/downloads/cacti-0.8.8b.tar.gz
# tar -xvf cacti-0.8.8b.tar.gz
# mv cacti-0.8.8b /var/www/html/cacti添加一个用户,用来读写检测数据的用户账户(如cacti),并调整期目录的属主,以便正常读取以及写入数据
# useradd cacti
# chown -R cacti:cacti /var/www/html/cacti/(2)建立数据库,表结构
先创建一个用于cacti检测平台的数据库,并授权一个用户cactiuser然后使用cacti源码目录下的cacti.sql脚本,导入预设的各种数据表
# mysql -uroot -p123.abc
Welcome to the MariaDB monitor.  Commands end with ; or \g.
Your MariaDB connection id is 6
Server version: 5.5.56-MariaDB MariaDB Server

Copyright (c) 2000, 2017, Oracle, MariaDB Corporation Ab and others.

Type 'help;' or '\h' for help. Type '\c' to clear the current input statement.

MariaDB [(none)]> create database cacti default character set utf8;
Query OK, 1 row affected (0.00 sec)

MariaDB [(none)]> grant all on cacti.* to cactiuser@'localhost' identified by '123.abc';
Query OK, 0 rows affected (0.11 sec)

MariaDB [(none)]> flush privileges;
Query OK, 0 rows affected (0.16 sec)
导入
# cd /var/www/html/cacti/
# mysql -u cactiuser -p cacti < cacti.sql
Enter password:   //输入密码
[root@localhost cacti]# mysql -uroot -p123.abc
Welcome to the MariaDB monitor. Commands end with ; or \g.
Your MariaDB connection id is 8
Server version: 5.5.56-MariaDB MariaDB Server
Copyright (c) 2000, 2017, Oracle, MariaDB Corporation Ab and others.
Type 'help;' or '\h' for help. Type '\c' to clear the current input statement.
MariaDB [(none)]> use cacti;
Reading table information for completion of table and column names
You can turn off this feature to get a quicker startup with -A
Database changed
MariaDB [cacti]> show tables; //验证是否导入表到cacti库中+---------------------------+
| Tables_in_cacti |
+---------------------------+
| cdef |
| cdef_items |
| colors |
| data_input |
| data_input_data |
| data_input_fields |
| data_local |
| data_template |
| data_template_data |
| data_template_data_rra |
| data_template_rrd |
| graph_local |
| graph_template_input |
| graph_template_input_defs |
| graph_templates |
| graph_templates_gprint |
| graph_templates_graph |
| graph_templates_item |
| graph_tree |
| graph_tree_items |
| host |
| host_graph |
| host_snmp_cache |
| host_snmp_query |
| host_template |
| host_template_graph |
| host_template_snmp_query |
| plugin_config |
| plugin_db_changes |
| plugin_hooks |
| plugin_realms |
| poller |
| poller_command |
| poller_item |
| poller_output |
| poller_reindex |
| poller_time |
| rra |
| rra_cf |
| settings |
| settings_graphs |
| settings_tree |
| snmp_query |
| snmp_query_graph |
| snmp_query_graph_rrd |
| snmp_query_graph_rrd_sv |
| snmp_query_graph_sv |
| user_auth |
| user_auth_perms |
| user_auth_realm |
| user_log |
| version |
+---------------------------+
52 rows in set (0.00 sec) 上诉操作中,创建Cacti库时,指定默认的编码字符集为utf8,便于中文支持,导入预设库时最好是使用cactiuser导入。最后验证一下是否导入。
3)调整cacti配置文件
cacti的配置文件位于源码目录下的include/目录下,名称为config.php,要使Cacti系统能够正常访问并使用数据库,必须修改config.php文件,却保数据库连接参数正确。
# vim include/config.php
$database_type = "mysql";			 //指定连接的类型
$database_default = "cacti";			 //连接的库
$database_hostname = "localhost";        //登录源
$database_username = "cactiuser";        //用户名
$database_password = "123.abc";         //用户密码
$database_port = "3306";			//连接的端口
$database_ssl = false;				//不启用ssl
$url_path = "/"; //指定cacti的根目录,这个目录是cacti的文件目录下,我们后面还需要修改httpd的主配置文件。3、Cacti的初始化安装
(1)调整httpd配置
修改httpd的主配置文件,设置好网页文档根目录、自动索引页
# vim /etc/httpd/conf/httpd.conf

DocumentRoot "/var/www/html/cacti"
<Directory "/var/www/html/cacti">
    Options Indexes none
 	 AllowOverride None
	 Order allow,deny
    Allow from all
</Directory>
DirectoryIndex  index.php  index.html index.html.var
AddDefaultCharset UTF-8
重启服务
# systemctl restart httpd(2)初始化Cacti系统
在游览器中访问Cacti服务器的Web服务,如http://192.168.1.1,除此访问时会自动跳转至安装指南界面如图3所示
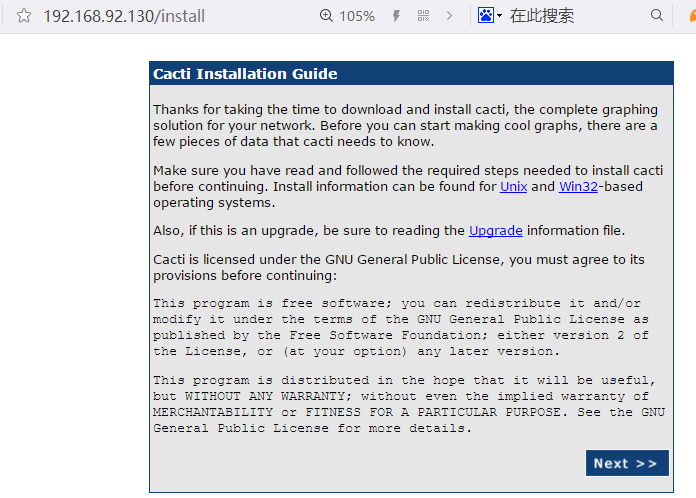
以上就是安装界面,内容是一些欢迎信息,直接点击下一步继续

选择新的安装,点击Next继续
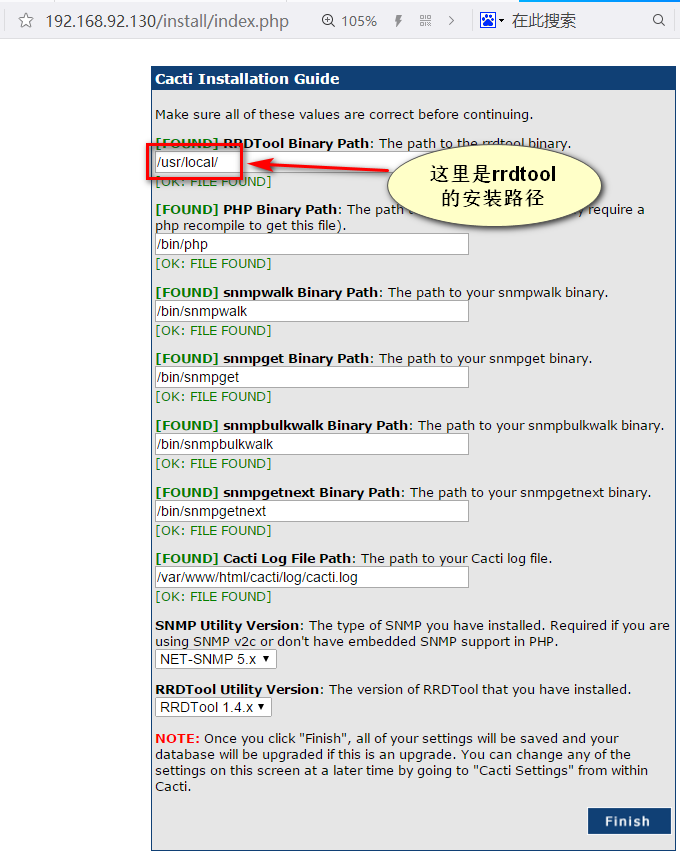
以上信息必须全部都为绿色,如果出现红色,请检查相关步骤。点击Finish完成安装
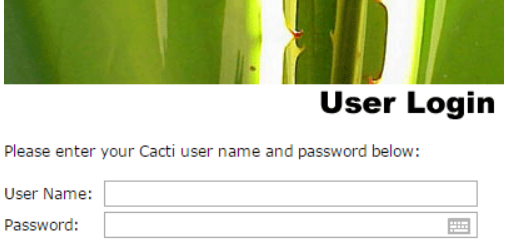
只要看到了这个登录界面,那么我们今天的Cacti就部署完成了,默认的用户名和密码都是admin,首次登录之后需要修改密码。个人建议先不要进行登录,先进行一下操作,之后在进行登录。
三、客户端的配置
无论是路由器、交换机、还是linux或windows服务器,只要正确支持SNMP协议,并允许Client服务器采集数据,就能够对其进行监测。下面仅介绍在linux服务器中启用SNMP支持并设置共同体名的简单方法
ps:共同体名,值的是一种验证机制,所有的client都必须使用同一个共同体名,就像我们之前学习的hsrp的组一样,只有组号相同才能是一个组的,这里也是如此,只有共同体名相同的时候,Cacti才能通过这个共同体名对client进行监控。
需要安装net-snmp、lm_sensors软件包,然后通过修改其配置文件/etc/snmp/snmpd.conf,并启动snmpd服务,并建立规则,默认监听UDP的161号端口。
# yum -y install net-snmp lm_sensors
# vim /etc/snmp/snmpd.conf


com2sec notConfigUser  192.168.90.130       public
access  notConfigGroup ""      any       noauth    exact  all none none
view all    included  .1                               80
192.168.92.130 指的是Cacti的服务器IP(默认是default),表示允许其查询本机数据,public指的就是共同体名,用来识别及验证
all表示开放所有的SNMP查询权限(默认是 SystemView)
去掉注释之后,以便支持各种查询。
# systemctl start snmpd
# iptables -I INPUT -p udp --dport 161 -j ACCEPT四、使用Cacti的Web控制台
配置好Cacti的主控端、被控端之后,就可以设置集中监测任务了。下面讲学习在Cacti系统的Web控制台的基本操作,以及如何通过添加插件来扩展集中监测功能。
在游览器中访问Cacti系统,如http://192.168.1.1,输入用户和密码,即可登录到Web控制台界面
未完待续。。。


 270
270


 被折叠的 条评论
为什么被折叠?
被折叠的 条评论
为什么被折叠?
 到【灌水乐园】发言


