


环境
windows 10 64bit
anaconda with python 3.7
pyscenedetect 0.5.5
简介
了解视频剪辑的小伙伴,应该都知道转场这个词。一个视频场景转换到另一个视频场景,场景与场景之间的过渡或转换,就叫做转场。本篇介绍一个强大的开源工具PySceneDetect,它是一款基于opencv的视频场景切换检测和分析工具,项目地址: https://github.com/Breakthrough/PySceneDetect
安装
首先,我们创建一个全新的虚拟环境
conda create -n pyscenedetect python=3.7
conda activate pyscenedetect
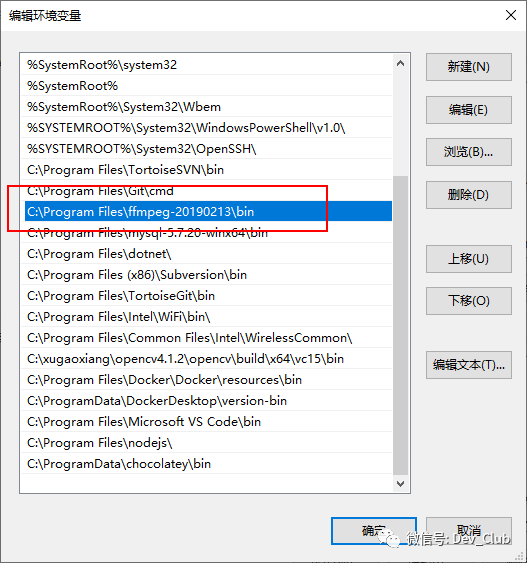
接下来安装视频处理时需要用到的ffmpeg。从官网下载编译好的二进制文件 http://ffmpeg.org/download.html,并将其路径加入到系统环境变量中
最后,进入真正的安装阶段,其实就一句话
pip install scenedetect opencv-python
没错,就是这么的简单
命令行测试
pyscenedetect提供了一个命令行工具,可以通过-h参数来查看它的帮助信息
Usage: scenedetect [OPTIONS] COMMAND1 [ARGS]... [COMMAND2 [ARGS]...]...

  For example:

  scenedetect -i video.mp4 -s video.stats.csv detect-content list-scenes

  Note that the following options represent [OPTIONS] above. To list the
  optional [ARGS] for a particular COMMAND, type `scenedetect help COMMAND`.
  You can also combine commands (e.g. scenedetect [...] detect-content save-
  images --png split-video).

Options:
  -i, --input VIDEO             [Required] Input video file. May be specified
                                multiple times to concatenate several videos
                                together. Also supports image sequences and
                                URLs.
  -o, --output DIR              Output directory for all files (stats file,
                                output videos, images, log files, etc...).
  -f, --framerate FPS           Force framerate, in frames/sec (e.g. -f
                                29.97). Disables check to ensure that all
                                input videos have the same framerates.
  -d, --downscale N             Integer factor to downscale frames by (e.g. 2,
                                3, 4...), where the frame is scaled to width/N
                                x height/N (thus -d 1 implies no downscaling).
                                Each increment speeds up processing by a
                                factor of 4 (e.g. -d 2 is 4 times quicker than
                                -d 1). Higher values can be used for high
                                definition content with minimal effect on
                                accuracy. [default: 2 for SD, 4 for 720p, 6
                                for 1080p, 12 for 4k]
  -fs, --frame-skip N           Skips N frames during processing (-fs 1 skips
                                every other frame, processing 50% of the
                                video, -fs 2 processes 33% of the frames, -fs
                                3 processes 25%, etc...). Reduces processing
                                speed at expense of accuracy.  [default: 0]
  -m, --min-scene-len TIMECODE  Minimum size/length of any scene. TIMECODE can
                                be specified as exact number of frames, a time
                                in seconds followed by s, or a timecode in the
                                format HH:MM:SS or HH:MM:SS.nnn  [default:
                                0.6s]
  --drop-short-scenes           Drop scenes shorter than `--min-scene-len`
                                instead of combining them with neighbors
  -s, --stats CSV               Path to stats file (.csv) for writing frame
                                metrics to. If the file exists, any metrics
                                will be processed, otherwise a new file will
                                be created. Can be used to determine optimal
                                values for various scene detector options, and
                                to cache frame calculations in order to speed
                                up multiple detection runs.
  -v, --verbosity LEVEL         Level of debug/info/error information to show.
                                Setting to none will suppress all output
                                except that generated by actions (e.g.
                                timecode list output). Can be overriden by
                                `-q`/`--quiet`.
  -l, --logfile LOG             Path to log file for writing application
                                logging information, mainly for debugging.
                                Make sure to set `-v debug` as well if you are
                                submitting a bug report.
  -q, --quiet                   Suppresses all output of PySceneDetect except
                                for those from the specified commands.
                                Equivalent to setting `--verbosity none`.
                                Overrides the current verbosity level, even if
                                `-v`/`--verbosity` is set.
  -h, --help                    Show this message and exit.

Commands:
  about             Print license/copyright info.
  detect-content    Perform content detection algorithm on input video(s).
  detect-threshold  Perform threshold detection algorithm on input video(s).
  export-html       Exports scene list to a HTML file.
  help              Print help for command (help [command]).
  list-scenes       Prints scene list and outputs to a CSV file.
  save-images       Create images for each detected scene.
  split-video       Split input video(s) using ffmpeg or mkvmerge.
  time              Set start/end/duration of input video(s).
  version           Print version of PySceneDetect.
找个包含多场景切换的视频测试一下,执行命令
scenedetect.exe -i lldq.mp4 detect-content split-video
脚本运行结束后,会在当前目录下生成一个个的短视频
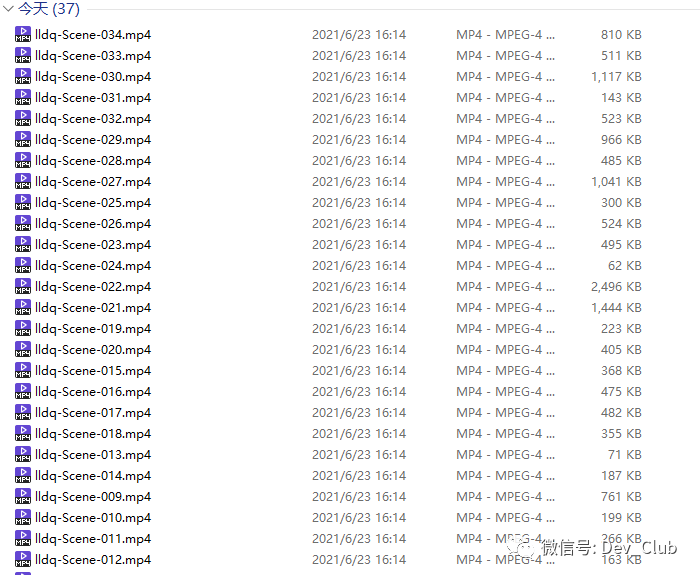
每个视频只包含一个场景
如果想从视频的某个时间点开始,可以使用参数time
scenedetect.exe -i lldq.mp4 time -s 5s detect-content split-video
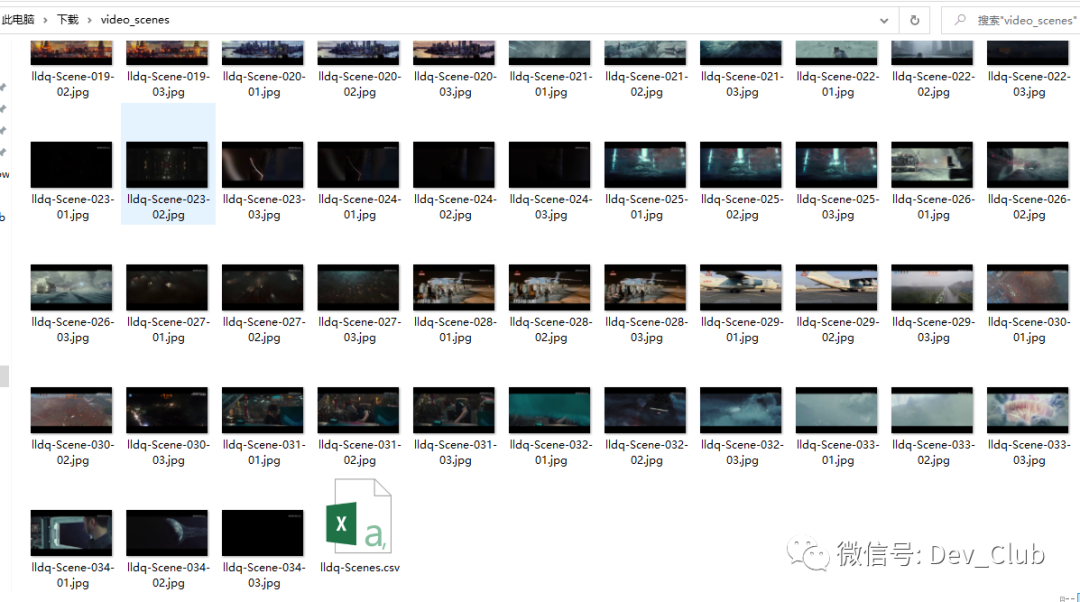
还可以将检测后的场景图片保存下来,同时生成统计文件csv
scenedetect.exe -i lldq.mp4 -o video_scenes detect-content save-images
场景切割算法
pyscenedetect使用了2种场景切割的方法,它们是detect-content和detect-threshold,除此之外,更牛皮的是,它还支持自定义检测算法。
detect-content顾名思义,这种方法就是根据前后图像的内容来进行判断,与我们常识中所说的视频转场是一样的。算法会根据前后2帧的视频数据,计算出它们不同的区域大小,如果这个区域大于某个预先设定的值(默认是30,可以通过
--threshold参数来指定),那么就认为场景已经切换了。detect-threshold这是比较传统的检测方法,有点像
ffmpeg中的blackframe滤镜。它会用特定的值去跟数据帧的亮度比较进行,如果大于某个预先设定的值,就认为场景已经切换了。在pyscenedetect中,这个值是由视频帧的每个像素的RGB的平均值计算而来。自定义检测算法
所有的检测算法必须继承自
SceneDetector这个类from scenedetect.scene_detector import SceneDetector class CustomDetector(SceneDetector): """CustomDetector class to implement a scene detection algorithm.""" def __init__(self): pass def process_frame(self, frame_num, frame_img, frame_metrics, scene_list): """Computes/stores metrics and detects any scene changes. Prototype method, no actual detection. """ return def post_process(self, scene_list): pass类中主要有2个方法,
process_frame负责处理所有的视频帧;post_process是可选的,它在process_frame结束后执行,主要用来做一些后期处理,比如场景切换数据的文件保存。下面主要来看看
process_frame方法,它有如下几个重要参数更加实现细节方面,可以参考源码目录下的
scenedetect/detectors/content_detector.py或scenedetect/detectors/threshold_detector.pyframe_num: 当前处理到的帧数
frame_img: 返回的帧数据,格式是
numpy数组frame_metrics: 保存检测算法计算结果的字典
scene_list: 视频中所有场景切换包含的帧数列表
Python API的使用
如果需要在自己的代码中去使用pyscenedetect,除了使用命令行调用的方式外,pyscenedetect还提供了基于python的API。
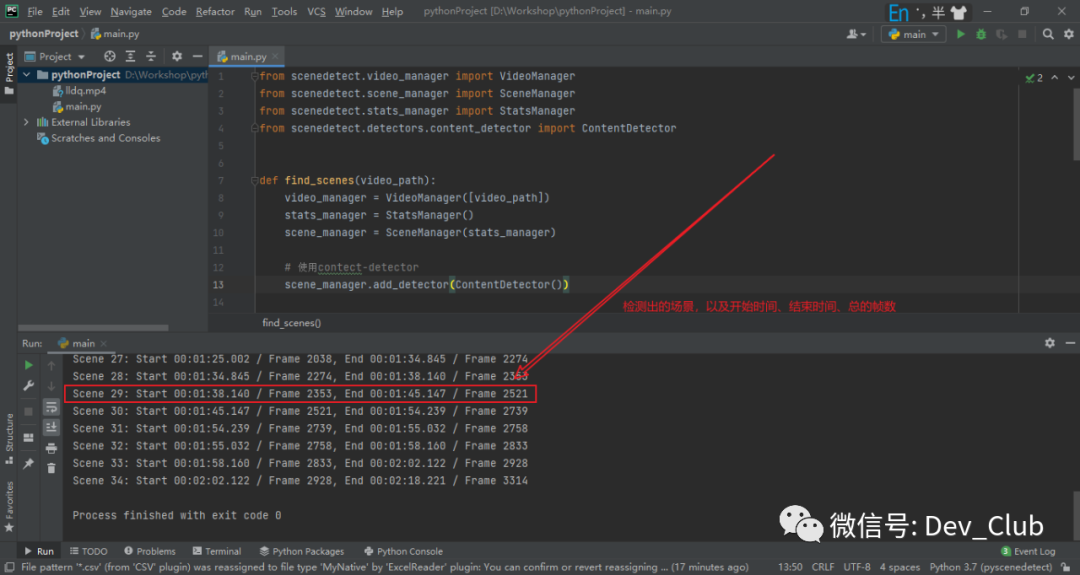
下面是一个简单的demo,程序读取视频文件,使用content-detector算法进行检测,最后将所有场景的开始时间、结束时间和总的帧数分别打印输出。
from scenedetect.video_manager import VideoManager
from scenedetect.scene_manager import SceneManager
from scenedetect.stats_manager import StatsManager
from scenedetect.detectors.content_detector import ContentDetector


def find_scenes(video_path):
    video_manager = VideoManager([video_path])
    stats_manager = StatsManager()
    scene_manager = SceneManager(stats_manager)

    # 使用contect-detector
    scene_manager.add_detector(ContentDetector())

    try:
        video_manager.set_downscale_factor()

        video_manager.start()

        scene_manager.detect_scenes(frame_source=video_manager)

        scene_list = scene_manager.get_scene_list()

        print('List of scenes obtained:')
        for i, scene in enumerate(scene_list):
            print(
                'Scene %2d: Start %s / Frame %d, End %s / Frame %d' % (
                    i + 1,
                    scene[0].get_timecode(), scene[0].get_frames(),
                    scene[1].get_timecode(), scene[1].get_frames(),))

    finally:
        video_manager.release()


if __name__ == '__main__':
    find_scenes('lldq.mp4')
代码执行的结果是这样的
参考资料
https://github.com/Breakthrough/PySceneDetect
https://pyscenedetect.readthedocs.io/projects/Manual/en/latest/
https://blog.gdeltproject.org/using-ffmpegs-blackdetect-filter-to-identify-commercial-blocks/


 1万+
1万+

 被折叠的 条评论
为什么被折叠?
被折叠的 条评论
为什么被折叠?
 到【灌水乐园】发言


