


1.简介
在继续使用Gradle创建演示Spring Boot Web应用程序之前,我假设我们已经准备好使用Gradle设置 。
2.创建演示应用程序
现在我们已经准备好安装插件,创建一个新的Gradle项目,如下所示–

单击下一步 ,指定项目详细信息,如下所述–
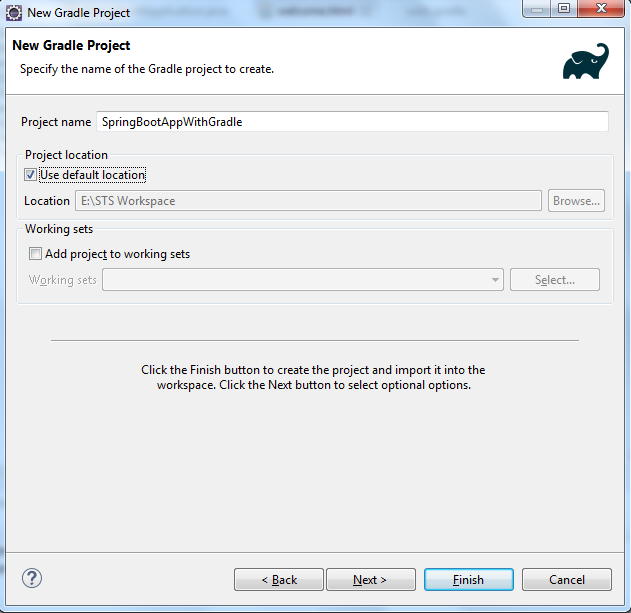
单击完成 ,我们完成了初始项目的创建–
就像我们在Maven中使用pom.xml一样, 在Gradle中也使用了build.gradle 。 让我们通过添加Spring Boot依赖项对其进行必要的更改–
buildscript {
	ext {
		springBootVersion = '1.4.3.RELEASE'
	}
	repositories {
		mavenCentral()
	}
	dependencies {
		classpath("org.springframework.boot:spring-boot-gradle-plugin:${springBootVersion}")
	}
}

apply plugin: 'java'
apply plugin: 'eclipse'
apply plugin: 'org.springframework.boot'

jar {
	baseName = 'boot-gradle'
	version = '0.0.1-SNAPSHOT'
}

repositories {
	mavenCentral()
}

bootRepackage {
    enabled = true
}

dependencies {
	compile('org.springframework.boot:spring-boot-starter',
	'org.springframework.boot:spring-boot-starter-web',
	'org.springframework.boot:spring-boot-starter-thymeleaf')
}现在让我们创建包含主方法的SpringBootApplication类 –
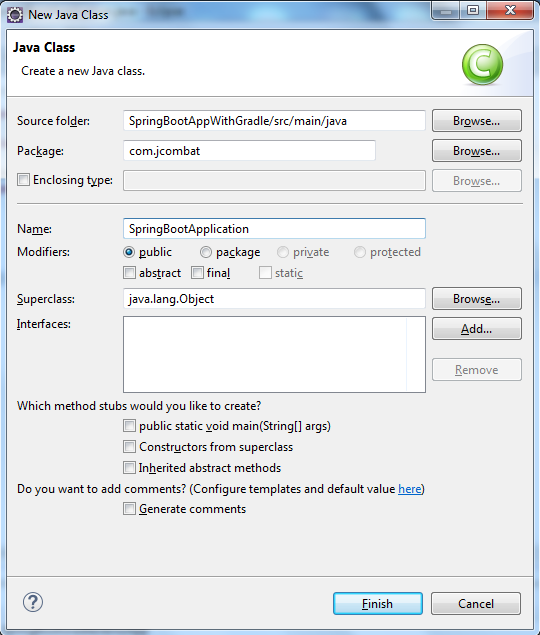
SpringBootApplication.java
package com.jcombat;

import org.springframework.boot.SpringApplication;

@org.springframework.boot.autoconfigure.SpringBootApplication
public class SpringBootApplication {

	public static void main(String[] args) {
		SpringApplication.run(SpringBootApplication.class, args);
	}

}同样,我们也创建一个Spring控制器类 –
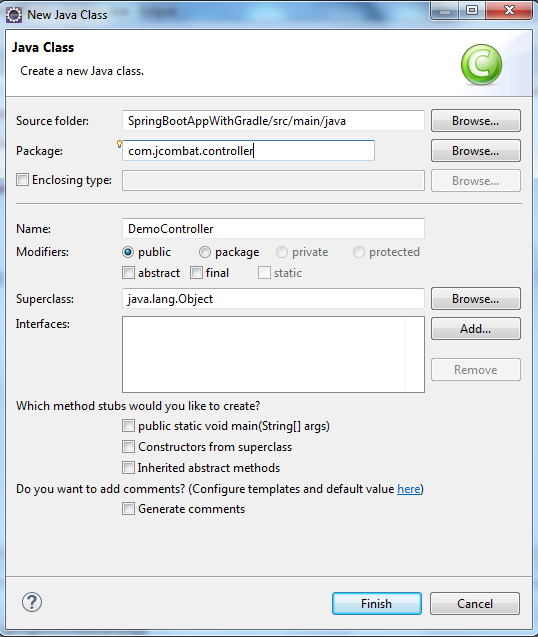
DemoController.java
package com.jcombat.controller;
import java.util.Map;
import org.springframework.stereotype.Controller;
import org.springframework.web.bind.annotation.RequestMapping;
@Controller
public class DemoController {
@RequestMapping("/")
public String welcome(Map<String, Object> model) {
return "welcome";
}
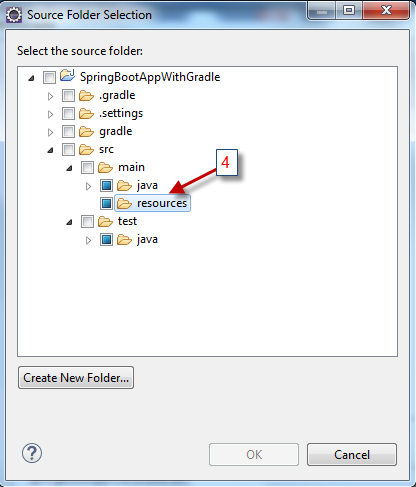
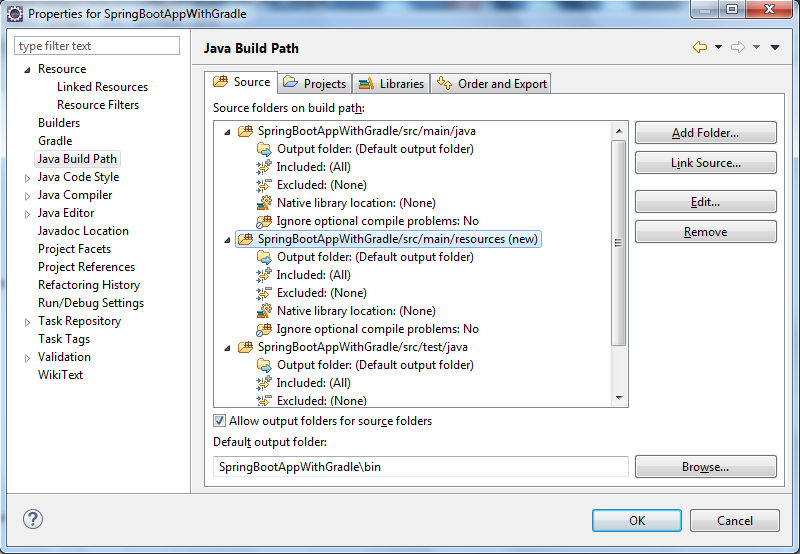
}现在,我们需要在Spring Boot资源位置中添加welcome.html。 请注意,在创建Gradle项目时资源文件夹可能不存在,因此在我的情况下,我将必须显式创建一个文件夹。

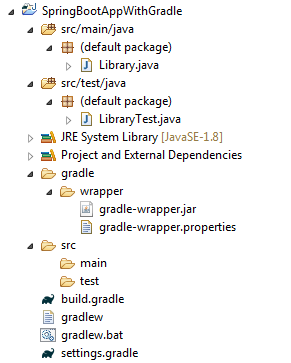
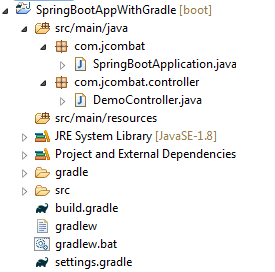
现在的项目结构应该看起来像–
现在,在src / main / resource项目目录中创建“ template”文件夹,并在其中创建welcome.html文件。 请参考以下快照–

接下来,右键单击该项目,转到“ Gradle”,然后单击“ Refresh Gradle project”。
就是这个。
3.运行应用程序
右键单击该项目,然后以Spring Boot App的身份运行该应用程序 –

4.下载源代码
翻译自: https://www.javacodegeeks.com/2017/11/spring-boot-web-application-gradle.html


 1564
1564

 被折叠的 条评论
为什么被折叠?
被折叠的 条评论
为什么被折叠?
 到【灌水乐园】发言


