


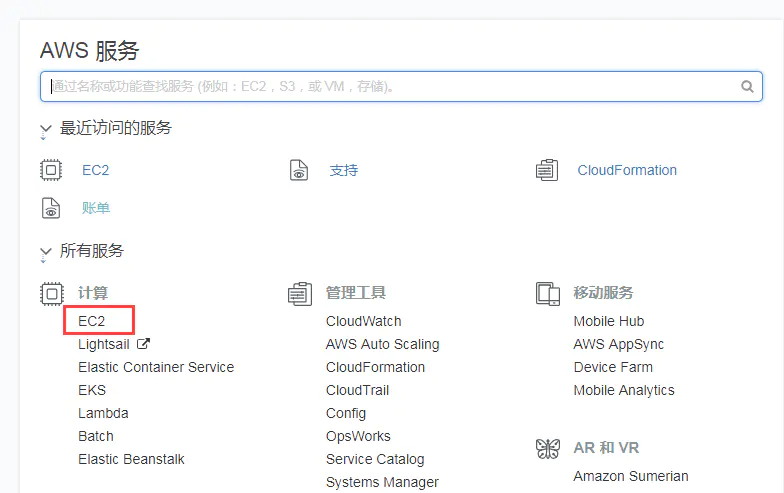
- 肯定是先注册个账号
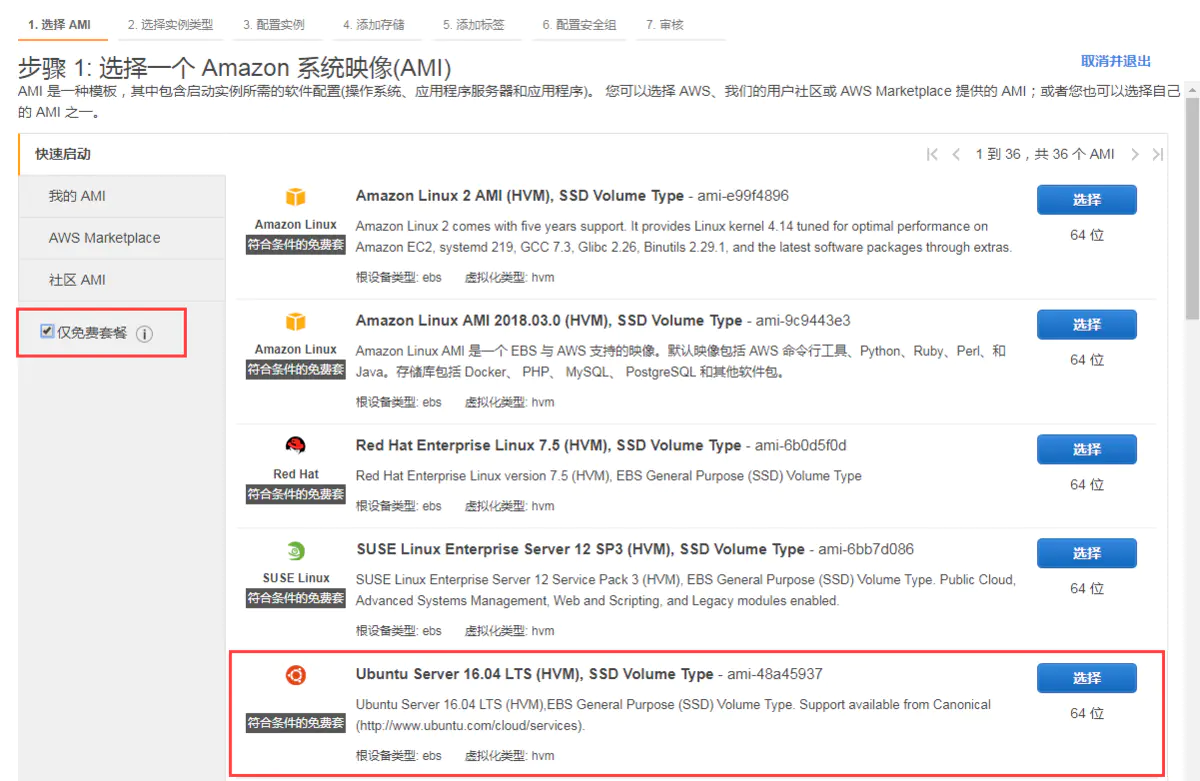
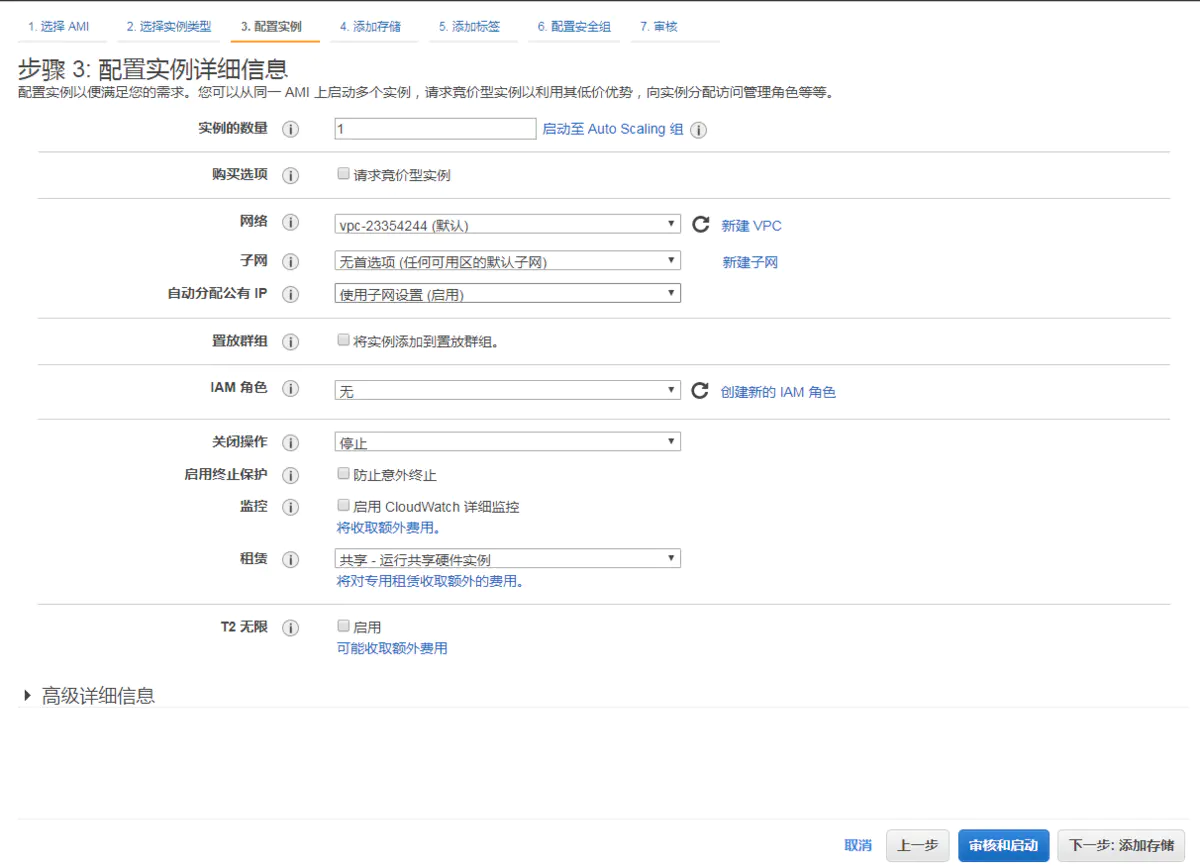
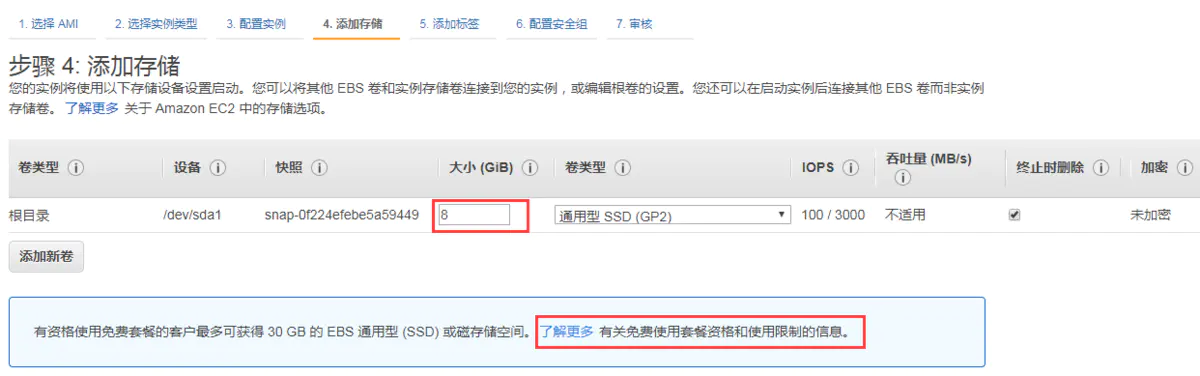
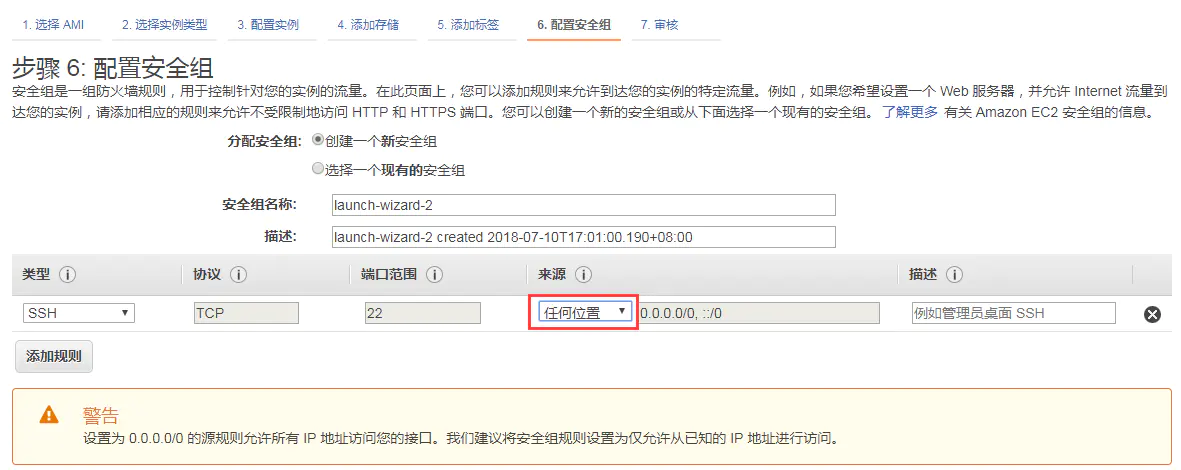
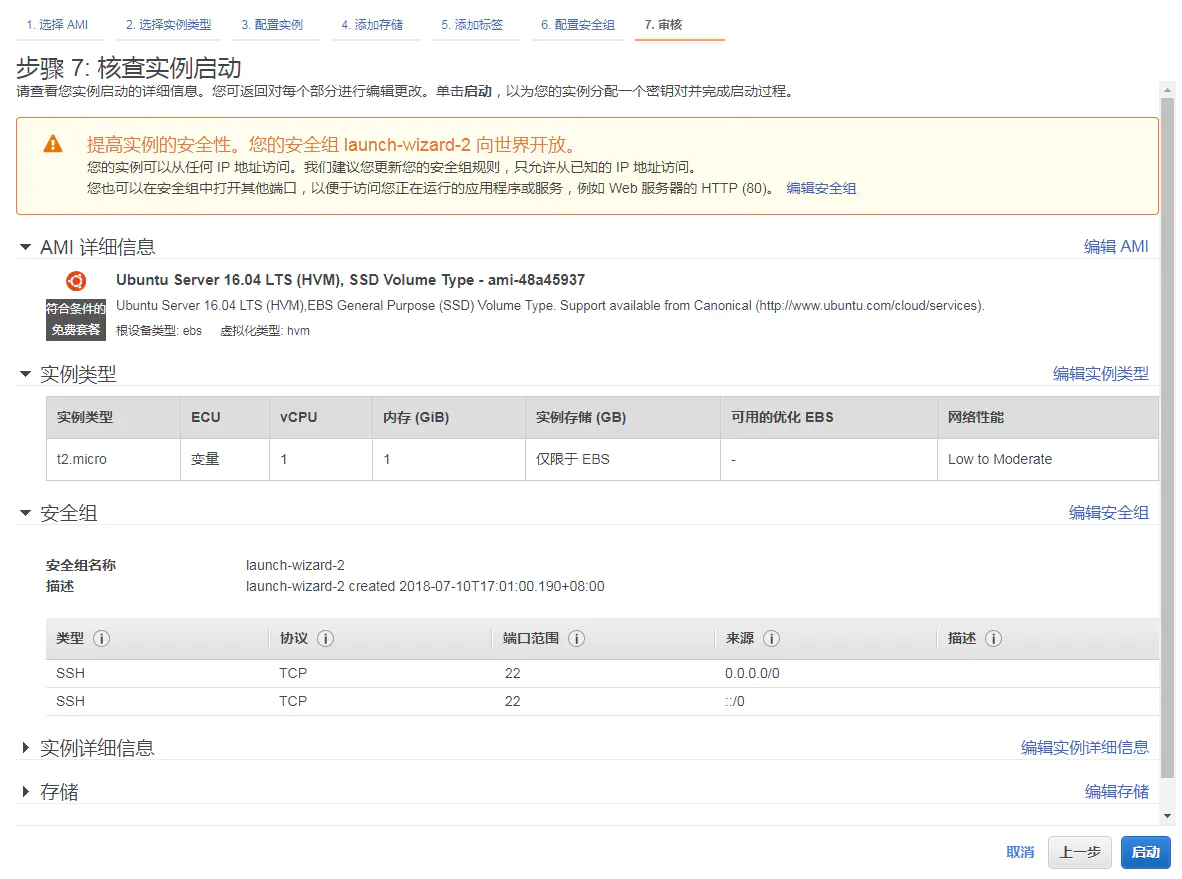
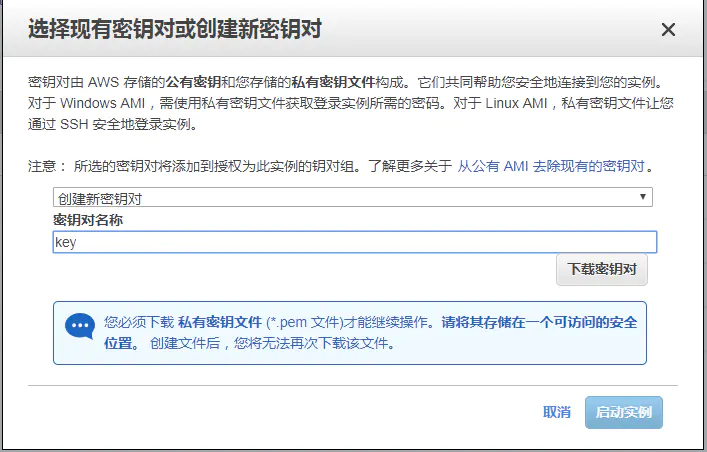
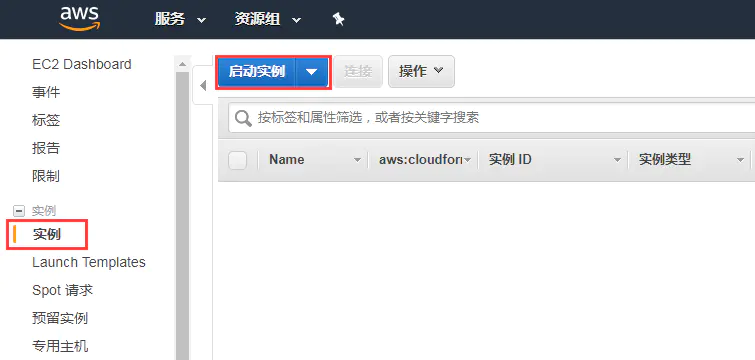
- 然后按照下面的图片进行操作


- 连接后修改root密码
sudo passwd root
- 下面是vi复制当行的步骤
1)把光标移动到要复制的行上
2)按yy
3)把光标移动到要复制的位置
4)按p
- 输入命令 ,编辑SSH文件 /etc/ssh/sshd_config,找到PasswordAuthentication一行,并将后面的no改为yes,再找到PermitRootLogin,同样将后面的no改为yes。最后将UsePAM 后面的yes改为no。
vim /etc/ssh/sshd_config
- 输入命令:再编辑authorized_keys文件,将ssh-rsa 前面的文字全部删除,确保ssh-rsa没有任何文字,包括空格。
sudo vim /root/.ssh/authorized_keys
- 重启登陆,输入命令
service sshd restart
- 搭建自己的服务吧
在这里我们搭建nginx
sudo apt-get install nginx
修改一些配置后的重启服务
service nginx restart


 2497
2497


 被折叠的 条评论
为什么被折叠?
被折叠的 条评论
为什么被折叠?
 到【灌水乐园】发言


