


文章目录
set/multiset容器
set基本概念
简介
-
所有元素都会在插入时被自动排序
-
set/multiset属于关联式容器,底层结构是用二叉树实现
区别
-
set不允许容器中有重复的元素
-
multiset允许容器中有重复的元素
set的构造和赋值
功能描述
- 创建set容器及赋值
函数原型
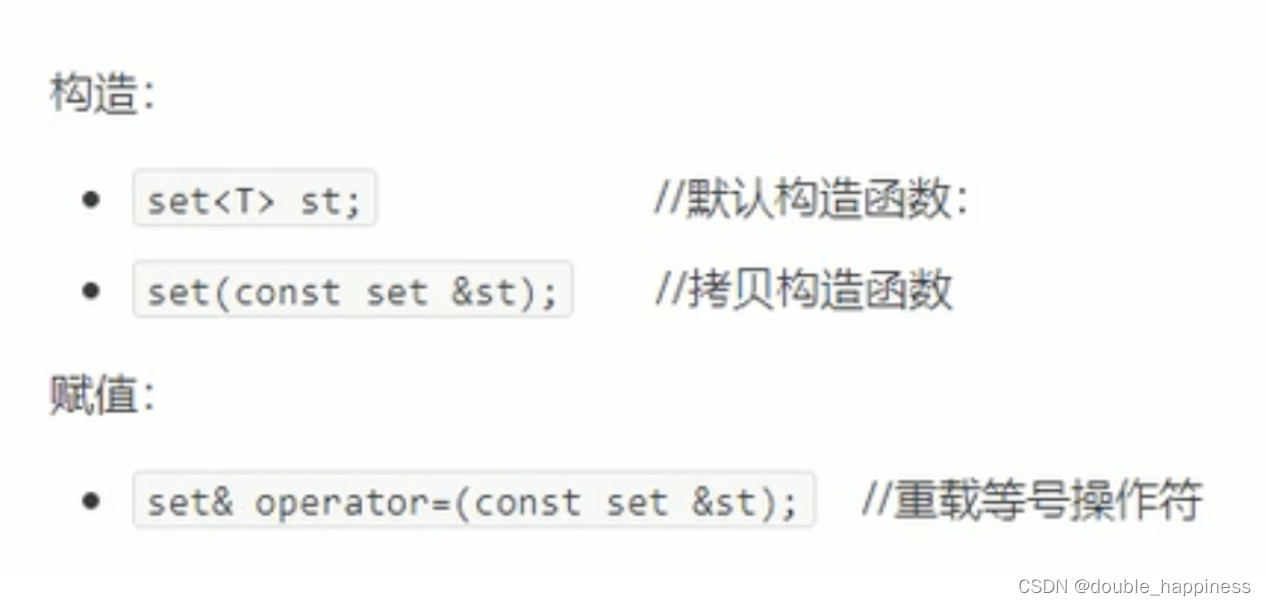
代码示例
#include <iostream>
#include <set>

using namespace std;

void printSet(const set<int> &s) {
    for (set<int>::const_iterator it = s.begin(); it != s.end(); it++) {
        cout << *it << " ";
    }
    cout << endl;
}

void test() {
    // 默认构造
    set<int> s1;
    s1.insert(1);
    s1.insert(3);
    s1.insert(4);
    printSet(s1);
    // 拷贝构造
    set<int> s2(s1);
    printSet(s2);
    // 重载等号操作符
    set<int> s3 = s1;
    printSet(s3);
}

int main() {
    test();
    return 0;
}
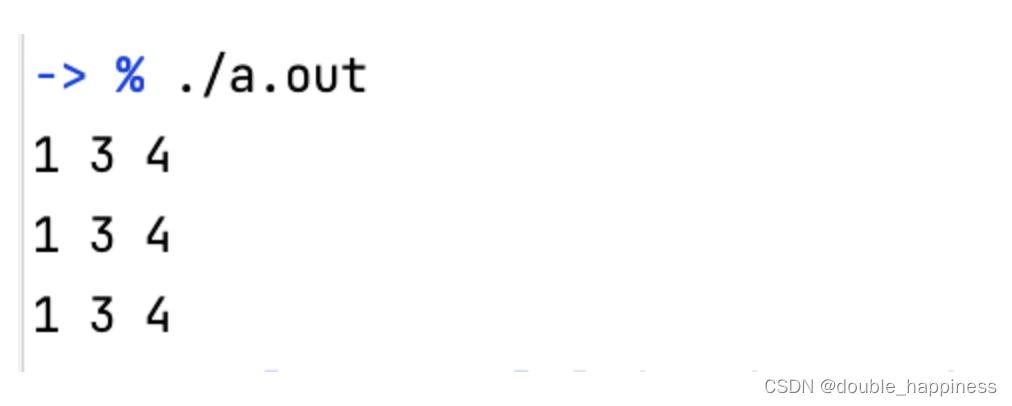
运行结果
set的大小和交换
功能描述
- 统计set大小及交换set容器
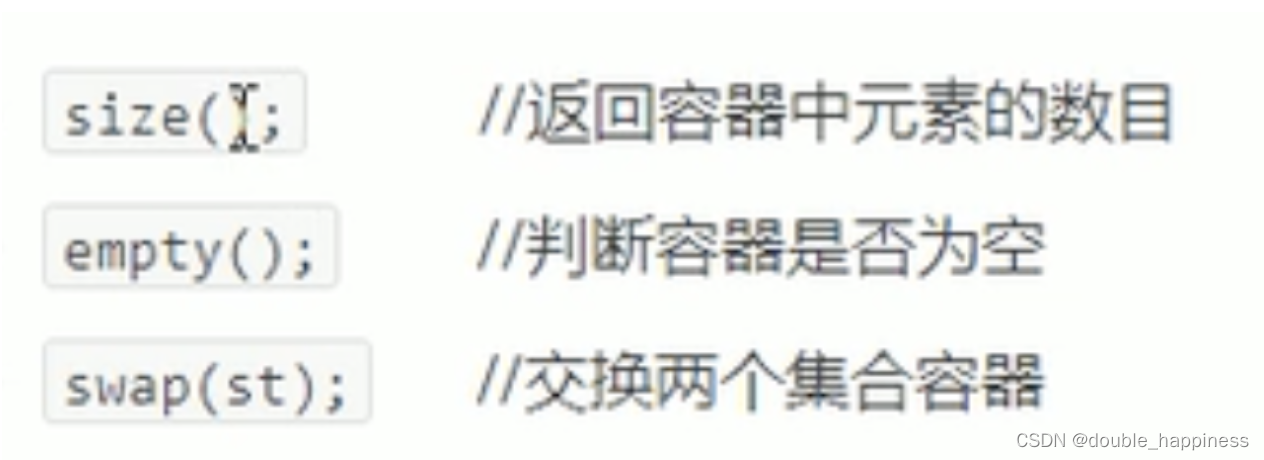
函数原型
代码示例
#include <iostream>
#include <set>

using namespace std;

void printSet(const set<int> &s) {
    for (set<int>::const_iterator it = s.begin(); it != s.end(); it++) {
        cout << *it << " ";
    }
    cout << endl;
}

void test() {
    // 默认构造
    set<int> s1;
    s1.insert(1);
    s1.insert(3);
    s1.insert(2);
    s1.insert(4);
    printSet(s1);
    cout << "set容器的大小:" << s1.size() << endl;
    cout << "set容器是否为空:" << s1.empty() << endl;
    set<int> s2;
    s2.insert(7);
    s2.insert(5);
    cout << "交换前:" << endl;
    printSet(s1);
    printSet(s2);
    s1.swap(s2);
    cout << "交换后:" << endl;
    printSet(s1);
    printSet(s2);
}

int main() {
    test();
    return 0;
}
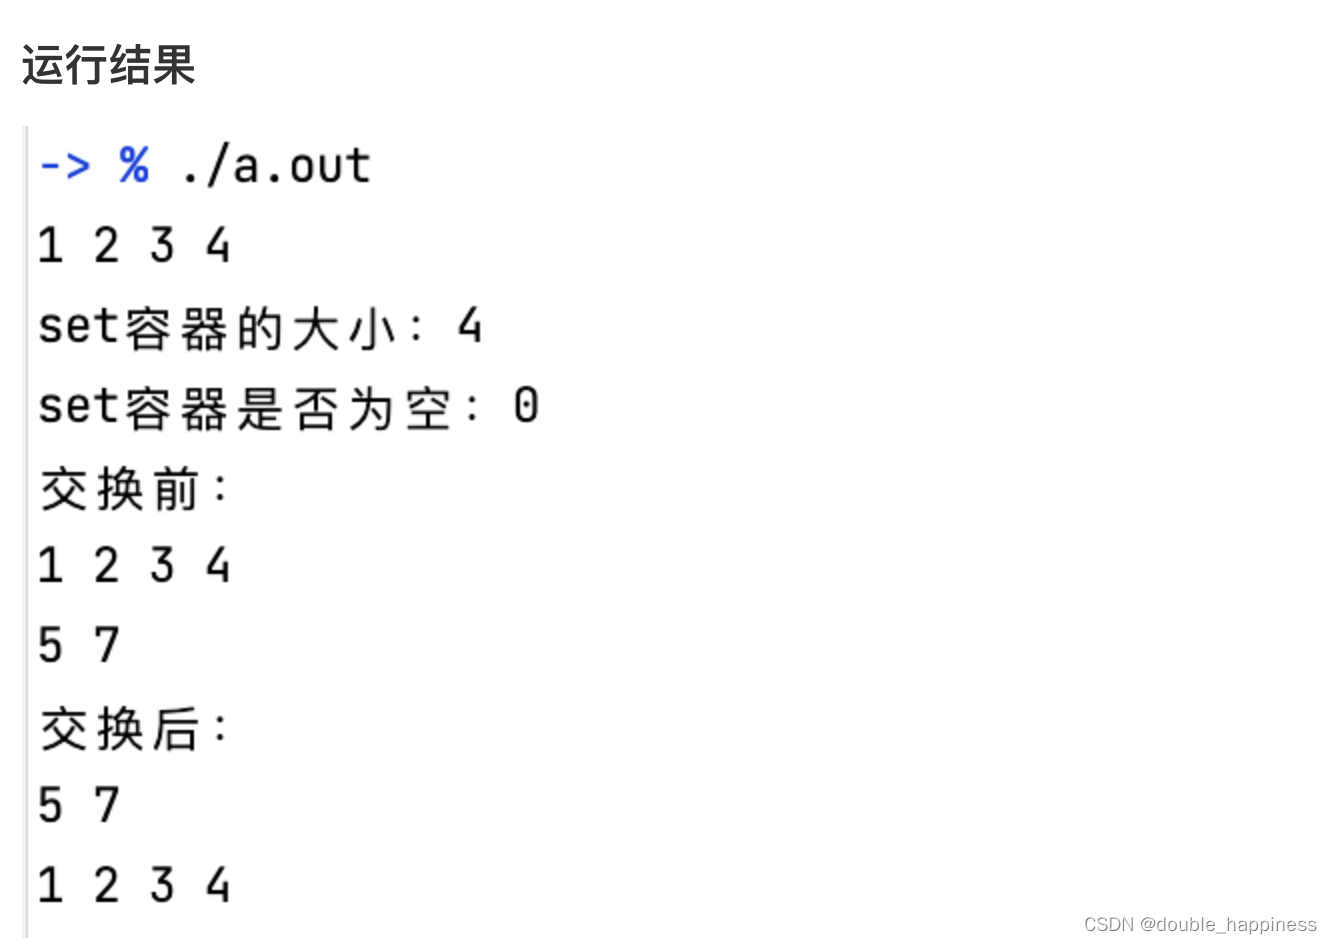
运行结果
set的插入和删除
功能描述
- set容器进行插入和删除数据
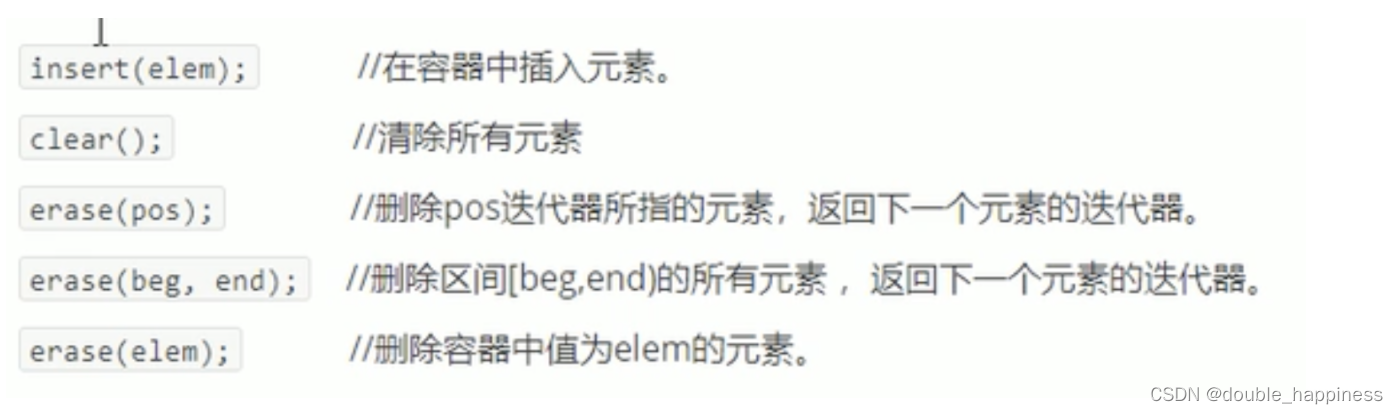
函数原型
代码示例
#include <iostream>
#include <set>
using namespace std;
void printSet(const set<int> &s) {
for (set<int>::const_iterator it = s.begin(); it != s.end(); it++) {
cout << *it << " ";
}
cout << endl;
}
void test() {
// 默认构造
set<int> s1;
for (int i = 0; i < 10; i++) {
// 使用insert向容器中插入元素
s1.insert(i);
}
printSet(s1);
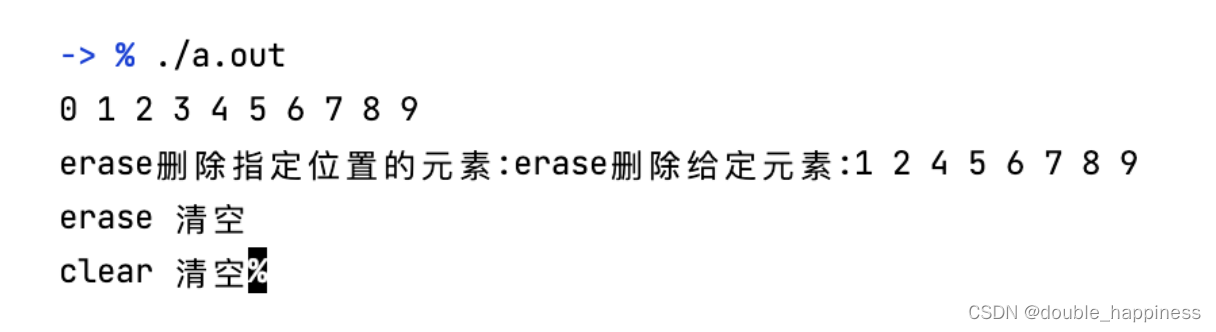
cout << "erase删除指定位置的元素:";
s1.erase(s1.begin());
cout << "erase删除给定元素:";
s1.erase(3);
printSet(s1);
cout << "erase 清空";
s1.erase(s1.begin(), s1.end());
printSet(s1);
cout << "clear 清空";
s1.clear();
}
int main() {
test();
return 0;
}
运行结果
set查找和统计
函数原型

代码示例
#include <iostream>
#include <set>

using namespace std;

void printSet(const set<int> &s) {
    for (set<int>::const_iterator it = s.begin(); it != s.end(); it++) {
        cout << *it << " ";
    }
    cout << endl;
}

void test() {
    // 默认构造
    set<int> s1;
    for (int i = 0; i < 10; i++) {
        // 使用insert向容器中插入元素
        s1.insert(i);
    }
    printSet(s1);
    set<int>::iterator pos = s1.find(5);
    if (pos != s1.end()) {
        cout << "找到了" << endl;
    } else {
        cout << "没找到" << endl;
    }
    cout << "统计给定值的出现次数:";
    int count = s1.count(2);
    // 对于set而言,统计的结果要么是1要么是0
    cout << count << endl;
}

int main() {
    test();
    return 0;
}
运行结果

set和multiset区别
区别
-
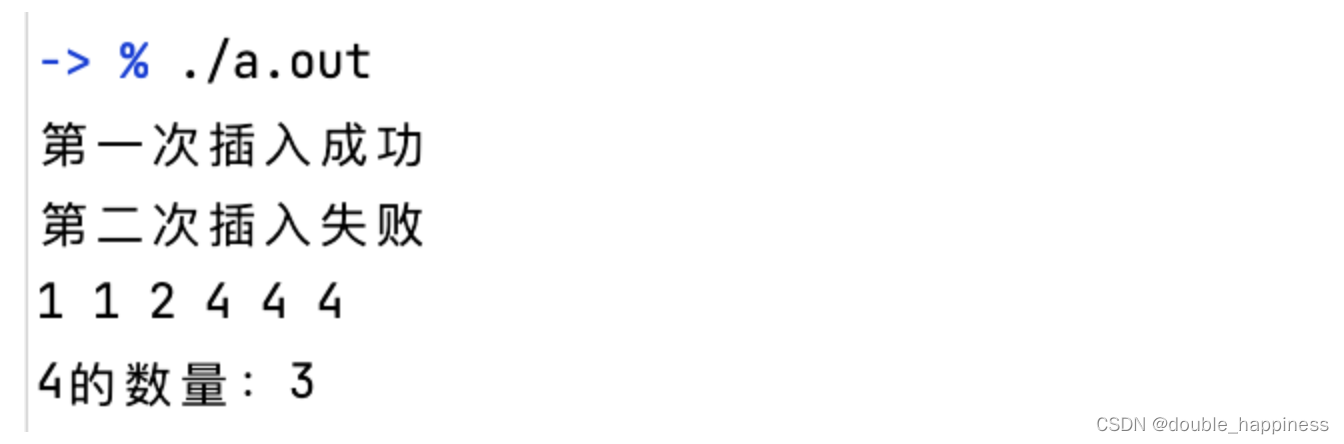
set不可以插入重复数据,而multiset可以
-
set插入数据的同时会返回插入结果,表示插入是否成功
-
multiset不会检测数据,因此可以插入重复数据
代码示例
#include <iostream>
#include <set>

using namespace std;

void printSet(const multiset<int> &s) {
    for (multiset<int>::const_iterator it = s.begin(); it != s.end(); it++) {
        cout << *it << " ";
    }
    cout << endl;
}

void test1() {
    set<int> s;
    pair<set<int>::iterator, bool> ret = s.insert(1);
    if (ret.second) {
        cout << "第一次插入成功" << endl;
    } else {
        cout << "第一次插入失败" << endl;
    }
    ret = s.insert(1);
    if (ret.second) {
        cout << "第二次插入成功" << endl;
    } else {
        cout << "第二次插入失败" << endl;
    }
}

void test2() {
    // 默认构造
    multiset<int> s1;
    s1.insert(1);
    s1.insert(1);
    s1.insert(2);
    s1.insert(4);
    s1.insert(4);
    s1.insert(4);
    printSet(s1);
    int count = s1.count(4);
    cout << "4的数量:" << count << endl;
}

int main() {
    test1();
    test2();
    return 0;
}
运行结果
pair队组创建
功能描述
- 成对出现数据,利用队组可以返回两个数据
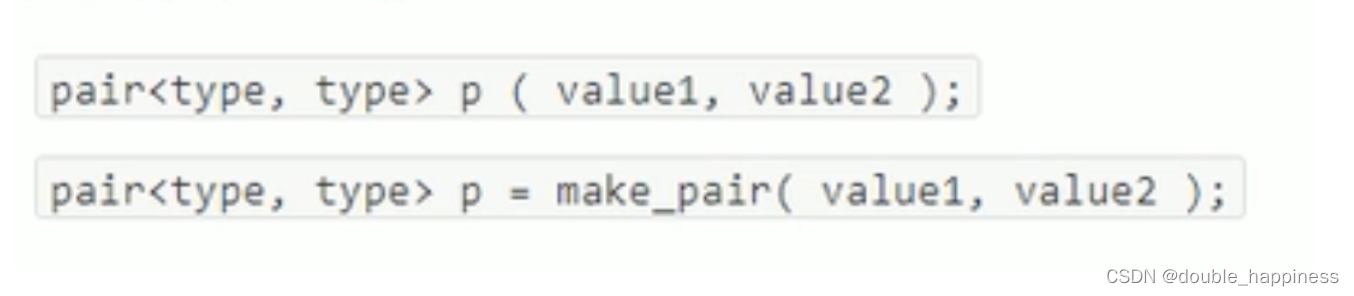
创建方式
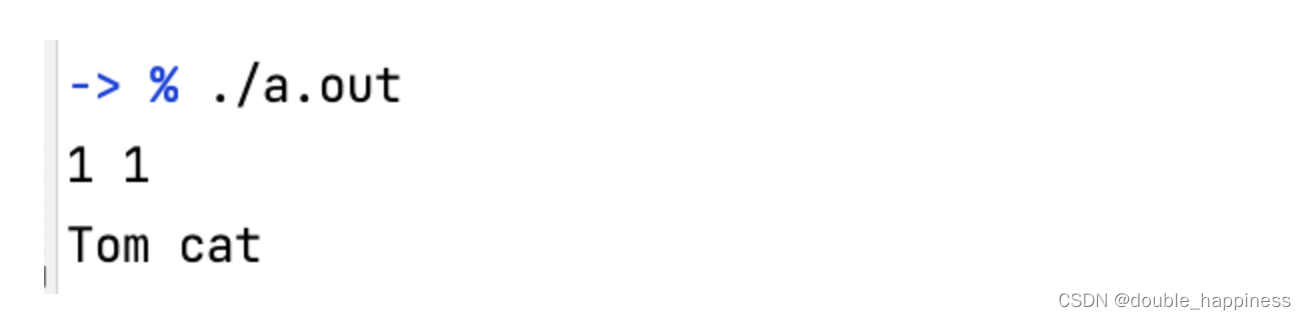
代码示例
#include <iostream>

using namespace std;

void test() {
    pair<int, int> p1(1, 1);
    cout << p1.first << " " << p1.second << endl;
    pair <string, string> p2 = make_pair("Tom", "cat");
    cout << p2.first << " " << p2.second << endl;

}

int main() {
    test();
    return 0;
}
运行结果
set容器排序
-
set默认插入的时候是从小到大排序的
-
利用仿函数可以实现,从大到小排序
代码示例
#include <iostream>
#include <set>

using namespace std;

class Person {
public:
    Person(string name, int age) {
        this->name = name;
        this->age = age;
    }

    // 对于自定义的数据类型需要指定排序规则
//    bool operator<(const Person &p) const {
//        if (name < p.name) {
//            return true;
//        } else if (name > p.name) {
//            return false;
//        } else {
//            return age < p.age;
//        }
//    }
//

    string name;
    int age;
};

class comparePerson{
public:
    bool operator()(const Person &p1, const Person &p2) {
        return p1.age > p2.age;
    }
};

void printPersonSet(const set <Person> &s) {
    for (set<Person>::const_iterator it = s.begin(); it != s.end(); it++) {
        cout << "name:" << (*it).name << " age: " << (*it).age << endl;
    }
}

void test() {
    Person p1("sad1", 1);
    Person p2("sad2", 2);
    Person p3("sad3", 3);
    Person p4("sad4", 4);
    Person p5("sad5", 5);
    Person p6("sad6", 6);
    Person p7("sad6", 5);
    set <Person, comparePerson> s1;
    s1.insert(p1);
    s1.insert(p2);
    s1.insert(p3);
    s1.insert(p4);
    s1.insert(p5);
    s1.insert(p6);
    s1.insert(p7);
    for (set<Person>::const_iterator it = s1.begin(); it != s1.end(); it++) {
        cout << "name:" << (*it).name << " age: " << (*it).age << endl;
    }
}

int main() {
    test();
    return 0;
}
map容器
map基本概念
简介
-
map中所有元素都是pair
-
pair中第一个元素为key (键值),起到索引作用,第二个元素为value (实值)
-
所有元素都会根据元素的键值自动排序
本质
- map/multimap属于关联式容器,底层结构是用二叉树实现
优点
- 可以根据key值快速找到value值
map和multimap区别
-
map中不允许有重复的key值元素
-
multimap中不允许有重复的key值元素
map的构造和赋值
函数原型

代码示例
#include <iostream>
#include <map>

using namespace std;

void printMap(map<int, int> mp) {
    for (map<int, int>::iterator it = mp.begin(); it != mp.end(); it++) {
        cout << (*it).first << " " << (*it).second << "\t";
    }
    cout << endl;
}

void test() {
    cout << "默认构造函数:";
    map<int, int> mp;
    for (int i = 0; i < 5; i++) {
        mp[i] = i;
    }
    printMap(mp);
    cout << "拷贝构造函数:";
    map<int, int> mp1(mp);
    printMap(mp1);
    cout << "重载等号操作符:";
    map<int, int> mp2 = mp;
    printMap(mp2);
}

int main() {
    test();
    return 0;
}
map大小和交换
代码示例
#include <iostream>
#include <map>

using namespace std;

void printMap(map<int, int> mp) {
    for (map<int, int>::iterator it = mp.begin(); it != mp.end(); it++) {
        cout << (*it).first << " " << (*it).second << "\t";
    }
    cout << endl;
}

void test() {
    cout << "默认构造函数:";
    map<int, int> mp;
    for (int i = 0; i < 5; i++) {
        mp[i] = i;
    }
    printMap(mp);
    cout << "mp大小: " << mp.size() << endl;
    if (mp.empty()) {
        cout << "mp为空" << endl;
    } else {
        cout << "mp不为空" << endl;
    }
    map<int, int> mp1;
    for (int i = 5; i > 0; i--) {
        mp1[i] = i;
    }
    printMap(mp1);
    cout << "交换后" << endl;
    mp1.swap(mp);
    printMap(mp);
    printMap(mp1);
}

int main() {
    test();
    return 0;
}
map插入和删除
函数原型

代码示例
#include <iostream>
#include <map>

using namespace std;

void printMap(map<int, int> mp) {
    for (map<int, int>::iterator it = mp.begin(); it != mp.end(); it++) {
        cout << (*it).first << " " << (*it).second << "\t";
    }
    cout << endl;
}

void test() {
    cout << "mp insert: ";
    map<int, int> mp;
    pair<int, int> p1(4, 6);
    pair<int, int> p2(2, 1);
    pair<int, int> p3(5, 3);
    pair<int, int> p4(1, 6);
    mp.insert(p1);
    mp.insert(p2);
    mp.insert(p3);
    mp.insert(p4);
    printMap(mp);
    cout << "mp删除指定key: ";
    mp.erase(2);
    printMap(mp);
    cout << "mp删除指定pos: ";
    mp.erase(mp.begin());
    printMap(mp);
    cout << "mp删除指区间所有元素: ";
    mp.erase(mp.begin(), mp.end());
    printMap(mp);
    cout << "清空mp";
    mp.clear();
    printMap(mp);
}

int main() {
    test();
    return 0;
}
map查找和统计
函数原型

代码示例
#include <iostream>
#include <map>

using namespace std;

void printMap(map<int, int> mp) {
    for (map<int, int>::iterator it = mp.begin(); it != mp.end(); it++) {
        cout << (*it).first << " " << (*it).second << "\t";
    }
    cout << endl;
}

void test() {
    cout << "mp insert: ";
    map<int, int> mp;
    pair<int, int> p1(4, 6);
    pair<int, int> p2(2, 1);
    pair<int, int> p3(5, 3);
    pair<int, int> p4(1, 6);
    mp.insert(p1);
    mp.insert(p2);
    mp.insert(p3);
    mp.insert(p4);
    printMap(mp);
    map<int, int>::iterator pos = mp.find(3);
    if (pos != mp.end()) {
        cout << "3 find" << endl;
    } else {
        cout << "3 not find" << endl;
    }
    cout << "查找给定值出现的次数:" << mp.count(1) << endl;
}

int main() {
    test();
    return 0;
}
map容器排序
主要技术点
- 利用仿函数,可以改变函数规则
代码示例
#include <iostream>
#include <map>

using namespace std;

class DescCompare {
public:
    // error: no matching function for call to object of type 'const DescCompare',所以需要使用const修饰
    bool operator()(int a, int b) const {
        return a > b;
    }
};

void test() {
    cout << "mp insert: ";
    map<int, int, DescCompare> mp;
    pair<int, int> p1(4, 6);
    pair<int, int> p2(2, 1);
    pair<int, int> p3(5, 3);
    pair<int, int> p4(1, 6);
    mp.insert(p1);
    mp.insert(p2);
    mp.insert(p3);
    mp.insert(p4);
    for (map<int, int, DescCompare>::const_iterator it = mp.begin(); it != mp.end(); it++) {
        cout << (*it).first << " " << (*it).second << "\t";
    }
    cout << endl;
}

int main() {
    test();
    return 0;
}


 2759
2759


 被折叠的 条评论
为什么被折叠?
被折叠的 条评论
为什么被折叠?
 到【灌水乐园】发言


