


在http://blog.csdn.net/dream_broken/article/details/73293391 这博文中已经了解如何使用搭建vue的开发环境了。这节自己动手实践下,并对生成的源码进行一些简单修改,加深对vue-cli生成的项目结构的了解。
本人用的是Visual Studio Code这软件。
已经安装node.js,dos下已执行
npm install -g cnpm --registry=http://registry.npm.taobao.org
cnpm install -g vue-cli
打开终端,使用vue init webpack命令初始化生成项目vue-demo-02

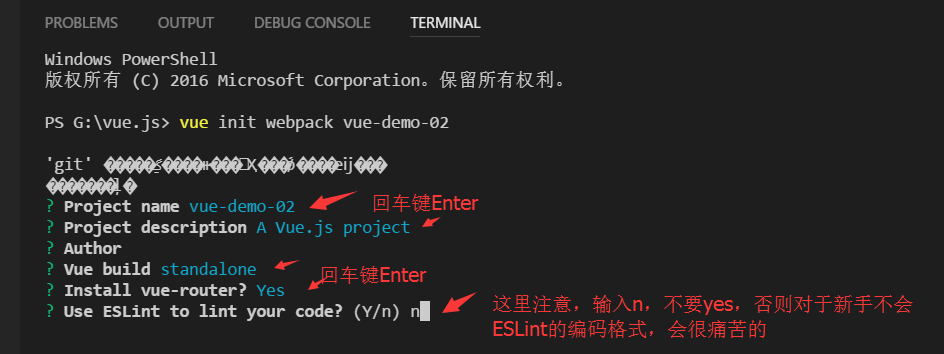
Use ESLint to lint your code?的时候,写n,其他的一直回车键即可。
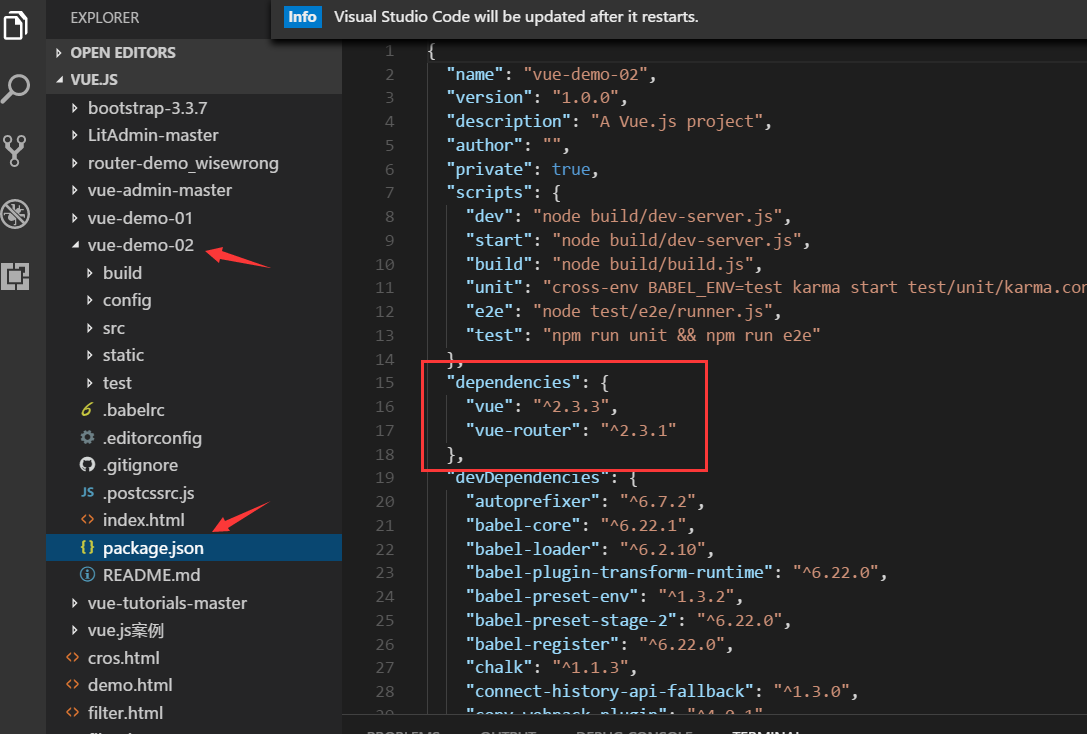
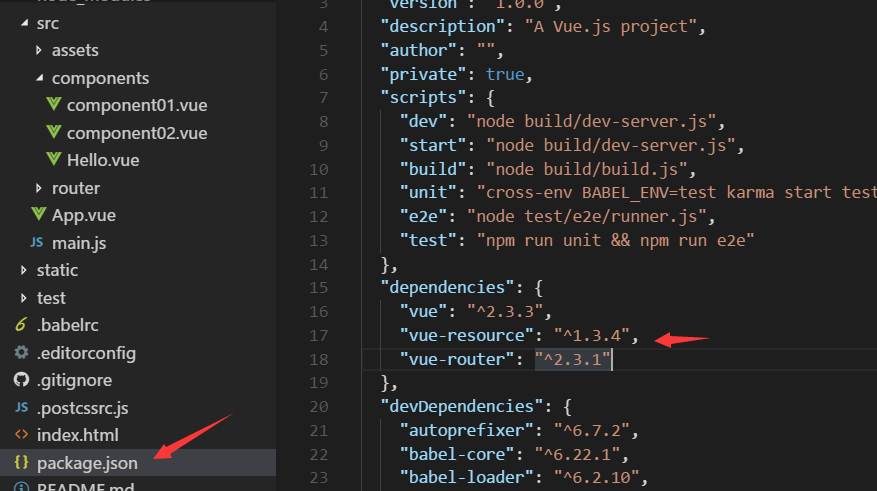
这样项目就生成了,看package.json,看依赖vue和vue-router都有了。
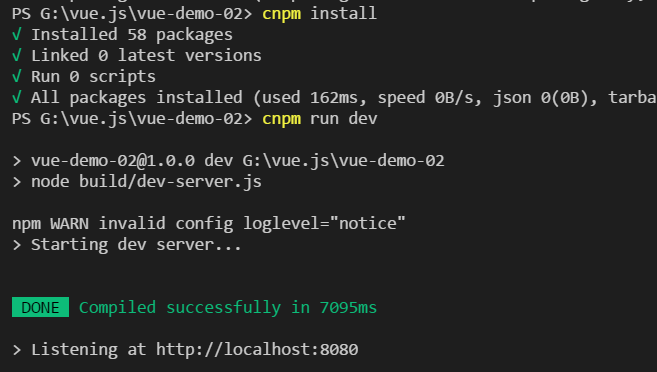
想让项目运行起来,由于是第一次,所以需要在项目的文件夹下执行cnpm install

然后执行cnpm run dev
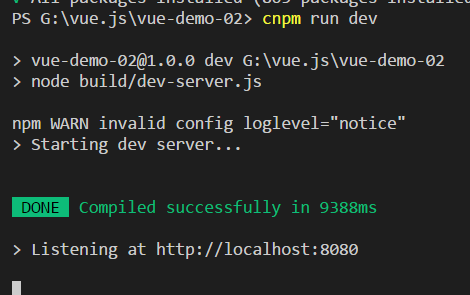
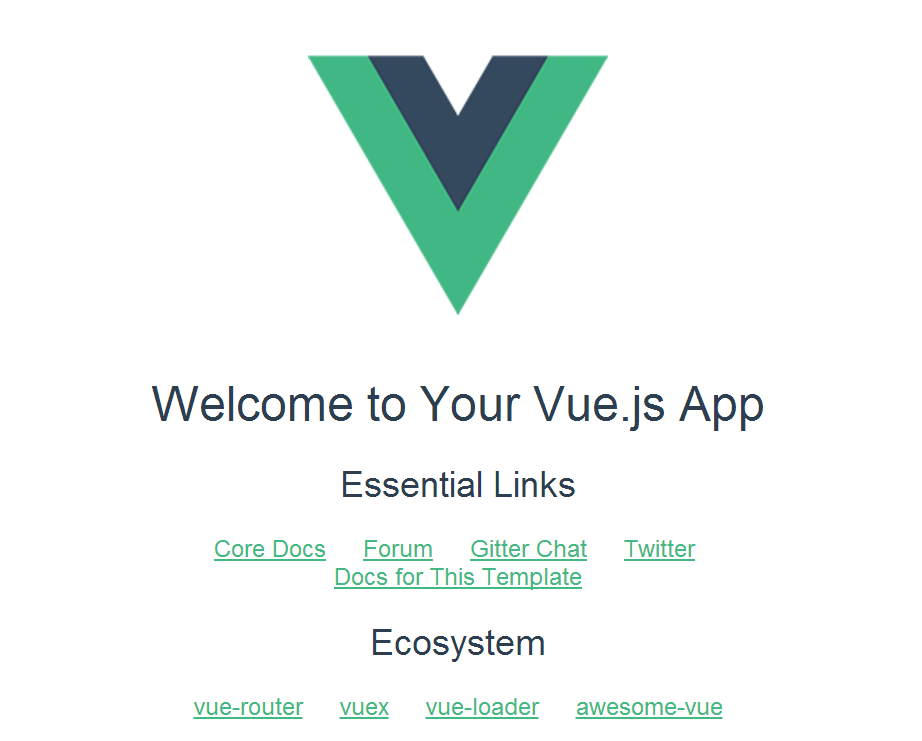
浏览器自动打开或自己手动输入地址http://localhost:8080打开
修改下App.vue的代码,注释掉router
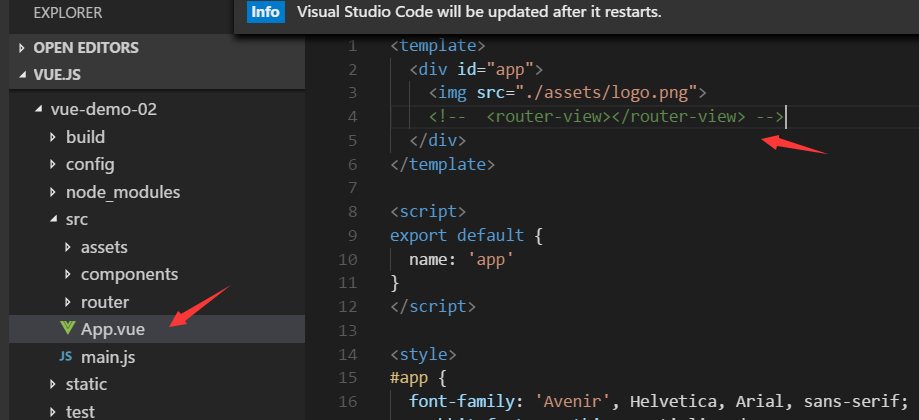
浏览器自动刷新了,页面只有上面的那个倒三角了
编写第一个components
在components文件下写
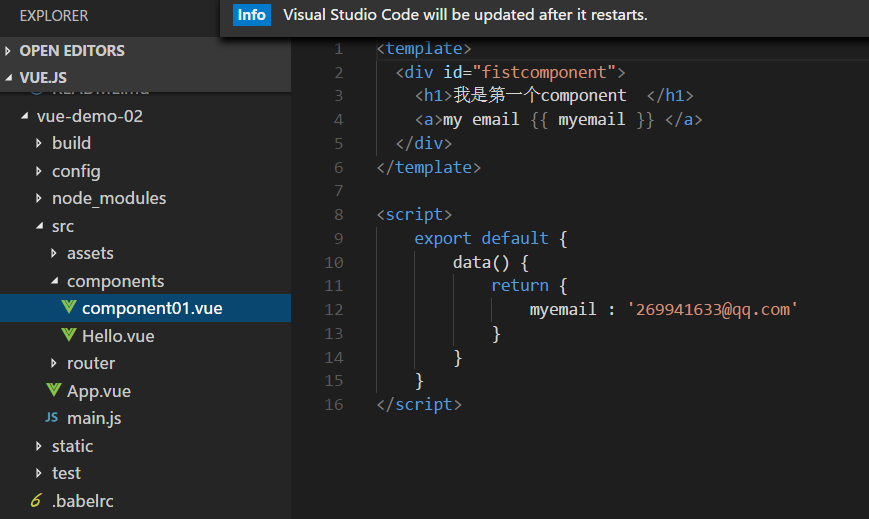
<template>
  <div id="fistcomponent">
    <h1>我是第一个component  </h1>
    <a>my email {{ myemail }} </a>
  </div>
</template>

<script>
    export default {
        data() {
            return {
                myemail : '269941633@qq.com'
            }
        }
    }
</script>
<template>
  <div id="app">
    <img src="./assets/logo.png">
    <!--  <router-view></router-view> -->
    <firstcomponent></firstcomponent>
  </div>
</template>

<script>

import firstcomponent from './components/component01.vue';

export default {
  name: 'app',
  components: {firstcomponent}
}
</script>

<style>
#app {
  font-family: 'Avenir', Helvetica, Arial, sans-serif;
  -webkit-font-smoothing: antialiased;
  -moz-osx-font-smoothing: grayscale;
  text-align: center;
  color: #2c3e50;
  margin-top: 60px;
}
</style>
保存后,浏览器自动刷新页面了

项目初始生成时App.vue有个<router-view>,我们也来玩玩。
先在components文件下再创建个component02.vue
<template>
  <div id="secondcomponent">
    <h1>我是第二个component </h1>
    <a>我的电话 {{ tel }} </a>
  </div>
</template>

<script>
    export default {
        data() {
            return {
                tel : '123456789'
            }
        }
    }
</script>
<template>
  <div id="app">
    <img src="./assets/logo.png">
    <h1>{{ message }} </h1>

    <ul>

      <li><router-link  to="/first" >第一页</router-link></li>
      <li><router-link  to="/second" >第二页</router-link></li>

    </ul>
    <router-view class="view"></router-view>
  </div>
</template>

<script>


export default {
  data () {
    return {
      message : 'hello!!!'
    }
  }
}
</script>

<style>
#app {
  font-family: 'Avenir', Helvetica, Arial, sans-serif;
  -webkit-font-smoothing: antialiased;
  -moz-osx-font-smoothing: grayscale;
  text-align: center;
  color: #2c3e50;
  margin-top: 60px;
}
</style>
// The Vue build version to load with the `import` command
// (runtime-only or standalone) has been set in webpack.base.conf with an alias.
import Vue from 'vue'
import App from './App'
import VueRouter from "vue-router"


import firstcomponent from './components/component01.vue'
import secondcomponent from './components/component02.vue'

Vue.use(VueRouter);

// 创建一个路由器实例
// 并且配置路由规则
const router = new VueRouter({
    mode: 'history',
    base: __dirname,
    routes: [{
            path: '/first',
            component: firstcomponent
        },
        {
            path: '/second',
            component: secondcomponent
        }
    ]
});

// 现在我们可以启动应用了!
// 路由器会创建一个 App 实例,并且挂载到选择符 #app 匹配的元素上。
const app = new Vue({
    router: router,
    render: h => h(App)
}).$mount('#app');

点击第一页就显示第一个component01.vue的内容,点击第二页就显示第二个component02.vue的内容。
这2个component的数据都是写死的,实际开发中很多场景是需要从后台获取数据的,使用jquery的人都知道$.ajax.
现在我们使用vue-resource进行动态数据加载。
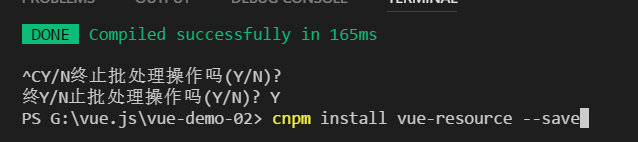
安装vue-resource
控制台先ctrl+c停止npm的运行,然后
cnpm install vue-resource --save
安装好了,package.json会看到依赖的东西
豆瓣那有个公开的接口https://api.douban.com/v2/movie/top250?count=10,服务端已经设置允许跨越请求的了。
写个component03.vue
<template>
  <div id="threecomponent">

    <h1 style="line-height: 36px; color: #20A0FF">豆瓣电影排行榜</h1>
    <ul>
        <li v-for="article in articles">
            {{ article.title }}<img  :src='article.casts[0].avatars.small ' />


        </li>
    </ul>

  </div>
</template>

<script>
    export default {
        data() {
            return {
                tel : '123456789',
                articles:[]
            }
        },
        mounted : function(){
            this.$http.jsonp('https://api.douban.com/v2/movie/top250?count=10', {}, {
                headers: {

                },
                emulateJSON: true
            }).then(function(response) {
            // 这里是处理正确的回调

                this.articles = response.data.subjects
                // this.articles = response.data["subjects"] 也可以

            }, function(response) {
                // 这里是处理错误的回调
                console.log(response)
            });
        }
    }
</script>
<ul>

      <li><router-link  to="/first" >第一页</router-link></li>
      <li><router-link  to="/second" >第二页</router-link></li>
     <li><router-link  to="/three" >豆瓣电影</router-link></li>
    </ul>
// The Vue build version to load with the `import` command
// (runtime-only or standalone) has been set in webpack.base.conf with an alias.
import Vue from 'vue'
import App from './App'
import VueRouter from "vue-router"
import VueResource from 'vue-resource'

import firstcomponent from './components/component01.vue'
import secondcomponent from './components/component02.vue'
import threecomponent from './components/component03.vue'

//开启debug模式
Vue.config.debug = true;

Vue.use(VueRouter);
Vue.use(VueResource);

// 创建一个路由器实例
// 并且配置路由规则
const router = new VueRouter({
    mode: 'history',
    base: __dirname,
    routes: [{
            path: '/first',
            component: firstcomponent
        },
        {
            path: '/second',
            component: secondcomponent
        },
        {
            path: '/three',
            component: threecomponent
        }
    ]
});

// 现在我们可以启动应用了!
// 路由器会创建一个 App 实例,并且挂载到选择符 #app 匹配的元素上。
const app = new Vue({
    router: router,
    render: h => h(App)
}).$mount('#app');
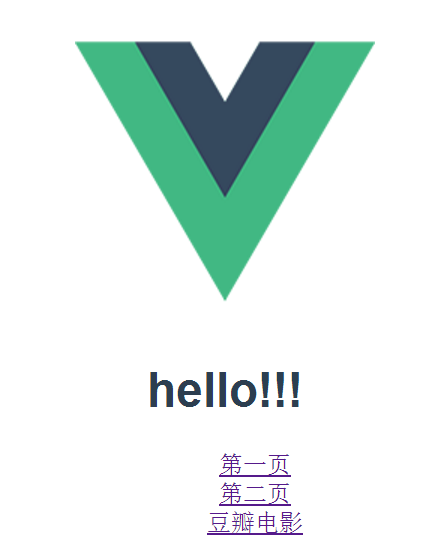
点击豆瓣电影

项目打包
命令: cnpm run build
会在项目的文件夹下生成个dist文件夹,里面的文件就是了,把他们复制到比如nginx下,配置好路径,就可以访问了。


 9430
9430

 被折叠的 条评论
为什么被折叠?
被折叠的 条评论
为什么被折叠?
 到【灌水乐园】发言


