


文章目录
目录
(一)官方下载
1.1. spring.io
https://spring.io/projects/spring-framework
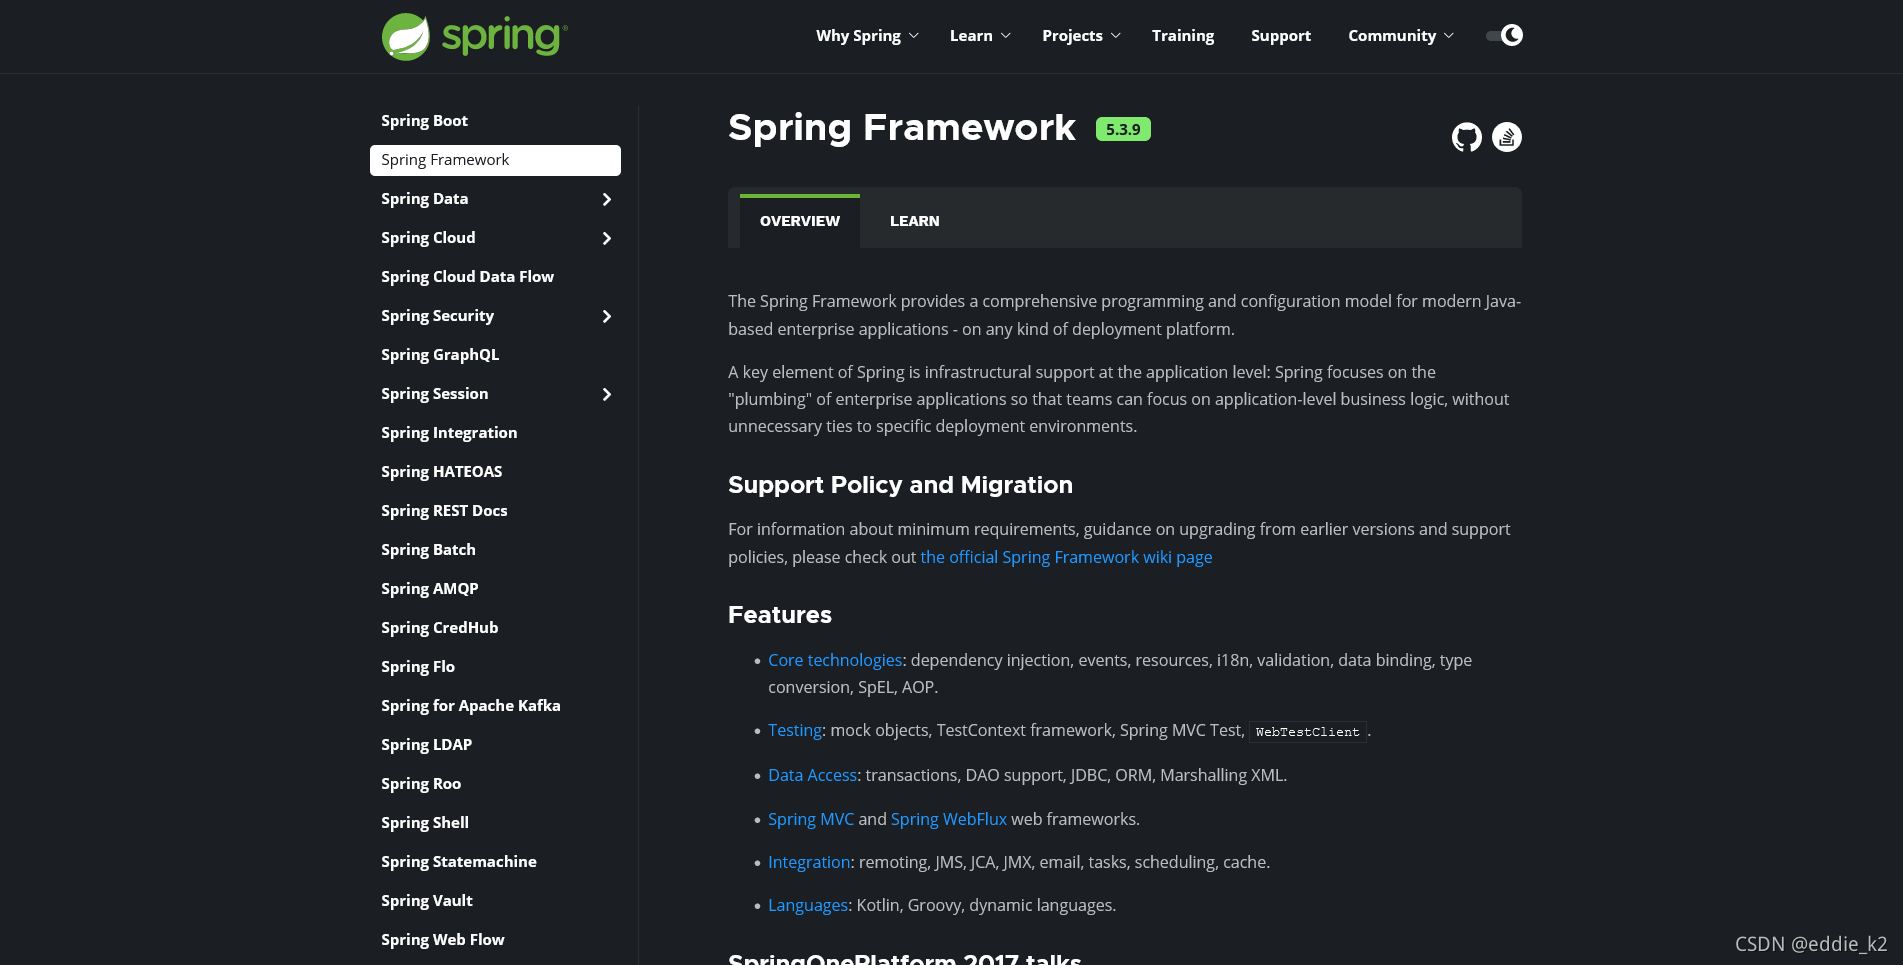
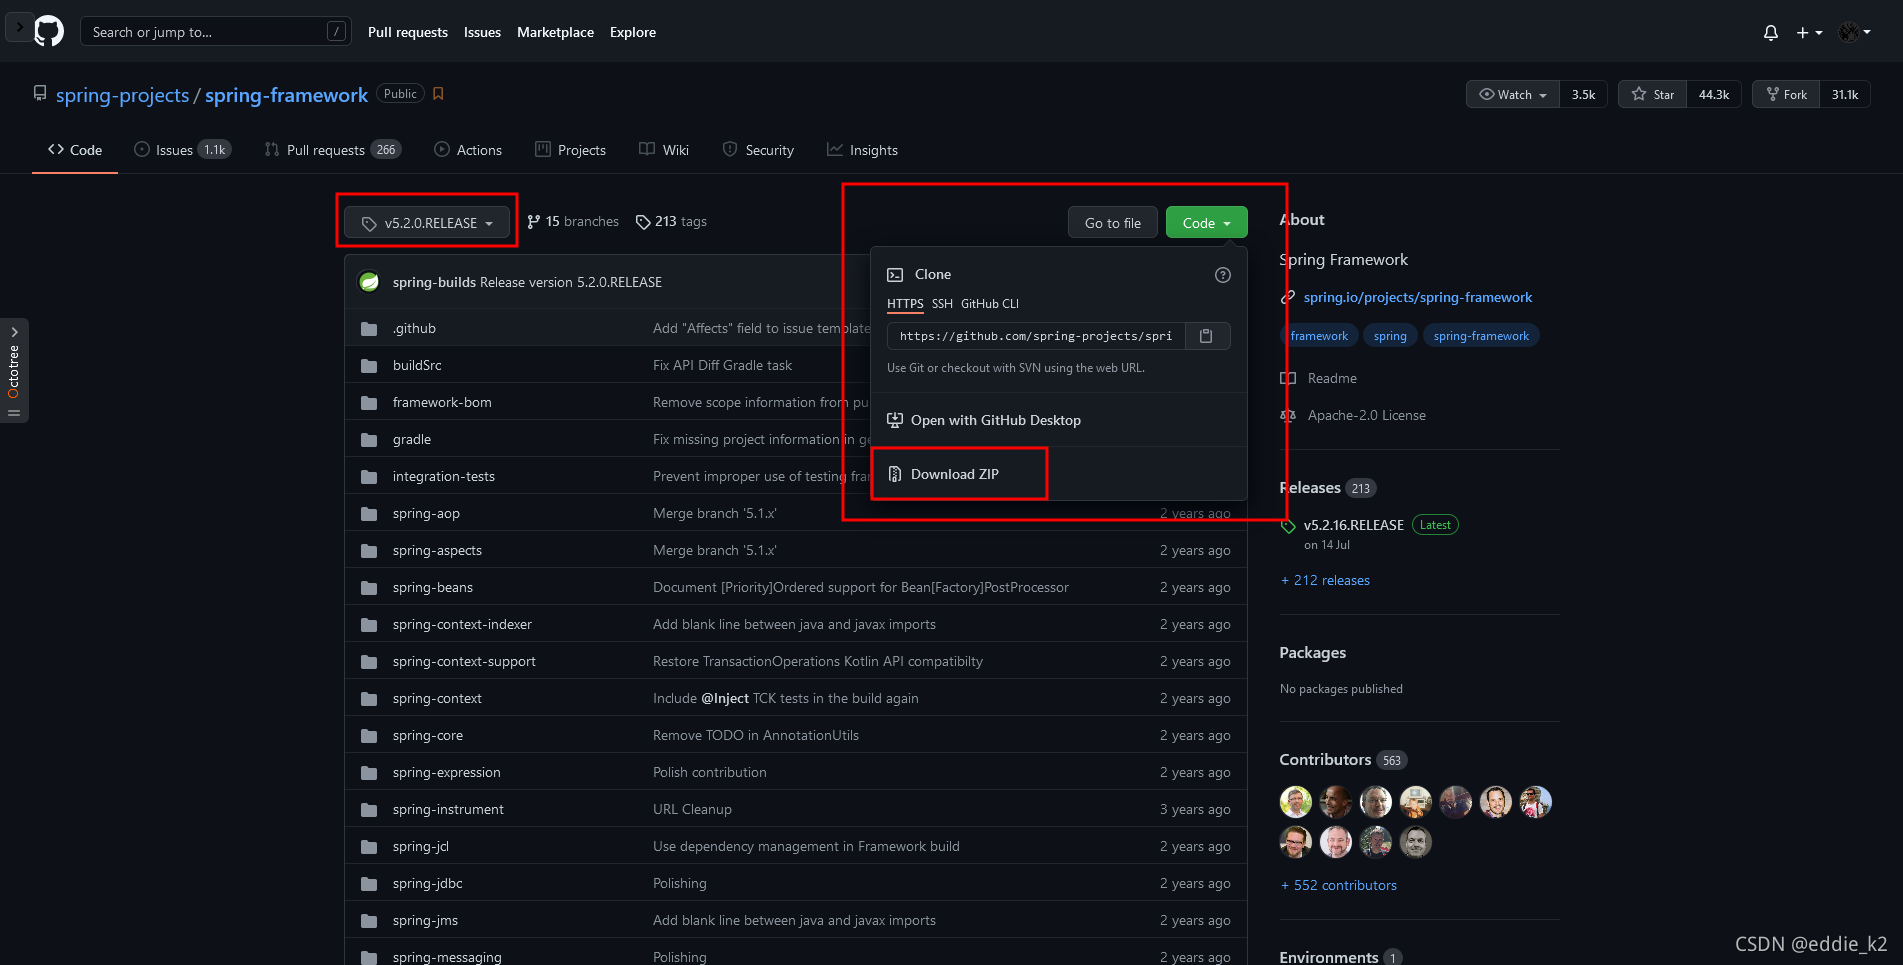
1.2 点击右上方 Github 图标 ,下载源码
https://github.com/spring-projects/spring-framework/tree/v5.2.0.RELEASE
(二)导入IDEA
2.1 准备 Gradle
下载地址:https://gradle.org/releases/
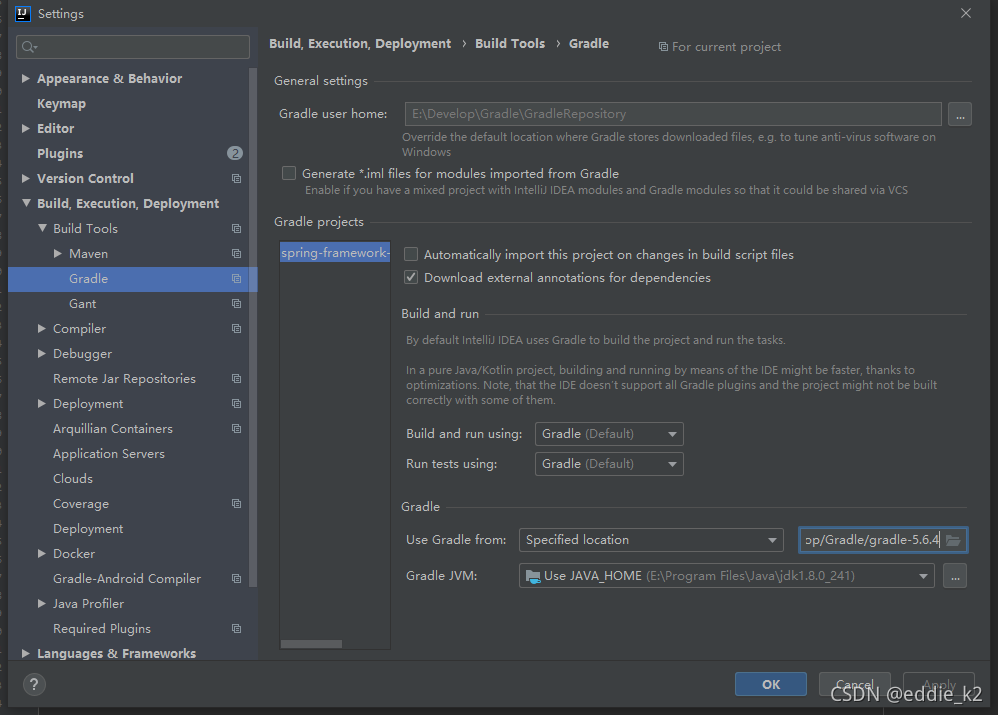
Gradle 版本低于 6
2.2 解压与导入
直接 import,类型选择 Gradle. 点击 Finish
参考网址:https://github.com/spring-projects/spring-framework/blob/main/import-into-idea.md
2.3 build.gradle 配置阿里云镜像加速
buildscript {
	repositories {
		maven { url 'https://maven.aliyun.com/nexus/content/groups/public/' }
		maven { url 'https://maven.aliyun.com/repository/jcenter' }
	}
	dependencies {
		classpath 'org.asciidoctor:asciidoctorj-pdf:1.5.0-alpha.16'
		classpath 'io.spring.asciidoctor:spring-asciidoctor-extensions:0.1.3.RELEASE'
	}
}
在 300 行也有 repositories 需要加入镜像加速
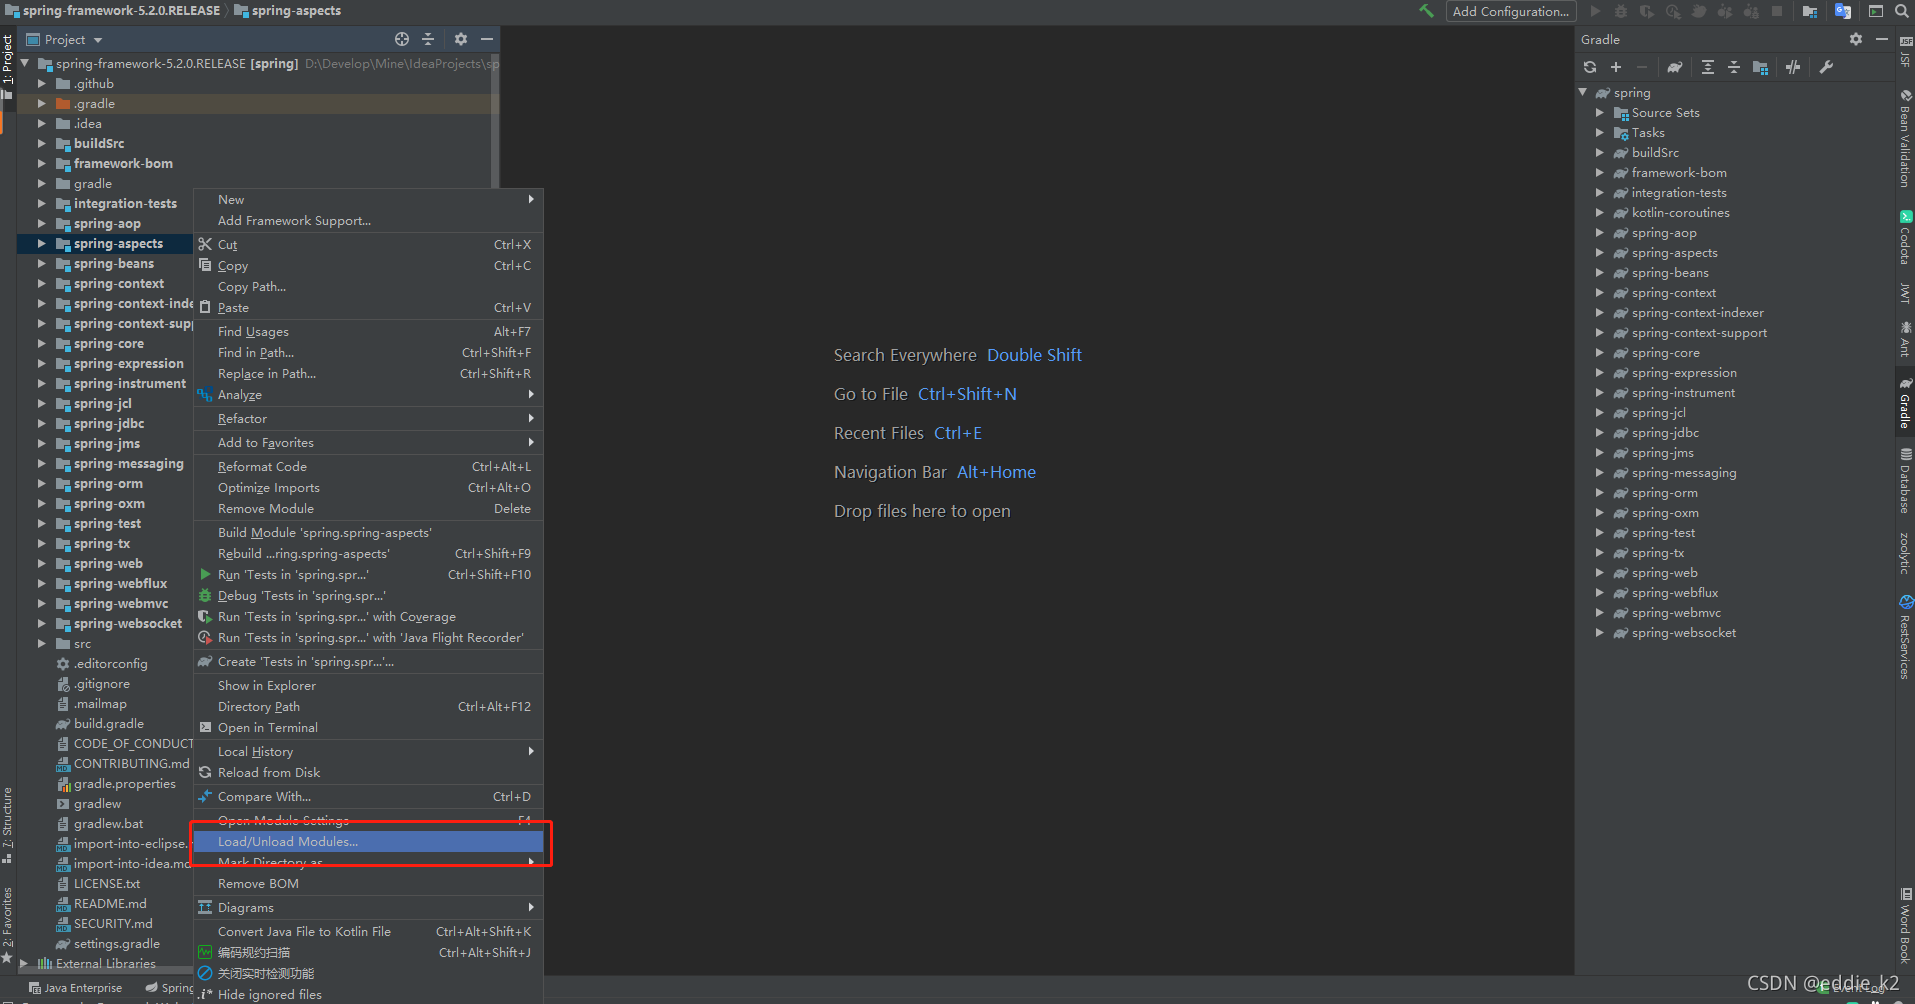
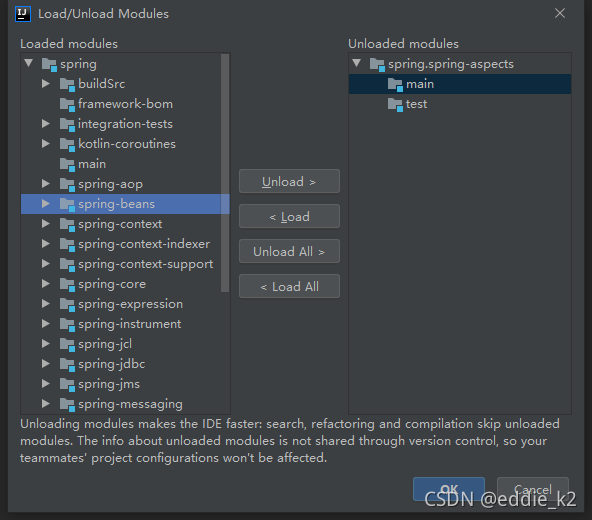
2.4 排除 spring-aspects
可惜的是aspects包在idea中不能完成编译,只能unload
(三)测试
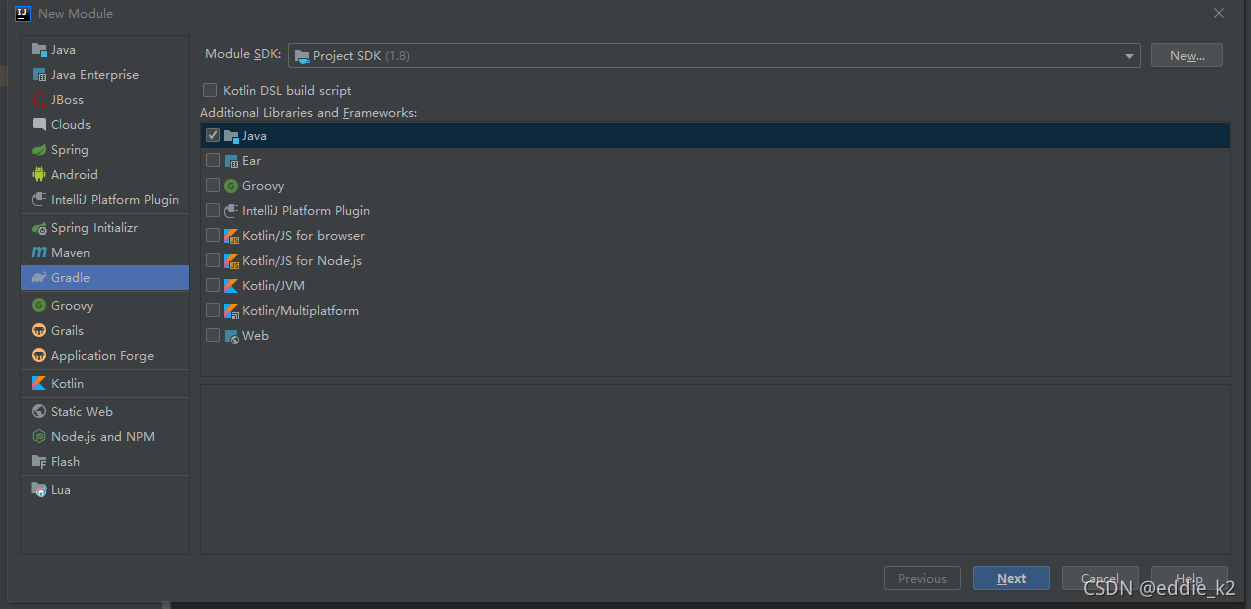
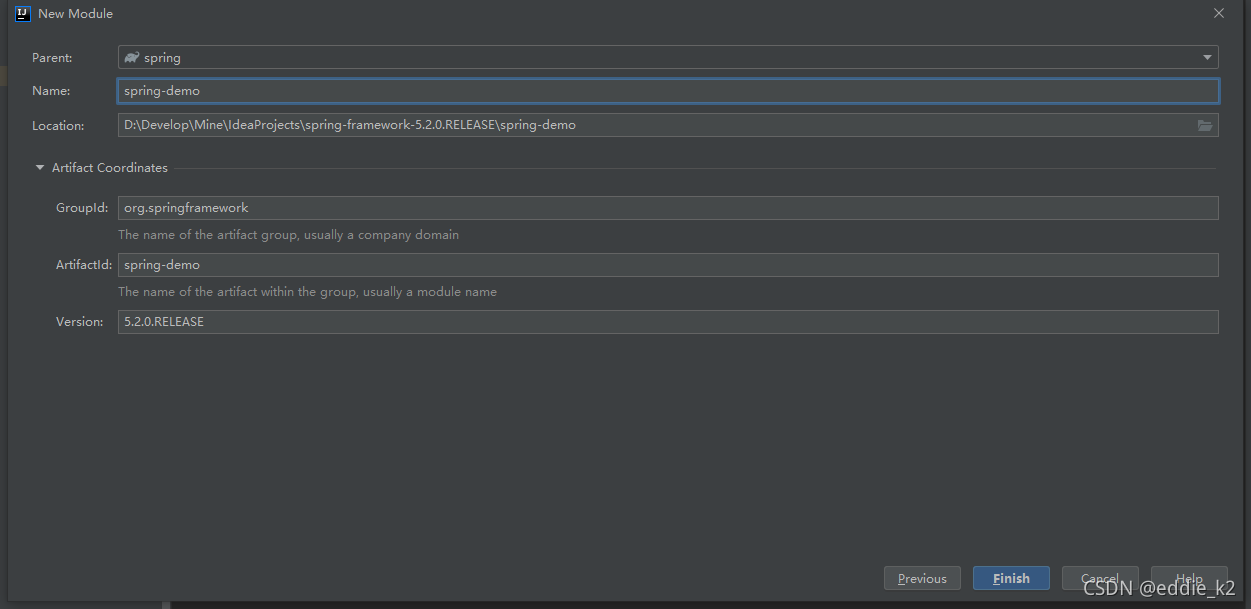
3.1 New Module
跟风吧~ 继续使用Gradle
3.2 引入 spring-context 项目
build.gradle
plugins {
    id 'java'
}

group 'org.springframework'
version '5.2.0.RELEASE'

sourceCompatibility = 1.8

repositories {
    mavenCentral()
}

dependencies {
//    this
    compile(project(":spring-context"))
    testCompile group: 'junit', name: 'junit', version: '4.12'
}
spring-context 包含了 spring-aop、spring-beans、spring-core 等 Spring核心
3.3 简单的测试返回
3.3.1 接口层
public interface HelloService {
	String sayHello(String name);
}
3.3.2 实现层
public class HelloServiceImpl implements HelloService {
	@Override
	public String sayHello(String name) {
		System.out.println("嗨~ " + name);
		return "success";
	}
}
3.3.3 spring-config.xml
<?xml version="1.0" encoding="UTF-8"?>
<beans xmlns="http://www.springframework.org/schema/beans"
	   xmlns:xsi="http://www.w3.org/2001/XMLSchema-instance"
	   xsi:schemaLocation="http://www.springframework.org/schema/beans
        https://www.springframework.org/schema/beans/spring-beans.xsd">

	<bean id="helloService" class="com.learn.service.impl.HelloServiceImpl"/>

</beans>
文件格式:https://docs.spring.io/spring-framework/docs/current/reference/html/core.html
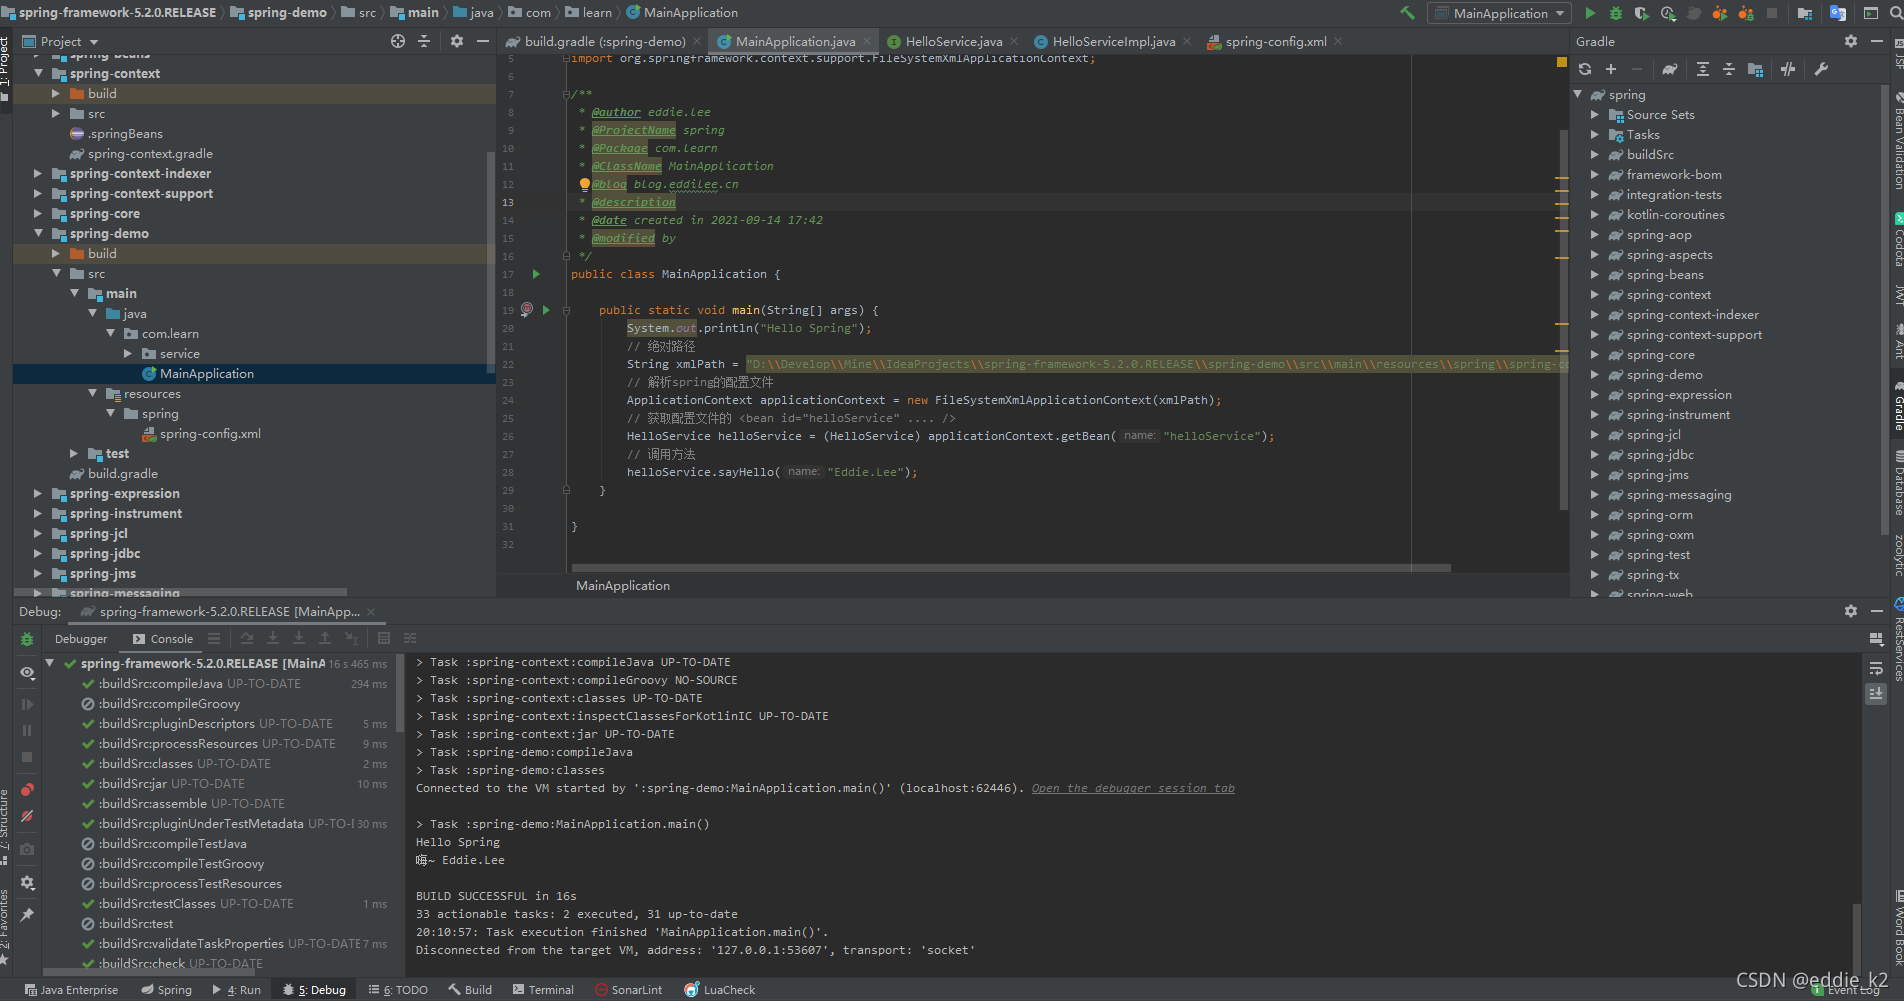
3.3.4 调用Main方法
public class MainApplication {

	public static void main(String[] args) {
		System.out.println("Hello Spring");
		// 绝对路径
		String xmlPath = "D:\\Develop\\Mine\\IdeaProjects\\spring-framework-5.2.0.RELEASE\\spring-demo\\src\\main\\resources\\spring\\spring-config.xml";
		// 解析spring的配置文件
		ApplicationContext applicationContext = new FileSystemXmlApplicationContext(xmlPath);
		// 获取配置文件的 <bean id="helloService" .... />
		HelloService helloService = (HelloService) applicationContext.getBean("helloService");
		// 调用方法
		helloService.sayHello("Eddie.Lee");
	}
}
本人是Windows, 如若 Mac 或 Linux 请使用对应的路径格式
IDEA结构图
(四)总结
- 创建 spring-demo 项目
- 定义了项目的依赖
- 定义了接口和 实现类
- 创建一个让Spring容器可以识别的xml容器
- 在里面定义了实现类的Bean
- 在Main方法引入FileSystemXmlApplicationContext类来解析 spring-config.xml 文件, 生成Spring IOC的实例
- 通过 getBean() 方法来获取获取 xml里面 id=“helloService” 对应的class实现类的实例
- 在调用 helloService里面的方法 sayHello(“Eddie.Lee”)


 578
578


 被折叠的 条评论
为什么被折叠?
被折叠的 条评论
为什么被折叠?
 到【灌水乐园】发言


