


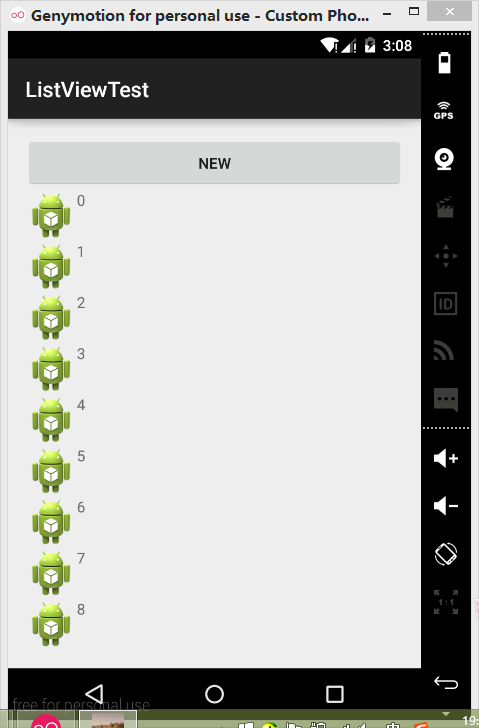
(一)在LinearLayout中定义一个listview和button:
若button在上,listview在下:
<LinearLayout xmlns:android="http://schemas.android.com/apk/res/android"
    xmlns:tools="http://schemas.android.com/tools"
    android:layout_width="match_parent"
    android:layout_height="match_parent"
    android:orientation="vertical"
    android:paddingBottom="@dimen/activity_vertical_margin"
    android:paddingLeft="@dimen/activity_horizontal_margin"
    android:paddingRight="@dimen/activity_horizontal_margin"
    android:paddingTop="@dimen/activity_vertical_margin"
    tools:context="com.example.listviewtest.MainActivity" >
  <Button
        android:id="@+id/button"
        android:layout_width="match_parent"
        android:layout_height="50dp"
        android:text="new"
        />
    <ListView
        android:id="@+id/list"
        android:layout_width="match_parent"
        android:layout_height="wrap_content"
        android:divider="@android:color/darker_gray"
        android:scrollbars="none" >
    </ListView>
</LinearLayout>
效果为下:
如果是listview在上,button在下(有可能遇到异常,先clear project再次运行):
<LinearLayout xmlns:android="http://schemas.android.com/apk/res/android"
    xmlns:tools="http://schemas.android.com/tools"
    android:layout_width="match_parent"
    android:layout_height="match_parent"
    android:orientation="vertical"
    android:paddingBottom="@dimen/activity_vertical_margin"
    android:paddingLeft="@dimen/activity_horizontal_margin"
    android:paddingRight="@dimen/activity_horizontal_margin"
    android:paddingTop="@dimen/activity_vertical_margin"
    tools:context="com.example.listviewtest.MainActivity" >
    <ListView
        android:id="@+id/list"
        android:layout_width="match_parent"
        android:layout_height="wrap_content"
        android:divider="@android:color/darker_gray"
        android:scrollbars="none" >
    </ListView>
     <Button
        android:id="@+id/button"
        android:layout_width="match_parent"
        android:layout_height="50dp"
        android:text="new"
        />
</LinearLayout>
效果如下:
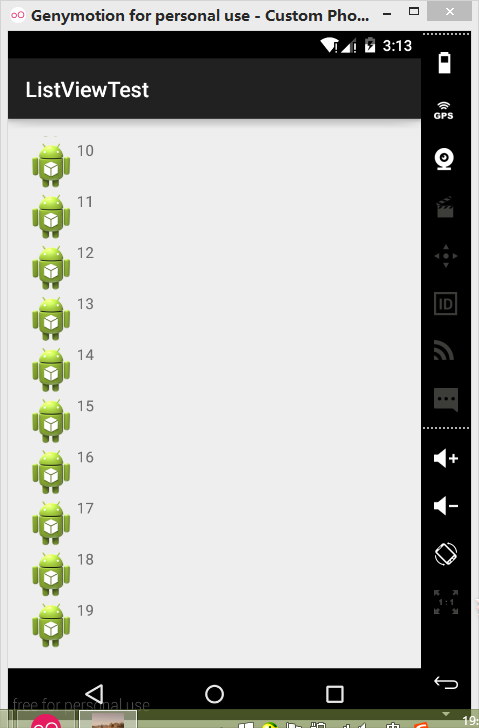
结果可以看到,button并没有显示出来,解决方法是用RelativeLayout
<RelativeLayout xmlns:android="http://schemas.android.com/apk/res/android"
    xmlns:tools="http://schemas.android.com/tools"
    android:layout_width="match_parent"
    android:layout_height="match_parent"
    android:orientation="vertical"
    android:paddingBottom="@dimen/activity_vertical_margin"
    android:paddingLeft="@dimen/activity_horizontal_margin"
    android:paddingRight="@dimen/activity_horizontal_margin"
    android:paddingTop="@dimen/activity_vertical_margin"
    tools:context="com.example.listviewtest.MainActivity" >
    <ListView
        android:id="@+id/list"
        android:layout_width="match_parent"
        android:layout_height="wrap_content"
        android:divider="@android:color/darker_gray"
        android:scrollbars="none" >
    </ListView>
     <Button
        android:id="@+id/button"
        android:layout_width="match_parent"
        android:layout_height="50dp"
        android:text="new"
       android:layout_alignParentBottom="true" />
</RelativeLayout>
结果为:
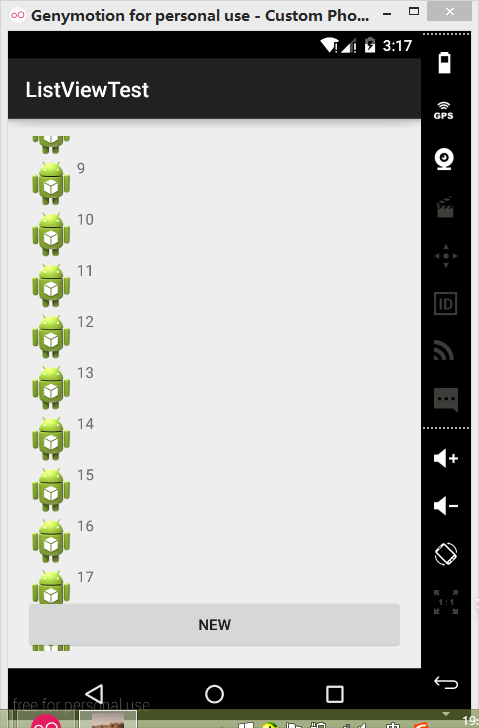
注意加上layout_alignParentBotton = “true”
button正常显示了,不过button是悬在最下面的位置上的
而button在listview上面也可以用RelativeLayout来实现,这里就不展示了
最后,如果遇到运行时异常,可以尝试clear project后再次运行。


 1087
1087


 被折叠的 条评论
为什么被折叠?
被折叠的 条评论
为什么被折叠?
 到【灌水乐园】发言


