


2018.4.20
仅为个人理解 不足之处欢迎指正~
本文涉及知识点:
1.Maven项目的搭建:
由于Maven有更加细致和专业的划分
也因为这个项目开始需要用到的jar包越来越多
所以打算从这篇文章开始之后的项目都用Maven搭建
Maven相关知识的学习请自行百度 以后可能会专门写一篇介绍Maven的博客(?)
2.这个项目开始使用注解方式进行装配
相关内容请查看Spring学习记录(四)——Bean的注解装配
@Controller @Service之类对于Bean的详细分类还没有提到
将在以后逐渐补充
3.本项目采用了较为细致的层次结构
这种分类方式对于这个小项目来说显得有些臃肿
但是我认为比较便于理解各组件的作用
1.开始创建Maven Web项目
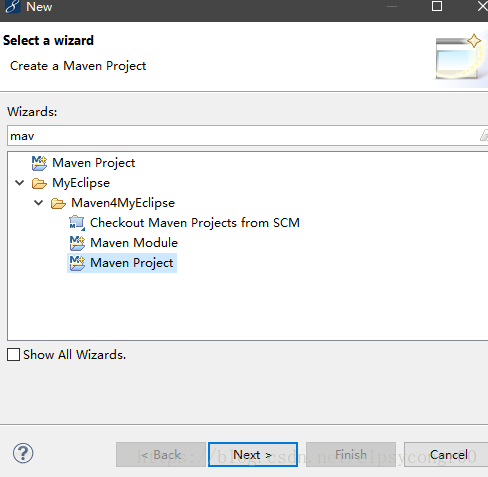
选择Maven Project
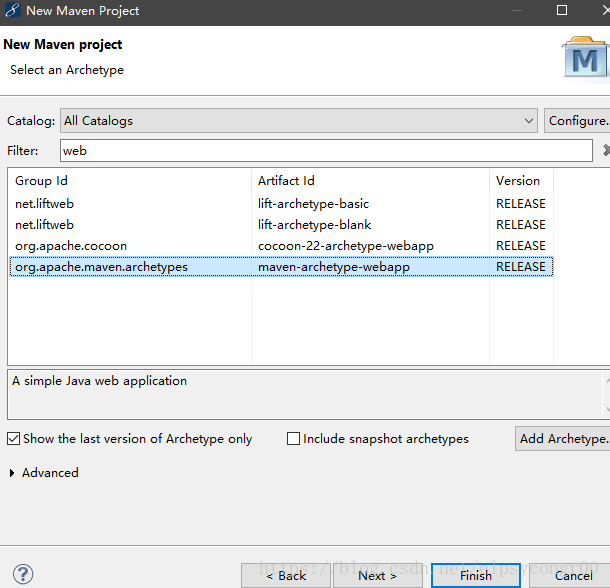
选择mavenwebapp
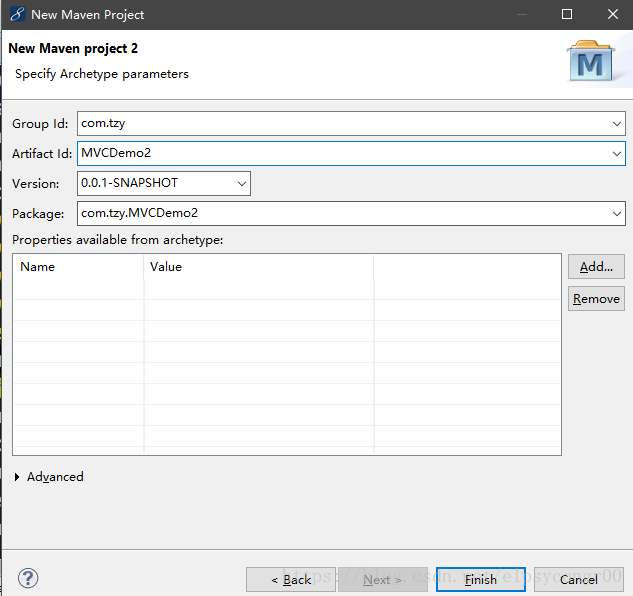
项目创建完成 初始状态如下:

2.更改pom.xml与项目配置
<project xmlns="http://maven.apache.org/POM/4.0.0" xmlns:xsi="http://www.w3.org/2001/XMLSchema-instance"
  xsi:schemaLocation="http://maven.apache.org/POM/4.0.0 http://maven.apache.org/maven-v4_0_0.xsd">
  <modelVersion>4.0.0</modelVersion>
  <groupId>com.tzy</groupId>
  <artifactId>MVCDemo2</artifactId>
  <packaging>war</packaging>
  <version>0.0.1-SNAPSHOT</version>
  <name>MVCDemo1 Maven Webapp</name>
  <url>http://maven.apache.org</url>
  <properties>
      <spring.version>4.3.0.RELEASE</spring.version>
  </properties>
  <dependencies>
    <dependency>
      <groupId>junit</groupId>
      <artifactId>junit</artifactId>
      <version>3.8.1</version>
      <scope>test</scope>
    </dependency>
    <dependency>
        <groupId>org.springframework</groupId>
        <artifactId>spring-core</artifactId>
        <version>${spring.version}</version>
    </dependency>
    <dependency>
        <groupId>org.springframework</groupId>
        <artifactId>spring-web</artifactId>
        <version>${spring.version}</version>
    </dependency>
    <dependency>
        <groupId>org.springframework</groupId>
        <artifactId>spring-webmvc</artifactId>
        <version>${spring.version}</version>
    </dependency>


    <dependency>
        <groupId>javax.servlet</groupId>
        <artifactId>javax.servlet-api</artifactId>
        <version>3.1.0</version>
    </dependency>
  </dependencies>
  <build>
    <plugins>
<plugin>
<groupId>org.apache.maven.plugins</groupId>
<artifactId>maven-compiler-plugin</artifactId>
<configuration>
<source>1.7</source>
<target>1.7</target>
</configuration>
</plugin>
</plugins>
    <finalName>TestMaven2</finalName>
  </build>
</project>
在这里添加了需要的包
并且修改了JDK版本为1.7
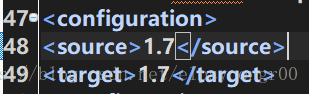
jdk版本不能低于1.6 实际按照自己配置的jdk版本进行修改
修改完成后一定要使用Maven的update project
如果包下载太慢可以将Maven配置中的服务器改为阿里云的
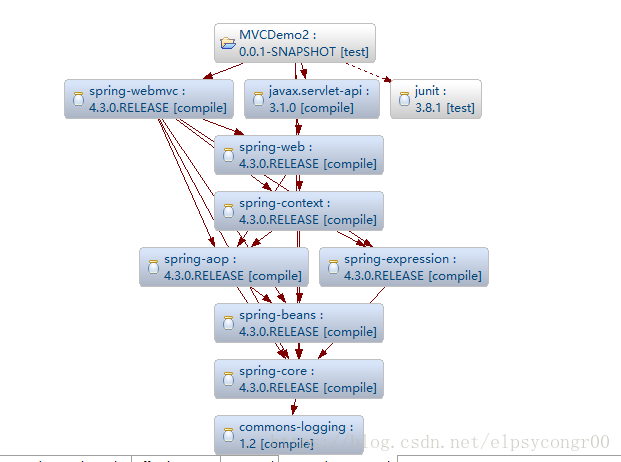
可以看到导入了这些包:
此时进行web版本的修改:
右键项目名——Properties
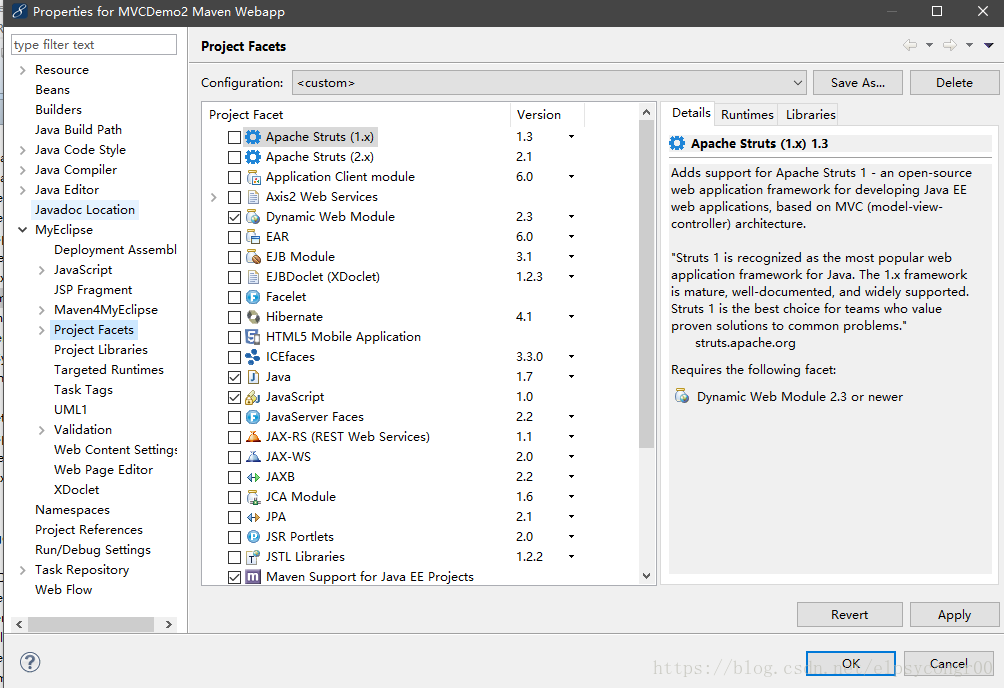
将Dynamic Web Module修改为3.1

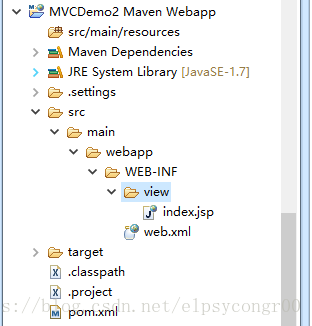
3.建立项目结构
1.在src---main---webapp---WEB-INF下建立view文件夹 用来存储jsp页面
可以将自动生成的index.jsp移入文件夹 不过后续还会对index进行修改
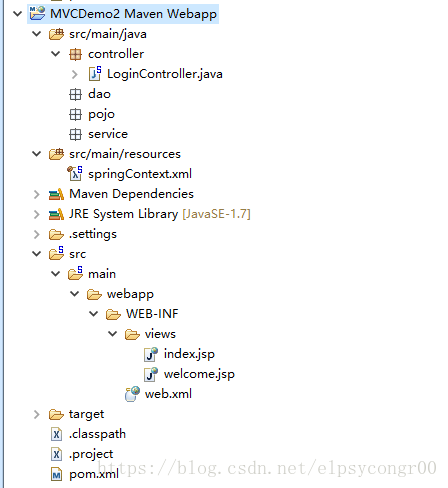
2.建立如下结构:
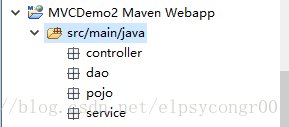
本项目并不会完全使用这些包 后续会解释
4.完善各组件
1.在controller包下新建LoginController.java
package controller;

import org.springframework.stereotype.Controller;
import org.springframework.web.bind.annotation.RequestMapping;
import org.springframework.web.bind.annotation.RequestParam;
import org.springframework.web.servlet.ModelAndView;
@Controller
public class LoginController {
    @RequestMapping("/Login")
     public ModelAndView login
     (@RequestParam("username") String userName,
       @RequestParam("password") String passWord)
    {
            ModelAndView mv = new ModelAndView("welcome");
            mv.addObject("name", userName);
            return mv;
      }
}
其中:

表示这是一个Controller组件 并将这个类装配 这样不用再在spring中用bean id配置了

表示接收到/Login指令时 交由这个控制器来处理

这两个@RequestParam是浏览器传入的值
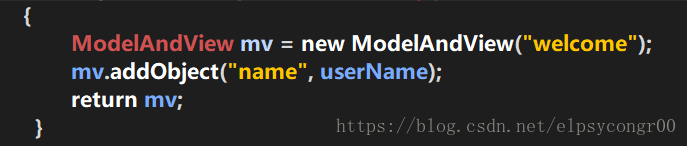
表示返回welcome指令 在后续加上后缀会跳转到welcome.jsp
并返回输入的用户名
2.在src/main/resources下创建springContext.xml 即spring配置文件
<?xml version="1.0" encoding="UTF-8"?>
<beans xmlns="http://www.springframework.org/schema/beans"
    xmlns:context="http://www.springframework.org/schema/context"
    xmlns:xsi="http://www.w3.org/2001/XMLSchema-instance"
    xsi:schemaLocation="
http://www.springframework.org/schema/beans
http://www.springframework.org/schema/beans/spring-beans-3.0.xsd
http://www.springframework.org/schema/context
http://www.springframework.org/schema/context/spring-context-3.0.xsd">
    <!-- spring扫描 -->
    <context:component-scan base-package="controller" />
    <!-- 视图页面配置 -->
    <bean class="org.springframework.web.servlet.view.InternalResourceViewResolver">
     <property name="prefix" value="/WEB-INF/views/" />
        <property name="suffix" value=".jsp" />
    </bean>
</beans>
表示在返回的指令加上前缀/WEB-INF/views
和在返回的指令加上后缀.jsp 用来实现页面的跳转
3.配置web.xml
<?xml version="1.0" encoding="UTF-8"?>
<web-app xmlns:xsi="http://www.w3.org/2001/XMLSchema-instance"
xmlns="http://xmlns.jcp.org/xml/ns/javaee"
xsi:schemaLocation="http://xmlns.jcp.org/xml/ns/javaee
http://xmlns.jcp.org/xml/ns/javaee/web-app_3_1.xsd" id="WebApp_ID" version="3.1">
  <display-name>MVCDemo2</display-name>
    <welcome-file-list>
    <welcome-file>/WEB-INF/views/index.jsp</welcome-file>
  </welcome-file-list>
  <servlet>
      <servlet-name>dispatcher</servlet-name>
      <servlet-class>org.springframework.web.servlet.DispatcherServlet</servlet-class>
          <init-param>
             <param-name>contextConfigLocation</param-name>
          <param-value>classpath:springContext.xml</param-value>
      </init-param>
      <load-on-startup>1</load-on-startup>
  </servlet>
  <servlet-mapping>
      <servlet-name>dispatcher</servlet-name>
      <url-pattern>/</url-pattern>
  </servlet-mapping>
  <context-param>
      <param-name>contextConfigLocation</param-name>
      <param-value>classpath:springContext.xml</param-value>
  </context-param>
  <listener>
      <listener-class>org.springframework.web.context.ContextLoaderListener</listener-class>
  </listener>
</web-app>
这部分基本上上一篇文章都有解释 这里不再提了
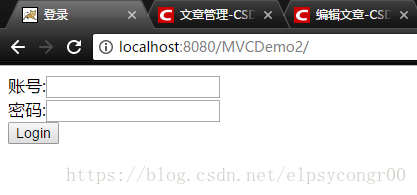
4.建立views下的jsp界面
index.jsp
<%@ page language="java" contentType="text/html; charset=UTF-8"
pageEncoding="UTF-8"%>
<!DOCTYPE html PUBLIC "-//W3C//DTD HTML 4.01 Transitional//EN" "http://www.w3.org/TR/html4/loose.dtd">
<html>
<head>
<meta http-equiv="Content-Type" content="text/html; charset=UTF-8">
<title>登录</title>
</head>
<body>
<form action="Login" method="post">
<div>
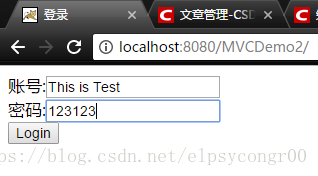
账号:<input type="text" name="username"/><br/>
密码:<input type="text" name="password"/><br/>
<input type="submit" value="Login"/>
</div>
</form>
</body>
</html>
action名需要与@RequestMapping中的配对
welcome.jsp
<%@ page language="java" contentType="text/html; charset=UTF-8"
pageEncoding="UTF-8"%>
<!DOCTYPE html PUBLIC "-//W3C//DTD HTML 4.01 Transitional//EN" "http://www.w3.org/TR/html4/loose.dtd">
<html>
<head>
<meta http-equiv="Content-Type" content="text/html; charset=UTF-8">
<title>欢迎</title>
</head>
<body>
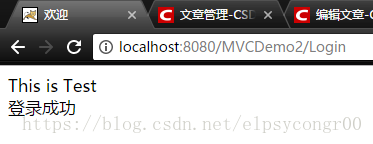
${name} <br>登录成功
</body>
</html>5.运行
先Maven install:
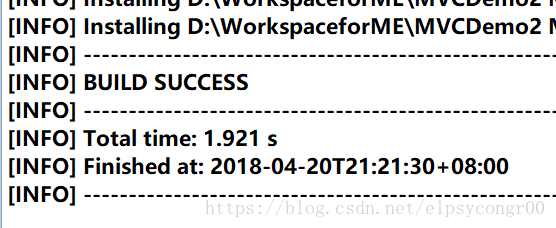
然后发布至tomcat
最终项目结构:
总结:
这个项目仅仅实现的是虚拟的登录
同时Dao Service pojo等包都没有用上 这些包以后会起到作用
接下来实现与Mybatis整合进行需要验证密码的登录注册
后续再添加一些其他功能 最终完成一个较为完整的SSM小项目
谢谢~


 8123
8123


 被折叠的 条评论
为什么被折叠?
被折叠的 条评论
为什么被折叠?
 到【灌水乐园】发言


