


一、Zend Framework 2 安装环境要求
Apache:
1、打开 mod_rewrite 支持

    (1)打开 httpd.conf 文件

    (2)找到 #LoadModule rewrite_module modules/mod_rewrite.so 这一行

    (3)把这行左侧第一个字符(#)删除

    (4)保存修改后的 httpd.conf 文件并重启 Apache

2、支持 .htaccess 文件

    要支持 .htaccess 文件有两种方法

    下面的操作假设 ZF2 开发项目保存在 e:\Web\zf2working\ 目录下

    方法一:直接修改 httpd.conf 文件

        (1)、打开 httpd.conf 文件

        (2)、找到 <Directory "e:/Web/zf2working"> 段,如果没有可以全新手动添加

        (3)、添加 AllowOverride All 或者将原有的 AllowOverride None 修改成 AllowOverride All

        (4)、保存修改后的 httpd.conf 文件并重启 Apache

    方法二:在 httpd-vhosts.conf 文件中修改

        (1)打开 httpd-vhosts.conf 文件,该文件一般在“Apache安装路径/conf/extra/”目录下

        (2)在文件底部手动添加以下信息

            <VirtualHost *:80>
                DocumentRoot "E:/Web/ZF2Working/zf2-tutorial/public"
                ServerName zf2-tutorial.localhost
                # This should be omitted in the production environment
                SetEnv APPLICATION_ENV development
                <Directory "E:/Web/ZF2Working/zf2-tutorial/public">
                    DirectoryIndex index.php
                    AllowOverride All
                    Order allow,deny
                    Allow from all
                </Directory>
            </VirtualHost>

        以上代码详细说明将在后面ZF2环境配置中详细介绍,这里只要注意加粗部分就可以了。

        (3)保存修改后的 httpd-vhosts.conf 文件并重启 Apache
PHP:
1、版本要在 5.3.x 以上(包含 5.3.x)

由于 ZF2 采用了 PHP5.3+ 中很多的特性和函数,例如:namespaces, late static binding, lambda functions and closures 所以要求 PHP 版本必须为 5.3 以上(含 5.3)

2、打开 openssl 支持(可选)

这个要说一下,在接下来的安装过程中会介绍两种安装方式:(1)在线安装;(2)手动安装,如果采用“在线安装”那么 openssl 需要打开,不然安装会失败,如果是“手动安装”openssl 开不开就无所谓了。

    (1)打开 php.ini 文件

    (2)找到 ;extension=php_openssl.dll这一行

    (3)将这行左侧第一个字符(;)去掉

    (4)保存修改过的 php.ini 文件并重启 Apache

3、打开 PDO MySQL 数据库支持(可选)

PHP默认是打开了 Sqlite 支持的,如果需要使用到 MySQL 就需要打开 PDO 的 MySQL 数据库支持

    (1)打开 php.ini 文件

    (2)找到 ;extension=php_pdo_mysql.dll这一行

    (3)将这行左侧第一个字符(;)去掉

    (4)保存修改过的 php.ini 文件并重启 Apache
MySQL:
没有特别需求,如果项目不牵涉到数据库,MySQL 甚至可以不装。也可以根据项目要求使用其它的数据库,例如:Sqlite 等。
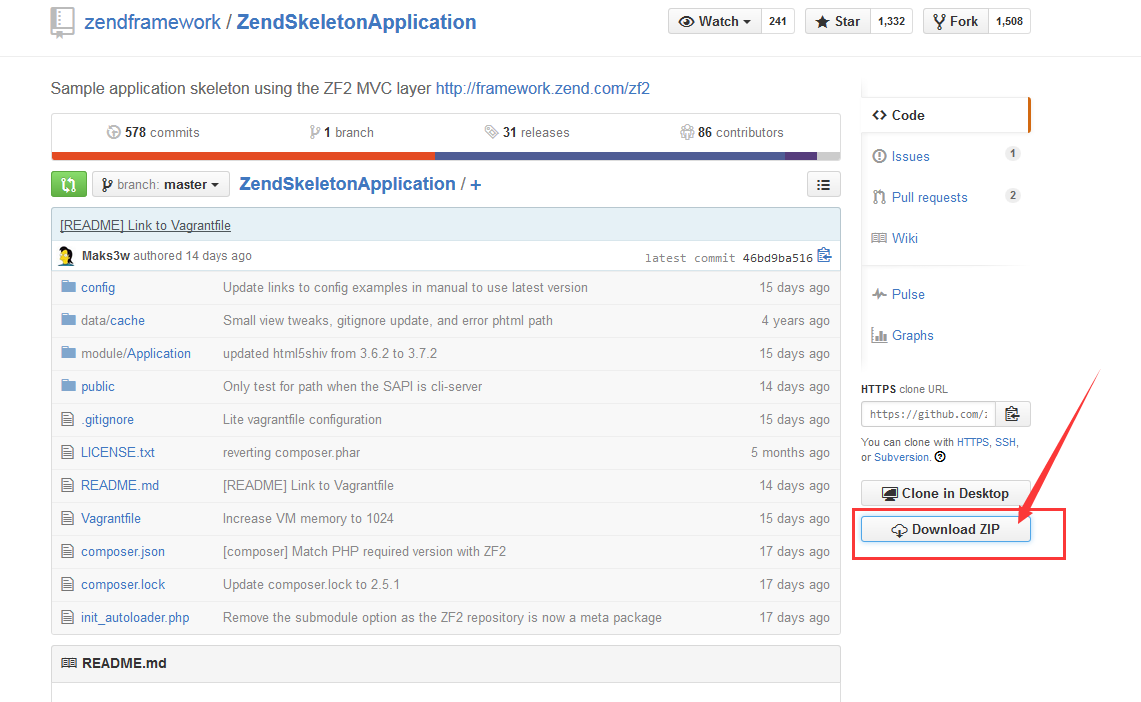
1.直接去https://github.com/zendframework/ZendSkeletonApplication下载项目文件
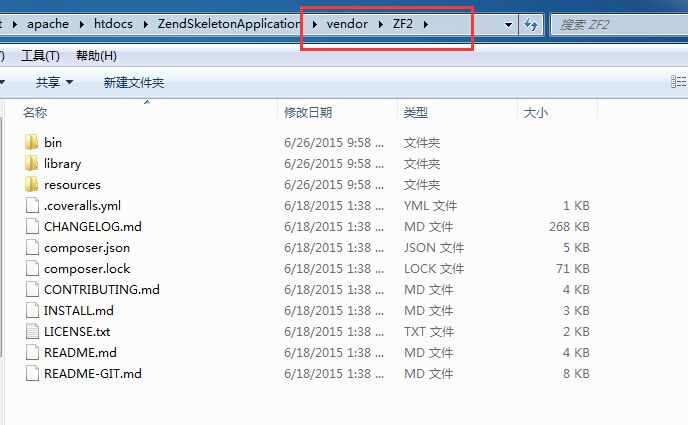
2.创建vendor文件,存放库文件

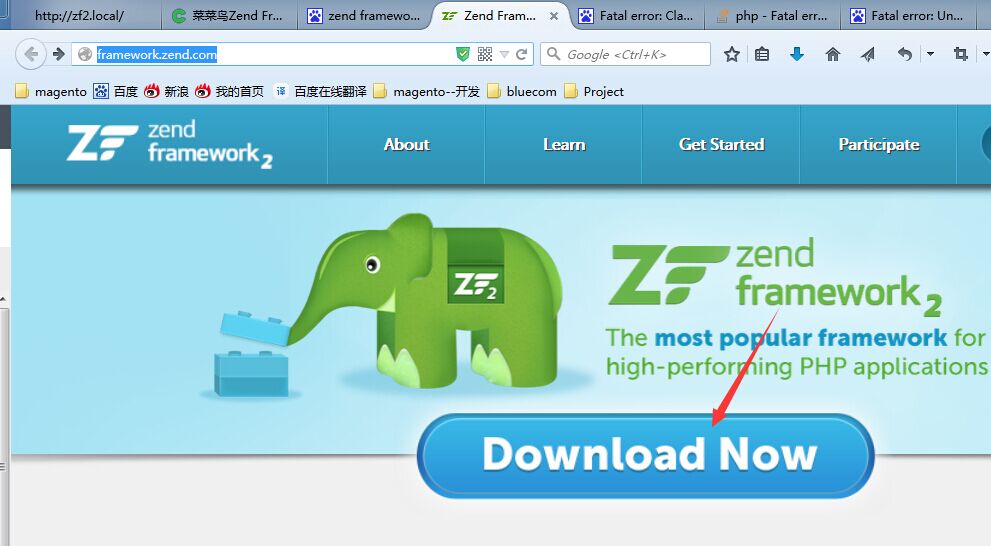
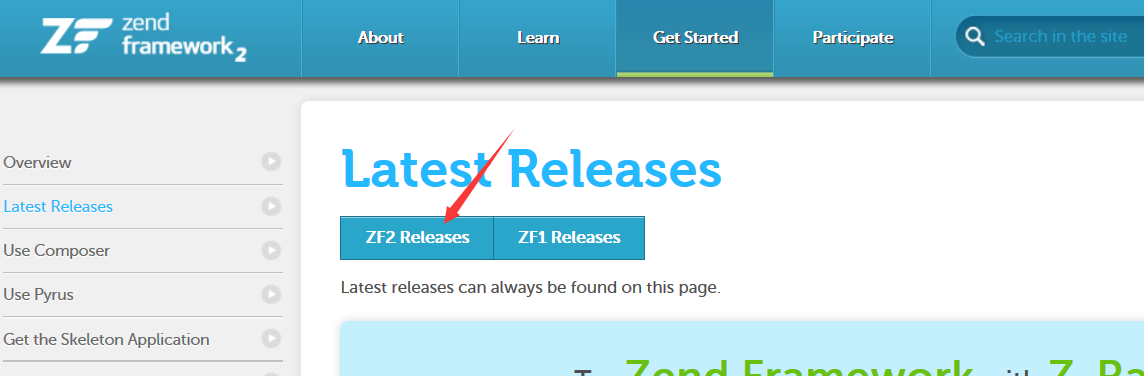
3.去官网http://framework.zend.com/下载库文件
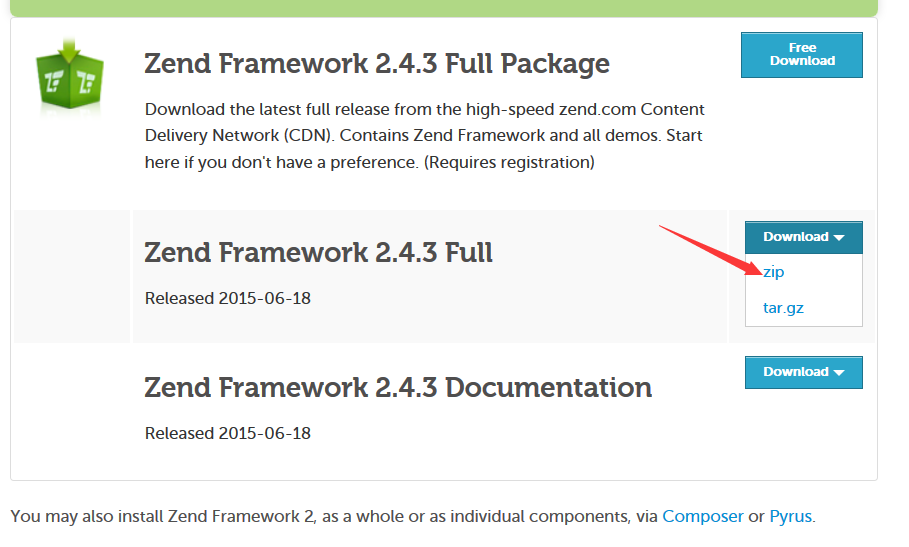
4.解压ZendFramework-2.4.3.zip,并放入vendor/ZF2中
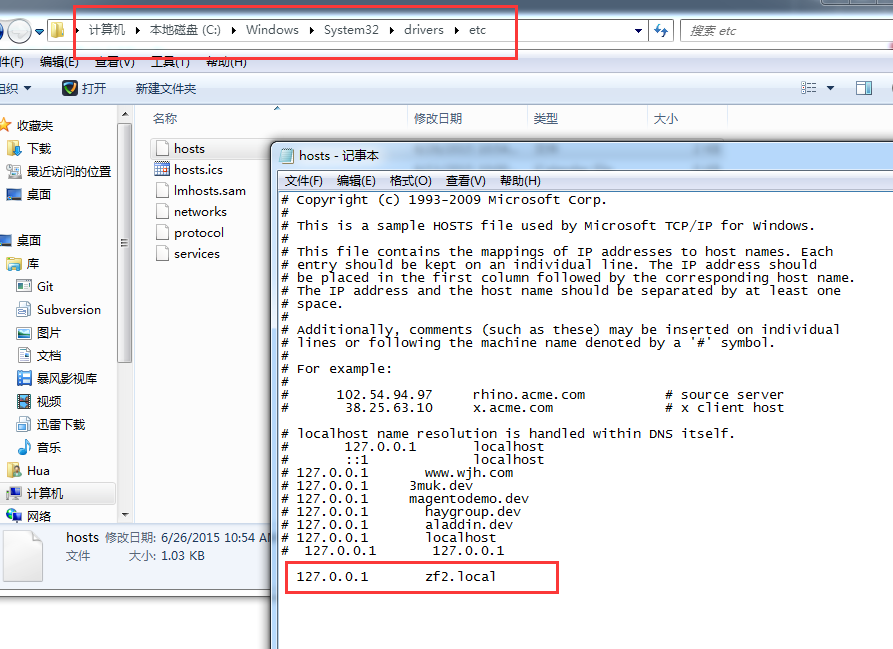
5.配置hosts文件
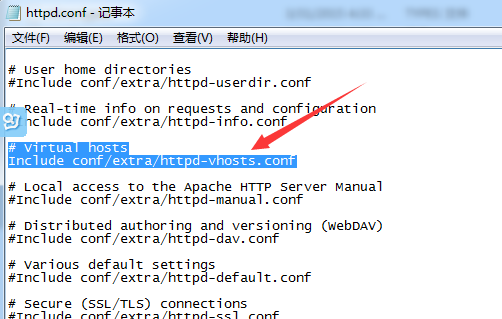
6.配置虚拟主机
httpd.conf
httpd-vhosts.conf
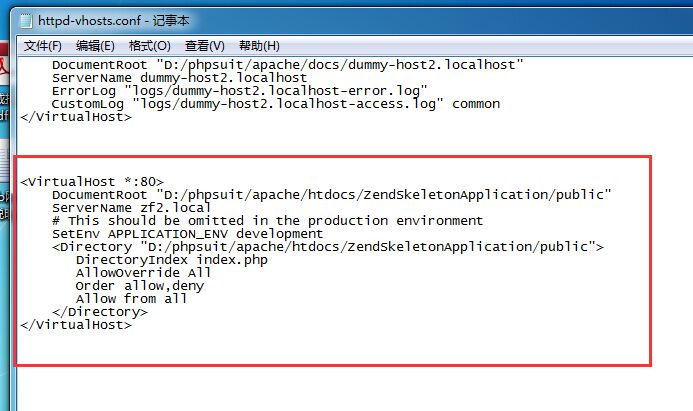
<VirtualHost *:80>
DocumentRoot "D:/phpsuit/apache/htdocs/ZendSkeletonApplication/public"
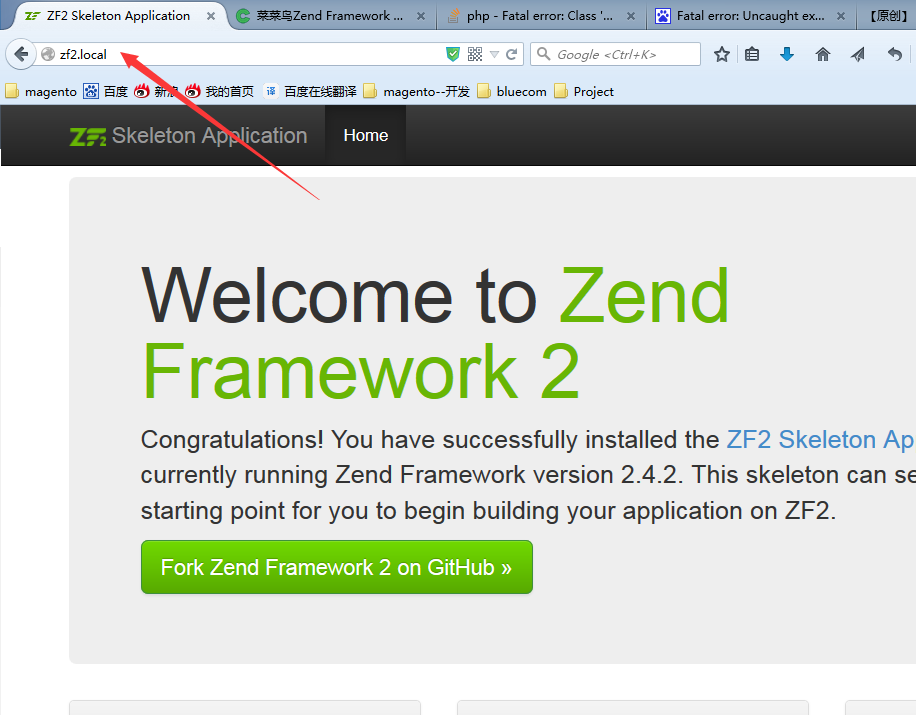
ServerName zf2.local
# This should be omitted in the production environment
SetEnv APPLICATION_ENV development
<Directory "D:/phpsuit/apache/htdocs/ZendSkeletonApplication/public">
DirectoryIndex index.php
AllowOverride All
Order allow,deny
Allow from all
</Directory>
</VirtualHost>
7. 注意:

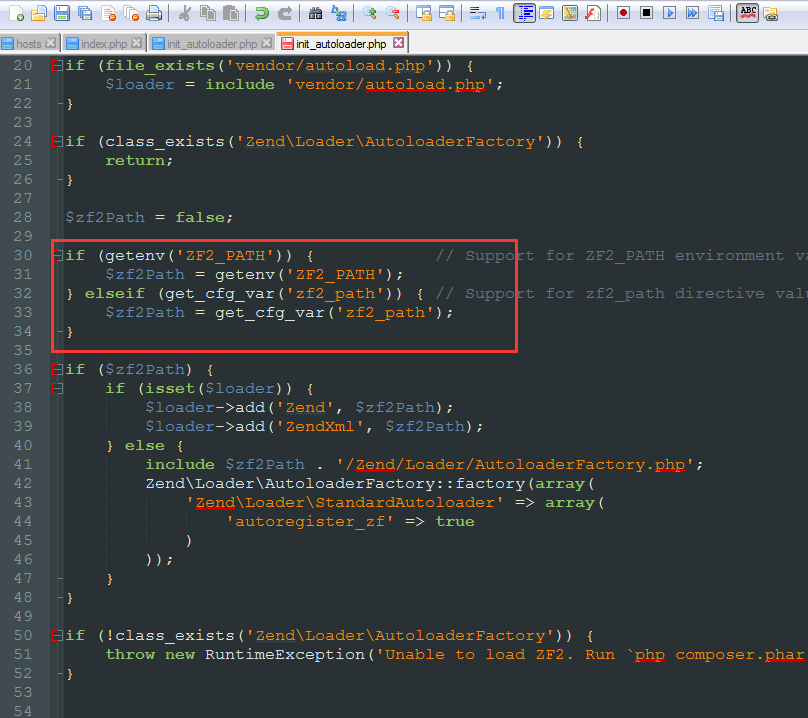
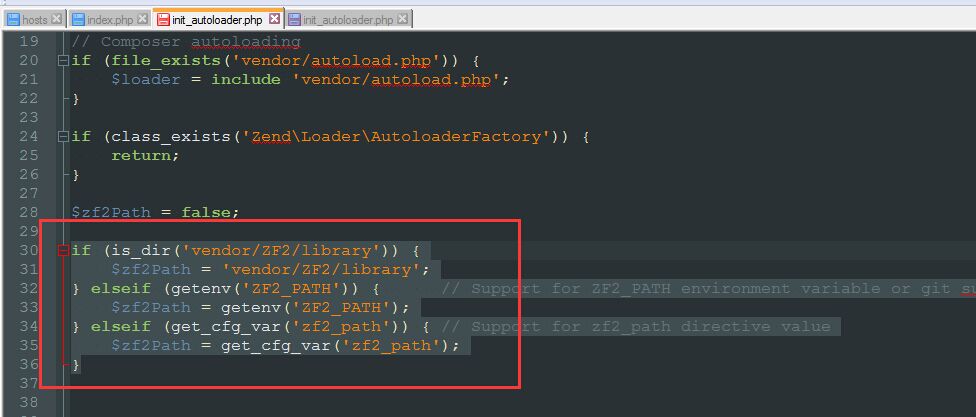
如果出现上面错误,则:
if (is_dir('vendor/ZF2/library')) {
    $zf2Path = 'vendor/ZF2/library';
} elseif (getenv('ZF2_PATH')) {      // Support for ZF2_PATH environment variable or git submodule
    $zf2Path = getenv('ZF2_PATH');
} elseif (get_cfg_var('zf2_path')) { // Support for zf2_path directive value
    $zf2Path = get_cfg_var('zf2_path');
}
8.完成
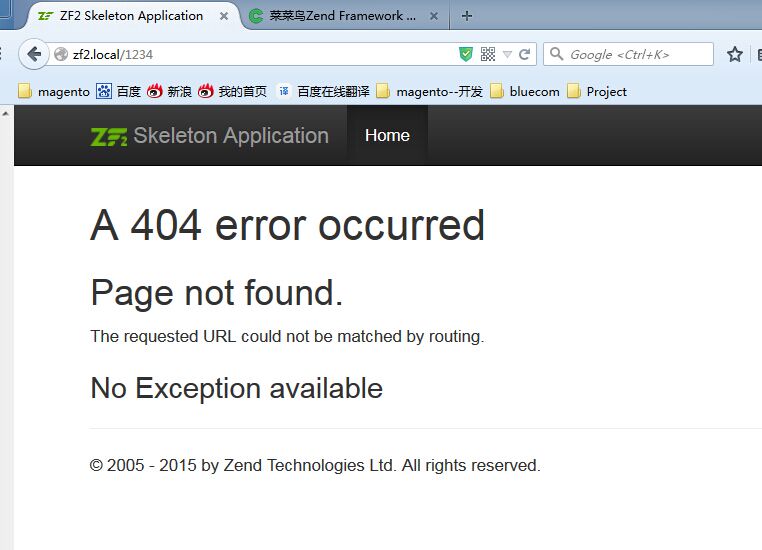
二、 测试 .htaccess 文件
在浏览器中输入 http://zf2.local/1234 由于 1234 这个文件不存在,如果您的 .htaccess 文件的设定是有效的话,应该可以看到如下的显示
三、错误报告配置(可选)
<VirtualHost *:80>
    DocumentRoot "D:/phpsuit/apache/htdocs/ZendSkeletonApplication/public"
    ServerName zf2.local
    # This should be omitted in the production environment
    SetEnv APPLICATION_ENV development
    <Directory "D:/phpsuit/apache/htdocs/ZendSkeletonApplication/public">
       DirectoryIndex index.php
       AllowOverride All
       Order allow,deny
       Allow from all
    </Directory>
</VirtualHost>
在代码中有一行
SetEnv APPLICATION_ENV development这行说明目前我们将整个项目的模式设定为”开发模式(developement)“,在这个模式下 PHP 会向浏览器输出所有的错误信息,方便我们的开发和调试。
注意:项目正式上线之前要将这个模式删除,以免造成信息泄露和安全漏洞。
除了在虚拟主机的配置文件中设定开发模式之外,还需要在项目入口文件中做一点额外的设定。
打开 D:/phpsuit/apache/htdocs/ZendSkeletonApplication/public/index.php ,默认的代码如下
<?php
/**
 * This makes our life easier when dealing with paths. Everything is relative
 * to the application root now.
 */
chdir(dirname(__DIR__));

// Decline static file requests back to the PHP built-in webserver
if (php_sapi_name() === 'cli-server' && is_file(__DIR__ . parse_url($_SERVER['REQUEST_URI'], PHP_URL_PATH))) {
    return false;
}

// Setup autoloading
require 'init_autoloader.php';

// Run the application!
Zend\Mvc\Application::init(require 'config/application.config.php')->run();
在文件顶部添加以下代码
/**
 * Display all errors when APPLICATION_ENV is development.
 */
if ($_SERVER['APPLICATION_ENV'] == 'development') {
    error_reporting(E_ALL);
    ini_set("display_errors", 1);
}
最终的代码如下:
<?php
/**
 * Display all errors when APPLICATION_ENV is development.
 */
if ($_SERVER['APPLICATION_ENV'] == 'development') {
    error_reporting(E_ALL);
    ini_set("display_errors", 1);
}

/**
 * This makes our life easier when dealing with paths. Everything is relative
 * to the application root now.
 */
chdir(dirname(__DIR__));

// Decline static file requests back to the PHP built-in webserver
if (php_sapi_name() === 'cli-server' && is_file(__DIR__ . parse_url($_SERVER['REQUEST_URI'], PHP_URL_PATH))) {
    return false;
}

// Setup autoloading
require 'init_autoloader.php';

// Run the application!
Zend\Mvc\Application::init(require 'config/application.config.php')->run();


 626
626

 被折叠的 条评论
为什么被折叠?
被折叠的 条评论
为什么被折叠?
 到【灌水乐园】发言


