


一、前言
我的springboot之路(1)介绍了springboot的诞生背景以及优点等,我们知道springboot简化了编程配置,它体现出了一种 约定优于配置,也称作按约定编程,是一种软件设计范式,旨在减少软件开发人员需做决定的数量,获得简单的好处,而又不失灵活性。 一般情况下默认的配置足够满足日常开发所需,但在某些情况下,我们可能需要用到自定义属性配置、自定义文件配置等一系列功能。那么,这些自定义配置需要怎么做呢?
1、自定义属性配置
(1)在src-resource中找到application.properties文件,内容如下:
test.example=1
test.name=defineProperties
(2)创建Example1文件,
package com.example.demo;

import org.springframework.boot.context.properties.ConfigurationProperties;
import org.springframework.stereotype.Component;

/**
 * @author Felix
 * @date 2018/12/8 13:41
 */
@Component
@ConfigurationProperties(prefix = "test")
public class Example1 {
    private int example;
    private String name;

    public int getExample() {
        return example;
    }

    public void setExample(int example) {
        this.example = example;
    }

    public String getName() {
        return name;
    }

    public void setName(String name) {
        this.name = name;
    }
}
(3)创建PropertiesController文件
@RequestMapping("/properties")
@RestController
public class PropertiesController {
    //private static final Logger log = LoggerFactory.getLogger(PropertiesController.class);
    private Example1 example1;
    private Example2 example2;
    @Autowired
    public PropertiesController(Example1 example1){
        this.example1 = example1;
    }

    @GetMapping("/1")
    public Example1 getExample1(){
        return example1;
    }
}
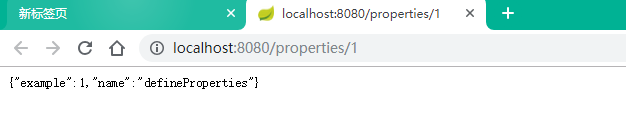
(4)运行项目的Application文件,然后打开浏览器,输入:http://localhost:8080/properties/1 ,回车即可。
2、自定义文件配置
(1)在resource下创建testfile.properties文件,内容如下:
testfile.example=2
testfile.name=defineFile
(2)创建Example2文件
package com.example.demo;

import org.springframework.boot.context.properties.ConfigurationProperties;
import org.springframework.context.annotation.PropertySource;
import org.springframework.stereotype.Component;

/**
 * @author Felix
 * @date 2018/12/8 13:43
 */
@Component
@PropertySource("classpath:testfile.properties")
@ConfigurationProperties(prefix = "testfile")
public class Example2 {
    private int example;
    private String name;

    public int getExample() {
        return example;
    }

    public void setExample(int example) {
        this.example = example;
    }

    public String getName() {
        return name;
    }

    public void setName(String name) {
        this.name = name;
    }

}
(3)修改PropertiesController的构造函数,并添加getExample2()方法
	private Example2 example2;
    @Autowired
    public PropertiesController(Example1 example1,Example2 example2){
        this.example1 = example1;
        this.example2 = example2;
    }
    @GetMapping("/2")
    public Example2 getExample2(){
        return example2;
    }
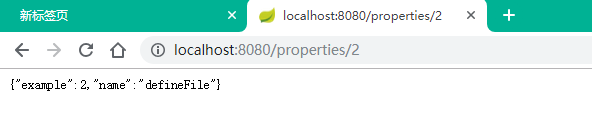
(4)运行项目的Application文件,然后打开浏览器,输入:http://localhost:8080/properties/2 ,回车即可。


 6087
6087


 被折叠的 条评论
为什么被折叠?
被折叠的 条评论
为什么被折叠?
 到【灌水乐园】发言


