一、nginx添加https模块
1、首次安装部署nginx
- 第一次安装nginx的时候添加http模块并编译安装nginx,注意需要在nginx的源码路径下。
#添加http模块
./configure --prefix=/usr/local/nginx --with-http_ssl_module
#编译
make
#安装
make install
2、二次添加模块
- 如果是二次修改添加新的模块再make install就是覆盖安装,建议使用如下方法:
#添加http模块
./configure --prefix=/usr/local/nginx --with-http_ssl_module
#编译
make

#备份原有的nginx
cp /usr/local/nginx/sbin/nginx /usr/local/nginx/sbin/nginx.bak
#复制新编译好的nginx覆盖原有的nginx(需要先停掉原有的nginx服务)
cp ./objs/nginx /usr/local/nginx/sbin/


#启动nginx在/usr/local/nginx/sbin/路径下
./nginx
#启动之后可通过-V参数查看模块是否添加成功
/usr/local/nginx/sbin/nginx -V
二、自建SSL证书
1、新建自建证书存放目录
该目录可以存放在任何位置,只要保证在nginx指定的配置文件中正确引入证书即可正常使用。
- 生成一个RSA密钥
#实际使用中看服务器性能,如果足够好也可以使用4096位秘钥
openssl genrsa -des3 -out nginx.key 1024
Generating RSA private key, 1024 bit long modulus
.......++++++
...++++++
e is 65537 (0x10001)Enter pass phrase for nginx.key: #输入密码,自定义,不少于4个字符
Verifying - Enter pass phrase for nginx.key: #确认密码
- 生成一个证书请求
openssl req -new -key nginx.key -out nginx.csrEnter pass phrase for nginx.key: #输入刚刚创建的密码
You are about to be asked to enter information that will be incorporatedinto your certificate request.
What you are about to enter is what is called a Distinguished Name or a DN.
There are quite a few fields but you can leave some blank
For some fields there will be a default value,
If you enter '.', the field will be left blank.
-----
Country Name (2 letter code) [XX]:CN #国家名称
State or Province Name (full name) []:ShangHai #省
Locality Name (eg, city) [Default City]:ShangHai #市
Organization Name (eg, company) [Default Company Ltd]:ACBC #公司
Organizational Unit Name (eg, section) []:Tech #部门
Common Name (eg, your name or your server's hostname) []:*.mydomain.com
#注意,此处应当填写你要部署的域名,如果是单个则直接添加即可,如果不确定,使用*,表示可以对所有mydomain.com的子域名做认证
Email Address []:admin@mydomain.com #以域名结尾即可
Please enter the following 'extra' attributes
to be sent with your certificate request
A challenge password []: #是否设置密码,可以不写直接回车
An optional company name []: #其他公司名称 可不写
- 创建不需要输入密码的RSA证书,否则每次reload、restart都需要输入密码
openssl rsa -in nginx.key -out nginx_nopass.key
Enter pass phrase for nginx.key: #之前RSA秘钥创建时的密码
writing RSA key
- 签发证书(由于是测试自己签发,实际应该将自己生成的csr文件提交给SSL认证机构认证
openssl x509 -req -days 3650 -in nginx.csr -signkey nginx.key -out nginx.crt Signature ok
subject=/C=CN/ST=ShangHai/L=ShangHai/O=ACBC/OU=Tech/CN=*.mydomain.com/emailAddress=admin@mydomain.com
Getting Private key
Enter pass phrase for nginx.key: #RSA创建时的密码
三、使用指定的配置文件
1、指定nginx配置文件
实际生产中需要指定nginx的反向代理,可以通过引入指定的配置文件而不适用默认的nginx配置。
- 使用include引入新的配置文件路径,注意和server同级
- include /usr/local/nginx/conf.d/new.conf;
- 修改之后保存并退出nginx.conf
#user  nobody;
worker_processes  1;

#error_log  logs/error.log;
#error_log  logs/error.log  notice;
#error_log  logs/error.log  info;

#pid        logs/nginx.pid;


events {
    worker_connections  1024;
}


http {
    include       mime.types;
    include /usr/local/nginx/conf.d/new.conf;
    default_type  application/octet-stream;

    #log_format  main  '$remote_addr - $remote_user [$time_local] "$request" '
    #                  '$status $body_bytes_sent "$http_referer" '
    #                  '"$http_user_agent" "$http_x_forwarded_for"';

    #access_log  logs/access.log  main;

    sendfile        on;
    #tcp_nopush     on;

    #keepalive_timeout  0;
    keepalive_timeout  65;

    #gzip  on;
2、测试配置文件
#切换到nginx的可执行文件目录下
./nginx -t
配置文件正确会返回successful,如果有错会提示在配置文件哪一行出错,需要回到配置文件进行修改。
3、重启nginx
#如果nginx在启动中,需要先停止服务,然后再进行重启
ps -ef | grep nginx
#查看nginx服务PID
kill nginx的进程号
#在nginx的可执行文件目录下重启nginx
./nginx
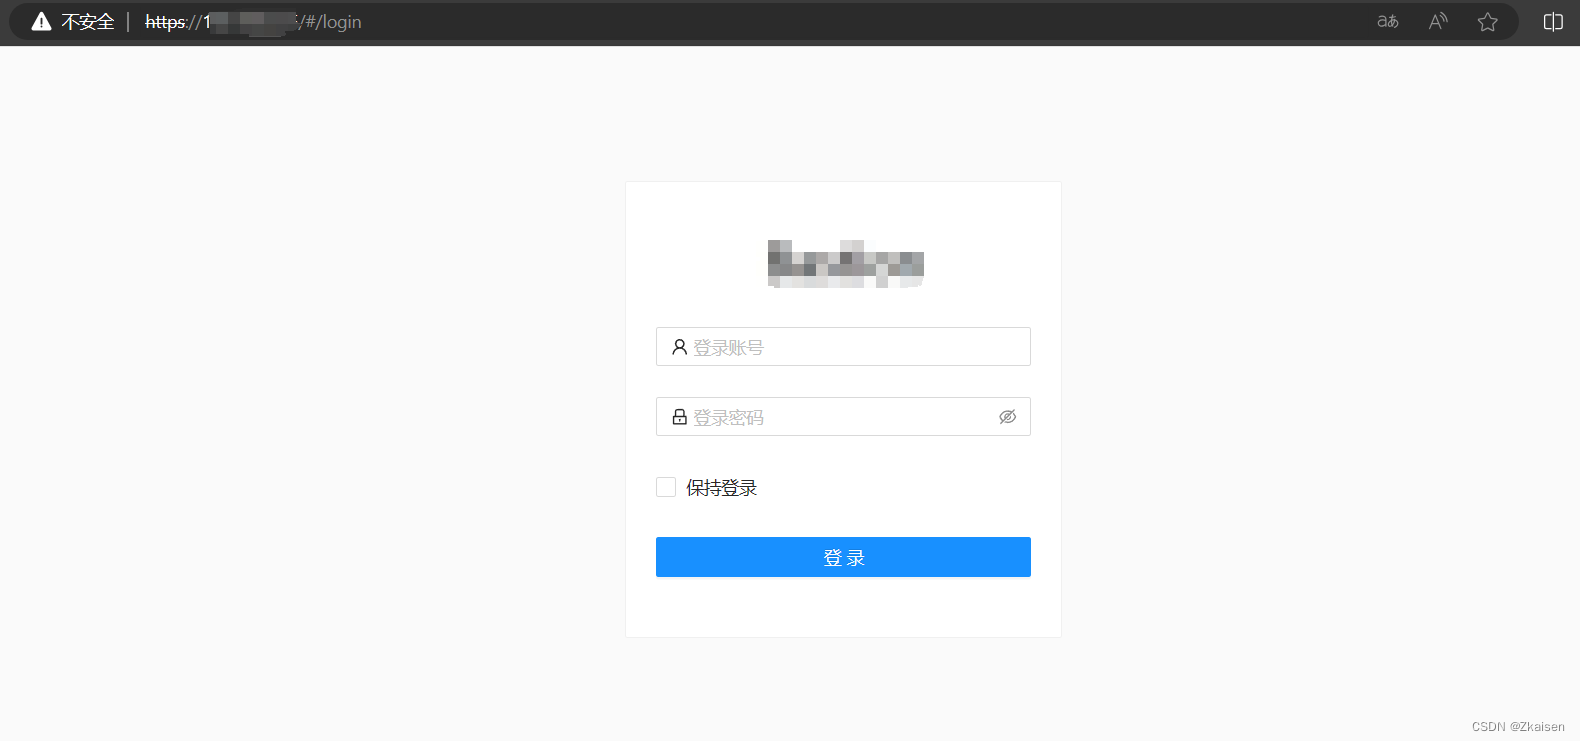
4、以https访问网页
可正常访问说明配置成功

四、添加nginx到service
1、查看nginx源码目录
whereis nginx
2、编辑nginx.service文件
vim /etc/systemd/system/nginx.service[Unit]
Description=The NGINX HTTP and reverse proxy server
After=syslog.target network.target remote-fs.target nss-lookup.target
[Service]
Type=forking
PIDFile=/usr/local/nginx/logs/nginx.pid
Environment="NGINX_OPTS=--with-http_ssl_module --with-http_v2_module"
ExecStartPre=/usr/local/nginx/sbin/nginx -t -c /usr/local/nginx/conf/nginx.conf
ExecStart=/usr/local/nginx/sbin/nginx -c /usr/local/nginx/conf/nginx.conf
ExecReload=/bin/kill -s HUP $MAINPID
ExecStop=/bin/kill -s QUIT $MAINPID
PrivateTmp=true
[Install]
WantedBy=multi-user.target 注:需要根据实际情况添加在nginx.service中添加Environment。
Environment="NGINX_OPTS=--with-http_ssl_module --with-http_v2_module"
如果nginx启动失败,可在查看nginx的日志文件
vim /usr/local/nginx/logs/error.log3、 查看当前是否存在nginx服务
ps -ef | grep nginx如果当前有nginx的进程,直接kill掉
4、systemctl启动nginx
  sudo systemctl daemon-reload
  sudo systemctl start nginx


 1万+
1万+


 被折叠的 条评论
为什么被折叠?


