


一、Http方式搭建cas服务器
好处:简单方便,专注cas业务功能
不足:不够安全,不符合企业做法
1.首先下载Cas服务器
链接:https://pan.baidu.com/s/1snr4Tzv 密码:z45j
2.windows下面启动tomcat
(1)下载cas两个压缩包一起解压
(2)cas-server-4.0.0\modules\cas-server-webapp-4.0.0.war 重命名为cas.war
(3)将cas-server.war放入tomcat的webapp下面
(4)启动tomcat生成cas-server
(5)修改配置文件:
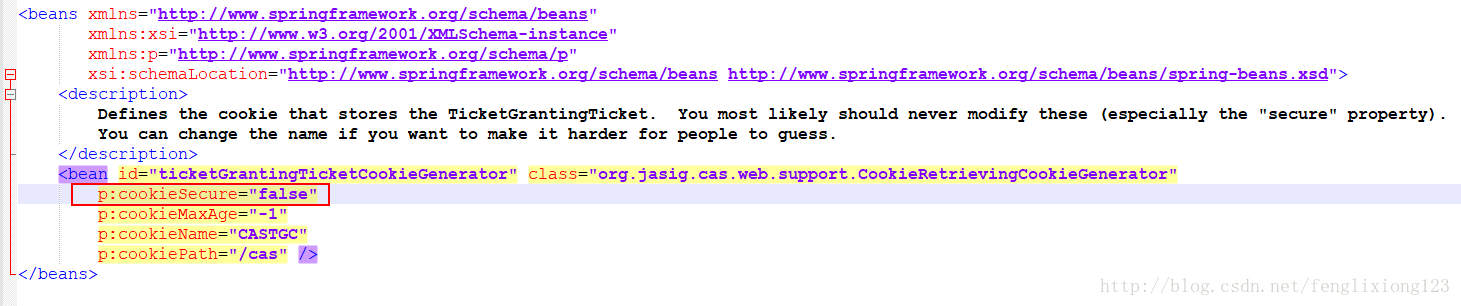
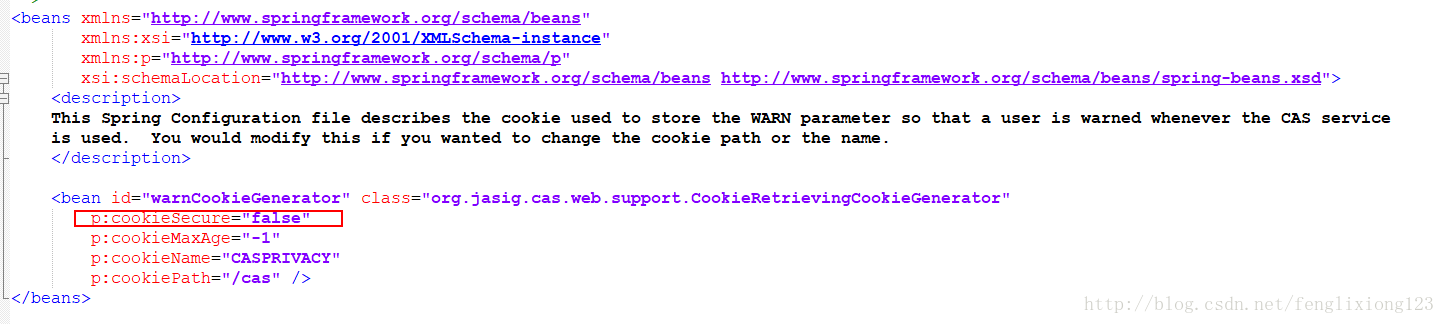
Tomcat默认没有开启HTTPS协议,所以这里直接用了HTTP协议访问。为了能使客户端在HTTP协议下单点登录成功:
WEB-INF\spring-configuration\ticketGrantingTicketCookieGenerator.xml将p:cookieSecure="true" 改为 p:cookieSecure="false"
WEB-INF\spring-configuration\warnCookieGenerator.xml:将p:cookieSecure="true" 改为 p:cookieSecure="false"
WEB-INF\deployerConfigContext.xml:
<bean class="org.jasig.cas.authentication.handler.support.HttpBasedServiceCredentialsAuthenticationHandler" p:httpClient-ref="httpClient" /> 添加 p:requireSecure="false"

3.修改端口
cas.properties

4.修改用户名密码
deployerConfigContext.xml

至此完成cas服务器端的搭建!访问:http://localhost:8080/cas
附录:shiro-cas的maven依赖
<!--shiro-cas单点登录-->
<dependency>
    <groupId>org.apache.shiro</groupId>
    <artifactId>shiro-cas</artifactId>
    <version>1.4.0</version>
</dependency>
<dependency>
    <groupId>org.jasig.cas.client</groupId>
    <artifactId>cas-client-core</artifactId>
    <version>3.5.0</version>
</dependency>
参考资料:
【Pac4j初探】
http://blog.csdn.net/hxm_code/article/details/79181218


 516
516

 被折叠的 条评论
为什么被折叠?
被折叠的 条评论
为什么被折叠?
 到【灌水乐园】发言


