


需要搭建帮助的可以去taobao搜索Easy Company技术服务,谢谢!!!
MongoDB副本集群搭建
搭建环境:MAC端下的PD虚拟windows10
- 搭建⼀个副本集
replica set Name :wangjianxiong
wangjianxiong01 -port 27030
wangjianxiong02 -port 27040
wangjianxiong03 -port 27050
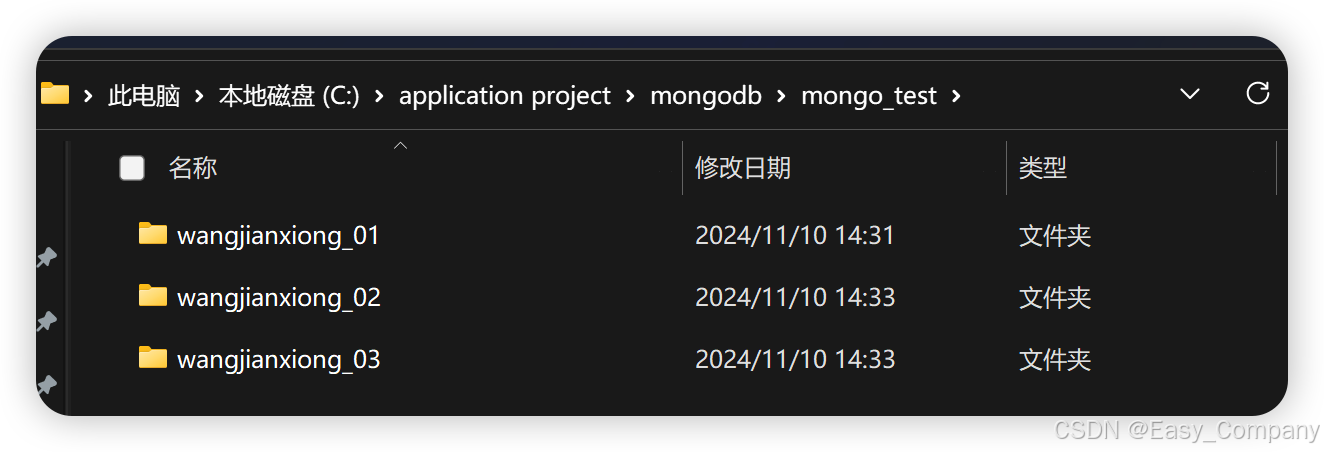
step1:创建副本集文件夹
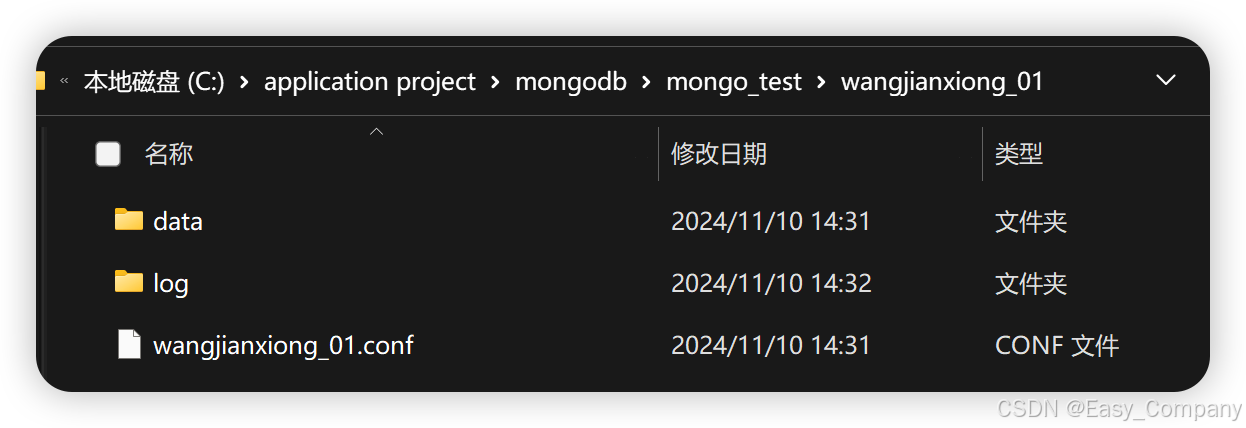
step2: 配置文件:wangjianxiong_01.conf
# 数据库路径
storage:
dbPath: "C:\application project\mongodb\mongo_test\wangjianxiong_01\data\db" # 指定数据库文件的存储路径,确保此路径存在以存储 MongoDB 的数据
# 日志路径
systemLog:
destination: file
path: ""C:\application project\mongodb\mongo_test\wangjianxiong_01\log\wangjianxiong_01.log"" # 指定日志文件路径,用于记录 MongoDB 的操作日志
logAppend: true # 启用日志追加模式,避免日志被覆盖
processManagement:
# pidFilePath 指定用于保存进程 ID 的文件位置,MongoDB 将写入其 PID
pidFilePath: ""C:\application project\mongodb\mongo_test\wangjianxiong_01\log\wangjianxiong_01.pid""
# 网络设置
net:
bindIp: 127.0.0.1 # 服务实例绑定的 IP
port: 27030 # 服务实例绑定的端口
replication:
replSetName: "wangjianxiong" # 副本集的名称
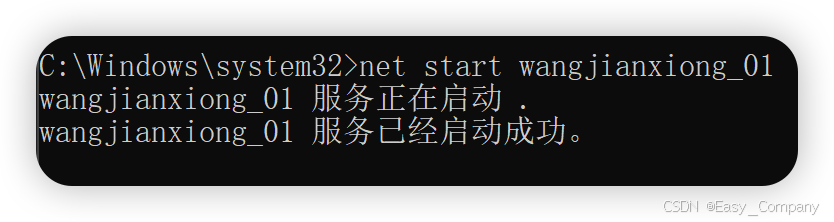
step3 启动mongoDB⼀个实例(服务)
mongod --config ""C:\application project\mongodb\mongo_test\wangjianxiong_01\wangjianxiong_01.conf"" --install --serviceName "wangjianxiong_01" --serviceDisplayName "wangjianxiong_01"

mongod --config ""C:\application project\mongodb\mongo_test\wangjianxiong_02\wangjianxiong_02.conf"" --install --serviceName "wangjianxiong_02" --serviceDisplayName "wangjianxiong_02"

mongod --config ""C:\application project\mongodb\mongo_test\wangjianxiong_03\wangjianxiong_03.conf"" --install --serviceName "wangjianxiong_03" --serviceDisplayName "wangjianxiong_03"

step4打开⼀个cmd 连接任意启动的节点
mongsh -port 27030
var conf = {
"_id":"wjx",
"members":[
{"_id":0,host:"localhost:27030"},
{"_id":1,host:"localhost:27040"},
{"_id":2,host:"localhost:27050"}
]
}
// 调⽤initiate()初始化设置
rs.initiate(conf)

2. 将⼀个副本集Secondary节点改造成⼀个Arbiter节点
我们将副本wjx_02改成仲裁者(Arbiter)
step1. 停⽌副本wjx_02的服务
以管理员的⾝份打开⼀个cmd 运⾏以下命令
net stop MongoDB_wjx02
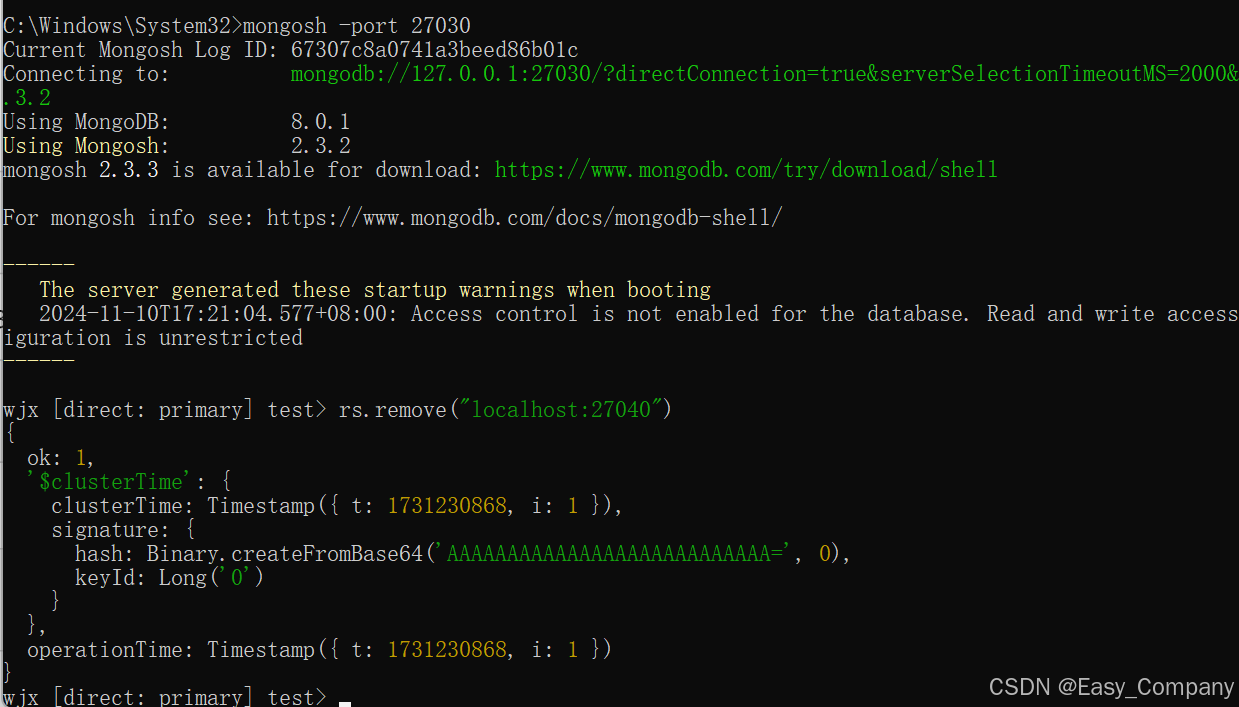
step2. mongosh 进入主节点,我的主节点port=27030
mongosh -port 27030
step3. 删除MongoDB_wjx02,其port=27040
rs.remove("localhost:27040")
step4. 重启wjx02
net start MongoDB_wjx02
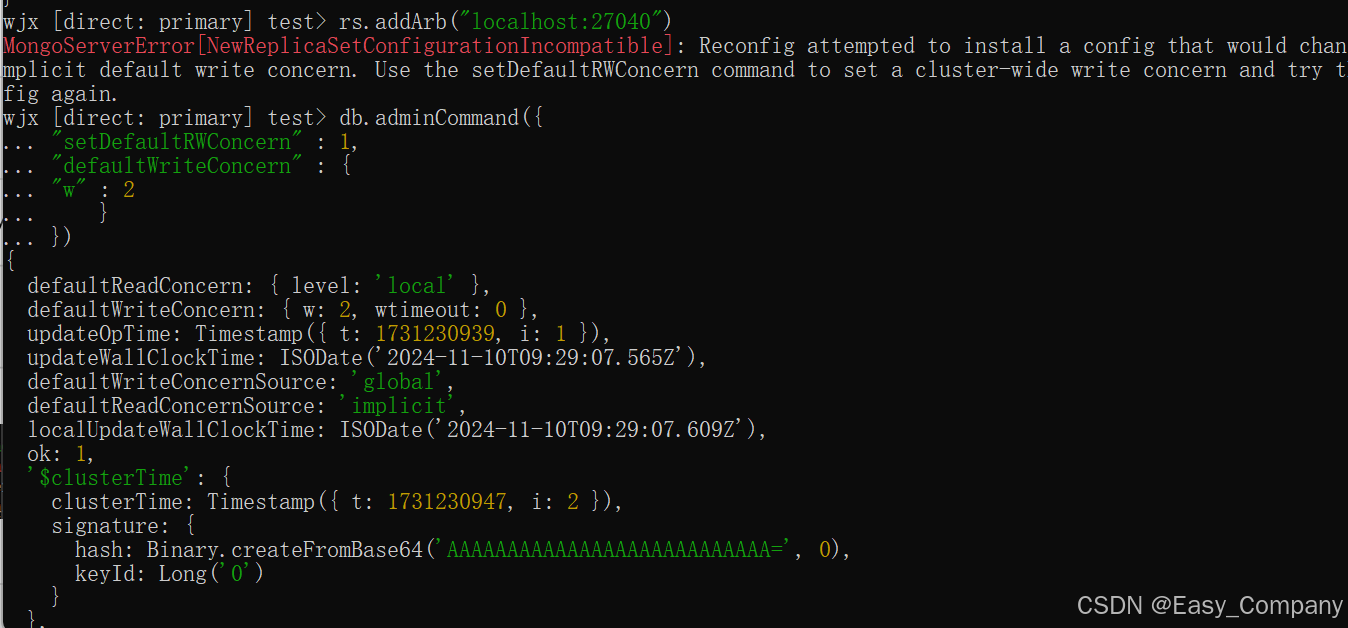
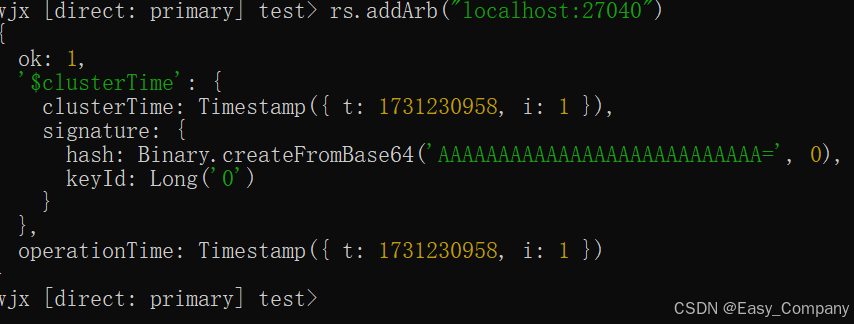
step5. 在主节点中添加⼀个仲裁者,即把MongoDB_wjx02添加成仲裁者(Arbiter)
rs.addArb("localhost:27040")
step7. 查看副本集状态
for(var i=0;i<rs.status().members.length;i++)
{ print(rs.status().members[i].name +":"+ rs.status().members[i].stateStr) }

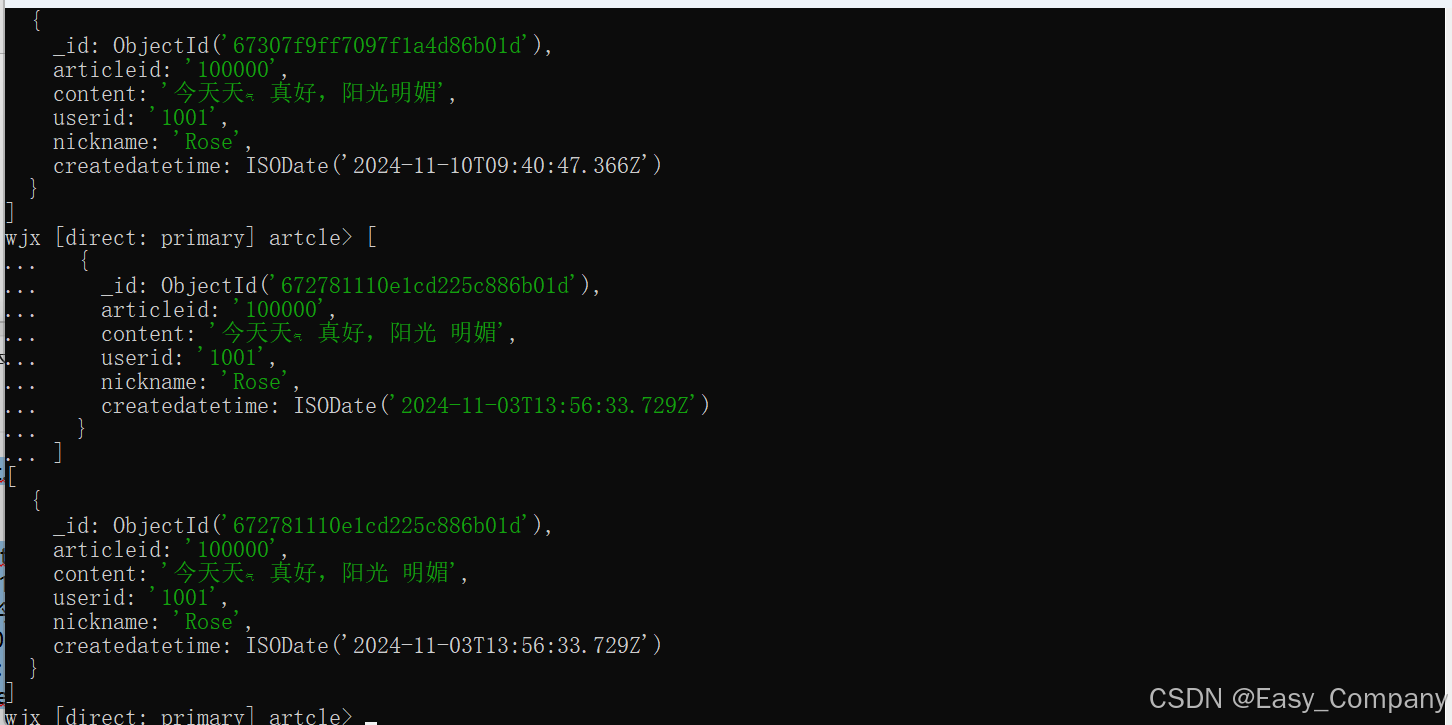
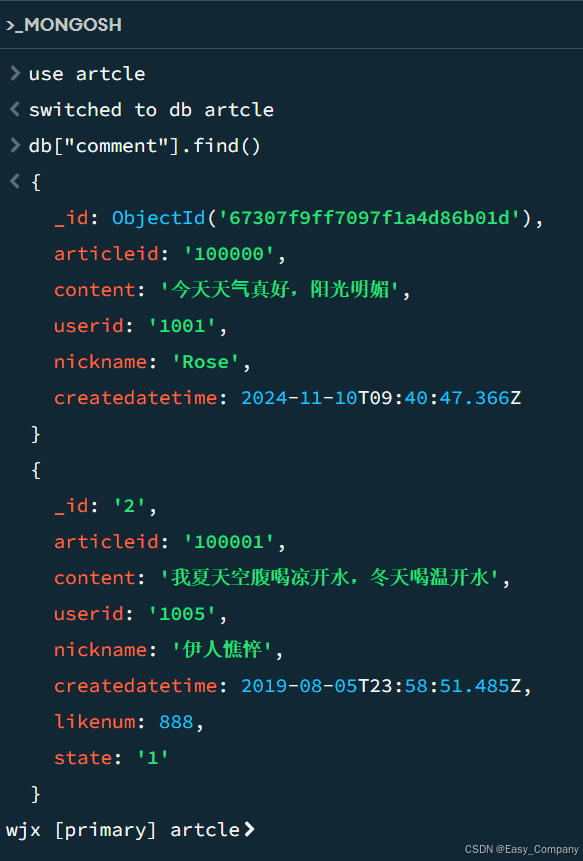
3. 副本集的数据读写操作
⽬标:测试三个不同⾓⾊的节点的数据读写情况。
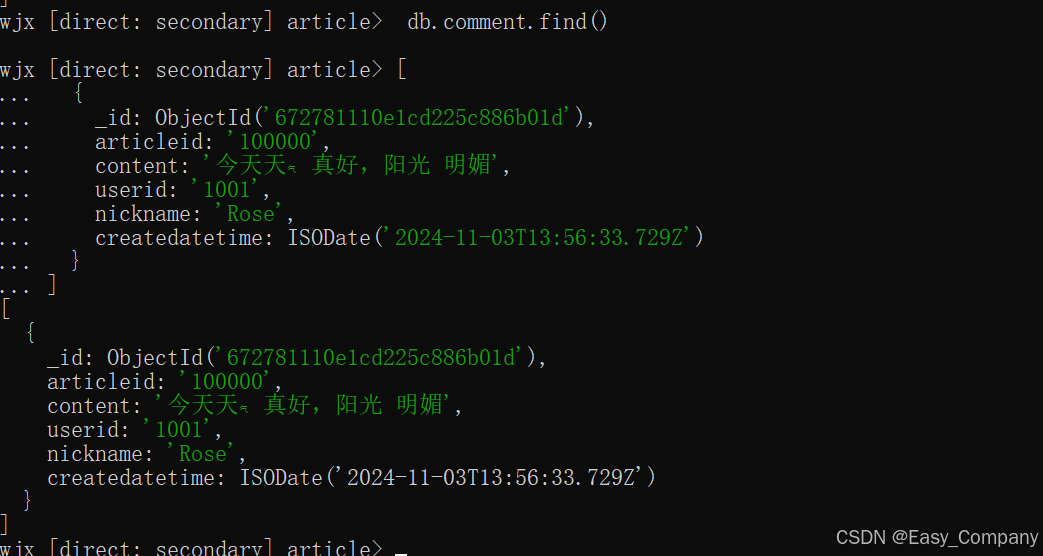
step1. 登录主节点27030,写入和读取数据:

step2. 登录从节点27040
wjx [direct: secondary] test> use article
switched to db article
wjx [direct: secondary] article>
db.comment.insert({"articleid":"100000","content":"今天天⽓不太好,阴 绵
绵","userid":"1001","nickname":"Rose","createdatetime":new Date()}
... )
DeprecationWarning: Collection.insert() is deprecated. Use insertOne, insertMany,
or bulkWrite.
Uncaught:
MongoBulkWriteError[NotWritablePrimary]: not primary
Result: BulkWriteResult {
insertedCount: 0,
matchedCount: 0,
modifiedCount: 0,
deletedCount: 0,
upsertedCount: 0,
upsertedIds: {},
insertedIds: { '0': ObjectId('672781daf7e43b409a86b01d') }
}
Write Errors: []
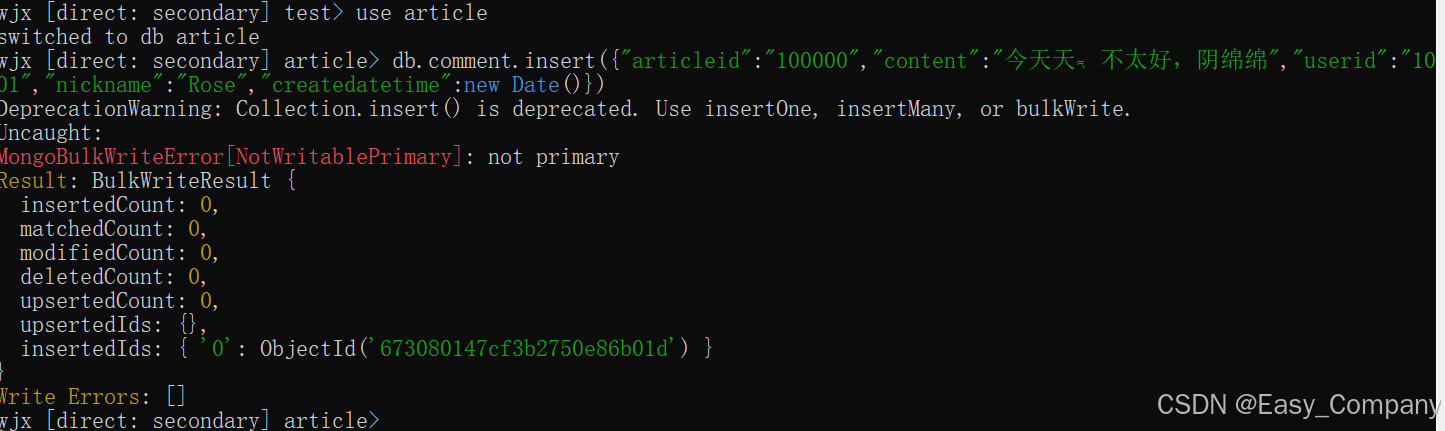
发信不能写数据,但是能读取数据
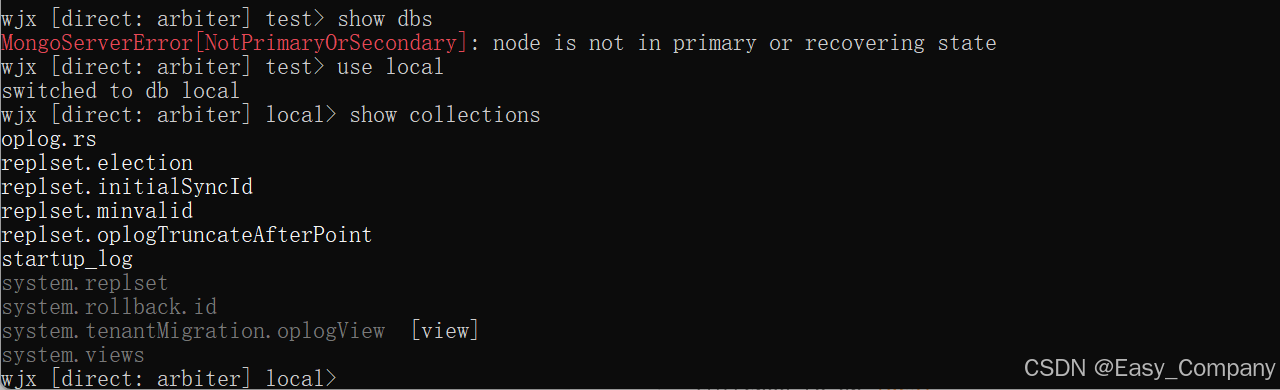
step3. 仲裁者节点,不存放任何业务数据的,可以登录查看
wjx [direct: arbiter] test> show dbs
MongoServerError[NotPrimaryOrSecondary]: node is not in primary or recovering
state
wjx [direct: arbiter] test> use local
switched to db local
wjx [direct: arbiter] local> show collections
oplog.rs
replset.election
replset.initialSyncId
replset.minvalid
replset.oplogTruncateAfterPoint
startup_log
system.replset
system.rollback.id
system.tenantMigration.oplogView [view]
system.views
wjx [direct: arbiter] local>
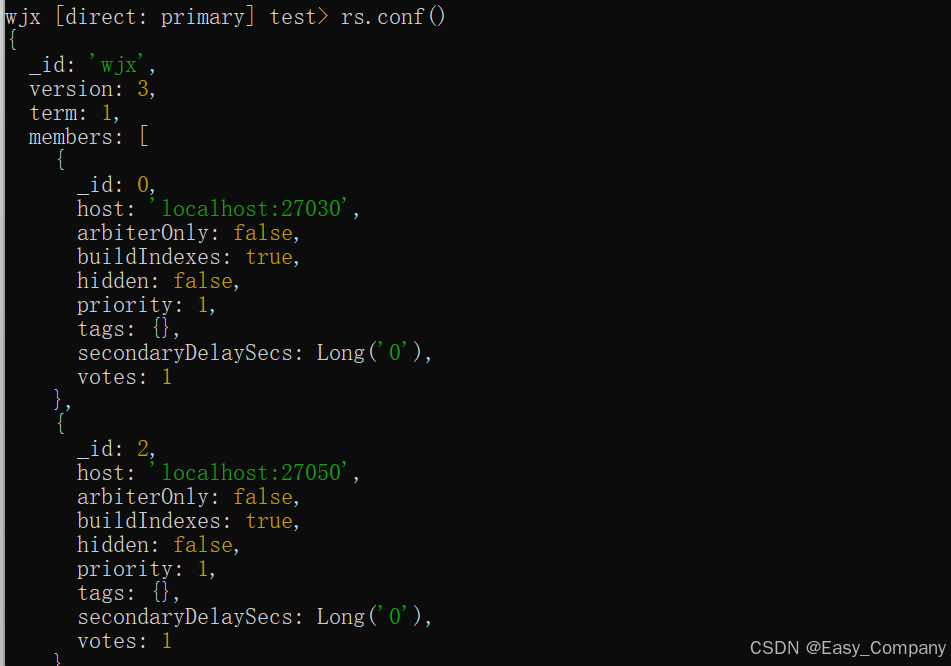
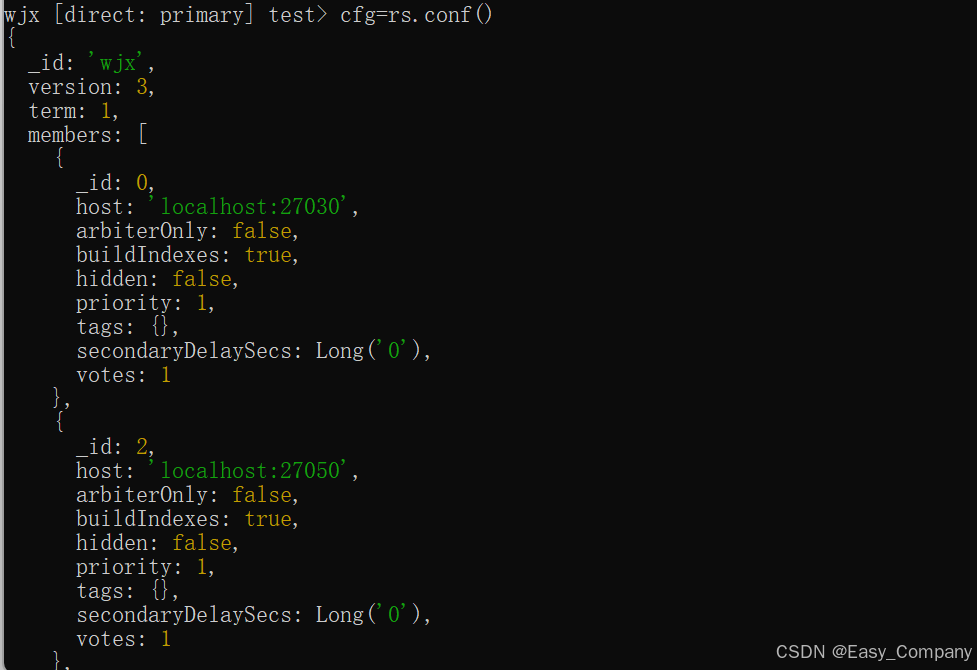
4. 主节点的选举原则
使⽤rs.conf来查看各个节点的priority
rs.conf()
可以修改优先级 比如,下⾯提升从节点的优先级: 1)先将配置导入cfg变量
cfg=rs.conf()
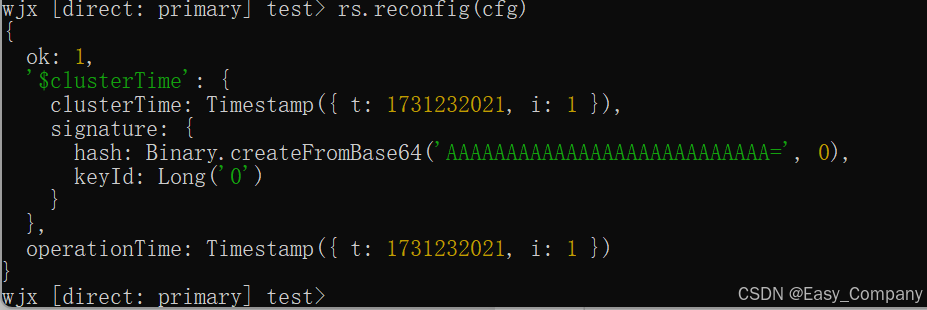
2)然后修改值(ID号默认从0开始):
cfg.members[1].priority=2

3. 重新加载配置
rs.reconfig(cfg)
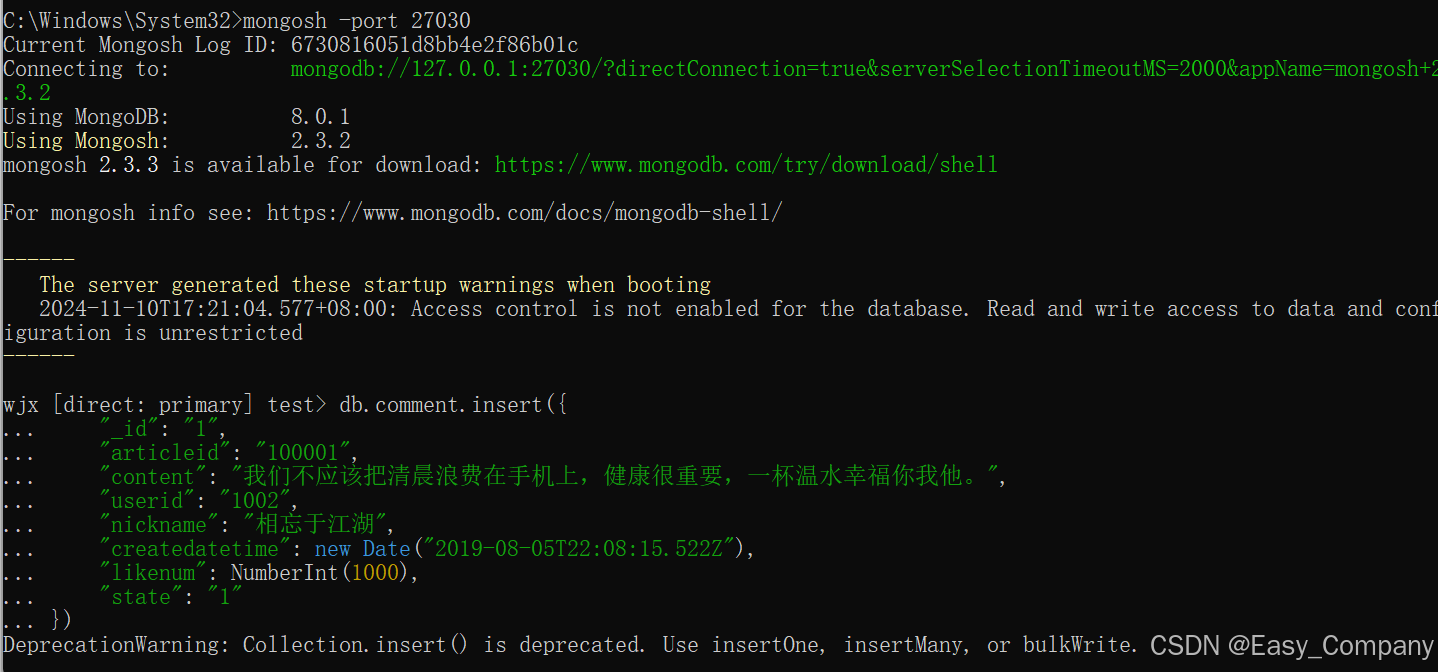
故障测试
1. 副本节点故障测试
db.comment.insert({"_id":"1","articleid":"100001","content":"我们不应该把清晨浪费在
⼿机上,健康很重要,⼀杯温⽔幸福你我他。","userid":"1002","nickname":"相忘于江
湖","createdatetime":new Date("2019-08-
05T22:08:15.522Z"),"likenum":NumberInt(1000),"state":"1"})
2. 主节点故障测试

3. 仲裁节点和从节点故障


 被折叠的 条评论
为什么被折叠?
被折叠的 条评论
为什么被折叠?
 到【灌水乐园】发言


