


前言
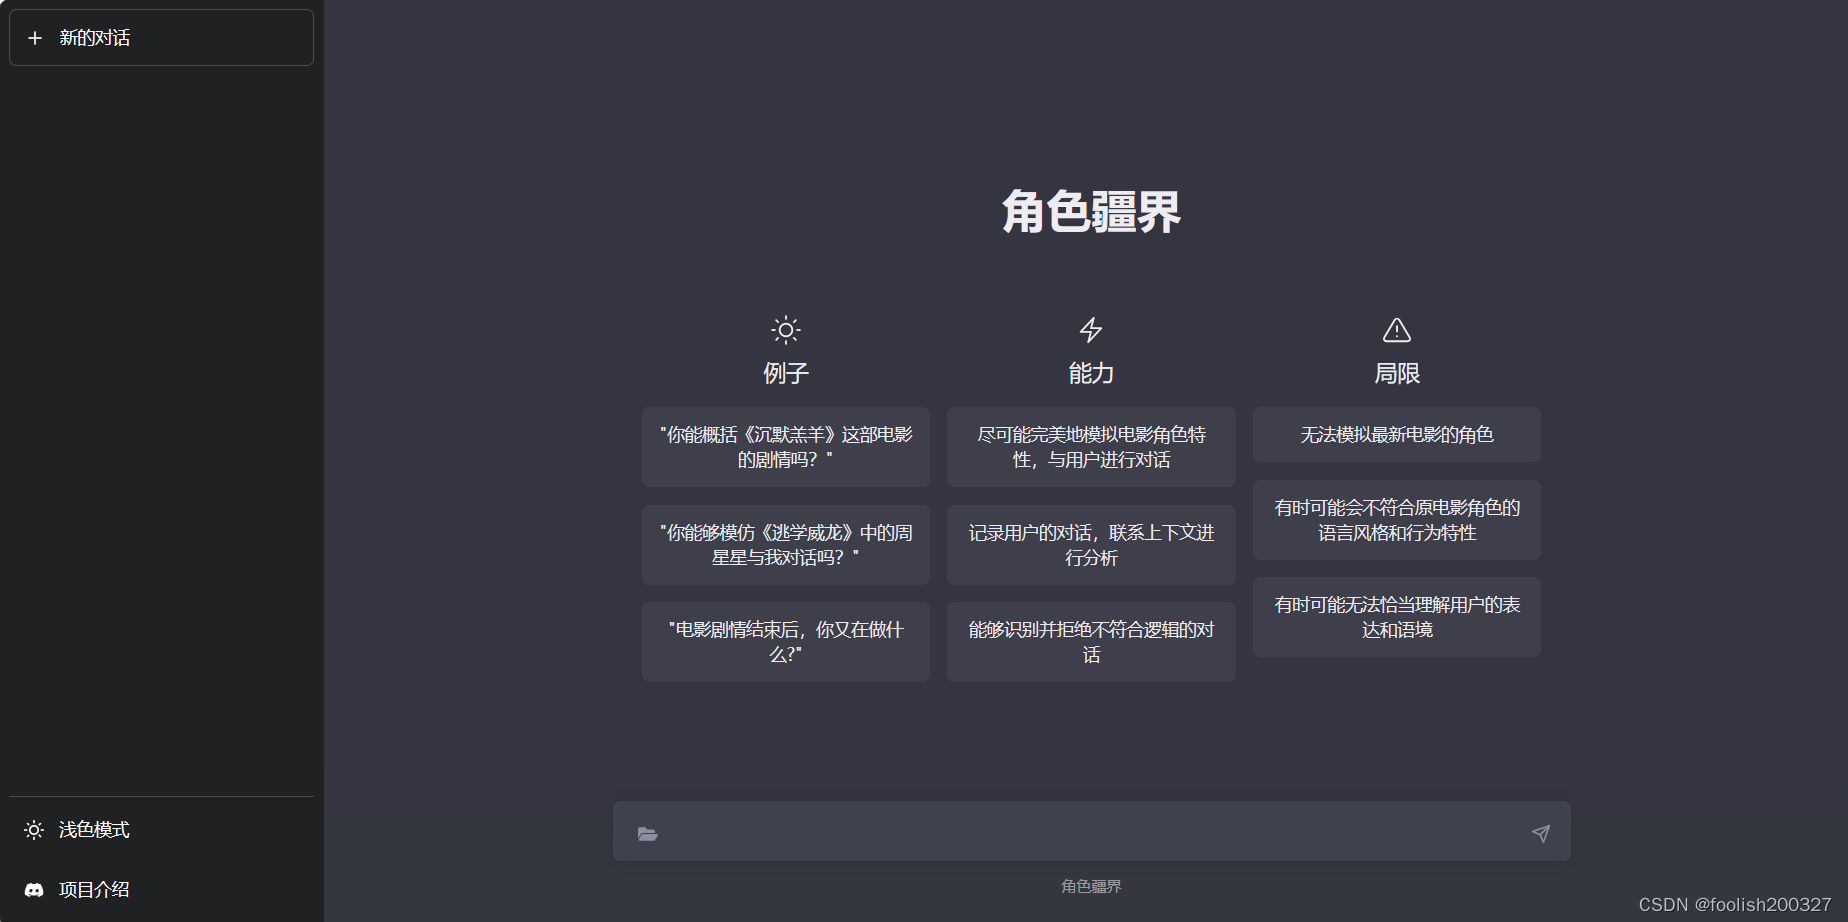
在之前的工作里,已经实现了前端界面的基本功能。接下来将试着添加一些辅助功能以提升界面的视觉体验,给用户给好的体验。下面是现在界面的样子:
一些辅助功能的实现
深浅色模式切换
通过以下的逻辑思路,可以实现在深色模式和浅色模式之间的切换,并且确保用户的主题偏好在刷新后能够被记忆和恢复:
1.更新组件的主题数据属性:
- this.theme = theme;:将传入的 theme 参数(可以是 “light” 或 “dark”)赋值给组件的 theme 数据属性。
2.获取 HTML 根元素:
- var html = document.getElementsByTagName(“html”)[0];:获取 HTML 文档的根元素 。
3.移除现有的主题类:
- html.classList.remove(“light”, “dark”);:移除 HTML 根元素上可能存在的 light 和 dark 类,确保不会有多个主题类共存。
4.添加当前主题类:
- html.classList.add(theme);:将传入的 theme 类(“light” 或 “dark”)添加到 HTML 根元素上,应用对应的主题样式。
5. 设置 color-scheme 属性:
- html.style[“color-scheme”] = theme;:设置 HTML 元素的 color-scheme 属性为当前的主题,以便支持系统级的颜色方案。
6.保存主题到本地存储:
- localStorage.setItem(“theme”, theme);:将当前的主题存储到浏览器的 localStorage 中,以便在用户重新访问页面时能够记住用户的主题偏好。
<a v-if="theme == 'light'" @click="changeTheme('dark')" class="flex py-3 px-3 items-center gap-3 rounded-md hover:bg-gray-500/10 transition-colors duration-200 text-white cursor-pointer text-sm">
  <svg stroke="currentColor" fill="none" stroke-width="2" viewBox="0 0 24 24" stroke-linecap="round" stroke-linejoin="round" class="h-4 w-4" height="1em" width="1em" xmlns="http://www.w3.org/2000/svg">
    <path d="M21 12.79A9 9 0 1 1 11.21 3 7 7 0 0 0 21 12.79z"></path>
  </svg>
  深色模式
</a>

<a v-if="theme == 'dark'" @click="changeTheme('light')" class="flex py-3 px-3 items-center gap-3 rounded-md hover:bg-gray-500/10 transition-colors duration-200 text-white cursor-pointer text-sm">
  <svg stroke="currentColor" fill="none" stroke-width="2" viewBox="0 0 24 24" stroke-linecap="round" stroke-linejoin="round" class="h-4 w-4" height="1em" width="1em" xmlns="http://www.w3.org/2000/svg">
    <circle cx="12" cy="12" r="5"></circle>
    <line x1="12" y1="1" x2="12" y2="3"></line>
    <line x1="12" y1="21" x2="12" y2="23"></line>
    <line x1="4.22" y1="4.22" x2="5.64" y2="5.64"></line>
    <line x1="18.36" y1="18.36" x2="19.78" y2="19.78"></line>
    <line x1="1" y1="12" x2="3" y2="12"></line>
    <line x1="21" y1="12" x2="23" y2="12"></line>
    <line x1="4.22" y1="19.78" x2="5.64" y2="18.36"></line>
    <line x1="18.36" y1="5.64" x2="19.78" y2="4.22"></line>
  </svg>
  浅色模式
</a>
changeTheme(theme) {                //修改页面风格
  this.theme = theme; // 更新组件的 theme 数据属性
  var html = document.getElementsByTagName("html")[0]; // 获取 HTML 根元素
  html.classList.remove("light", "dark"); // 移除 light 和 dark 类
  html.classList.add(theme); // 添加当前主题的类
  html.style["color-scheme"] = theme; // 设置 HTML 元素的 color-scheme 属性
  localStorage.setItem("theme", theme); // 将主题保存到 localStorage 中
},
代码高亮
大致逻辑思路如下:
1.引入库:
- marked 用于解析 Markdown。
- highlight.js 用于代码高亮。
- highlight.js 的样式文件 github.css 被引入以应用代码高亮的样式。
2.自定义渲染器:
- 创建了一个 renderer 对象,覆盖了 marked 默认的代码块渲染行为。
3.处理代码块
- 在 renderer 对象的 code 方法中处理代码块。
code 方法有三个参数:code(代码内容),infostring(代码语言),escaped(是否已转义)。
4.编码 HTML 内容
- codeHtml = encodeURIComponent(code):对于 HTML 内容进行编码。
5.代码高亮
- hljs.highlightAuto(code).value:使用 highlight.js 自动检测代码语言并应用高亮。
- 如果 infostring 存在(表示代码块指定了语言),则对代码内容进行高亮处理。
6.生成 HTML:
- 返回一个 HTML 字符串,包含一个容器 div和嵌套的 code 元素。
代码容器具有一些 CSS 类,如 bg-black,mb-4,rounded-md 等,应用样式。 - 在代码块顶部添加了一个按钮,用于复制代码内容。
7.使用 marked 渲染:
- marked.use({ renderer }):告知 marked 使用自定义渲染器处理 Markdown。
引入库:
import { marked } from 'marked';
import hljs from 'highlight.js';
import 'highlight.js/styles/github.css'
自定义渲染器:
const renderer = {
  code(code, infostring, escaped) {
    var codeHtml = code;
    if (infostring && infostring == "html") {
      codeHtml = encodeURIComponent(code);
    }
    if (infostring) {
      codeHtml = hljs.highlightAuto(code).value;
    }

    console.log(code, infostring, escaped, codeHtml);

    return `<div class="bg-black mb-4 rounded-md">
      <div class="code_header flex items-center relative text-gray-200 bg-gray-800 px-4 py-2 text-xs font-sans">
        <span>${infostring || ""}</span>
        <button οnclick="copy(this)" class="flex ml-auto gap-2">
          <svg stroke="currentColor" fill="none" stroke-width="2" viewBox="0 0 24 24" stroke-linecap="round" stroke-linejoin="round" class="h-4 w-4" height="1em" width="1em" xmlns="http://www.w3.org/2000/svg">
            <path d="M16 4h2a2 2 0 0 1 2 2v14a2 2 0 0 1-2 2H6a2 2 0 0 1-2-2V6a2 2 0 0 1 2-2h2"></path>
            <rect x="8" y="2" width="8" height="4" rx="1" ry="1"></rect>
          </svg>
          <span>Copy code</span>
          <code style="display:none">${encodeURIComponent(code)}</code>
        </button>
      </div>
      <div class="p-4 overflow-y-auto">
        <code class="!whitespace-pre hljs language-${infostring}">${codeHtml}</code>
      </div>
    </div>`;
  },
  paragraph(text) {
    return `<p style="white-space:pre-wrap;">${text}</p>`;
  }
};
marked.use({ renderer });
渲染:
export default {
  data() {
    return {
      markdownContent: `
        \`\`\`javascript
        console.log('Hello, world!');
        \`\`\`
      `
    };
  },
  computed: {
    renderedContent() {
      return marked(this.markdownContent);
    }
  },
  template: `
    <div v-html="renderedContent"></div>
  `
};
css部分:
.code_header {
  border-top-left-radius: 5px;
  border-top-right-radius: 5px;
}

.prose-r {
  font-size: 1rem;
  line-height: 1.75;
}

.hljs {
  display: block;
  overflow-x: auto;
  padding: 0.5em;
  background: #f0f0f0;
  color: #333;
}

.hljs-comment,
.hljs-quote {
  color: #8e908c;
  font-style: italic;
}

.hljs-keyword,
.hljs-selector-tag,
.hljs-subst {
  color: #c82829;
}

.hljs-literal,
.hljs-number,
.hljs-tag .hljs-attr {
  color: #f5871f;
}

.hljs-string,
.hljs-doctag {
  color: #718c00;
}

.hljs-title,
.hljs-section,
.hljs-selector-id {
  color: #4271ae;
}

.hljs-subst {
  font-weight: normal;
}

.hljs-type,
.hljs-class .hljs-title {
  color: #4271ae;
  font-weight: bold;
}

.hljs-tag,
.hljs-name,
.hljs-attribute {
  color: #c82829;
}

.hljs-regexp,
.hljs-link {
  color: #eab700;
}

.hljs-symbol,
.hljs-bullet {
  color: #f5871f;
}

.hljs-built_in,
.hljs-builtin-name {
  color: #f5871f;
}

.hljs-meta {
  color: #c82829;
}

.hljs-deletion {
  background: #ffdddd;
}

.hljs-addition {
  background: #ddffdd;
}
清空所有会话
大致逻辑思路如下:
1.clearConversations 方法:
- 设置 this.conversations 为一个空数组,清空所有的会话记录。
- 调用 saveConversations 方法,将空的会话列表保存到本地存储中。
2.saveConversations 方法
- 深度复制当前的会话列表,避免直接修改原数据。
- 遍历会话列表,删除每个会话的 editable、selected 和 delete 属性。
- 将会话列表转换为 JSON 字符串,并保存到 localStorage 中。
3.清空对话记录的按钮:
- 在模板中添加一个按钮,并绑定 clearConversations 方法。当用户点击按钮时,触发 clearConversations 方法,清空所有对话记录。
methods: {

  clearConversations() {
    this.conversations = []; // 清空会话列表
    this.saveConversations(); // 保存空的会话列表到本地存储
  },

  saveConversations() {
    var conversations = JSON.parse(JSON.stringify(this.conversations)); // 深度复制会话列表,避免直接修改原数据
    for (let idx in conversations) { // 遍历会话列表
      var conv = conversations[idx]; // 获取每个会话
      delete conv.editable; // 删除会话的编辑属性
      delete conv.selected; // 删除会话的选择属性
      delete conv.delete; // 删除会话的删除属性
    }
    let convs = JSON.stringify(conversations); // 将会话列表转换为 JSON 字符串
    localStorage.setItem("conversations", convs); // 将 JSON 字符串保存到本地存储中
  }
}
<a v-if="conversations.length > 0" @click.stop.prevent="clearConversations"
   class="flex py-3 px-3 items-center gap-3 rounded-md hover:bg-gray-500/10 transition-colors duration-200 text-white cursor-pointer text-sm">
  <svg stroke="currentColor" fill="none" stroke-width="2" viewBox="0 0 24 24" stroke-linecap="round"
       stroke-linejoin="round" class="h-4 w-4" height="1em" width="1em" xmlns="http://www.w3.org/2000/svg">
    <polyline points="3 6 5 6 21 6"></polyline>
    <path d="M19 6v14a2 2 0 0 1-2 2H7a2 2 0 0 1-2-2V6m3 0V4a2 2 0 0 1 2-2h4a2 2 0 0 1 2 2v2">
    </path>
    <line x1="10" y1="11" x2="10" y2="17"></line>
    <line x1="14" y1="11" x2="14" y2="17"></line>
  </svg>
  清空所有会话
</a>


 411
411


 被折叠的 条评论
为什么被折叠?
被折叠的 条评论
为什么被折叠?
 到【灌水乐园】发言


