


Kubernetes搭建
交流QQ号:555913397
有什么问题可以加群大家一起交流
1.部署前操作
1.1借助ntp服务设置各节点的时间同步
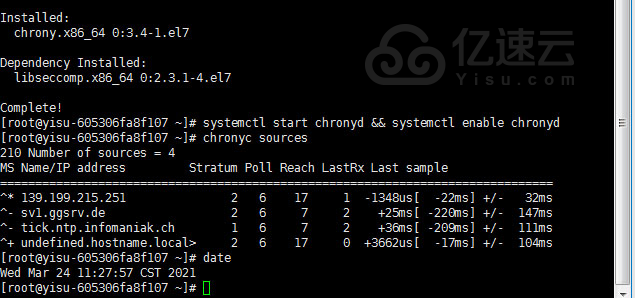
yum -y install chrony
systemctl start chronyd && systemctl enable chronyd
chronyc sources
1.2.通过DNS完成各节点名称解析,测试环境主机,测试用hosts文件代替
hostnamectl set-hostname 节点名称
1.3.设置hosts文件
vi /etc/hosts

1.4.如有firewalld服务或iptables规则关闭各节点iptables和firewalld服务
systemctl stop firewalld && systemctl disable firewalld
iptables -F
1.5.禁用SELinux
setenforce 0
vi /etc/sysconfig/selinux
改SELINUX=disabled
1.6.禁用Swap
swapoff -a
1.7.打开iptables桥接功能及路由转发
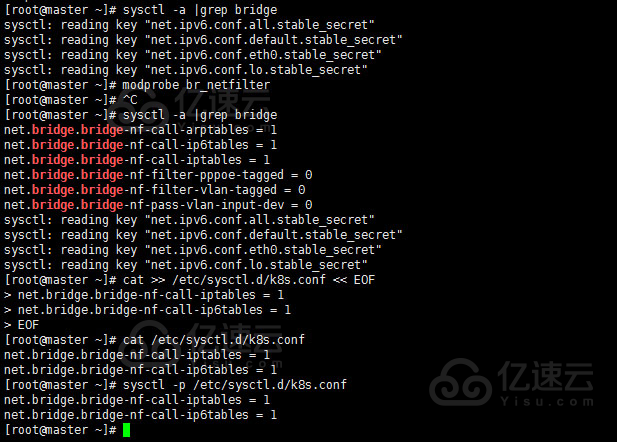
sysctl -a |grep bridge      过滤bridge不存在就用下面命令加载br_netfilter
modprobe br_netfilter

cat >> /etc/sysctl.d/k8s.conf << EOF
net.bridge.bridge-nf-call-iptables = 1
net.bridge.bridge-nf-call-ip6tables = 1
EOF

sysctl -p /etc/sysctl.d/k8s.conf
1.8.各节点开启转发
echo "net.ipv4.ip_forward = 1" >> /etc/sysctl.confsysctl -p
sysctl -p

2.部署k8s集群
2.1部署Docker
wget https://mirrors.aliyun.com/docker-ce/linux/centos/docker-ce.repo -O /etc/yum.repos.d/docker-ce.repo
yum -y install docker-cesystemctl enable docker && systemctl start docker
docker --version
2.2部署Kubernetes
2.2.1配置源
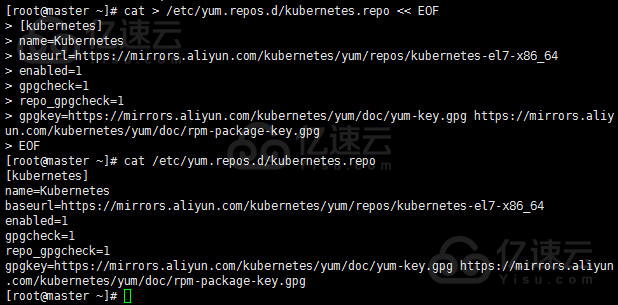
cat > /etc/yum.repos.d/kubernetes.repo << EOF
[kubernetes]
name=Kubernetes
baseurl=https://mirrors.aliyun.com/kubernetes/yum/repos/kubernetes-el7-x86_64
enabled=1
gpgcheck=1
repo_gpgcheck=1
gpgkey=https://mirrors.aliyun.com/kubernetes/yum/doc/yum-key.gpg https://mirrors.aliyun.com/kubernetes/yum/doc/rpm-package-key.gpg
EOF
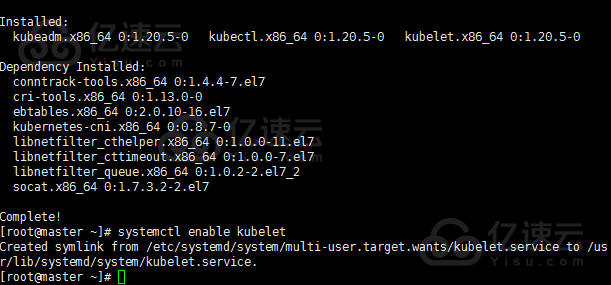
2.2.2安装Kubelet
yum -y install kubelet kubectl kubeadm
systemctl enable kubelet
2.2.3配置Master节点初始化
kubeadm version #查看安装的版本
kubeadm init --kubernetes-version="v1.21.0" --pod-network-cidr=10.0.244.0/16
--image-repository registry.aliyuncs.com/google_containers #根据上面版本填写
这里会报错,找不到 registry.aliyuncs.com/google_containers/coredns/coredns镜像,这个镜像可以从dockerhub拉取
docker pull coredns/coredns:latest
docker tag coredns/coredns:latest registry.aliyuncs.com/google_containers/coredns/coredns:v1.8.0
保存初始化中信息,方便节点加入。第三个方框的信息为加入节点代码
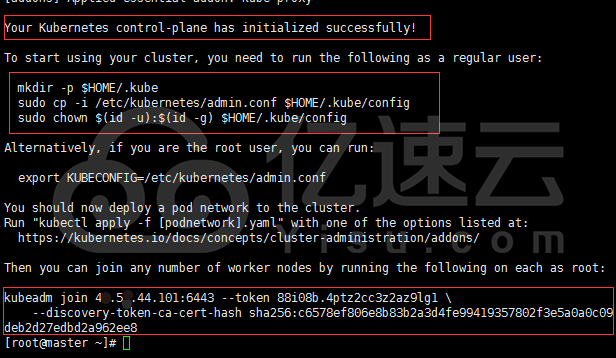
执行初始化中提示必要步骤
#如果不是管理员执行此方法
mkdir -p $HOME/.kube
sudo cp -i /etc/kubernetes/admin.conf $HOME/.kube/configsudo
chown $(id -u):$(id -g) $HOME/.kube/config

#管理员则执行
echo "export KUBECONFIG=/etc/kubernetes/admin.conf"  >> /etc/profile
source /etc/profile
kubectl查看节点状态
kubectl get nodes
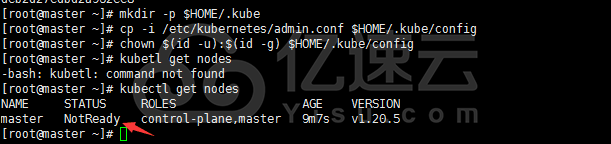
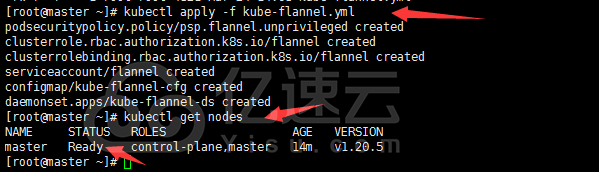
2.2.4在master中安装flannel插入
根据上图,状态是NotReady,安装flannel插件
wget https://raw.githubusercontent.com/coreos/flannel/master/Documentation/kube-flannel.yml
#如果wget下载有问题就用其他方法把yml文件下载下来
kubectl apply -f kube-flannel.yml
用kubectl查看状态是否变化为Ready。
kubectl get nodes
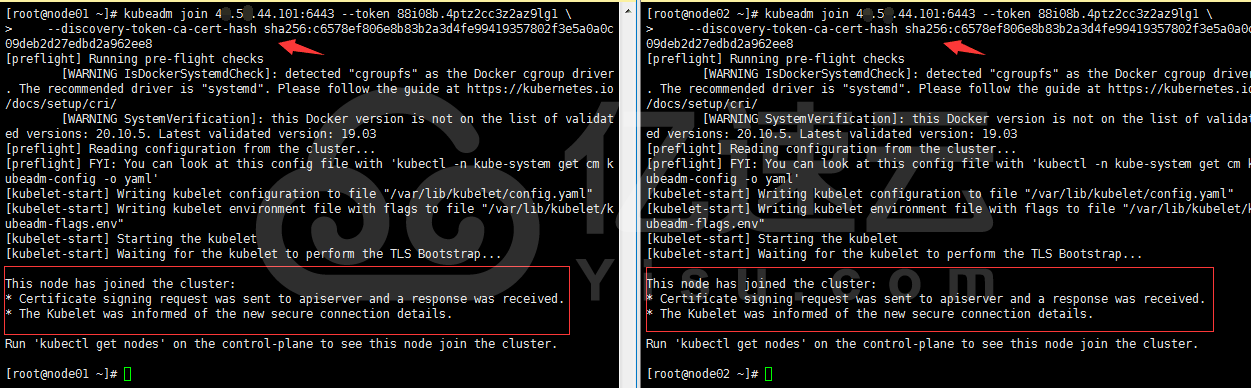
2.2.5Node节点加入
将 master初始中保存的
kueadm join ip:6443 --token **复制到node01、node02中执行
这里可能会报错 localhost:10248拒绝访问,这个无解,重装系统解决
重置节点信息
kubeadm reset
在节点执行 kubectl get nodes
The connection to the server localhost:8080 was refused - did you specify the right host or port?
需要将master节点的 /etc/kubernetes/admin.conf复制到node节点的相同位置然后执行下面的代码
echo "export KUBECONFIG=/etc/kubernetes/admin.conf"  >> /etc/profile
source /etc/profile


 1155
1155


 被折叠的 条评论
为什么被折叠?
被折叠的 条评论
为什么被折叠?
 到【灌水乐园】发言


