


1、下载
npm i tinymce
npm i @tinymce/tinymce-vue
npm install @jsdawn/vue3-tinymce
2、在public新建tinymce文件
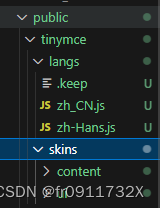
tinymce文件里面放skins和语言包langs
1.在node_modules文件夹中找到tinymce下的skins复制到项目public文件夹中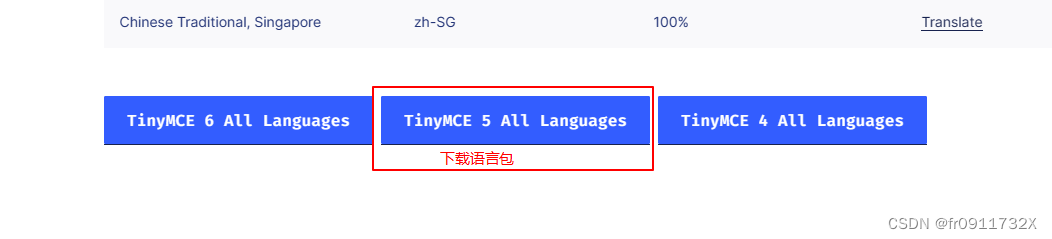
2.langs是语言包,在tinymce官网中下载中文包(如下图),点击按钮下载全部语言包,解压放至tinymce文件夹在tinymce官网中下载中文包,Language Packages | Trusted Rich Text Editor | TinyMCE
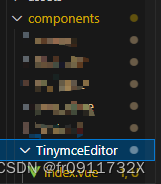
3、在项目components文件夹下封装组件TinymceEditor,把下面的代码放进去
<template>
  <div class="tinymce-box">
    <vue3-tinymce v-model="state.content" :setting="state.setting" />
  </div>
</template>

<script setup>
import { defineProps, reactive, watch, defineEmits } from 'vue'
// 引入组件
import Vue3Tinymce from '@jsdawn/vue3-tinymce'
const props = defineProps({
  modelValue: {
    type: String,
  },
})
const emits = defineEmits(['update:modelValue', 'contentChange'])
const state = reactive({
  content: props.modelValue,
  setting: {
    height: 400,
    selector: '#textarea1',
    toolbar:
      'undo redo | fullscreen | blocks alignleft aligncenter alignright alignjustify | link unlink | numlist bullist | image media table | fontsize forecolor backcolor | bold italic underline strikethrough | indent outdent | superscript subscript | removeformat |',
    toolbar_mode: 'sliding',
    quickbars_selection_toolbar:
      'removeformat | bold italic underline strikethrough | fontsize forecolor backcolor',
    plugins:
      'link image media table lists fullscreen quickbars wordcount,anchor',
    font_size_formats: '12px 14px 16px 18px',
    link_default_target: '_blank',
    link_title: false,
    nonbreaking_force_tab: true,
    // 以中文简体为例
    language_url: '/tinymce/langs/zh_CN.js', //引入语言包文件
    language: 'zh_CN', //语言类型

    // 自定义 图片上传模式
    custom_images_upload: true,

    // 复用 图片上传 api 地址
    images_upload_url:
      '此处填上传图片地址',

    // 上传成功回调函数,return 图片地址。默认 response.location
    custom_images_upload_callback: res => {
      // console.log(res,1111)
      return res.data
    },

    // 上传 api 请求头
    custom_images_upload_header: {
      token: `${window.localStorage.getItem('VEA-TOKEN')}`,
    },

    // 上传 api 额外的参数。图片默认 file
    // custom_images_upload_param: { },
  },
})
watch(
  () => state.content,
  () => {
    emits('update:modelValue', state.content)
    emits('contentChange', state.content)
  },
  {
    immediate: true,
    deep: true,
  }
)

watch(
  () => props.modelValue,
  () => {
    state.content = props.modelValue
  },
  {
    immediate: true,
    deep: true,
  }
)
</script>
<style scoped lang="scss">
.tinymce-box {
  :deep(.tox-promotion) {
    display: none;
  }
  :deep(.tox-statusbar__branding) {
    display: none;
  }
}
</style>
4、使用
<!-- 富文本编辑器页面 -->
<template>
  <div>
    <fu-content></fu-content>
  </div>
</template>
<script setup>
// 引入富文本组件
import fuContent from '@/components/TinymceEditor/index.vue'
</script>
注:使用elementplus组件库中的el-dialog组件和tinymce富文本时,el-dialog层级高会盖住了富文本不显示,可以改tinymce的css样式或者改用ant组件库


 8842
8842


 被折叠的 条评论
为什么被折叠?
被折叠的 条评论
为什么被折叠?
 到【灌水乐园】发言


