


文章目录
用纯Java配置类管理Bean
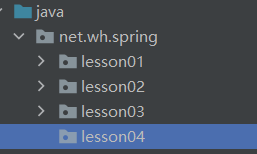
一 创建lesson04包
在net.wh.spring下创建lesson04包
二 创建SlayDragonQuest任务类
在lesson04子包下创建杀龙任务类 - SlayDragonQuest
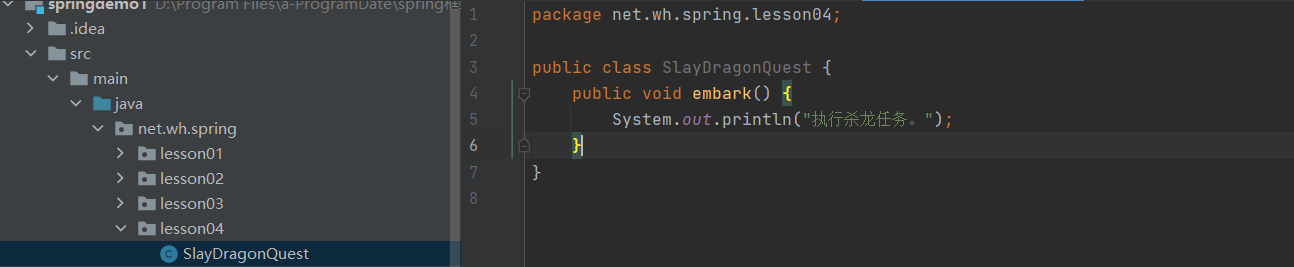 因为是纯java配置类管理bean,所以没有加@Component声明bean
三 创建BraveKnight类
在lesson04子包下创建 BraveKnight类
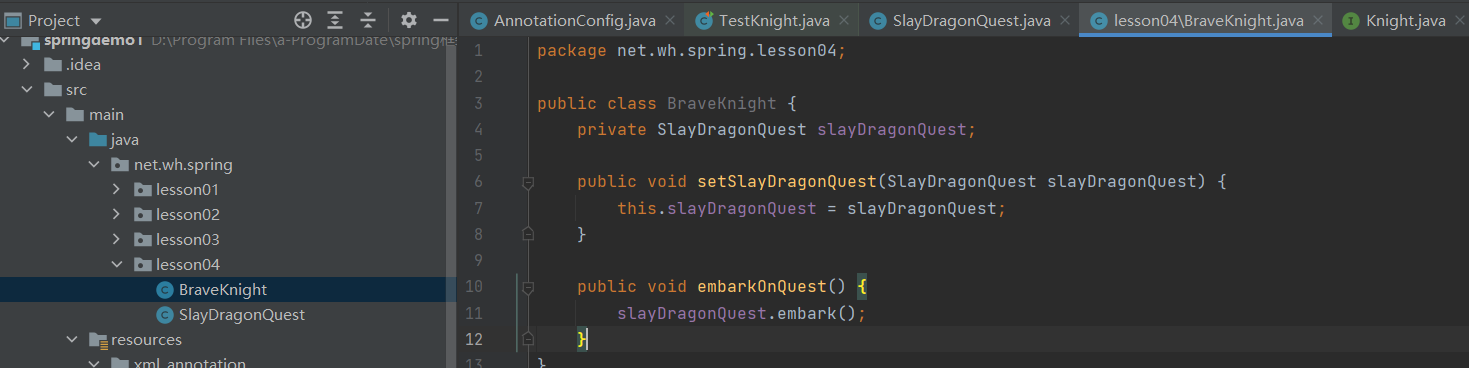
注意:没有添加@Component注解符声明Bean;没有使用@Autowired注解符注入Bean
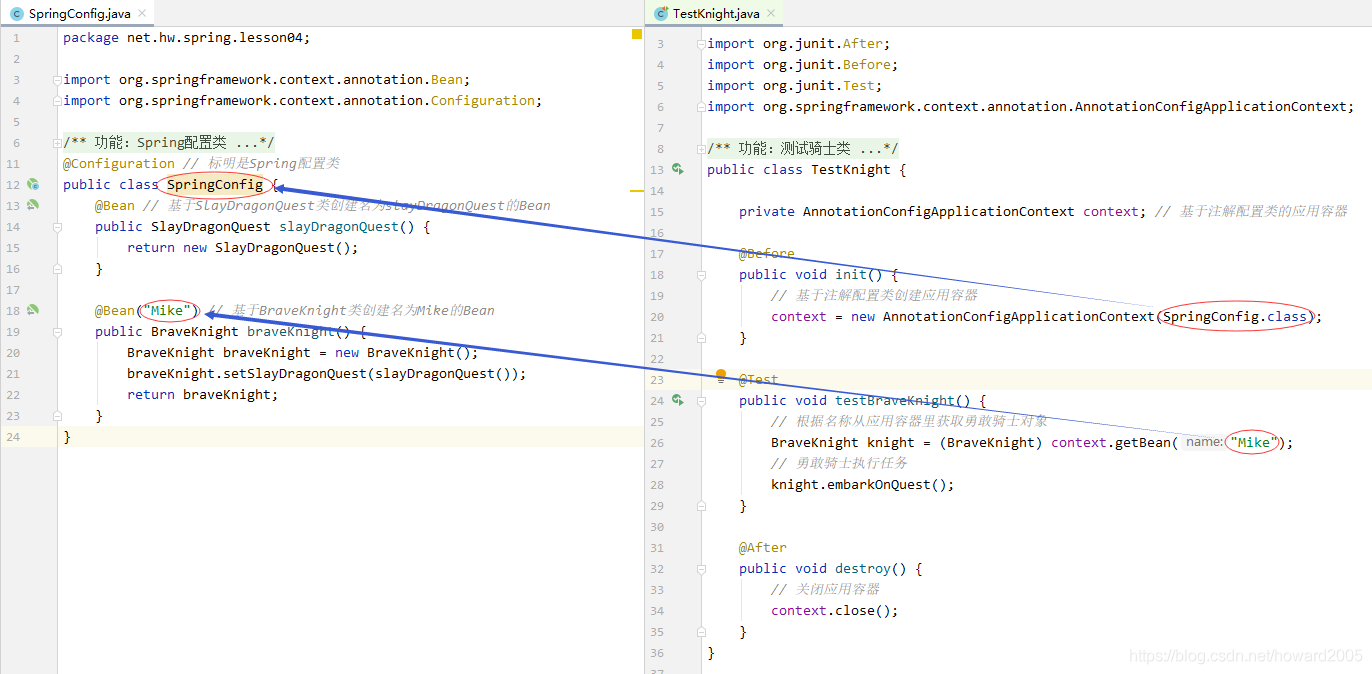
四 创建Spring配置类
在lesson04子包下创建Spring配置类 - SpringConfig
package net.wh.spring.lesson04;

import org.springframework.context.annotation.Bean;
import org.springframework.context.annotation.Configuration;

@Configuration // 标明是Spring配置类
public class SpringConfig {
    @Bean // 基于SlayDragonQuest类创建名为slayDragonQuest的Bean
    public SlayDragonQuest slayDragonQuest() {
        return new SlayDragonQuest();
    }

    @Bean("Mike") // 基于BraveKnight类创建名为Mike的Bean
    public BraveKnight braveKnight() {
        BraveKnight braveKnight = new BraveKnight();
        braveKnight.setSlayDragonQuest(slayDragonQuest());
        return braveKnight;
    }
}
使用@Configuration注解表明当前类是一个配置类,这意味着这个类里可能有0个或多个@Bean注解,此处没有使用包扫描,因为所有的Bean都在此类中定义了。
使用@Bean注解,不带参数,声明当前方法的返回值是一个Bean,而Bean的名称就是方法名,当然也可以设置@Bean的参数,用来指定Bean的名称。
五 创建测试类 - TestKnight
在/test/java里创建lesson04包,在包里创建TestKnight
package net.wh.spring.lesson04;

import org.junit.After;
import org.junit.Before;
import org.junit.Test;
import org.springframework.context.annotation.AnnotationConfigApplicationContext;


public class TestKnight {

    private AnnotationConfigApplicationContext context; // 基于注解配置类的应用容器

    @Before
    public void init() {
        // 基于注解配置类创建应用容器
        context = new AnnotationConfigApplicationContext(SpringConfig.class);
    }

    @Test
    public void testBraveKnight() {
        // 根据名称从应用容器里获取勇敢骑士对象
        BraveKnight knight = (BraveKnight) context.getBean("Mike");
        // 勇敢骑士执行任务
        knight.embarkOnQuest();
    }

    @After
    public void destroy() {
        // 关闭应用容器
        context.close();
    }
}
运行测试,查看测试结果

六、课堂测试
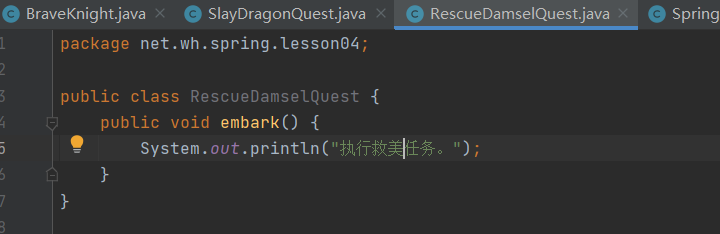
1、创建救美任务类和救美骑士类

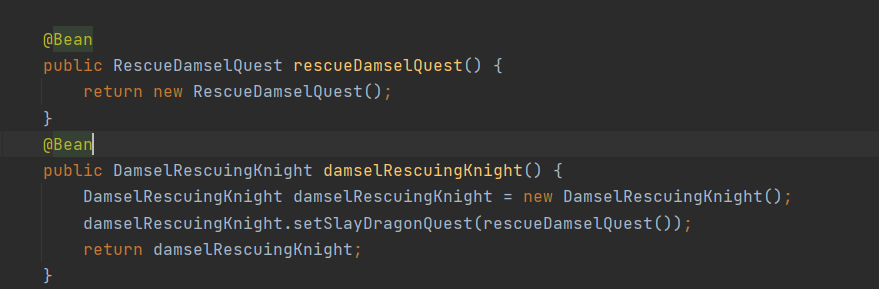
2、修改Spring配置类 - 管理救美任务Bean和救美骑士Bean
3、在测试类TestKnight里创建测试方法 - testDamselRescuingKnight()

4、执行测试方法 - testDamselRescuingKnight()

七、Spring管理Bean的四种方式
方式一:纯粹使用Spring配置文件(XML)来管理Bean
方式二:注解符搭配Spring配置文件(XML)来管理Bean
方式三:注解符搭配Spring配置类(Java)来管理Bean
方式四:纯粹使用Spring配置类(Java)来管理Bean


 835
835


 被折叠的 条评论
为什么被折叠?
被折叠的 条评论
为什么被折叠?
 到【灌水乐园】发言


