


踩坑经验分享
这些东西内容较少,单独写个博客觉得有点奇怪,故全放在一起记录
Openkylin安装crash
Ubuntu 软件仓库镜像使用帮助
Certificate verification failed: The certificate is NOT trusted.
解决:选项是否使用 HTTPS 选择否
public key is not available: NO_PUBKEY 3F01618A51312F3F
解决:apt-key adv --recv-keys --keyserver keyserver.ubuntu.com 3B4FE6ACC0B21F32
crash参考
Kernel crash dump
安装完linux-crashdump重启即可
内核调试工具crash使用
docker安装与简单使用
安装:如何在 Ubuntu 20.04 上安装和使用 Docker
sudo apt update # 更新软件包索引
sudo apt install apt-transport-https ca-certificates curl gnupg-agent software-properties-common # 安装必要的依赖软件,来添加一个新的 HTTPS 软件源
curl -fsSL https://download.docker.com/linux/ubuntu/gpg | sudo apt-key add - # 导入源仓库的 GPG key
sudo add-apt-repository "deb [arch=amd64] https://download.docker.com/linux/ubuntu $(lsb_release -cs) stable" # 将 Docker APT 软件源添加到你的系统
sudo apt update
sudo apt install docker-ce docker-ce-cli containerd.io
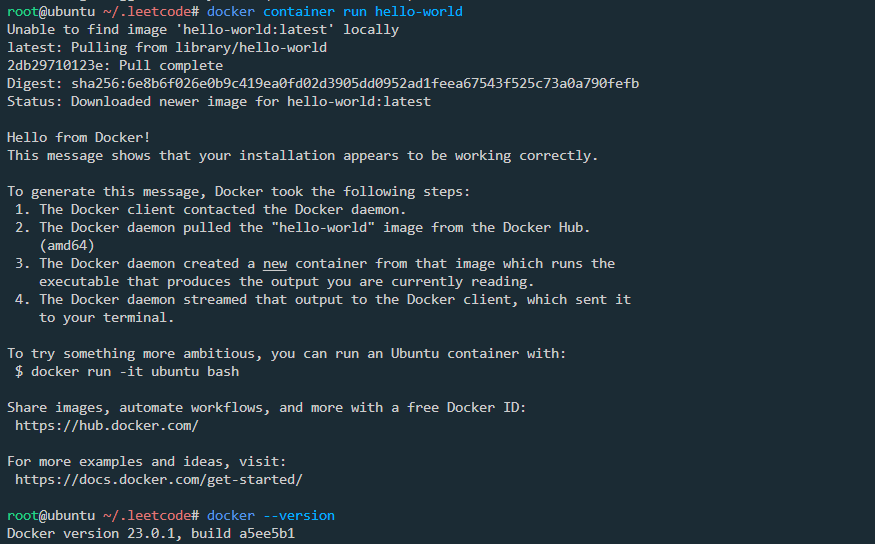
docker container run hello-world
containerd.io - daemon to interface with the OS API (in this case, LXC - Linux Containers), essentially decouples Docker from the OS, also provides container services for non-Docker container managers
docker-ce - Docker daemon, this is the part that does all the management work, requires the other two on Linux
docker-ce-cli - CLI tools to control the daemon, you can install them on their own if you want to control a remote Docker daemon
史上最全Docker初学者命令大全
Docker安装及换源 本人未换源
nginx简单测试:linux的docker下安装nginx
//docker拉取ngnix
docker pull nginx
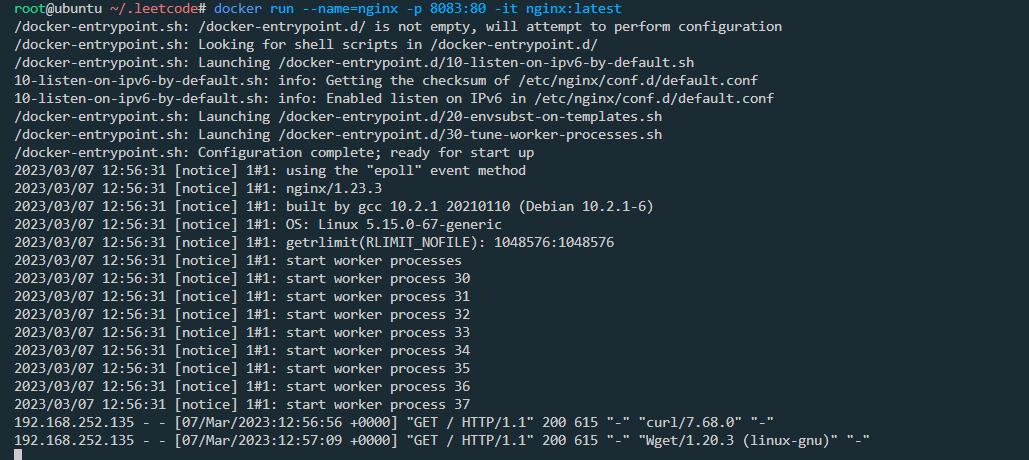
//运行nginx 以80端口运行
docker run --name=nginx -p 8083:80 -it nginx:latest
//查看正在运行的镜像
docker ps
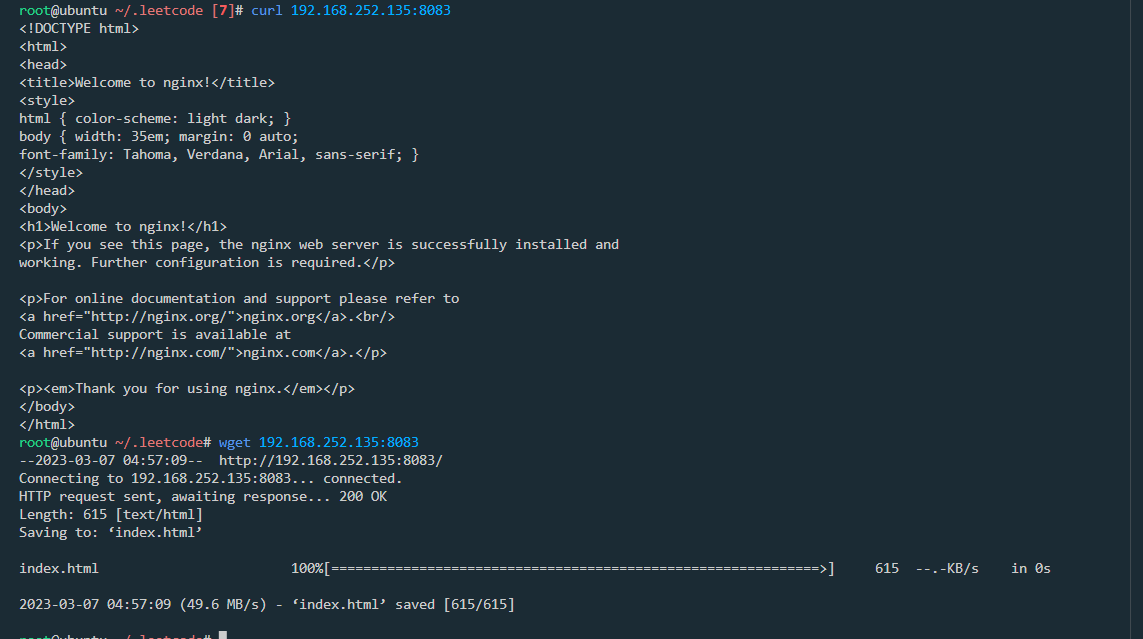
//使用curl/wget访问
curl 192.168.252.135:8083
wget 192.168.252.135:8083
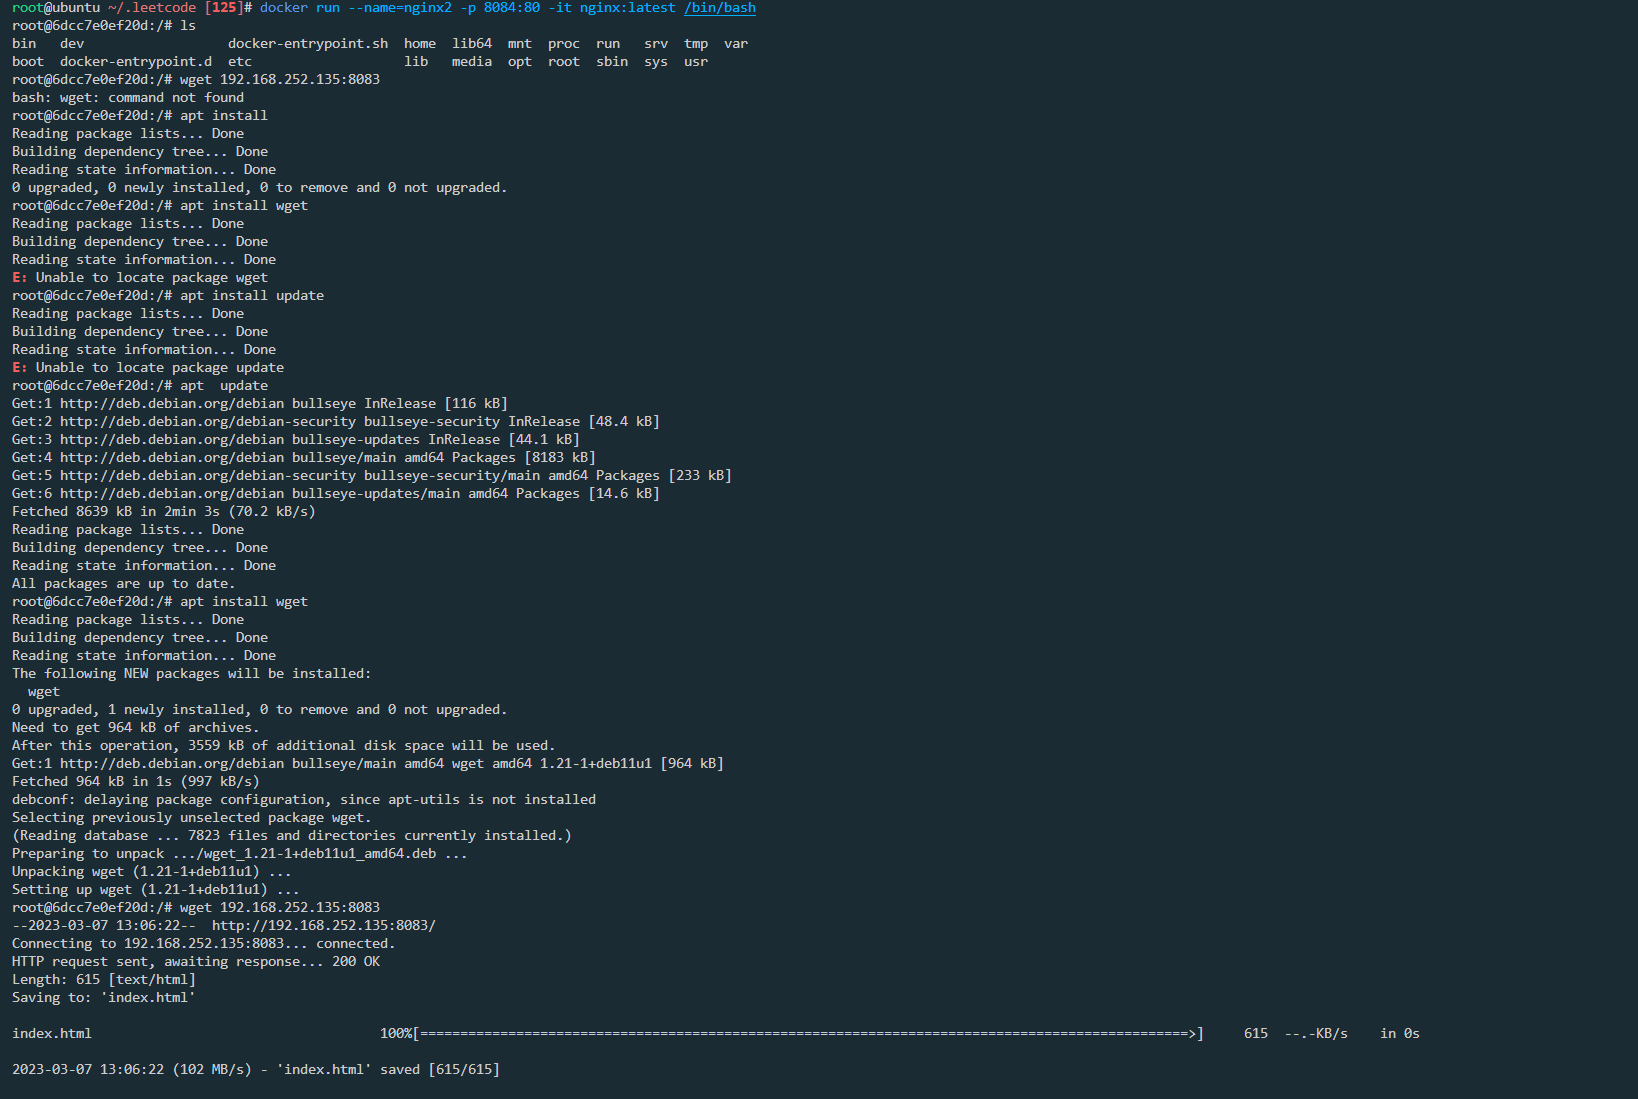
开启另一个docker,访问当前docker nginx服务
docker run --name=nginx2 -p 8084:80 -it nginx:latest /bin/bash
apt  update
apt install wget
wget 192.168.252.135:8083
删除所有容器,完成测试
docker rm -f $(docker ps -aq)
Could not resolve ‘mirrors.aliyun.com‘
DNS配置文件位置:
# /etc/resolv.conf

cat /etc/resolv.conf
# Dynamic resolv.conf(5) file for glibc resolver(3) generated by resolvconf(8)
#     DO NOT EDIT THIS FILE BY HAND -- YOUR CHANGES WILL BE OVERWRITTEN

nameserver 8.8.8.8
nameserver 8.8.4.4
ubuntu 在换源过程中遇到的坑:Could not resolve ‘mirrors.aliyun.com‘
pip换源
最近用清华源安装python第三方库时,总是显示超时,即使设置了超时参数也无济于事,故打算给pip换个阿里源,在用户目录/pip/pip.ini中设置了镜像源后,pip仍然使用的是清华源,使用命令
pip -v config list
发现在其他位置还有一个配置文件,覆盖了用户目录的配置,导致设置失败。
将pip换成阿里源后,就没出现超时问题了
国内镜像链接
pip配置文件读取规则
vue ui
vue ui
命令真的好用!,既可以创建vue项目,也可以运行调试vue项目
vue-cli安装3版本,可以避免很多错误
element-ui组件库不支持4版本,main.js中的写法改变
import Vue from 'vue';
import ElementUI from 'element-ui';
import 'element-ui/lib/theme-chalk/index.css';
import App from './App.vue';

Vue.use(ElementUI);

new Vue({
  el: '#app',
  render: h => h(App)
});


import { createApp } from 'vue'
import App from './App.vue'
import ElementUI from 'element-ui'
import 'element-ui/lib/theme-chalk/index.css'
import './plugins/element.js'


createApp(App).use(ElementUI).mount('#app')
安装vue-cli4
cnpm install -g @vue/cli
安装vue-cli3
cnpm install -g @vue/cli@3.0.4
xxx:2.0.4.RELEASE’ not found
在使用spring boot创建应用时,时常会出现找不到xxx:2.0.4.RELEASE’ not found文件的情况,假设使用的是下列的maven源文件
maven阿里源文件
<?xml version="1.0" encoding="UTF-8"?>
<settings xmlns="http://maven.apache.org/SETTINGS/1.0.0"
    xmlns:xsi="http://www.w3.org/2001/XMLSchema-instance"
    xsi:schemaLocation="http://maven.apache.org/SETTINGS/1.0.0 http://maven.apache.org/xsd/settings-1.0.0.xsd">

    <pluginGroups />
    <proxies />
    <servers />

    <!-- maven自动下载的jar包,会存放到该目录下 -->
    <localRepository>D:/maven/repository</localRepository>
     <profiles>
     <profile>
      <id>spring plugins</id>

      <activation>
        <jdk>spring plugins</jdk>
      </activation>

      <pluginRepositories>
        <pluginRepository>
          <id>spring plugins</id>
          <name>Spring plugins</name>
          <url>https://maven.aliyun.com/repository/spring-plugin</url>
          <layout>default</layout>
          <snapshotPolicy>always</snapshotPolicy>
        </pluginRepository>
      </pluginRepositories>
    </profile>
  </profiles>
    <mirrors>
        <mirror>
            <id>alimaven</id>
            <mirrorOf>central</mirrorOf>
            <name>aliyun maven</name>
            <url>http://maven.aliyun.com/nexus/content/repositories/central/</url>
        </mirror>
        <mirror>
            <id>alimaven</id>
            <name>aliyun maven</name>
            <url>http://maven.aliyun.com/nexus/content/groups/public/</url>
            <mirrorOf>central</mirrorOf>
        </mirror>
        <mirror>
            <id>central</id>
            <name>Maven Repository Switchboard</name>
            <url>http://repo1.maven.org/maven2/</url>
            <mirrorOf>central</mirrorOf>
        </mirror>
        <mirror>
            <id>repo2</id>
            <mirrorOf>central</mirrorOf>
            <name>Human Readable Name for this Mirror.</name>
            <url>http://repo2.maven.org/maven2/</url>
        </mirror>
        <mirror>
            <id>ibiblio</id>
            <mirrorOf>central</mirrorOf>
            <name>Human Readable Name for this Mirror.</name>
            <url>http://mirrors.ibiblio.org/pub/mirrors/maven2/</url>
        </mirror>
        <mirror>
            <id>jboss-public-repository-group</id>
            <mirrorOf>central</mirrorOf>
            <name>JBoss Public Repository Group</name>
            <url>http://repository.jboss.org/nexus/content/groups/public</url>
        </mirror>
        <mirror>
            <id>google-maven-central</id>
            <name>Google Maven Central</name>
            <url>https://maven-central.storage.googleapis.com
            </url>
            <mirrorOf>central</mirrorOf>
        </mirror>
        <!-- 中央仓库在中国的镜像 -->
        <mirror>
            <id>maven.net.cn</id>
            <name>oneof the central mirrors in china</name>
            <url>http://maven.net.cn/content/groups/public/</url>
            <mirrorOf>central</mirrorOf>
        </mirror>
    </mirrors>

</settings>
则可以在https://maven.aliyun.com/mvn/search中查找可用的版本
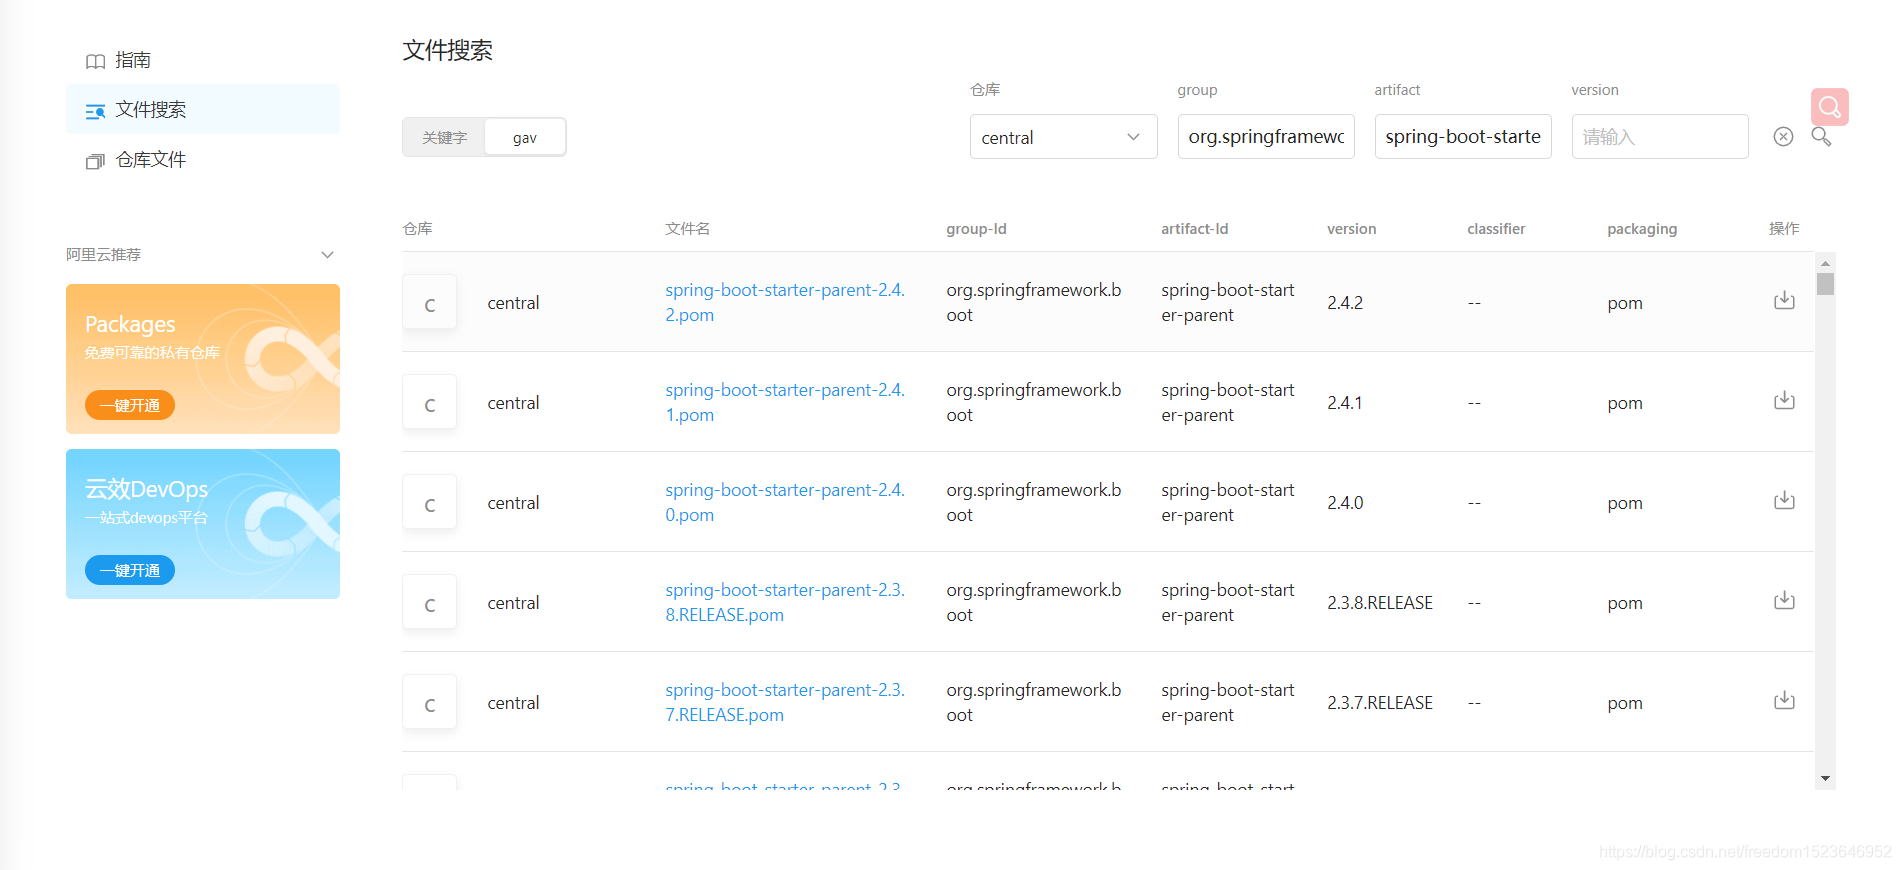
上图查看central中
<groupId>org.springframework.boot</groupId>
<artifactId>spring-boot-starter-parent</artifactId>
的可用版本,
随后的pom文件安装在目录
D:\maven\repository\org\springframework\boot\spring-boot-starter-parent
Windows 搭建 opengrok总结
我参照博客Windows 搭建 opengrok安装opengrok。
步骤:
1 安装JDK并配置Java环境变量
2 安装tomcat
3 安装opengrok
4 安装ctags
5 配置opengrok
6 配置Tomcat
7 运行
问题:
在配置opengrok时运行
java -Xmx524m -jar D:\opengrok-1.7.13\lib\opengrok.jar -W D:\opengrok-1.7.13\data\configuration.xml -P -S -v -s D:\opengrok-1.7.13\source -d D:\opengrok-1.7.13\data
出现java.lang.UnsupportedClassVersionError错误,即版本不一致,我电脑上java版本为1.8,而opengrok-1.7.13需要java版本超过11,故需要在电脑上安装高版本的java。参照博客WebService程序(电脑上安装两个版本的java)安装了java13后运行成功。
另外将war文件拷贝过去后需要运行tomcat才会有source文件夹。
mathtype宏位置
在解决MathPage.wll或MathType.dll文件找不到问题时,教程里说将添加信任位置
C:\Program Files\Microsoft Office\Office14\STARTUP
但在差不多的位置却找不到这个文件夹
后面发现STARTUP文件夹在
C:\Program Files\Microsoft Office\root\Office16\STARTUP
tomcat编码问题
用startup.bat运行tomcat时,中文总是显示乱码,故想修改一下cmd的编码,在通过修改注册表修改cmd的默认编码后(博客),tomcat运行还是乱码,故修改tomcat的输出编码(博客)
ubuntu关闭自动更新
sudo apt remove unattended-upgrades
中级篇——ubuntu系统关闭unattended upgrades无人值守更新功能
【Ubuntu】解决 error: dpkg frontend is locked by another process
zerotier libssl.so.1.1
按照zerotier官网安装
curl -s https://install.zerotier.com | sudo bash
sudo zerotier-cli info时报错,zerotier-cli: error while loading shared libraries: libssl.so.1.1: cannot open shared object file: No such file or directory
实际上有3个动态库版本对不上:libssl.so.1.1,libstdc++.so.6,libcrypto.so.1.1。这些版本都太高了,懒得一个一个更新
后通过下载历史版本link,选择下载1.6.0版本的deb文件,dpkg -i安装软件,问题解决!
https://download.zerotier.com/RELEASES/1.6.0/dist/debian/bionic/
麒麟系统上编译32位程序
麒麟系统架构为aarch64,需要编译32 arm程序
刚开始一直找交叉编译工具,即x86->arm,方向找错了
gcc -m32选项无效,-march也没啥用,看网上的回答说要用arm-linux-gnueabihf-gcc进行编译
apt search arm-linux
选择其中的GNU c compiler 下载
sudo apt install gcc-arm-linux-gnueabi
但显示libc6-armel-cross未安装,而libc6-armel-cross无法安装
在网站下载gcc-arm-11.2-2022.02-aarch64-arm-none-linux-gnueabihf.tar.xz,但glibc版本太高,这些都是基于GCC 11.2,无法找到其历史版本。
最终解决方案:
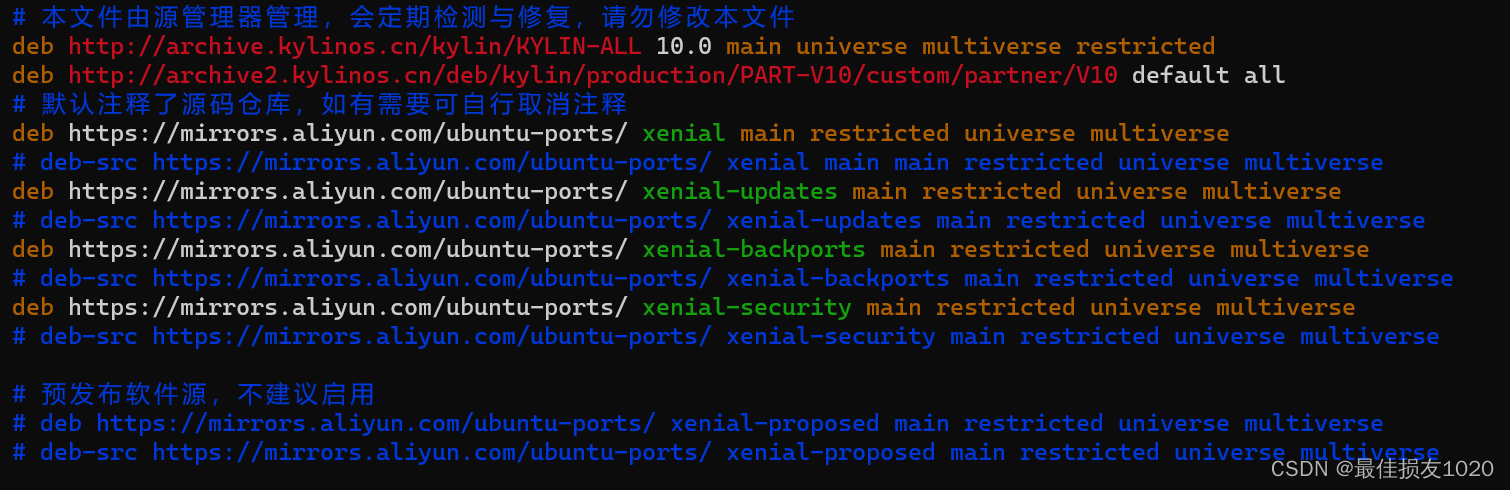
首先根据网页信息,修改/etc/apt/sources.list里面的源,详见:
https://developer.aliyun.com/mirror/ubuntu-ports?spm=a2c6h.13651104.0.0.3a7b94ddis3PQ6
修改以后的文件内容如下图所示:
随后执行:
sudo apt install apt-transport-https  # apt 支持https
sudo apt update
sudo apt install gcc-arm-linux-gnueabihf
arm-linux-gnueabihf-gcc hello.c
编译以后效果如下:

arm-linux-gnueabihf-gcc和arm-linux-gnueabi-gcc的区别
gcc-arm-linux-gnueabi – The GNU C compiler for armel architecture
gcc-arm-linux-gnueabihf – The GNU C compiler for armhf architecture
可见这两个交叉编译器适用于armel和armhf两个不同的架构, armel和armhf这两种架构在对待浮点运算采取了不同的策略(有fpu的arm才能支持这两种浮点运算策略)


 220
220


 被折叠的 条评论
为什么被折叠?
被折叠的 条评论
为什么被折叠?
 到【灌水乐园】发言


