vue轮播图里面预览穿透 :preview-teleported=“true“

文章讲述了在Vue的el-carousel组件中,如何使用`preview-teleported`属性以及`preview-src-list`来实现在点击图片时显示预览效果,同时处理穿透问题的详细代码示例。
摘要由CSDN通过智能技术生成

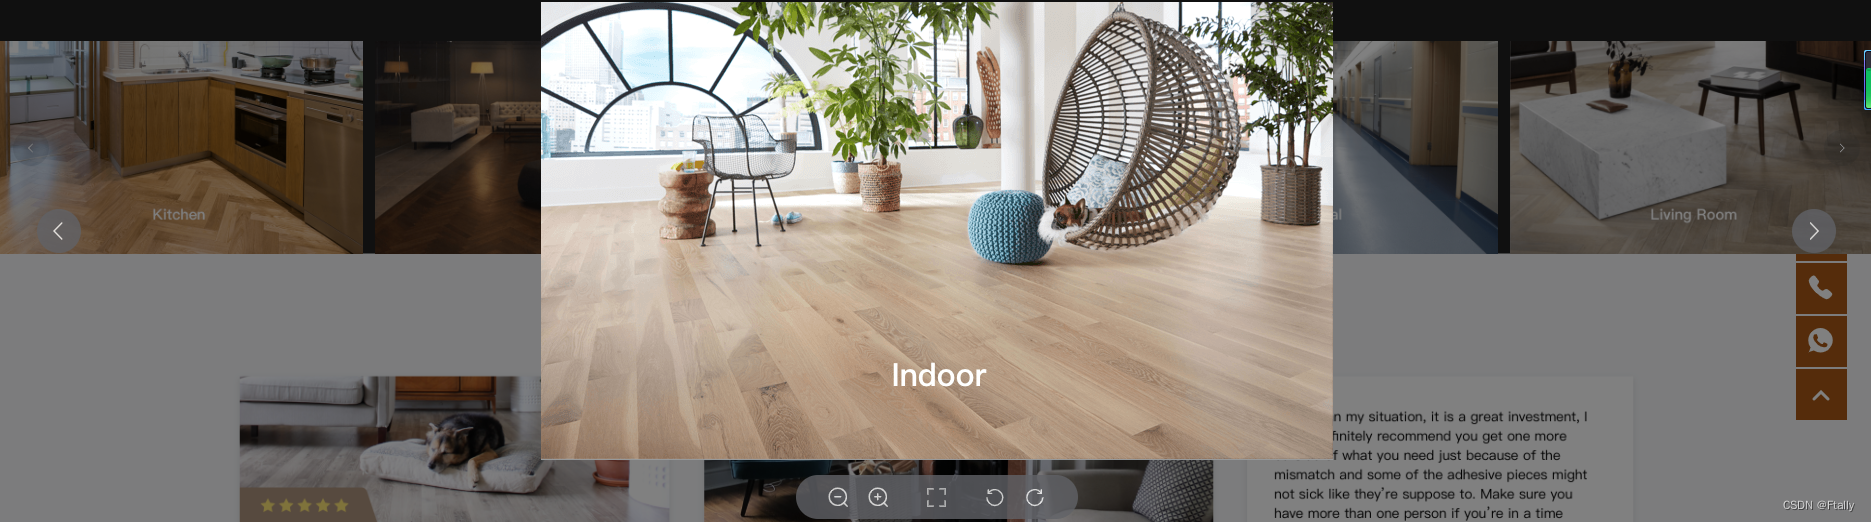
vue轮播图里面预览穿透 :preview-teleported="true"

<el-carousel :interval="5000" arrow="always" :style="{ 'z-index': 1000 }">
                        <el-carousel-item v-for="(ite, idx) in list" :key="idx">
                            <div class="AllSMAYMap_swiper_cont">
                                <div class="AllSMAYMap_swiper_items" v-for="(ites, idxs) in ite.list" :key="idxs">
                                    
                                    <el-image style="width: 100%; height: 100%" :src="ites" :preview-teleported="true"  :preview-src-list="ite.list"  :initial-index="CloseImgIndex"  @click="CloseImgEvent(ite,idx,ites,idxs)"
                                        :alt="ite">
                                    </el-image>
                                </div>
                            </div>
                        </el-carousel-item>
                    </el-carousel>

  • 3
    点赞
  • 0
    收藏
    觉得还不错? 一键收藏
  • 2
    评论
你可以使用props来传递值,例如: ```html <!-- 父组件 --> <template> <div> <nut-cell :title="title" :is-link="isLink" :show-icon="showIcon" /> </div> </template> <script> import NutCell from '@/components/NutCell.vue' export default { components: { NutCell }, data() { return { title: '工作写实', isLink: true, showIcon: true } } } </script> ``` 你可以在子组件中使用props来接收这些值,例如: ```html <!-- 子组件 NutCell.vue --> <template> <div class="nut-cell"> <div class="nut-cell__title">{{ title }}</div> <div class="nut-cell__right-icon" v-if="showIcon"> <i class="iconfont icon-right"></i> </div> </div> </template> <script> export default { props: { title: { type: String, default: '' }, isLink: { type: Boolean, default: false }, showIcon: { type: Boolean, default: false } } } </script> ``` 这样就能够在父组件中传递数据给子组件了,子组件可以根据props来渲染自己的内容。对于父组件来说,可以使用computed或者methods来获取子组件的数据,例如: ```html <!-- 父组件 --> <template> <div> <nut-cell ref="cell" :title="title" :is-link="isLink" :show-icon="showIcon" /> <button @click="handleClick">获取子组件数据</button> </div> </template> <script> import NutCell from '@/components/NutCell.vue' export default { components: { NutCell }, data() { return { title: '工作写实', isLink: true, showIcon: true } }, methods: { handleClick() { const title = this.$refs.cell.title const isLink = this.$refs.cell.isLink const showIcon = this.$refs.cell.showIcon console.log(title, isLink, showIcon) } } } </script> ``` 在这个例子中,我们通过在父组件中给子组件添加ref属性来获取子组件的实例,并且通过访问子组件的属性来获取子组件的数据。

“相关推荐”对你有帮助么?

  • 非常没帮助
  • 没帮助
  • 一般
  • 有帮助
  • 非常有帮助
提交
评论 2
添加红包

请填写红包祝福语或标题

红包个数最小为10个

红包金额最低5元

当前余额3.43前往充值 >
需支付:10.00
成就一亿技术人!
领取后你会自动成为博主和红包主的粉丝 规则
hope_wisdom
发出的红包
实付
使用余额支付
点击重新获取
扫码支付
钱包余额 0

抵扣说明:

1.余额是钱包充值的虚拟货币,按照1:1的比例进行支付金额的抵扣。
2.余额无法直接购买下载,可以购买VIP、付费专栏及课程。

余额充值