


前言
书接上回,在gin的框架使用中,还有着许多方法以及它们的作用,本篇博客将会接着上次的内容继续记录本人在学习gin框架时的思路和笔记。
如果还没有看过上篇博客的可以点此跳转。
map参数
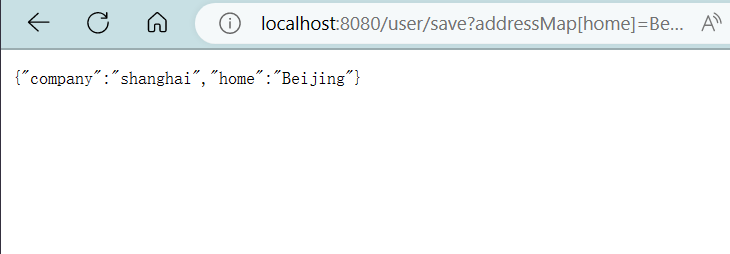
请求url: http://localhost:8080/user/save?addressMap[home]=Beijing&addressMap[company]=shanghai
	//map形式获取参数
	r.GET("/user/save", func(context *gin.Context) {
		addressMap := context.QueryMap("addressMap")
		context.JSON(200, addressMap)
	})
一般我们使用context.QueryMap方法来获取map类型的参数。
Post请求参数
post请求一般是表单参数和json参数
表单参数
	r.POST("/user/save", func(context *gin.Context) {
		username := context.PostForm("username")
		password := context.PostForm("password")

		context.JSON(200, gin.H{
			username: username,
			password: password,
		})
	})
一般使用context.PostForm获取表单元素对应value的值
这里简单写了一个表单界面
<!DOCTYPE html>
<html lang="en">

<head>
    <meta charset="UTF-8">
    <meta http-equiv="X-UA-Compatible" content="IE=edge">
    <meta name="viewport" content="width=device-width, initial-scale=1.0">
    <title>Document</title>
</head>

<body>
    <form action="http://localhost:8080/user/save" method="post">
        name:<input type="text" name="username">
        password:<input type="text" name="password">
        <input type="submit" value="提交">
    </form>

</body>

</html>
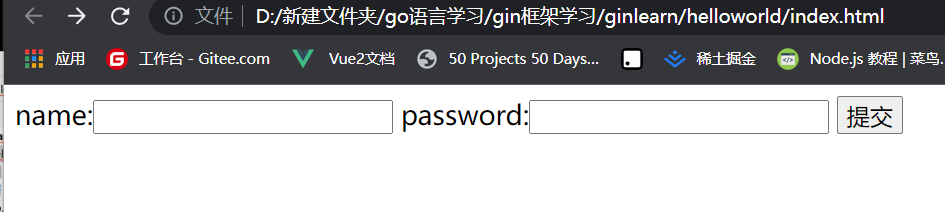
是这个样子的,分别填写内容并点击提交
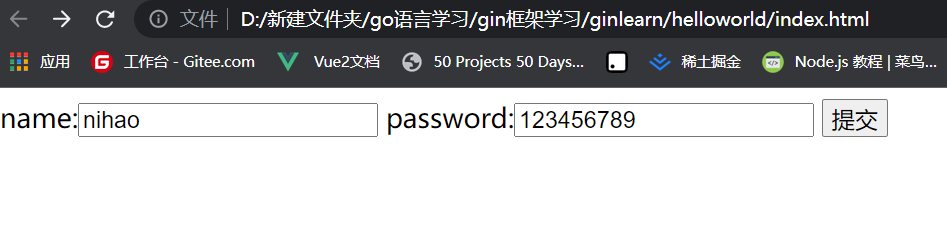
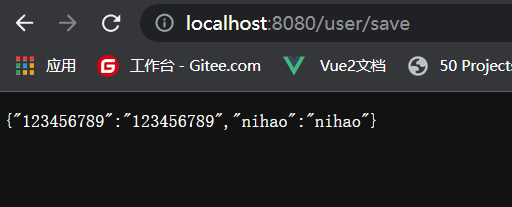
服务器就会接收这两个参数并返回
json参数
json参数形如:
{
	"id":1111,
	"name":"张三",
	"address":[
		"beijing",
		"shanghai"
		]
}
//获取json参数
	r.POST("/user/json", func(context *gin.Context) {
		var user User
		context.ShouldBindJSON(&user)
		context.JSON(200,user)
	})
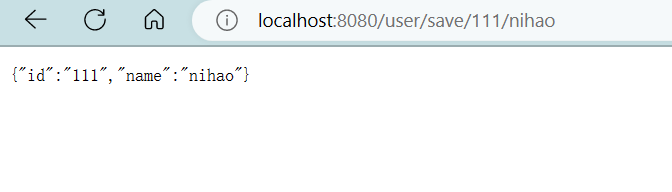
路径参数
请求url:http://localhost:8080/user/save/111
//获取路径参数
	r.GET("/user/save/:id/:name", func(context *gin.Context) {
		id := context.Param("id")
		name := context.Param("name")
		context.JSON(200, gin.H{
			"id":   id,
			"name": name,
		})
	})
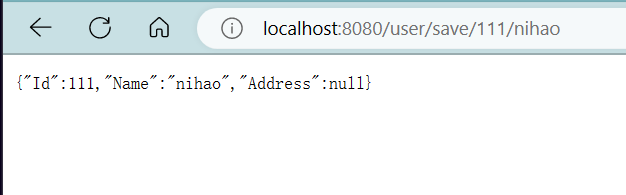
第二种 方法
type User struct {
	Id      int64    `form:"id" uri:"id"'`
	Name    string   `form:"name" uri:"name"`
	Address []string `form:"address"`
}

	//获取路径参数
	r.GET("/user/save/:id/:name", func(context *gin.Context) {
		var user User
		context.ShouldBindUri(&user)
		//id := context.Param("id")
		//name := context.Param("name")
		context.JSON(200, user)
	})
文件参数
	//获取文件参数
	r.POST("/user/file", func(context *gin.Context) {
		form, err := context.MultipartForm()
		if err != nil {
			log.Println(err)
		}

		value := form.Value
		files := form.File
		for _, fileArray := range files {
			for _, v := range fileArray {
				context.SaveUploadedFile(v, "./"+v.Filename)
			}
		}

		context.JSON(200, value)
	})
我们一般使用form, err := context.MultipartForm()获取文件
form.Value是文件的值
form.File是整个文件
context.SaveUploadedFile可以把文件储存在本地
响应
响应就是客服端把请求发过来的时候我们给客户端响应信息的数据
响应的方式可以有很多种
返回字符串的形式
	r.GET("/get/response", func(context *gin.Context) {
		context.String(200, "this is %s", "response string")
	})

返回json方式
	//返回json形式
	r.GET("/get/json", func(context *gin.Context) {
		context.JSON(200,gin.H{
			"xxx":"xxx",
		})
	})
模板渲染
模板是golang语言的一个标准库,使用场景很多,gin框架同样支持模板
基本使用
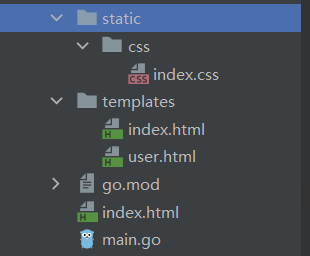
定义一个存放模板文件的templates文件夹
并新建index.html
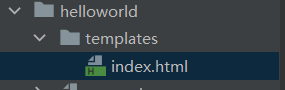
在index.html下写入
<!doctype html>
<html lang="en">
<head>
    <meta charset="UTF-8">
    <meta name="viewport"
          content="width=device-width, user-scalable=no, initial-scale=1.0, maximum-scale=1.0, minimum-scale=1.0">
    <meta http-equiv="X-UA-Compatible" content="ie=edge">
    <title>Title</title>
</head>
<body>
{{.title}}
</body>
</html>
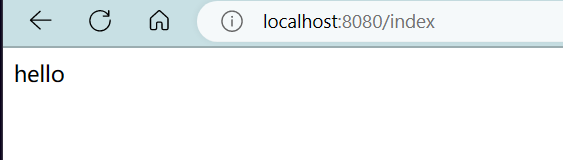
后端:
//加载模板
r.LoadHTMLFiles("./templates/index.html")
r.GET("/index", func(context *gin.Context) {
context.HTML(200, "index.html", gin.H{
"title": "hello",
})
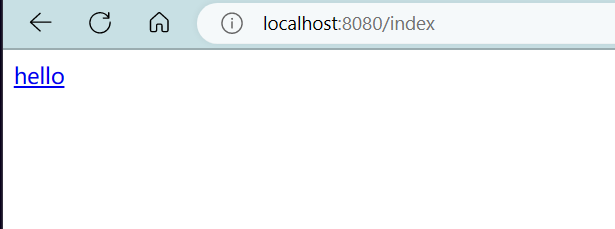
})
服务器启动后访问localhost:8080/index
多个模板渲染
	//加载模板
	r.LoadHTMLGlob("./template/**")
	//r.LoadHTMLFiles("./templates/index.html", "./remplates/user.html")
	r.GET("/index", func(context *gin.Context) {
		context.HTML(200, "index.html", gin.H{
			"title": "hello",
		})
	})
	r.GET("user", func(context *gin.Context) {
		context.HTML(200, "index.html", gin.H{
			"title": "hello user",
		})
	})
多模板渲染一般使用r.LoadHTMLGlob(“./template/**”)
自定义模板函数
	//自定义模板函数
	r.SetFuncMap(template.FuncMap{
		"safe":func(str string) template.HTML{
			return template.HTML(str)
		},

	})

	//加载模板
	r.LoadHTMLGlob("./template/**")
	//r.LoadHTMLFiles("./templates/index.html", "./remplates/user.html")
	r.GET("/index", func(context *gin.Context) {
		context.HTML(200, "index.html", gin.H{
			"title": "<a href='www.baidu.com'>hello</a>",
		})
	})
前端:
<!doctype html>
<html lang="en">
<head>
    <meta charset="UTF-8">
    <meta name="viewport"
          content="width=device-width, user-scalable=no, initial-scale=1.0, maximum-scale=1.0, minimum-scale=1.0">
    <meta http-equiv="X-UA-Compatible" content="ie=edge">
    <title>Title</title>
</head>
<body>
{{.title | safe}}
</body>
</html>
静态文件处理
如果在模板中引入静态文件,比如样式文件
index.css
	//引入静态文件
	r.Static("/css", "./static/css")
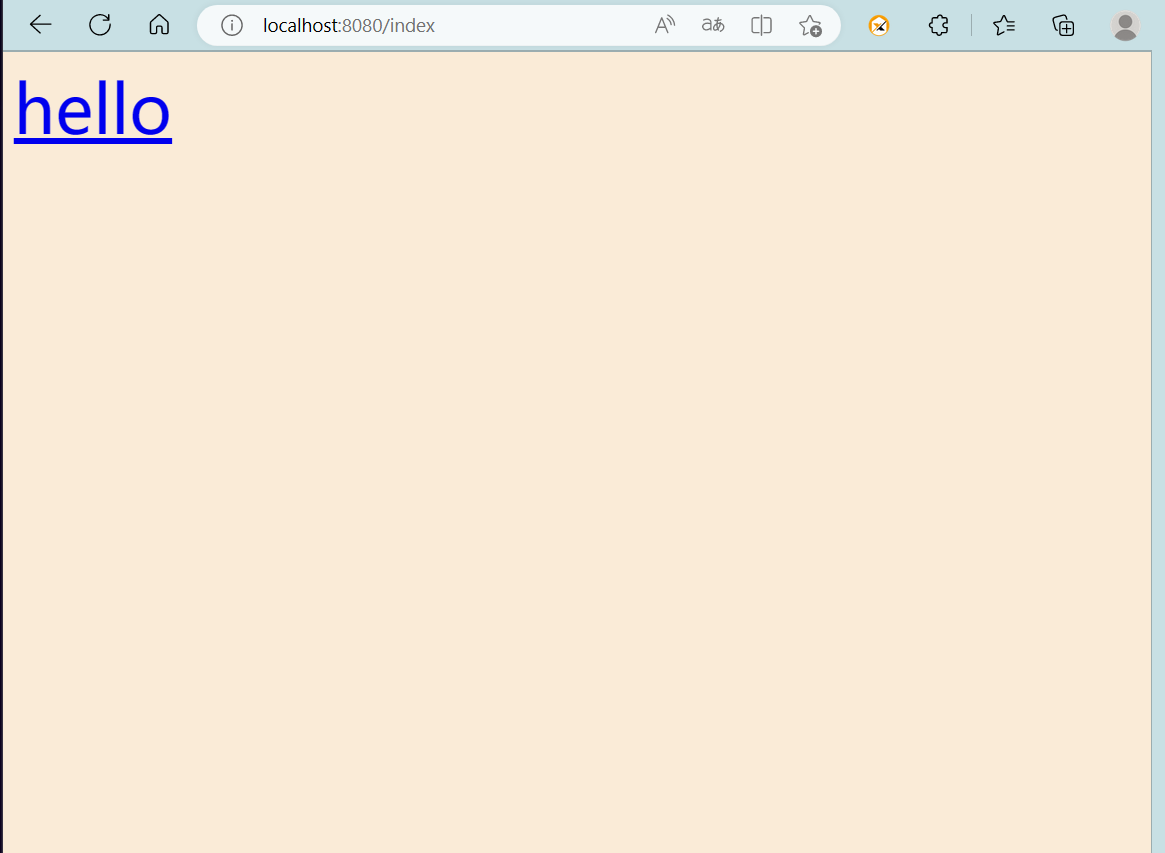
index.css:
body{
    font-size: 50px;
    color:red;
    background-color: antiquewhite;
}
index.html:
<!doctype html>
<html lang="en">
<head>
    <meta charset="UTF-8">
    <meta name="viewport"
          content="width=device-width, user-scalable=no, initial-scale=1.0, maximum-scale=1.0, minimum-scale=1.0">
    <meta http-equiv="X-UA-Compatible" content="ie=edge">
    <title>Title</title>
    <link rel="stylesheet" href="/css/index.css">
</head>
<body>
{{.title | safe}}
</body>
</html>
页面:
会话
会话控制涉及到cookie 和 session的使用
cookie
1、HTTP是无状态协议,服务器不能记录浏览器的访问状态,也就是说服务器不能区分两次请求是否由同一个客户端发出
2、Cookie就是解决HTTP协议无状态的方案之一
3、Cookie实际上就是服务器保存在浏览器上的一段信息,浏览器有了Cookie之后,每次向服务器发送请求时都会将该信息发送给服务器,服务器收到请求之后,就可以根据该信息处理请求
4、Cookie由服务器创建,并发送给浏览器,最终由浏览器保存
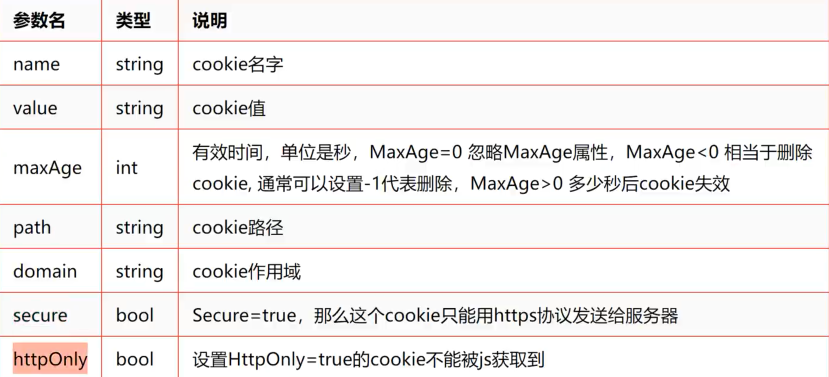
设置cookie
func (c *Context) SetCookie(name,value string,maxAge int,path,domain string,secure,httpOnly bool)
参数说明:
	//cookie
	r.GET("/cookies", func(context *gin.Context) {
		context.SetCookie("site_cookie", "cookievalue", 3600, "/", "localhost", false, true)

	})

这样就成功设置好了cookie
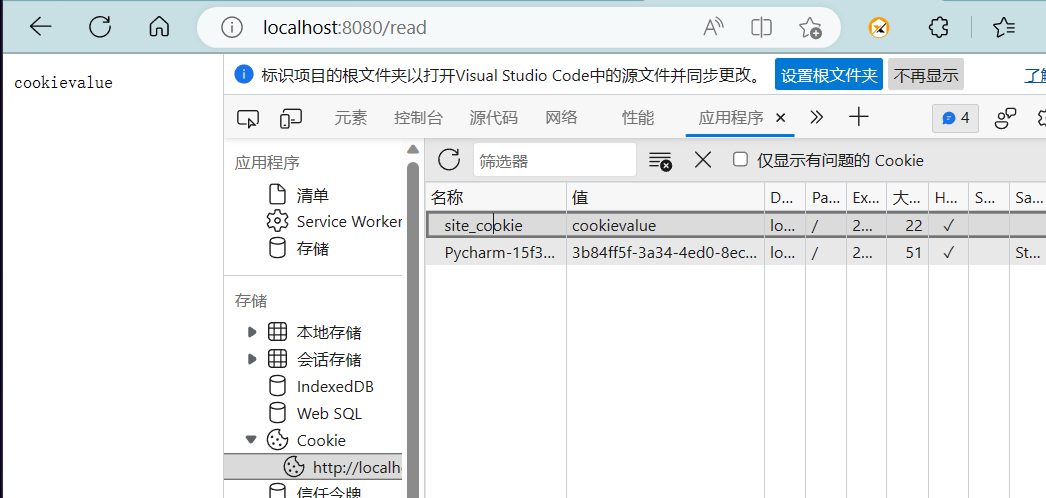
读取cookie
	//read cookie
	r.GET("/read", func(context *gin.Context) {
		//根据cookie名字读取cookie值
		data, err := context.Cookie("site_cookie")
		if err != nil {
			//返回cookie值
			context.String(200, "not found")
			return
		}

		context.String(200, data)
	})
删除cookie
通过将cookie的MaxAge设置为-1,就能达到删除cookie的目的
	//delete cookie

	r.GET("/del", func(context *gin.Context) {
		context.SetCookie("site_cookie", "cookievalue", -1, "/", "localhost", false, true)

	})
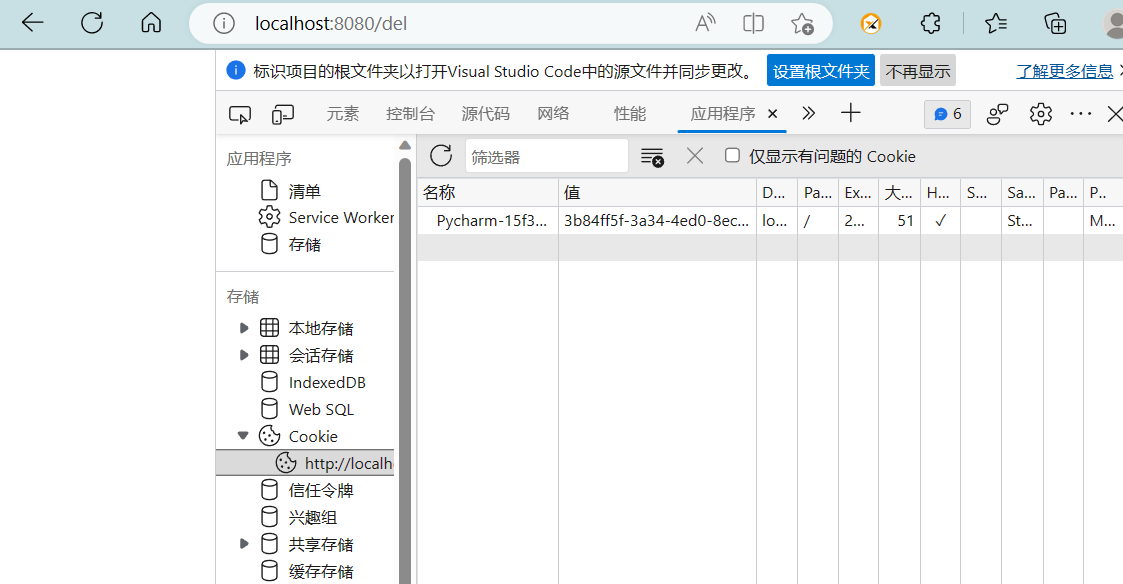
可以发现先前设置的cookie已经被删除了


 1839
1839


 被折叠的 条评论
为什么被折叠?
被折叠的 条评论
为什么被折叠?
 到【灌水乐园】发言


