


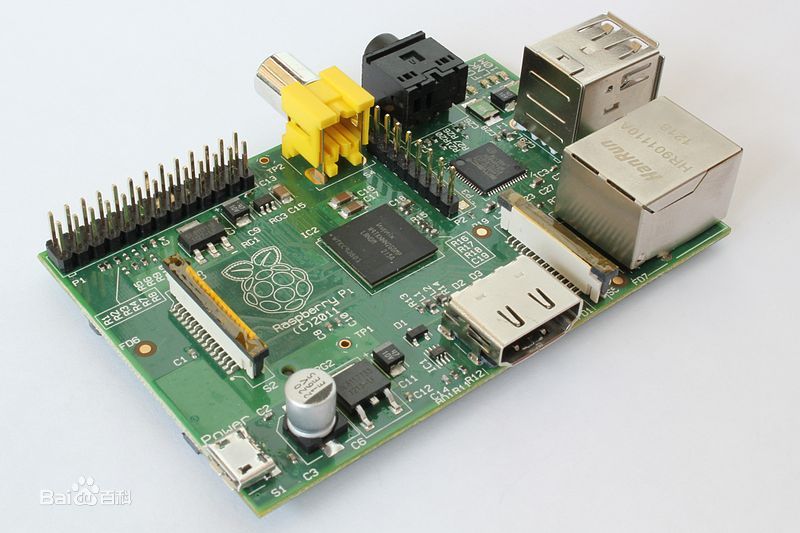
Raspberry Pi
------For Windows
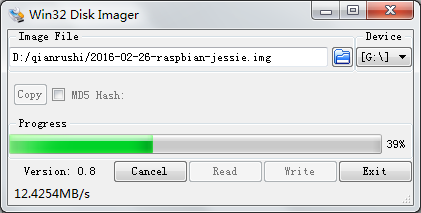
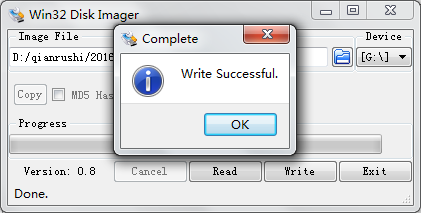
Step 1: In order to write the image for SD,we should download and install Image Writer for Windows
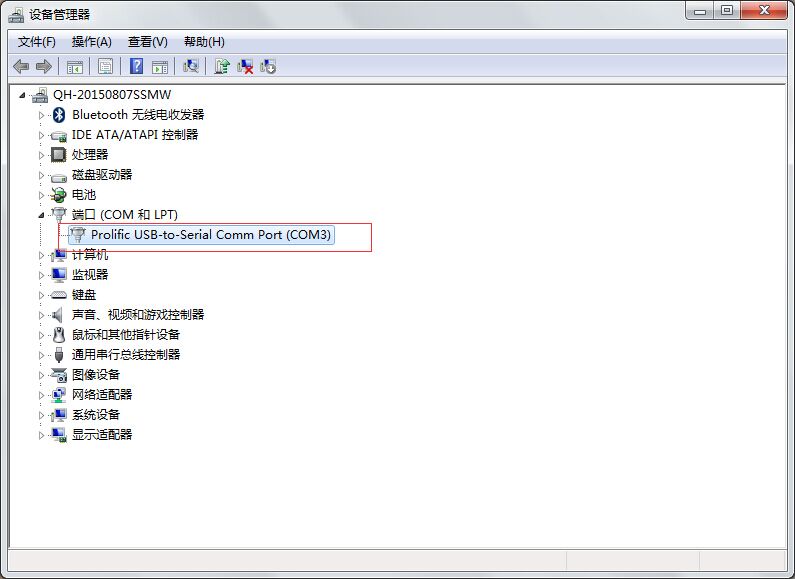
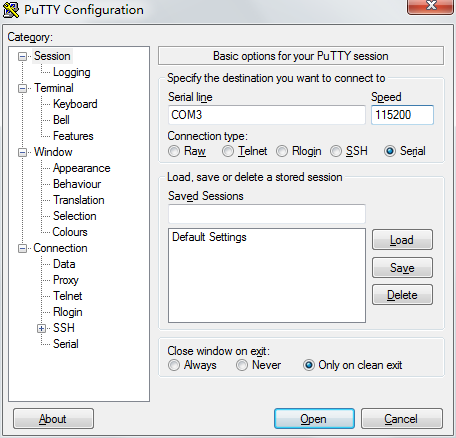
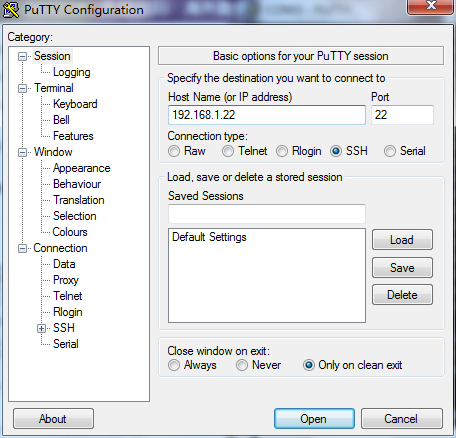
Step 2: Download and install putty and connected to serial port
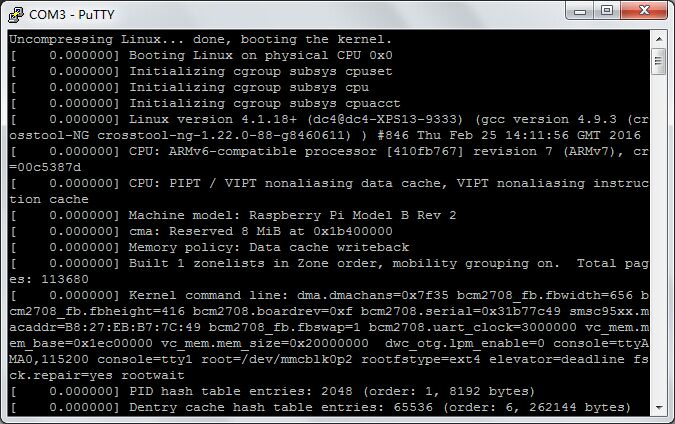
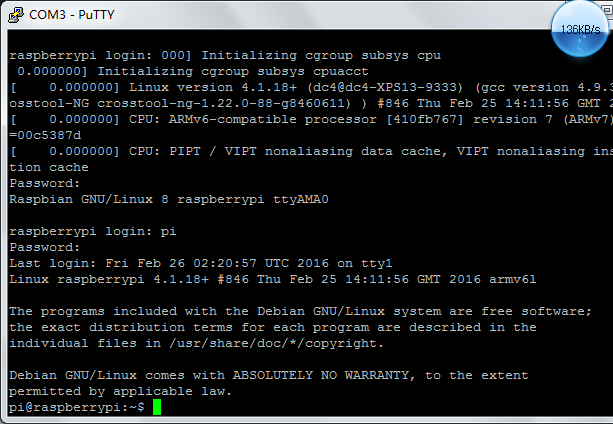
Step 3: Plug in the power then start Raspberry Pi and login
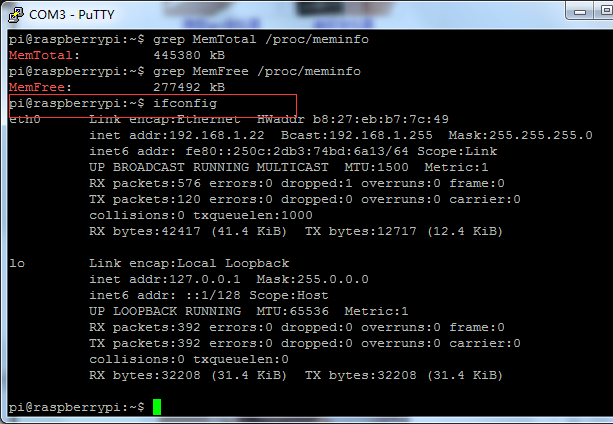
Step 4: Login Raspberry Pi and configure the network
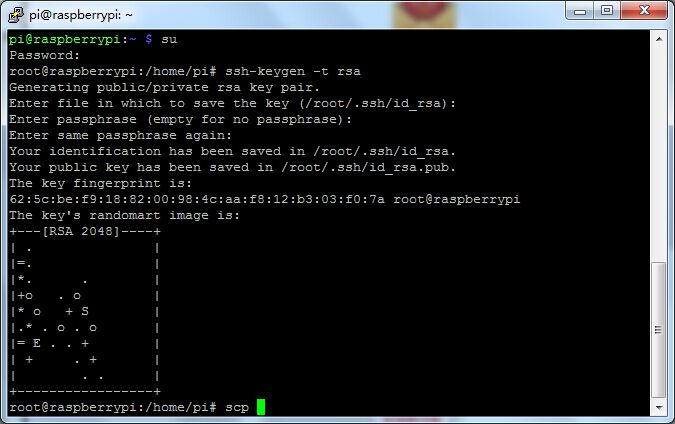
Step 5: Login Raspberry Pi by SSH and generate the key
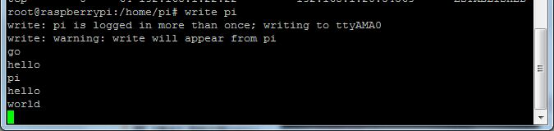
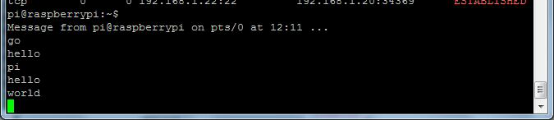
Step 6: Communicating between multiple ports by the write function when there have many users
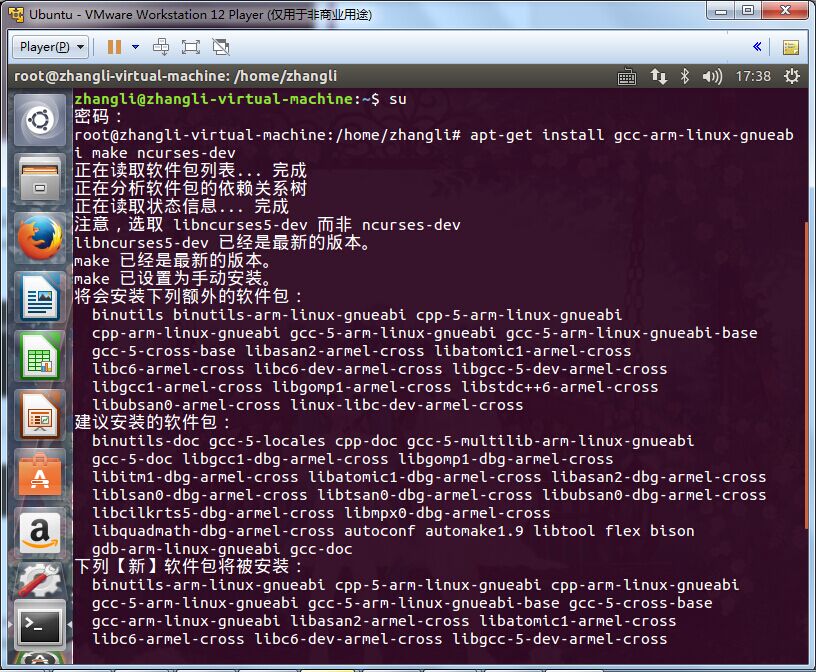
Step 7: Cross-compiling enviornment in PC
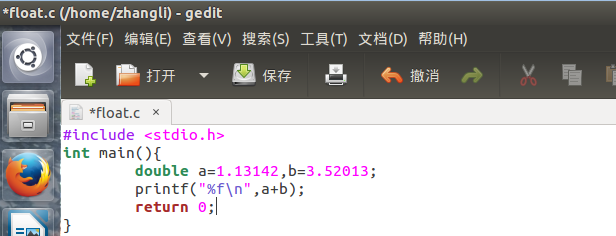
creat a new file
compile the file
upload the file by scp
Step 8: Confirming the file is an ARM executable file
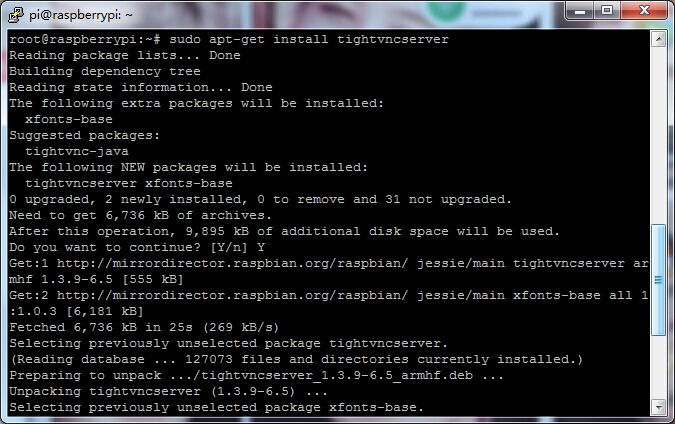
Step 9: Entering the remote desktop by VNC
install VNC and install tightvncserver after connecting Raspberry Pi by SSH
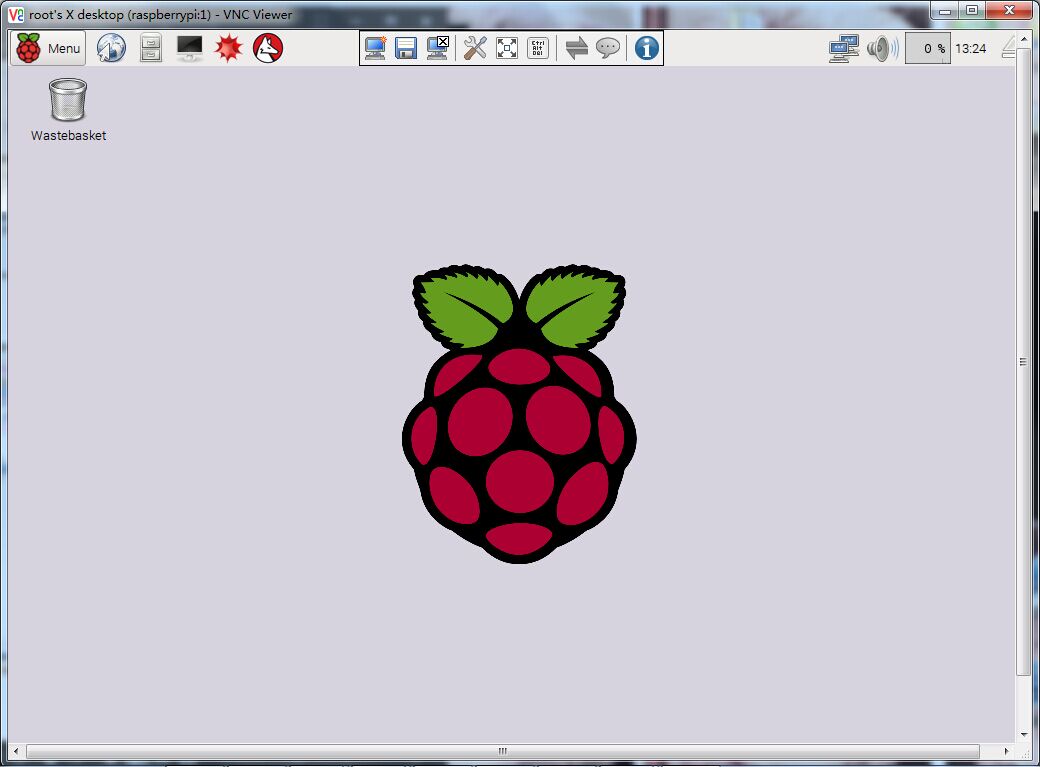
input the number of the remote desktop
this is the desktop of Raspberry Pi


 1万+
1万+


 被折叠的 条评论
为什么被折叠?
被折叠的 条评论
为什么被折叠?
 到【灌水乐园】发言


